Mark Existing Desks and Rooms on Floor Maps
This topic describes how to mark the existing room resources and desk resources on the floor map.
Prerequisite
-
Yeastar Workplace Plan: Standard Plan or Pro Plan
-
You have uploaded floor maps.
Procedure
-
Log in to Yeastar Workplace management portal, go to Company Settings > Building Management, and click the desired building.
-
Select the desired floor and click Configure Map.
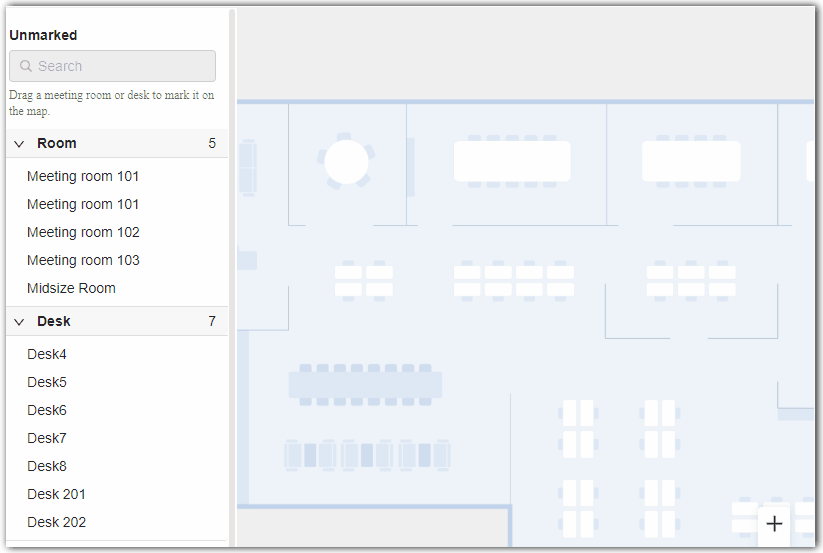
The Unmarked section on the left panel shows all the existing and unmarked meeting rooms and desks.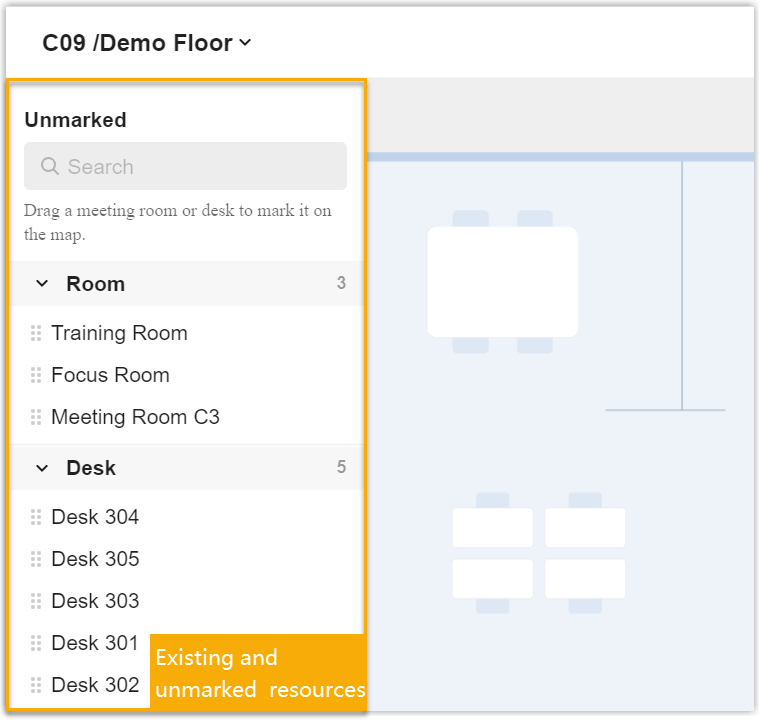
-
On the left panel, drag a meeting room or a desk from the Unmarked section, and drop it at the desired position on the map.
-
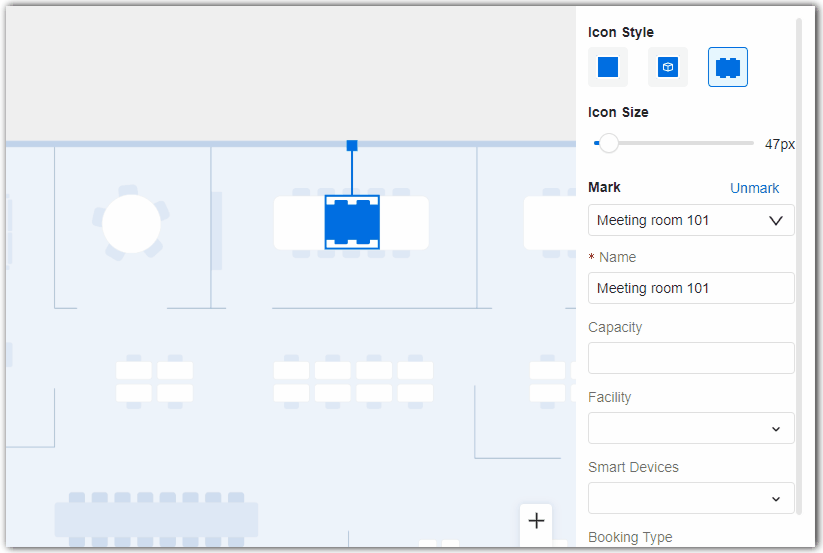
Optional: Customize the icon as needed:
- In the Icon Style section, specify the icon style.
- In the Icon Size section, adjust the icon size.
- Reorient the icon's direction.
-
Optional: Click
 in the bottom right corner and select Show Room Name, Show Desk Name, or Show Users to check if the meeting room/desk is marked accurately.
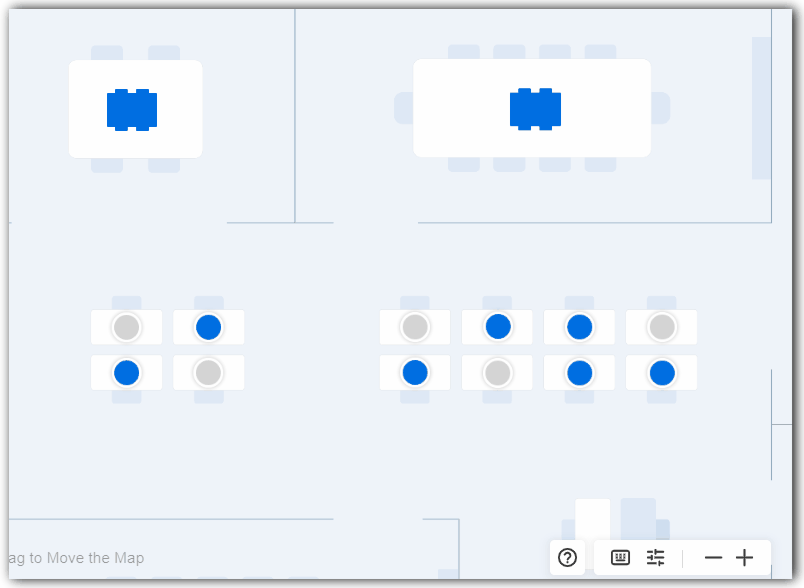
-
Click Save in the top right corner.
Result
-
The meeting room resources are added to the system and marked on the floor map. You can view and manage the meeting room resources in the following methods:
- Go to Company Settings > Building Management, access the map configuration panel of the floor where the meeting room is marked.
- Go to Meeting Room > Room Management, search and find the desired desk resource.
-
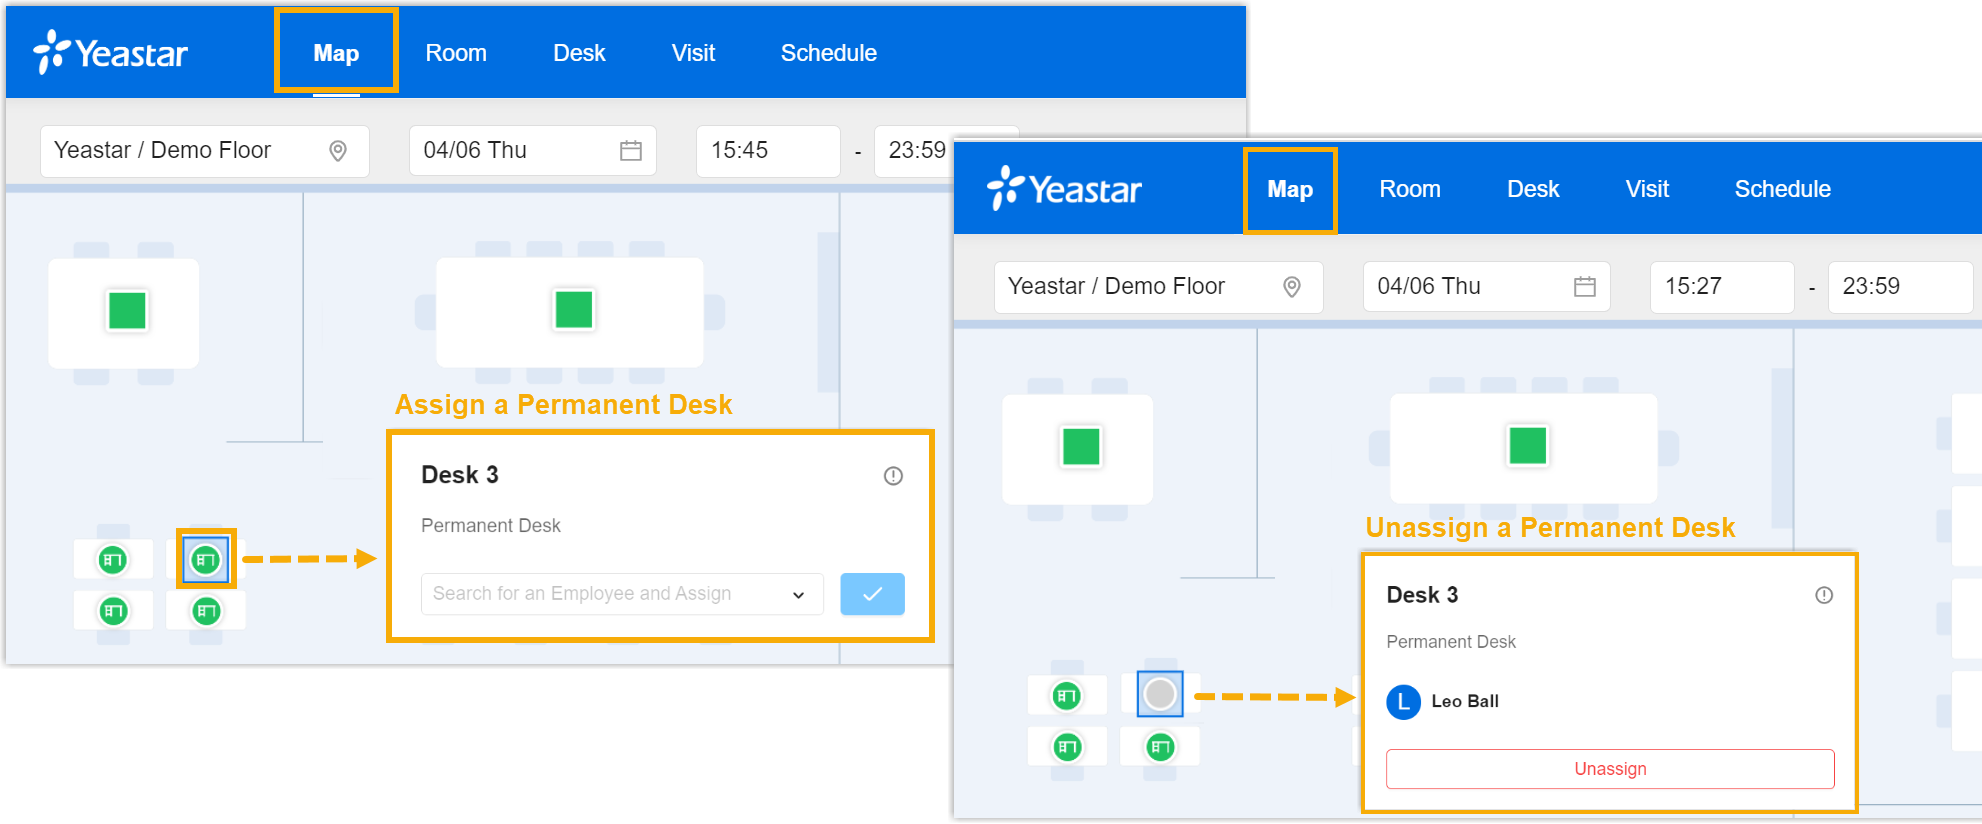
The marked meeting rooms are displayed on the Map tab of Yeastar Workplace user portal, and the following functions are achieved.
- Users can view the real-time booking status of meeting rooms by the color of the icons.
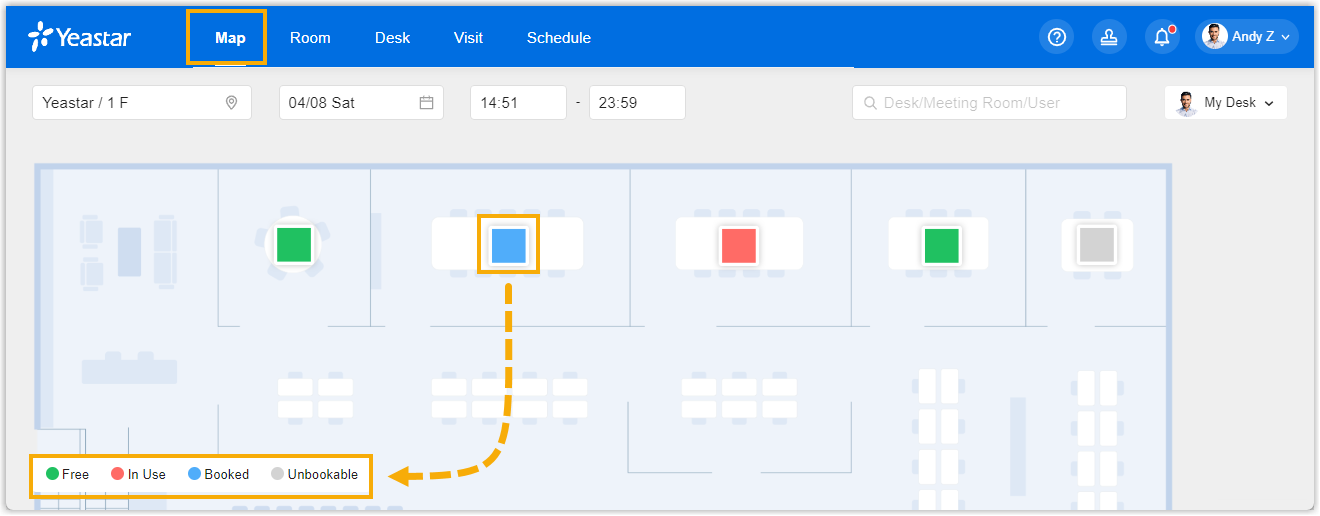
- Users can click the icon of a meeting room to make reservations.
- Users can locate specific rooms on the floor map.
-
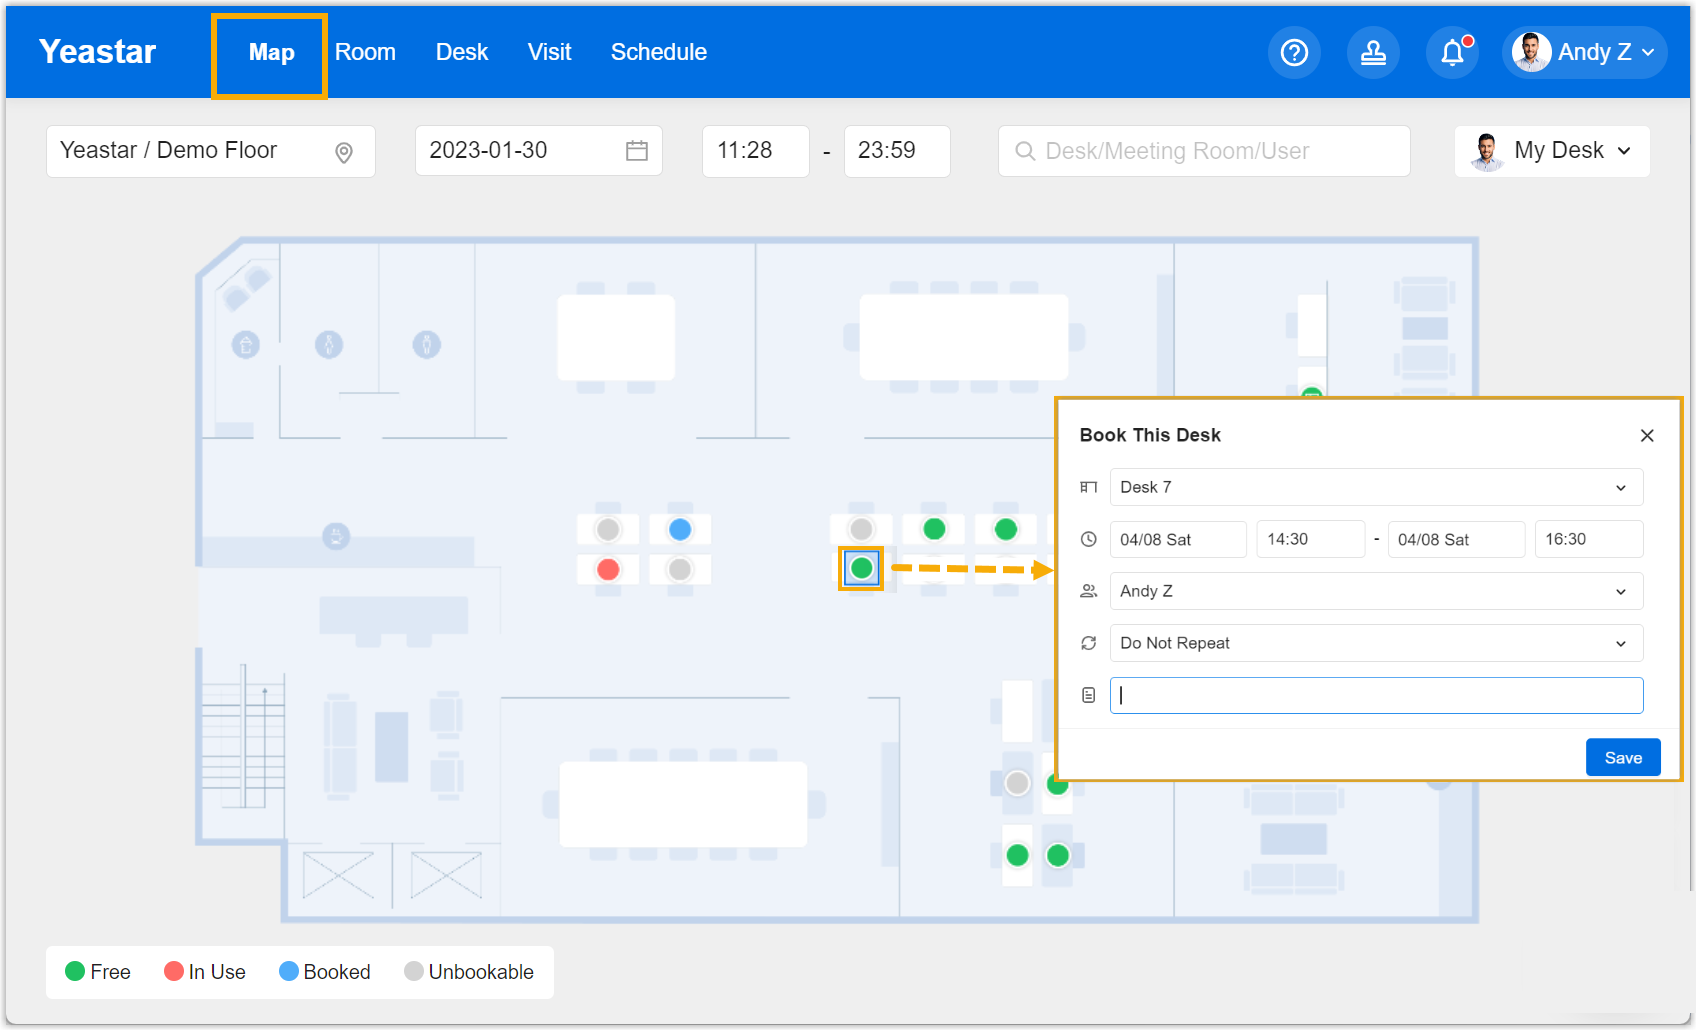
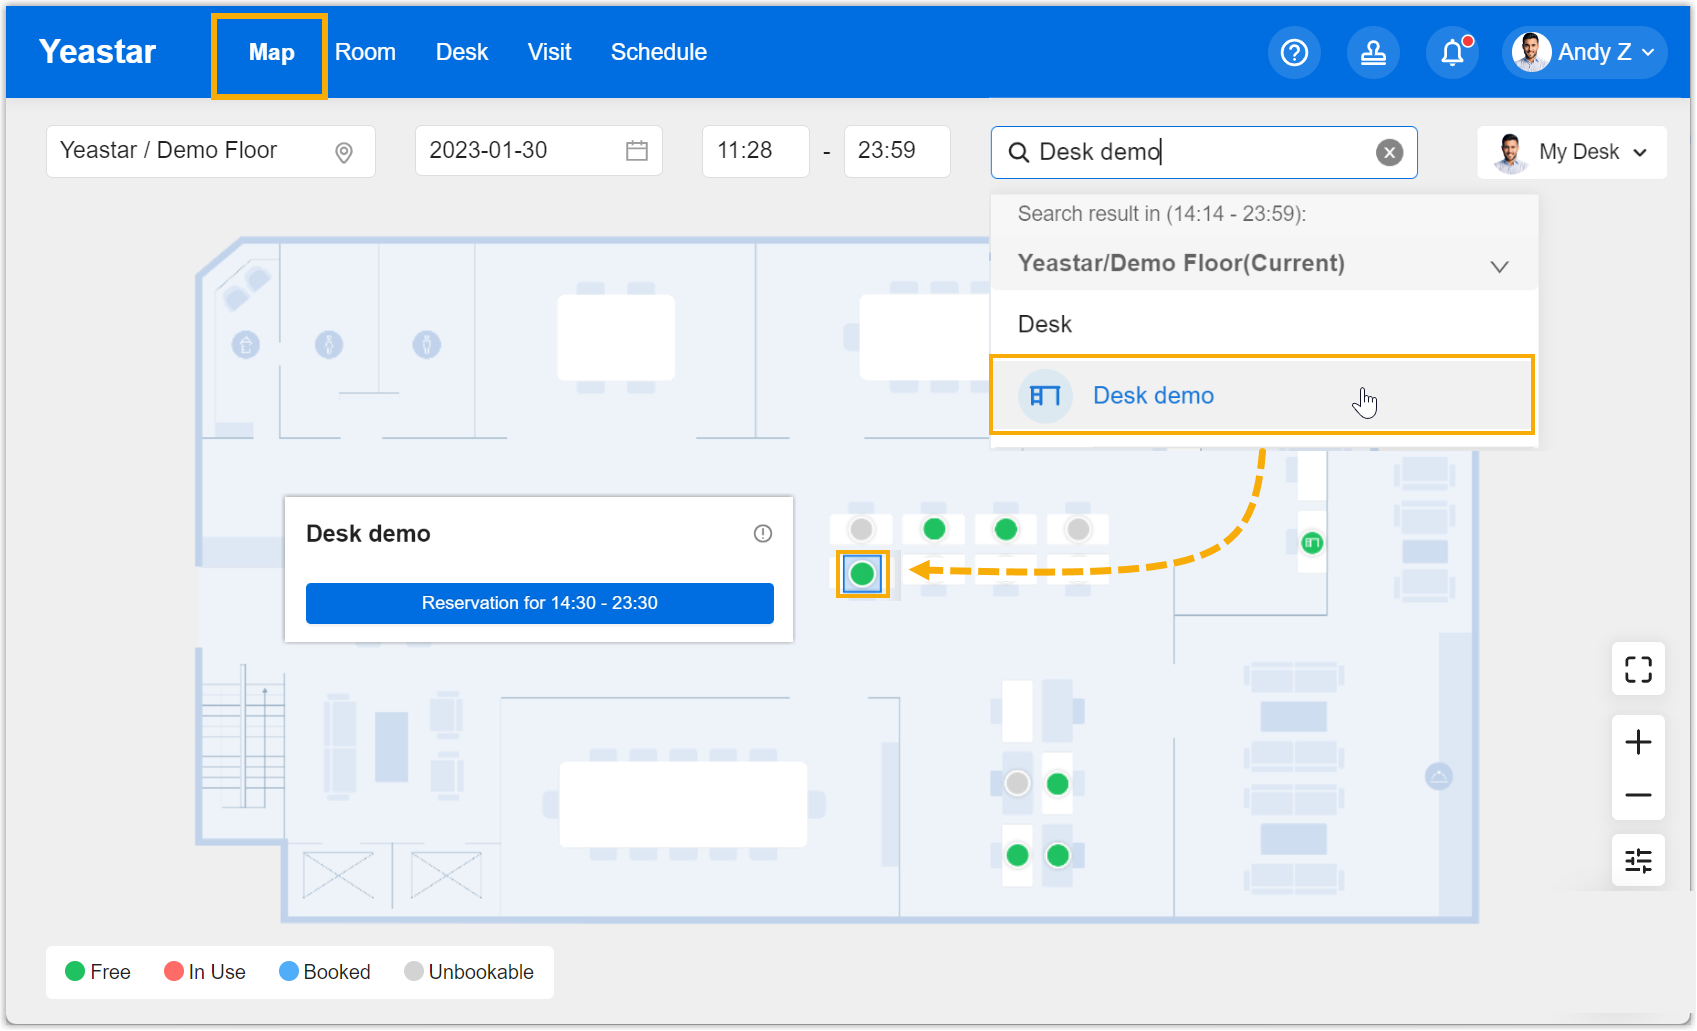
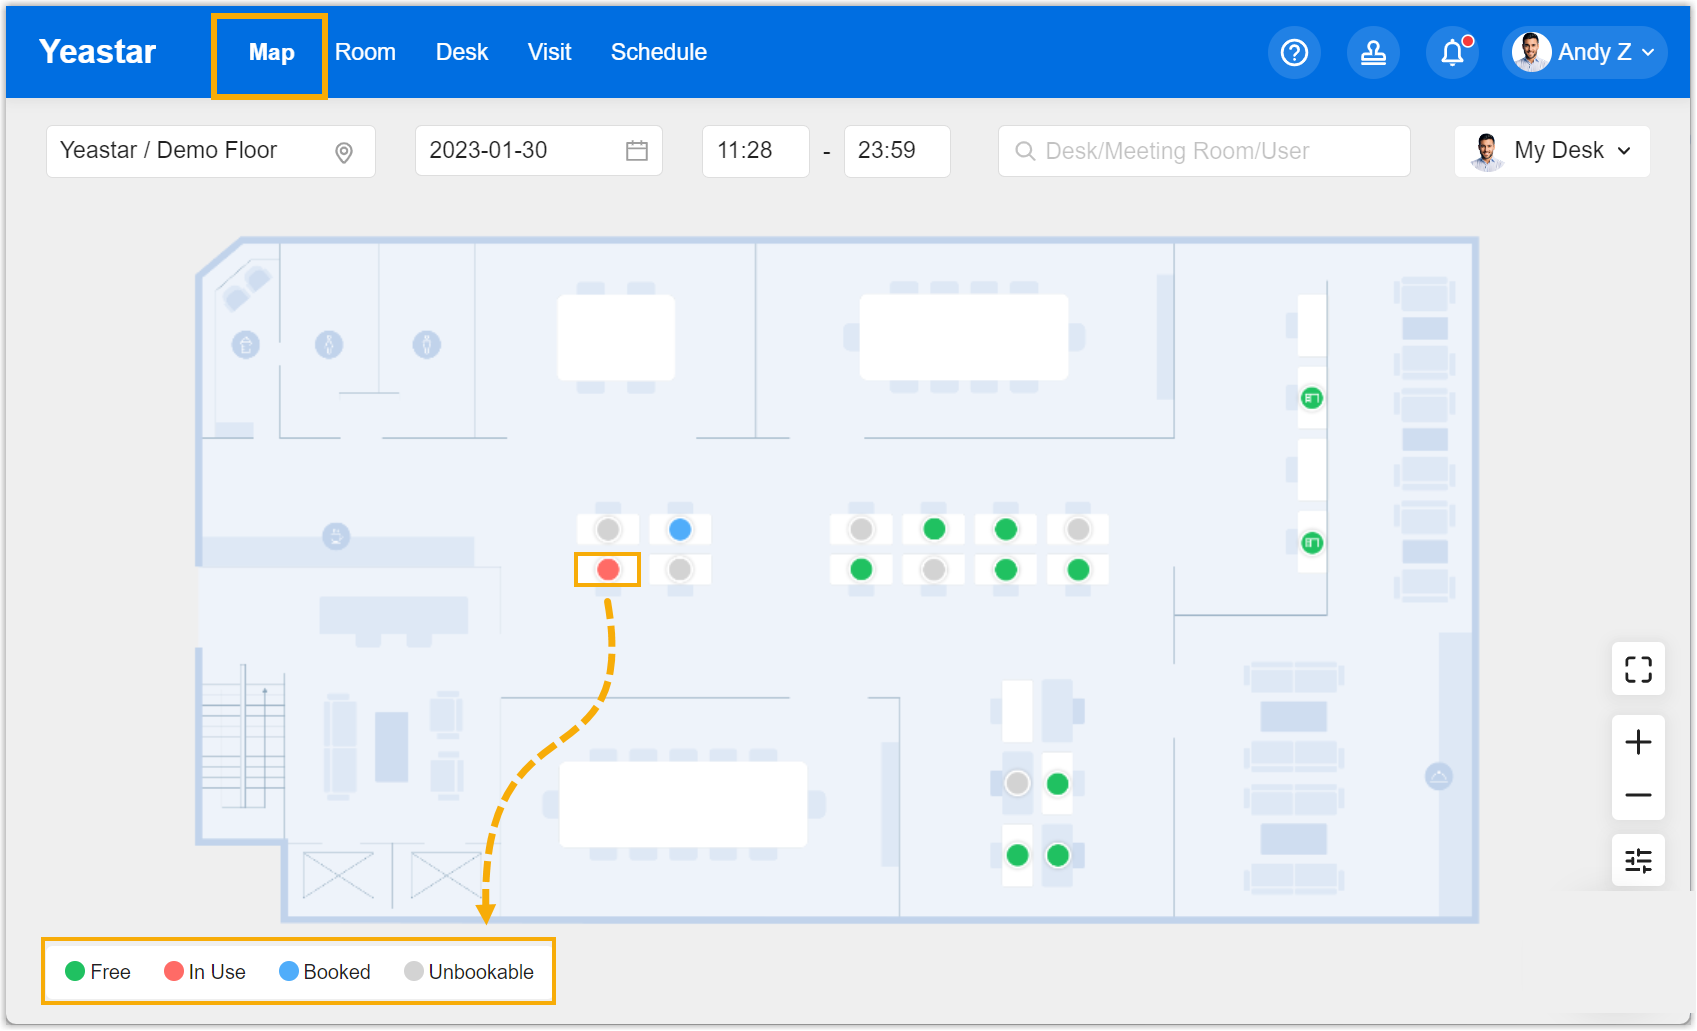
The desk resources are added to the system and marked on the floor map. You can view and manage the desk resources in the following methods:
- Go to Company Settings > Building Management, access the map configuration panel of the floor where the desk is marked.
- Go to Desk > Desk Management, search and find the desired desk resource.
-
The marked desks are displayed on the Map tab of Yeastar Workplace user portal, and the following functions are achieved.
Created: February 3, 2023