Check In to a Meeting
To avoid the waste of room resources, users need to check in to a meeting during the check-in window to indicate this meeting is still happening. Otherwise, Yeastar Workplace will automatically cancel this meeting and release this room for others to use.
Important
- You can only check in for the meeting during the check-in window.
- The default check-in window is 5 minutes before the start of the meeting to 10 minutes after the start of the meeting, which may vary depending on the administrator's settings. Contact the administrator in your workplace for more information.
Yeastar Workplace supports several check-in methods, click the links below to learn more about each method:
Check in on Room Display
Prerequisites
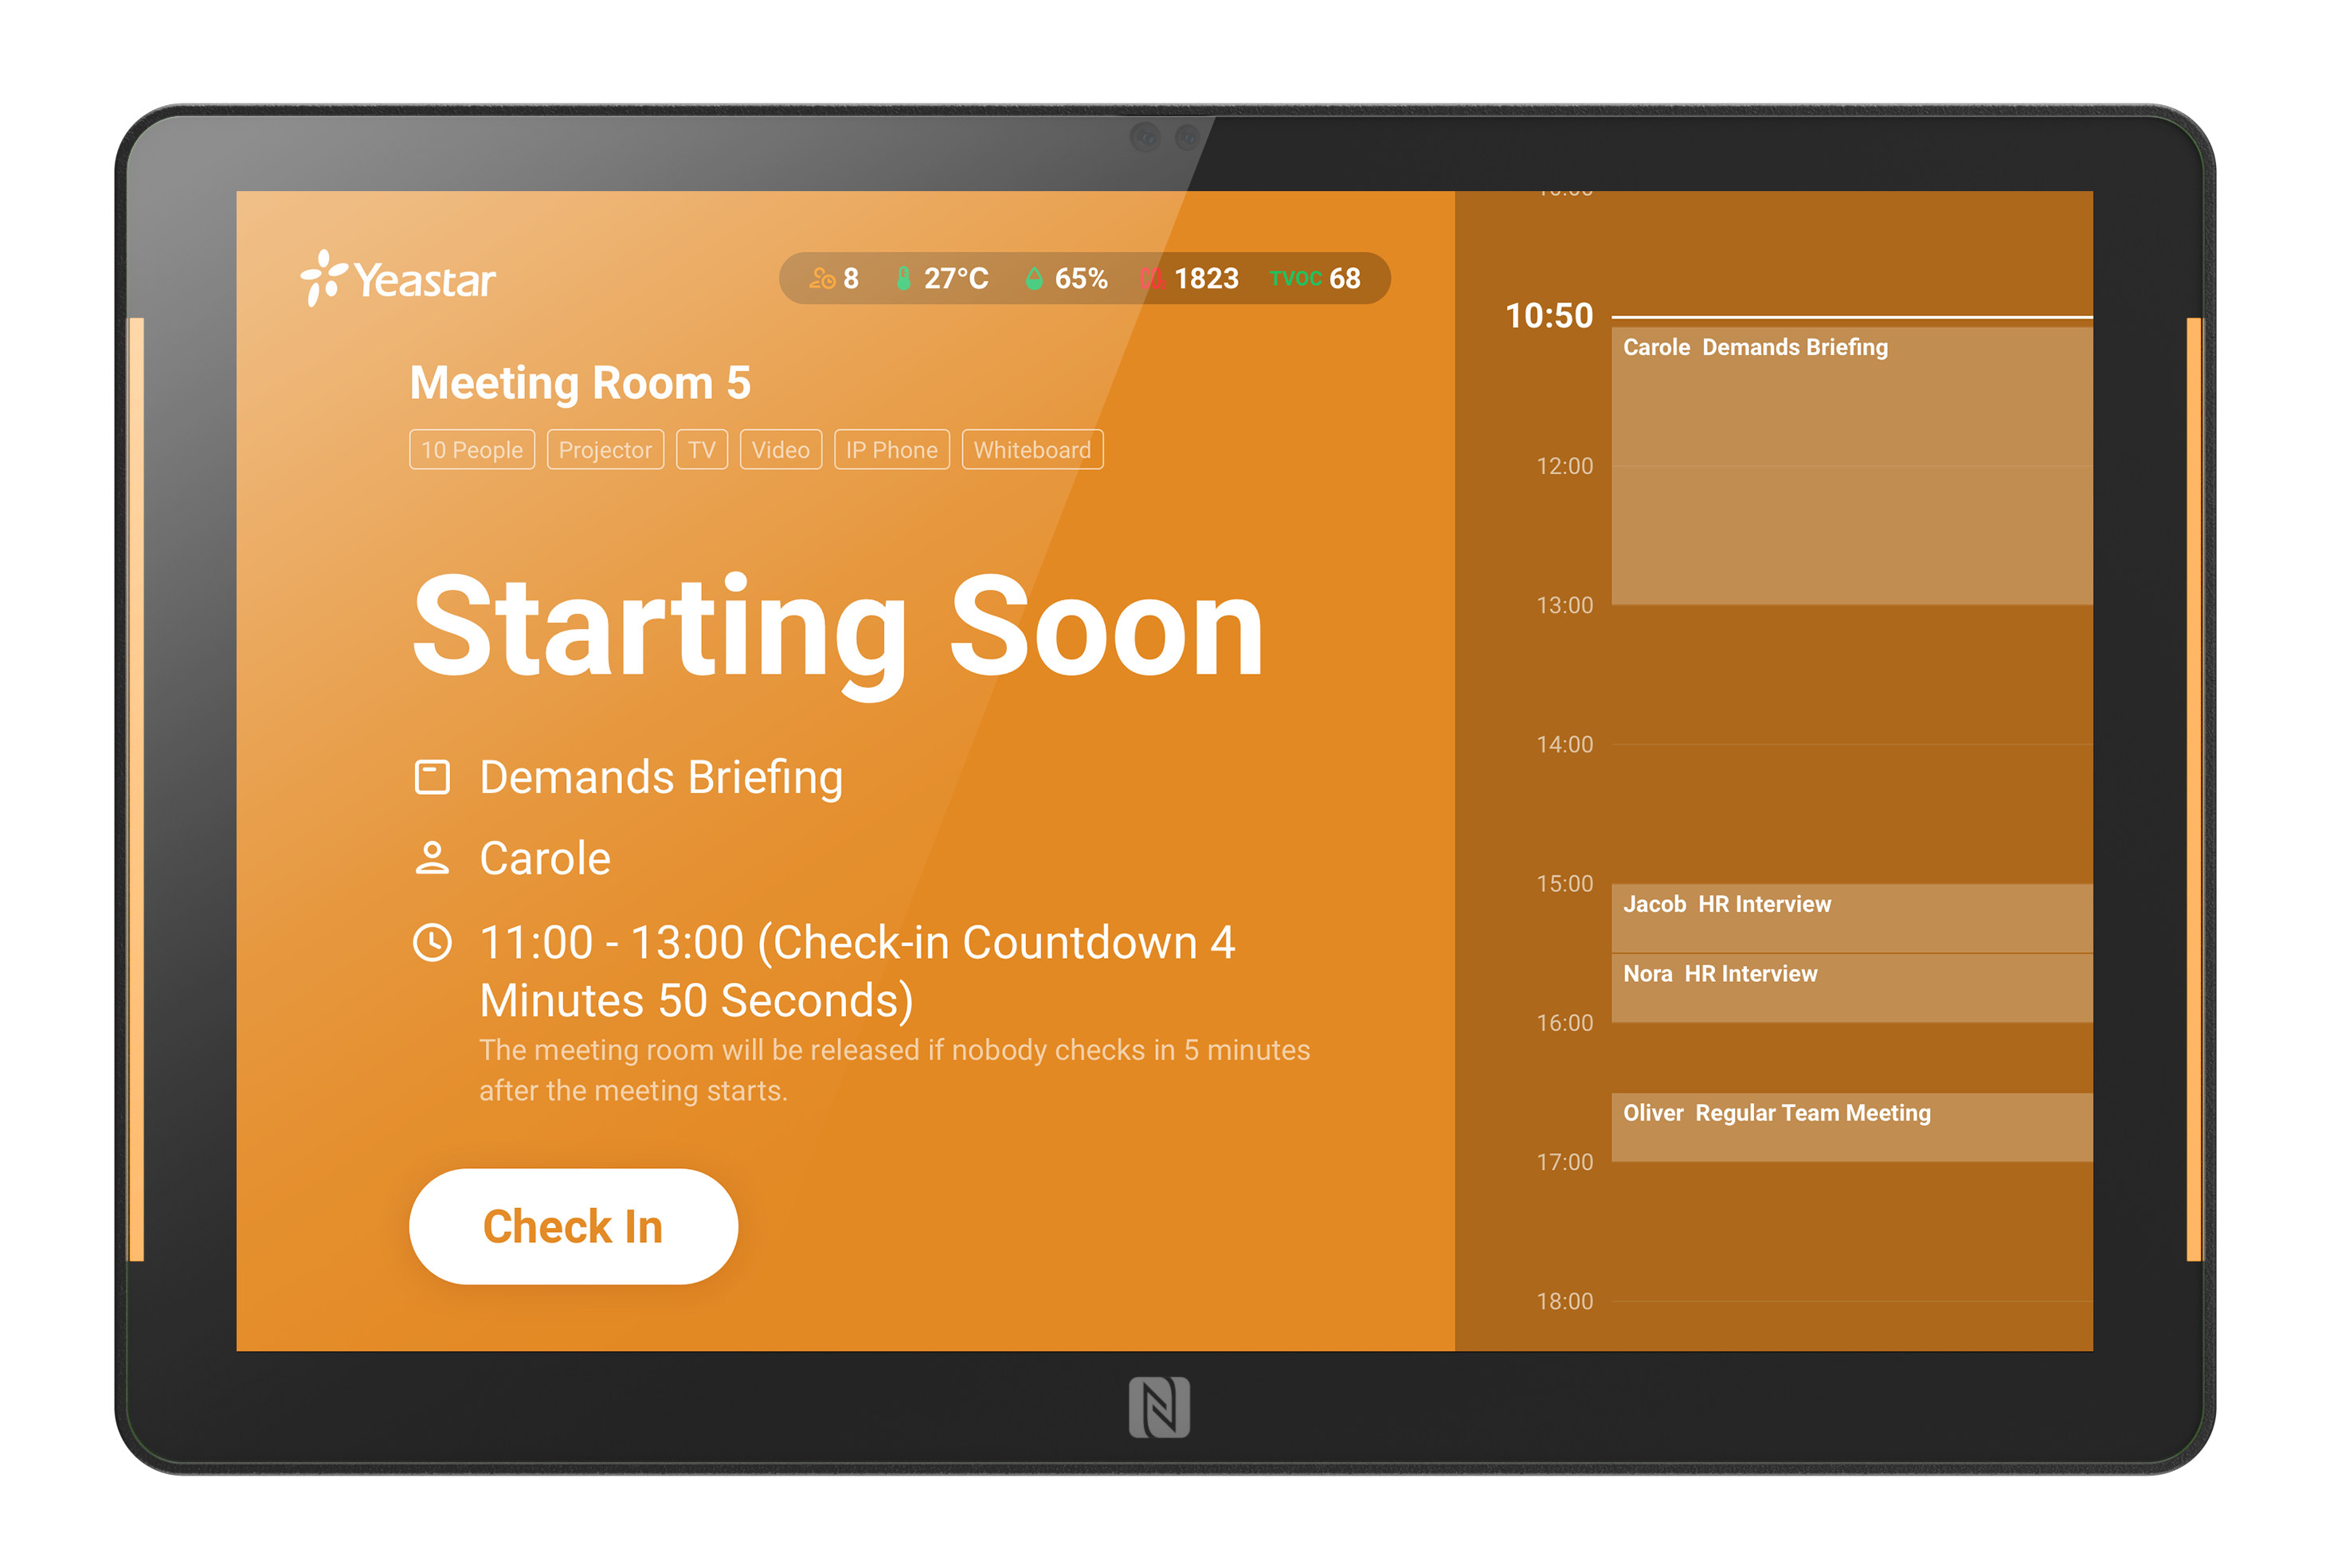
The Room Display status shows Starting Soon.
Procedure
- On the screen of the Room Display, tap Check In in the bottom left corner.
- If identity authentication is required, follow the instructions on the screen to validate your identity.
The system will allow you to check in if you have the required permission.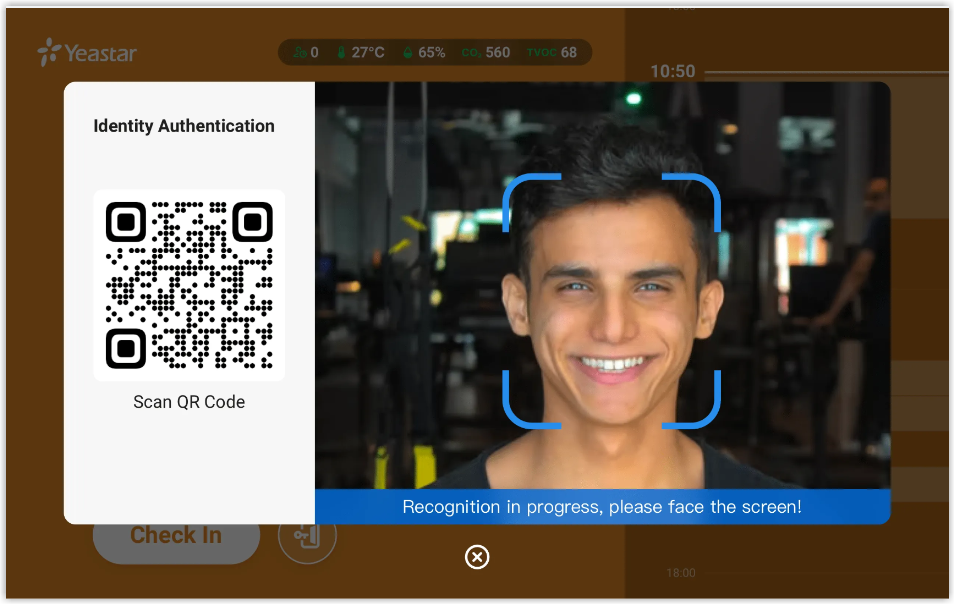
Result
You have checked in to this meeting successfully.
-
The room display status changed to In Use.
-
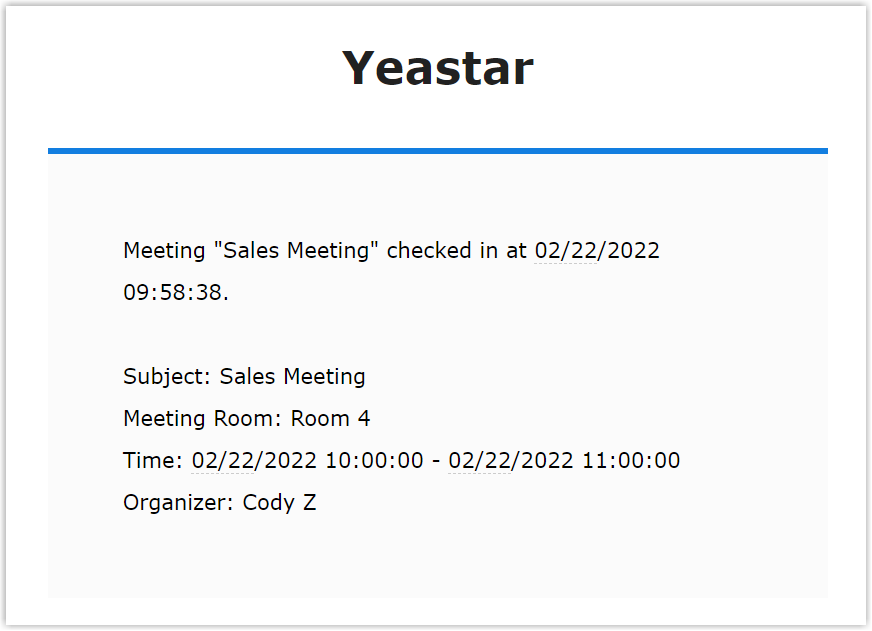
If this meeting is not booked on room display, the meeting organizer and participants (with check-in permission) will receive a notification message about the successful check-in, as the following figure shows.
Check-in on Yeastar Workplace web portal
Prerequisites
-
Make sure you have check-in permission.
Who has the check-in permission?
By default, only the meeting organizer has check-in permission, however, Yeastar Workplace also supports assigning check-in permission to participants. Contact your administrator for more information.
-
This meeting is not booked via room display.
Procedure
Choose one of the following methods to check in to a meeting:
- Log in to Yeastar Workplace web portal and select the Schedule tab in the top bar.

- Click a meeting that you organized or participated in.
- In the pop-up dialog box, click Check in.

- Log in to Yeastar Workplace web portal and select the Room tab in the top bar.

- Click a meeting that you organized or participated in.
- In the pop-up dialog box, click Check in.
Note
This method is only applied to meeting organizer.
- Log in to Yeastar Workplace web portal and select the Map tab in the top bar.

- Click the icon of the meeting room you booked.
- In the pop-up dialog box, select your meeting room booking schedule and click Check in.
Result
You have checked in to this meeting successfully.
- A pop-up message on the top bar says "Checked in successfully".
- The status of the meeting room and its bound Room Display changed to In Use.
- The meeting organizer and participants (with check-in permission) will receive a notification message about the successful check-in, as the following figure shows.
Check-in via notification message
Prerequisites
-
Make sure you have check-in permission.
Who has the check-in permission?
By default, only the meeting organizer has check-in permission, however, Yeastar Workplace also supports assigning check-in permission to participants. Contact your administrator for more information.
-
This meeting is not booked via room display.
-
The meeting reaches the check-in available time.
Procedure
- When a meeting reaches the check-in time, the meeting organizer and participants (with check-in permission) will receive a notification message that says "Please Check in for Meeting xxx on Time" .
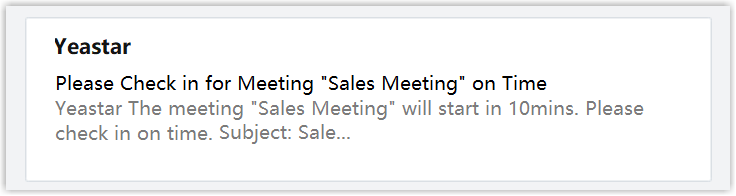
- Click Check In button in the notification message.

Result
You have checked in to this meeting successfully.
-
The web page says "Checked in successfully".
-
The status of the meeting room and its bound room display changed to In Use.
-
The meeting organizer and participants (with check-in permission) will receive a notification message about the successful check-in, as the following figure shows.
Created: March 1, 2022
Author: Cody