Set up Gmail as an Email Server for On-Premise Deployment
This topic describes how to set up Gmail as an email server for Yeastar Workplace on-premise deployment.
Prerequisite
Make sure Yeastar Workplace can access the Internet.
Step1. Create an app password on your Google Account
To ensure that Yeastar Workplace can access the Gmail server, you need to turn on 2-Step verification and create an app password as follows.
- Sign in to Google Account by your Gmail account.
- On the left navigation bar, click Security.
-
Turn on 2-Step Verification:
- In the Signing in to Google section, click 2-Step Verification and enter your Gmail password to verify your account.
- On the 2-Step Verification page, click GET STARTED and enter your Gmail password to verify your account.
- Select a verification method, and verify your account according to the prompt.
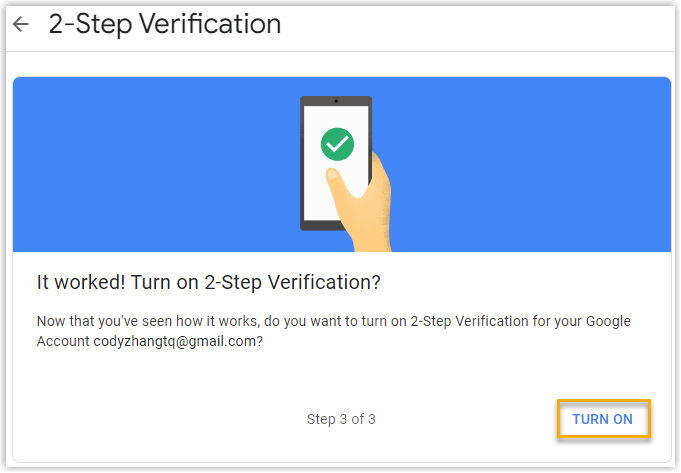
- Click TURN ON to turn on 2-step verification.
-
Right above the page, click
 to back to the security page.
 -
Create an app password.
- In the Signing in to Google section, click App passwords and enter your Gmail password to verify your account.
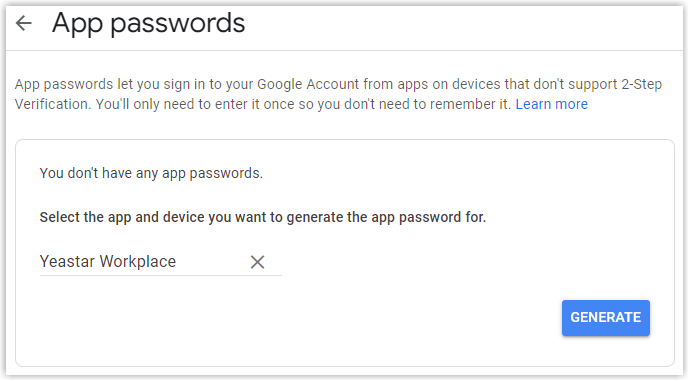
- In the Select app drop-down list, select Other (Custom name).
- In the text field, enter a name to help you identify the app password. For example, enter Yeastar Workplace.
- Click GENERATE.
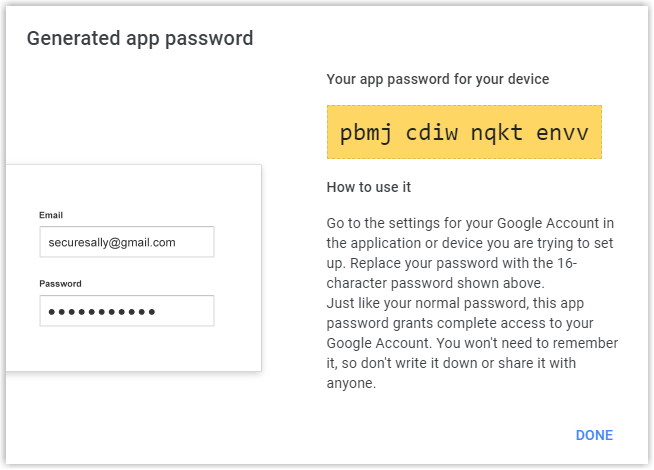
An app password is generated. Note down the password, which is used to verify your Gmail account when you configure Gmail as the mail server in Yeastar Workplace.
Step2. Configure Gmail as the mail server of Yeastar Workplace
-
On the Yeastar Workplace Email Server configuration page, configure the following settings:
- Sender Email Address: Enter your Gmail address.
- Email Address or Username: Enter your Gmail address.
- Password: Enter the 16-digit app password, which is used to access the Gmail server.
- Outgoing Mail Server(SMTP): Retain the default value smtp.gmail.com.
- Port: Retain the default value 587.
- TLS Encryption: Select Enable.
-
Test if the mail server can successfully send emails.
- Click Test, in the pop-up dialog box, enter an email address to receive the test emails.
- Click Send.
What to do next
When the test succeeds, you can click Confirm to continue activating Yeastar Workplace.
Created: April 6, 2022
Author: Cody