Add a Dedicated Meeting Room
This topic describes how to add a Dedicated Meeting Room on Yeastar Workplace management portal.
Procedure
-
Log in to Yeastar Workplace management portal.
-
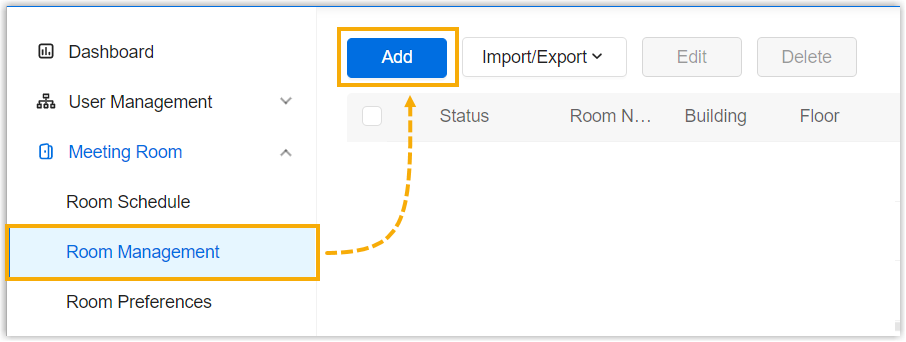
Go to Meeting Room > Room Management, and click Add.
-
In the Basic Information tab, configure the meeting room information.
Setting Description Room Name Specify a name to help you and your colleagues identify this meeting room. Building In the drop-down list, select the building where the meeting room is located. Floor In the drop-down list, select the floor where the meeting room is located. Capacity Enter the maximum number of people the room can accommodate to help users find a room that matched their meeting size. Facility In the drop-down list, select the available facilities in the meeting room.
You can add or delete facilities as needed.Booking Type In the drop-down list, select Dedicated Meeting Room. Optional: Remark Enter remark for this meeting room. -
Click Save.
Note
You can customize the settings in the Smart Device Settings tab after you set up smart devices for Yeastar Meeting Room Booking system.
Result
You have added a Dedicated Meeting Room resource.
- This room resource is NOT displayed on the Room tab of Yeastar Workplace user portal.
- No users can book this meeting room resource on Yeastar Workplace.
What to do next
 Mark Existing Desks and Rooms on Floor Maps
Last update:
April 10, 2023
Created: April 10, 2023
Created: April 10, 2023