Check in to a Desk Reservation
If your workplace requires desk check-ins, you need to check in to confirm your desk reservation. This topic describes how to check in to a desk reservation.
Background information
You can only check in to a desk reservation when it reaches the available check-in time.
The default available check-in time is 5 minutes before the start time, which may vary depending on the admin's settings. Contact the administrator in your workplace for more information.
Check-in for your own reservations
Check-in on Yeastar Workplace web portal
Choose one of the following methods to check in for your own desk reservations:
- Log in to Yeastar Workplace web portal and select the Desk tab in the top bar.

-
In the desk list, click the desk reservation you booked.
Your reservations are displayed in blue.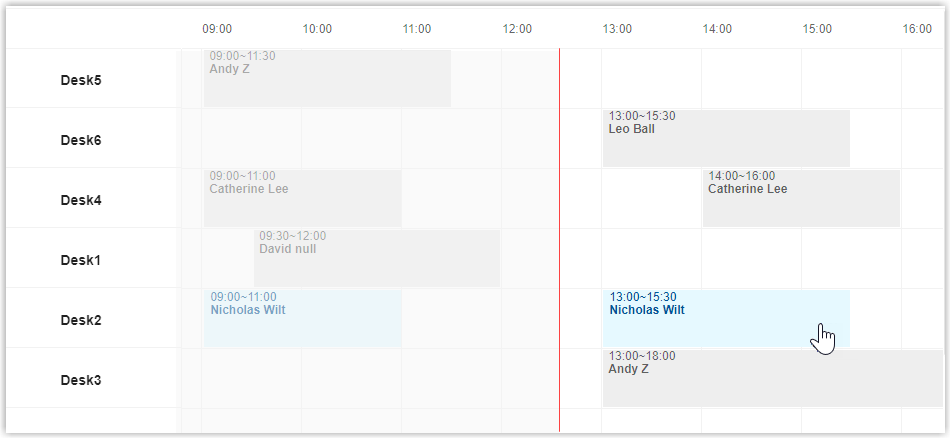
-
In the pop-up dialog box, click Check In.
- Log in to Yeastar Workplace web portal and select the Map tab in the top bar.

-
In the office map, click the icon of the desk you booked.
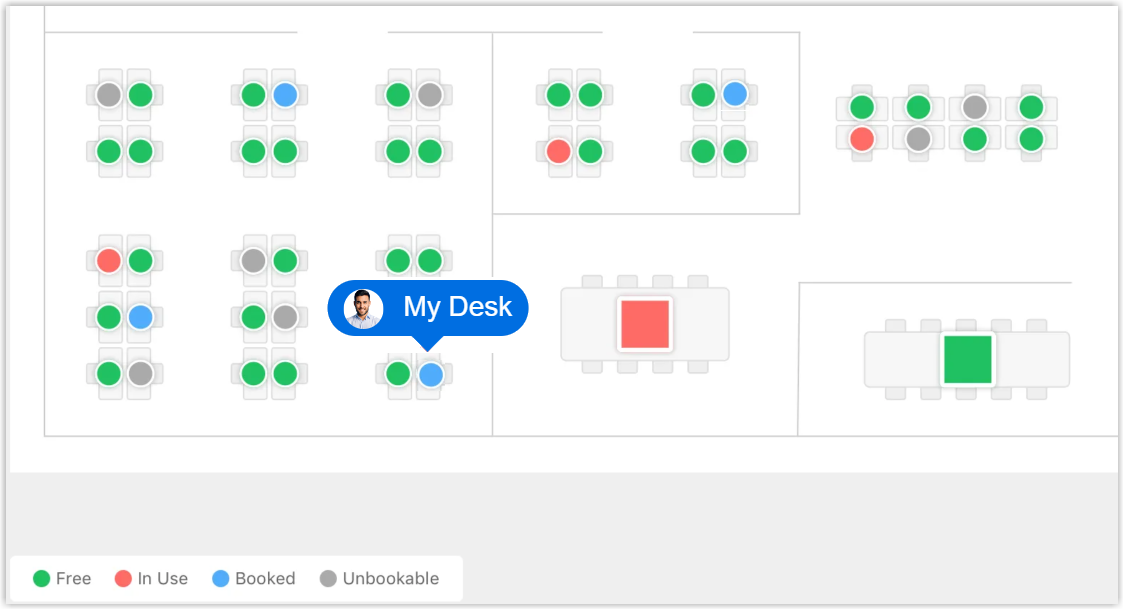
-
In the pop-up dialog box, select your reservation and click Check In.
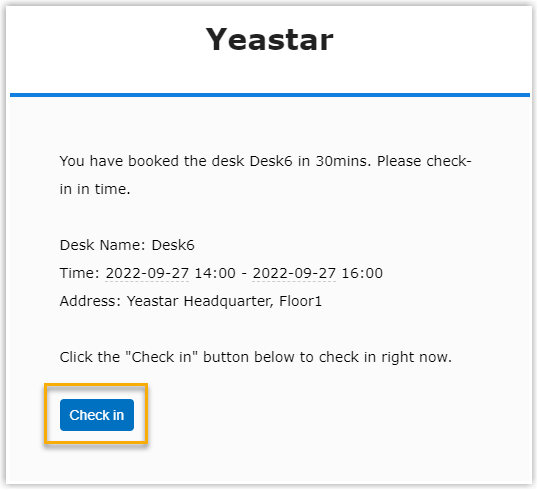
Check-in via notification messages
When a desk reservation reaches the available check-in time, a notification will be sent to you. You can simply click the Check In button in it to check in to this reservation.
Check in for others' reservations
Important
Only administrators can check in for others' desk reservations.
Choose one of the following methods to check in for your own desk reservations:
- Log in to Yeastar Workplace web portal and select the Desk tab in the top bar.
- In the desk list, click the desired reservation.
- In the pop-up dialog box, click Check In.
- Log in to Yeastar Workplace web portal and select the Map tab in the top bar.
- In the office map, click the icon of the desired desk.
- In the pop-up dialog box, select a reservation and click Check In.
Created: September 30, 2022