View and Manage Your Desk Reservations
This topic describes how to manage your desk reservations including editing and canceling a reservation.
Prerequisite
The desk reservation hasn't been checked in.
Edit a desk reservation
Choose one of the following methods to edit a desk reservation.
- Log in to Yeastar Workplace web portal and select the Desk tab in the top bar.

- In the top filter bar, specify the date to display all the desk reservations over the selected date.
Your reservations are displayed in blue.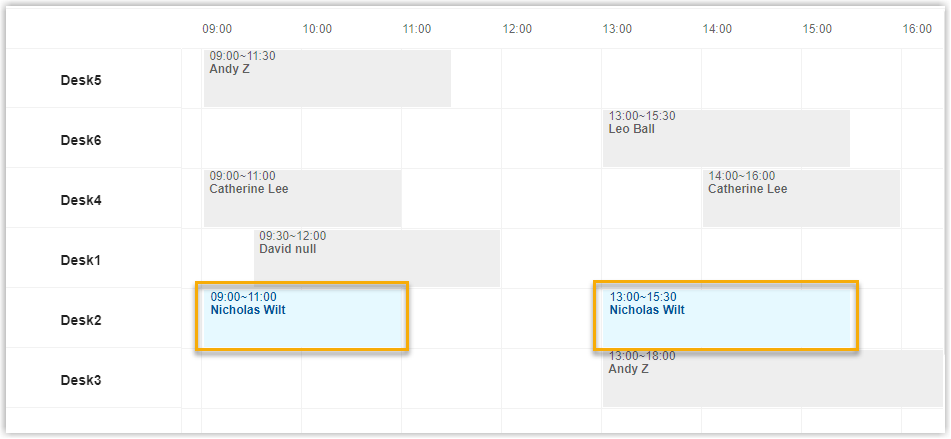
- Click a desk reservation that you booked.
- In the pop-up dialog box, click Edit.
- Click Save when you are done editing.
- Log in to Yeastar Workplace web portal and select the Schedule or Map tab in the top bar.
- In the top filter bar, select the date of the reservation you need to edit.
- In the top-right corner, click the My Desk dropdown list and select the desired desk reservation.
- In the pop-up dialog box, click Edit.
- Click Save when you are done editing.
- Log in to Yeastar Workplace web portal and select the Map tab in the top bar.

- In the top filter bar, select the date of the reservation you need to edit.
-
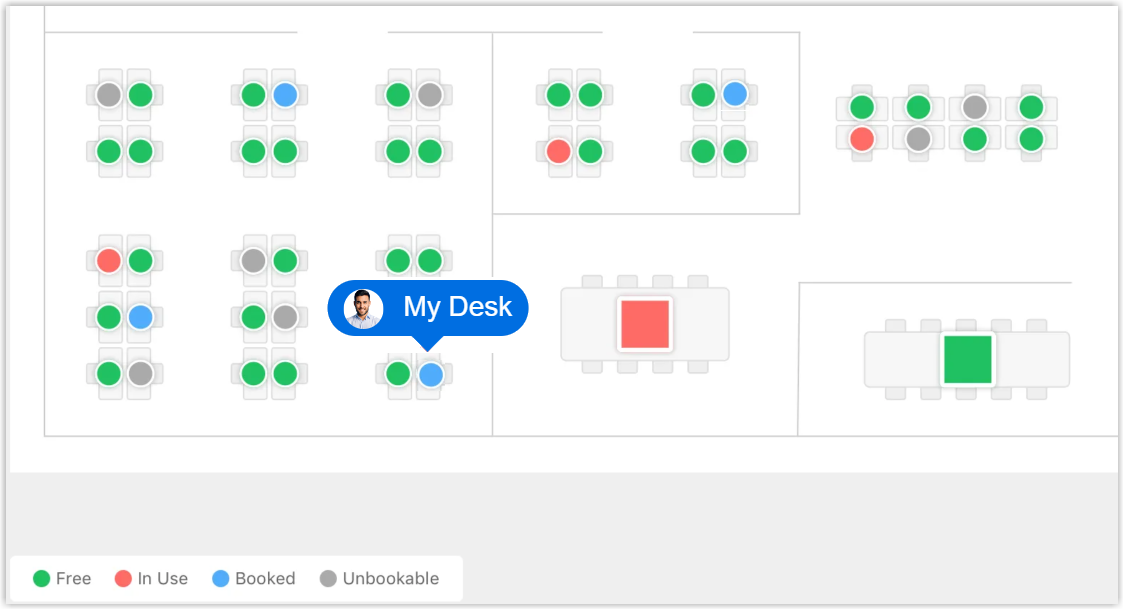
Click the icon of the desk you booked.
Tip
The desk you booked is marked on the office map.
-
In the pop-up dialog box, select your reservation and click Edit.
- Click Save when you are done editing.
Cancel a reservation
Choose one of the following methods to cancel a desk reservation.
- Log in to Yeastar Workplace web portal and select the Desk tab in the top bar.
- In the top filter bar, specify the date to display all the desk reservations over the selected date.
Your reservations are displayed in blue. - Click a desk reservation that you booked.
-
In the pop-up dialog box, click Delete.
- For regular reservations: In the confirmation dialog box, click OK.
-
For recurring reservations:
- To cancel this reservation only, select Only This Time, and click OK.
- To cancel all the reservations, select All Bookings Afterwards and click OK.
- Log in to Yeastar Workplace web portal and select the Schedule or Map tab in the top bar.
- In the top filter bar, select the date of the reservation you need to cancel.
- In the top-right corner, click the My Desk dropdown list and select the desired desk reservation.
-
In the pop-up dialog box, click Delete.
- For regular reservations: In the confirmation dialog box, click OK.
-
For recurring reservations:
- To cancel this reservation only, select Only This Time, and click OK.
- To cancel all the reservations, select All Bookings Afterwards and click OK.
- Log in to Yeastar Workplace web portal and select the Map tab in the top bar.
- In the top filter bar, select the date of the reservation you need to edit.
-
Click the icon of the desk you booked.
Tip
The desk you booked is marked on the office map.
-
In the pop-up dialog box, select your reservation and click Delete.
- For regular reservations: In the confirmation dialog box, click OK.
-
For recurring reservations:
- To cancel this reservation only, select Only This Time, and click OK.
- To cancel all the reservations, select All Bookings Afterwards and click OK.
Last update:
May 17, 2023
Created: September 30, 2022
Created: September 30, 2022