Add an Onsite Proxy Instance on Yeastar PBX
Before connecting a remote Onsite Proxy to Yeastar P-Series Software Edition, you need to first add an Onsite Proxy instance on the PBX to obtain the connection information for later configuration. This topic describes how to add an Onsite Proxy instance on the PBX.
Requirements
| Item | Requirement |
|---|---|
| PBX firmware | 83.22.0.138 or later. |
| Public access configuration | Make sure that the PBX is reachable via a public IP
address, external host,
or Yeastar
domain, with the following ports properly
forwarded to the PBX: Note: It is
recommended to use the Yeastar
domain with its built-in signed
certificate, which supports direct PBX certificate
verification for most IP phones to be provisioned
via Onsite Proxy.
|
| Protocol | Make sure that HTTPS protocol is enabled on the PBX (Path: ). |
limitations
By default, up to 100 Onsite Proxy instances can be added on the PBX.
Note: To increase the limit, contact your service
provider.
Procedure
- Log in to PBX web portal, go to , then click Add.
- In the Basic section, complete the following
settings.

- In the Name field, enter a name to identify the Onsite Proxy instance.
- In the Platform drop-down list, select Linux.
- In the Audio RTP Passthrough section, enable or disable
Audio RTP Passthrough as needed.
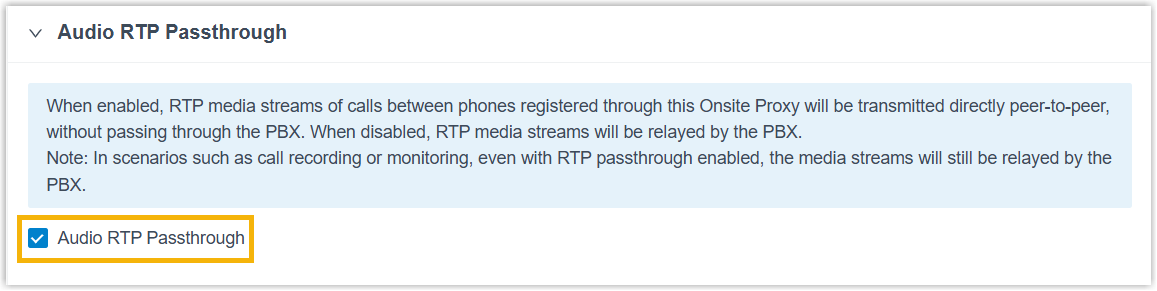
- If enabled, RTP audio streams between phones registered via the same
Onsite Proxy are transmitted directly (peer-to-peer), bypassing both the
PBX and the Onsite Proxy.Note: There are some scenarios where Audio RTP Passthrough feature does not work. For more information, see Restrictions for Audio RTP Passthrough.
- If disabled, RTP audio streams between phones registered via the same Onsite Proxy will be relayed by the PBX.
- If enabled, RTP audio streams between phones registered via the same
Onsite Proxy are transmitted directly (peer-to-peer), bypassing both the
PBX and the Onsite Proxy.
- Click Save and Apply.
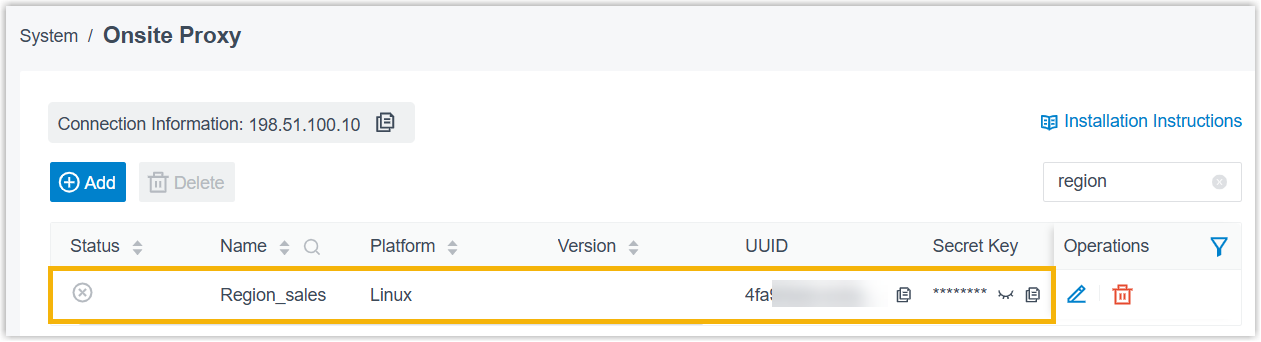
Result
The Onsite Proxy instance is displayed in the Onsite Proxy list, along with the
automatically generated connection information (connection address, UUID, and secret
key).
Note: Note down the connection information. You will
use it when configuring the Onsite Proxy later.