Log in to PBX Web Portal
Yeastar P-Series Software Edition provides two different web portals for users with different roles to quickly access, set up, and manage the system. This topic describes the difference between them, and introduces how to log in to the PBX web portal.
Web portals overview
| Web portal | Description |
|---|---|
| Administrator portal | Dedicated web portal for super administrator. Super administrator has the highest privileges. Once logged in, the super administrator can access and manage all the PBX system features, including creating extension accounts for users and granting privileges to the created user accounts. Login address: PBX IP address/admin. For more information, see Log in to administrator portal. |
| Management portal |
The web portal for users with administrative privileges. Users who have a specific role assigned by the super administrator can log in through this portal. Once logged in, users can only access and manage the specific PBX system features that are granted to their roles. Login address: PBX IP address. For more information, see Log in to management portal. |
Log in to administrator portal
- Prerequisite
-
- An operation and maintenance terminal (a PC) is available. The PC
must meet the following requirements:
- Have a web browser installed. The following table shows
the compatible browsers.
Web Browser Version Google Chrome (recommended) Chrome 87 or later Microsoft Edge Edge 87 or later Opera Opera 72 or later - Support the resolution of 1366 x 768 or higher.
- Have a web browser installed. The following table shows
the compatible browsers.
- If the PBX is installed on a virtual machine or an on-premise
server, make sure you have set the IP address of your PC.
The IP address of the PC must be on the same network segment as that of the PBX and cannot conflict with IP addresses of other devices.
Note:- The default IP address of Yeastar P-Series Software Edition is 192.168.5.150, and the default gateway address is 192.168.5.1.
- If you fail to access the PBX web portal, contact your network administrator to check if your PC can communicate with the IP address 192.168.5.150.
- An operation and maintenance terminal (a PC) is available. The PC
must meet the following requirements:
- Procedure
-
- Open the web browser, enter the PBX IP address in the address bar,
followed by a forward slash and the word "admin", i.e. PBX IP
address/admin, and press
Enter.For example, the default IP address is 192.168.5.150, then you should enter 192.168.5.150/admin.
Note: If it is your first time to access the system, you will be redirected to the Installation Wizard.For more information of Installation Wizard, see Activate and Initially Set up Yeastar P-Series Software Edition from Web GUI.
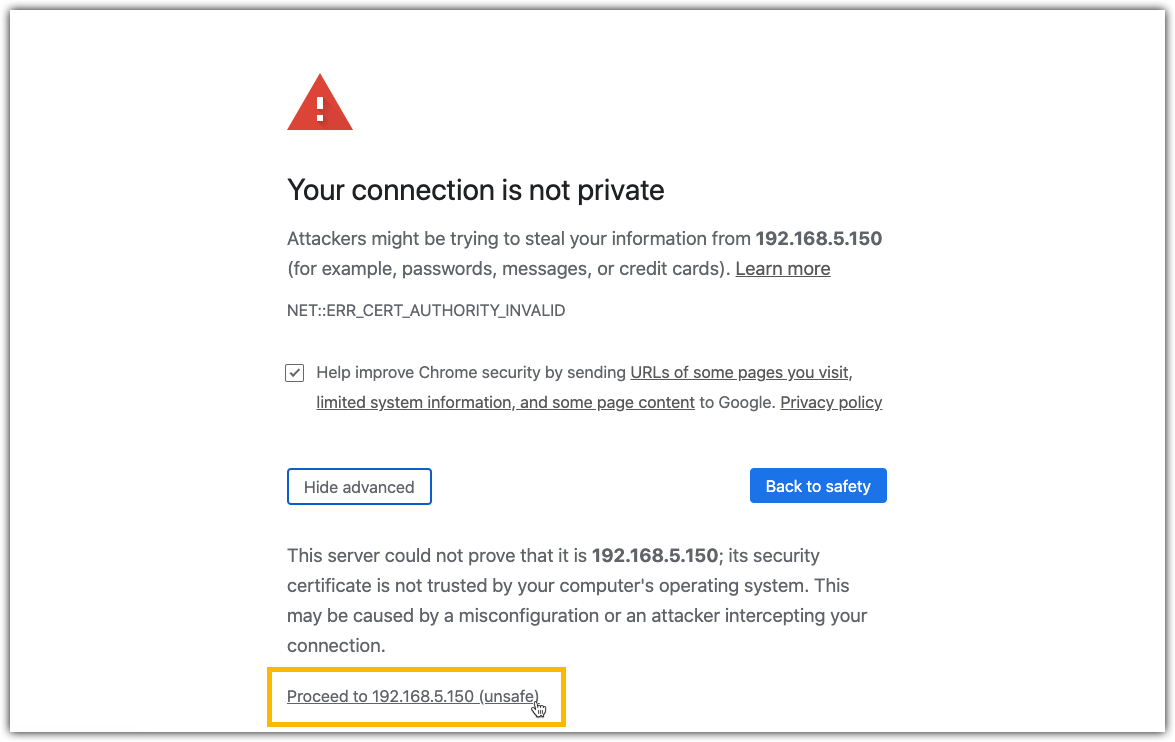
- If a warning appears to remind you that the page is not secure,
ignore the warning on the web page, expand the
Advanced tab, and proceed to the PBX web.
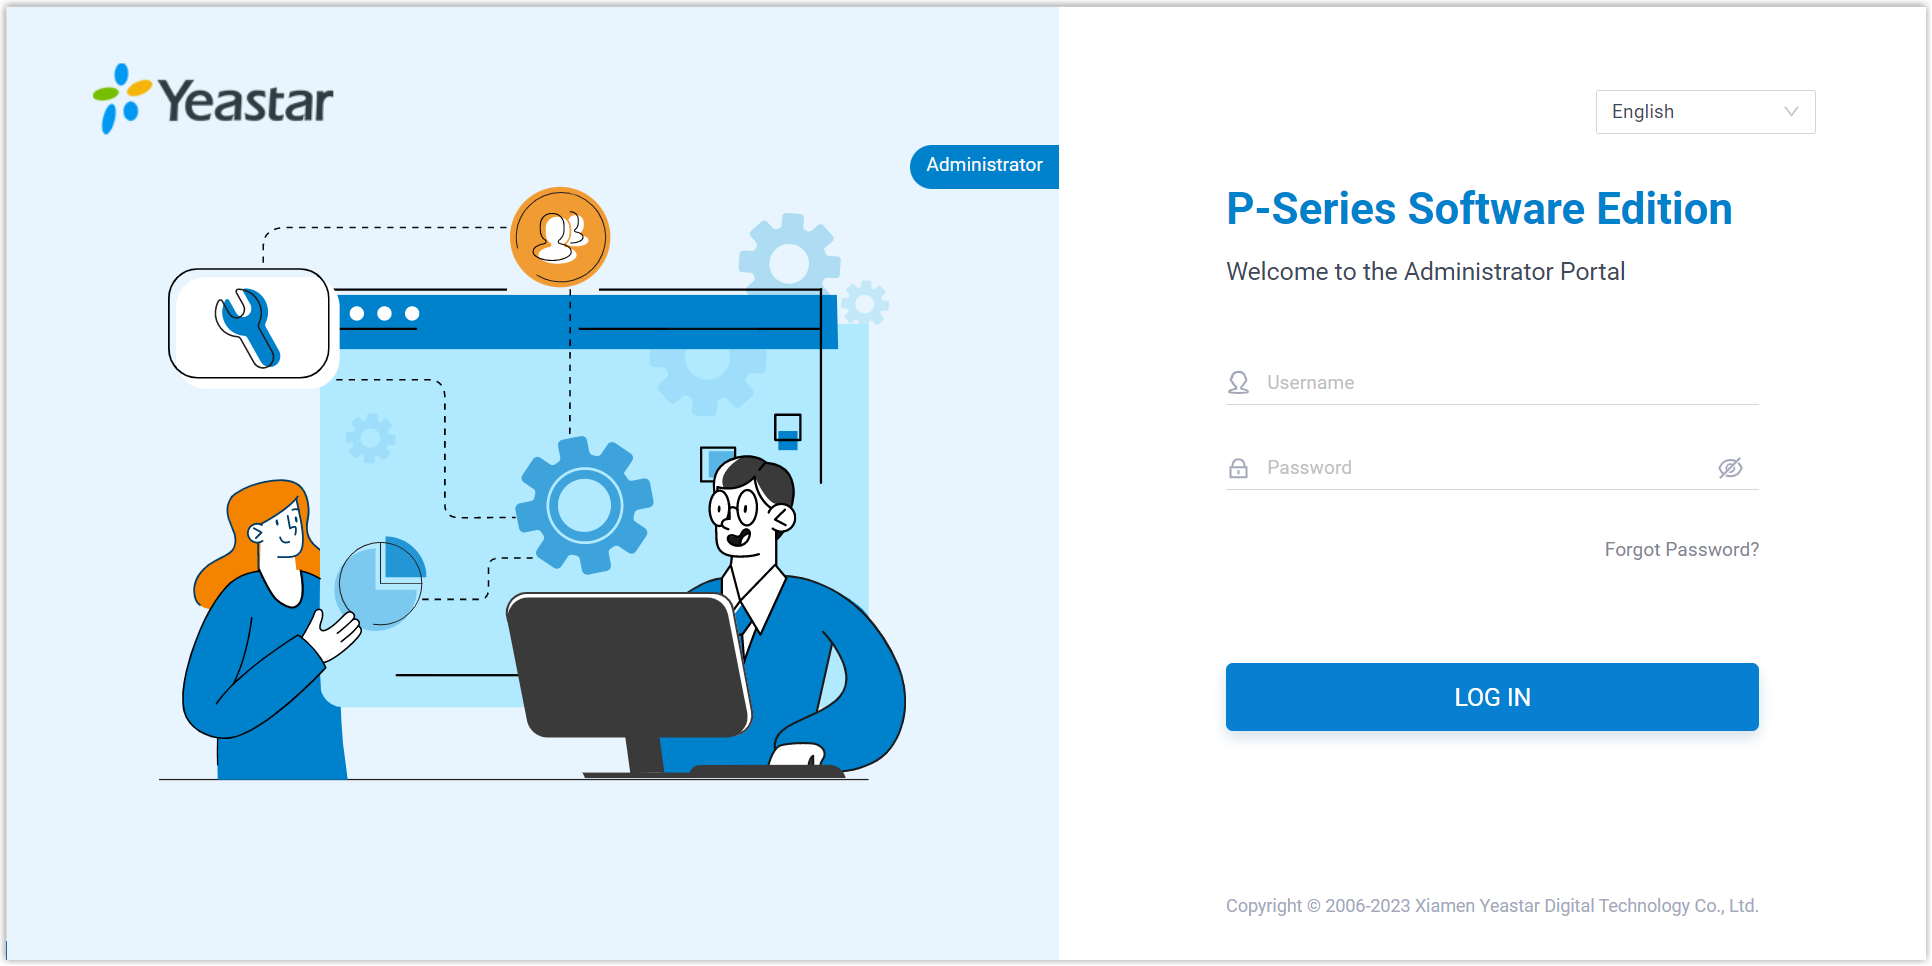
- Enter the credentials of super administrator account, then click
LOG IN.Note: Supports simultaneous login on up to 5 terminals.
- Username: The username or email address of super administrator account that you have configured in the Installation Wizard.
- Password: The password of the super administrator account.
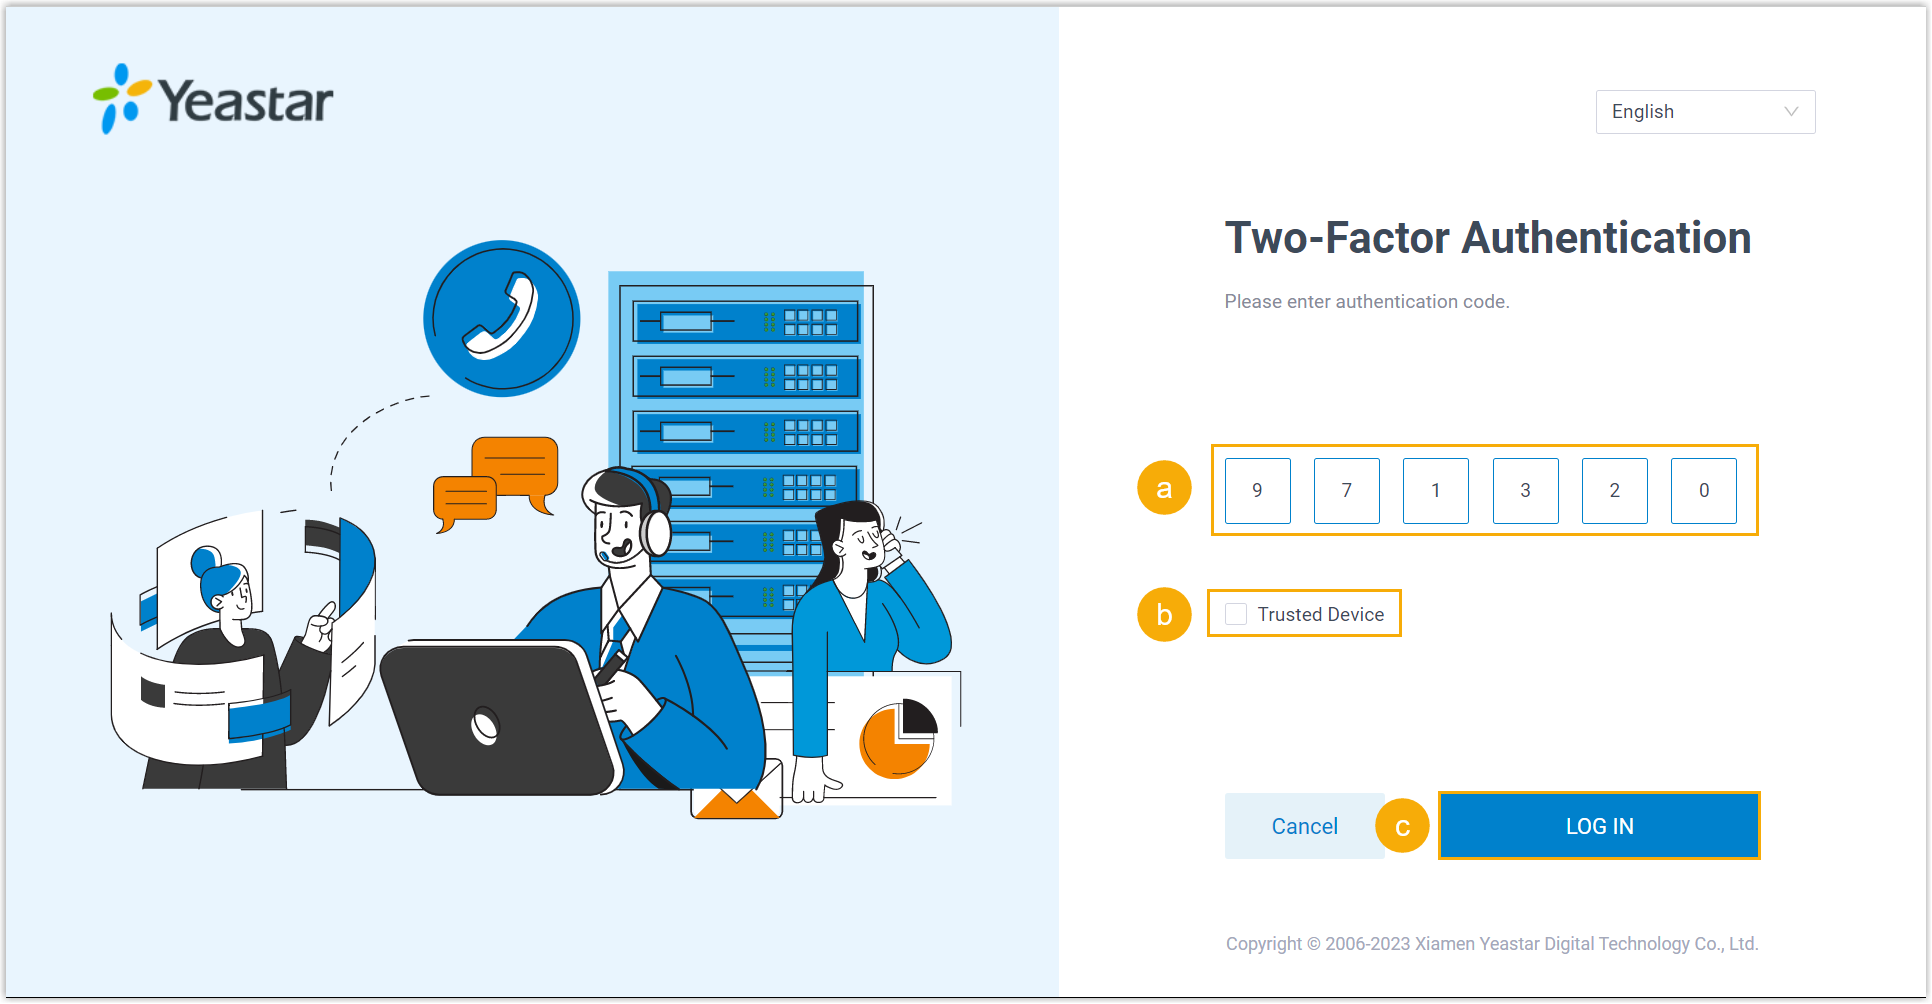
- If you have set up two-factor
authentication, you need to enter an authentication
code.
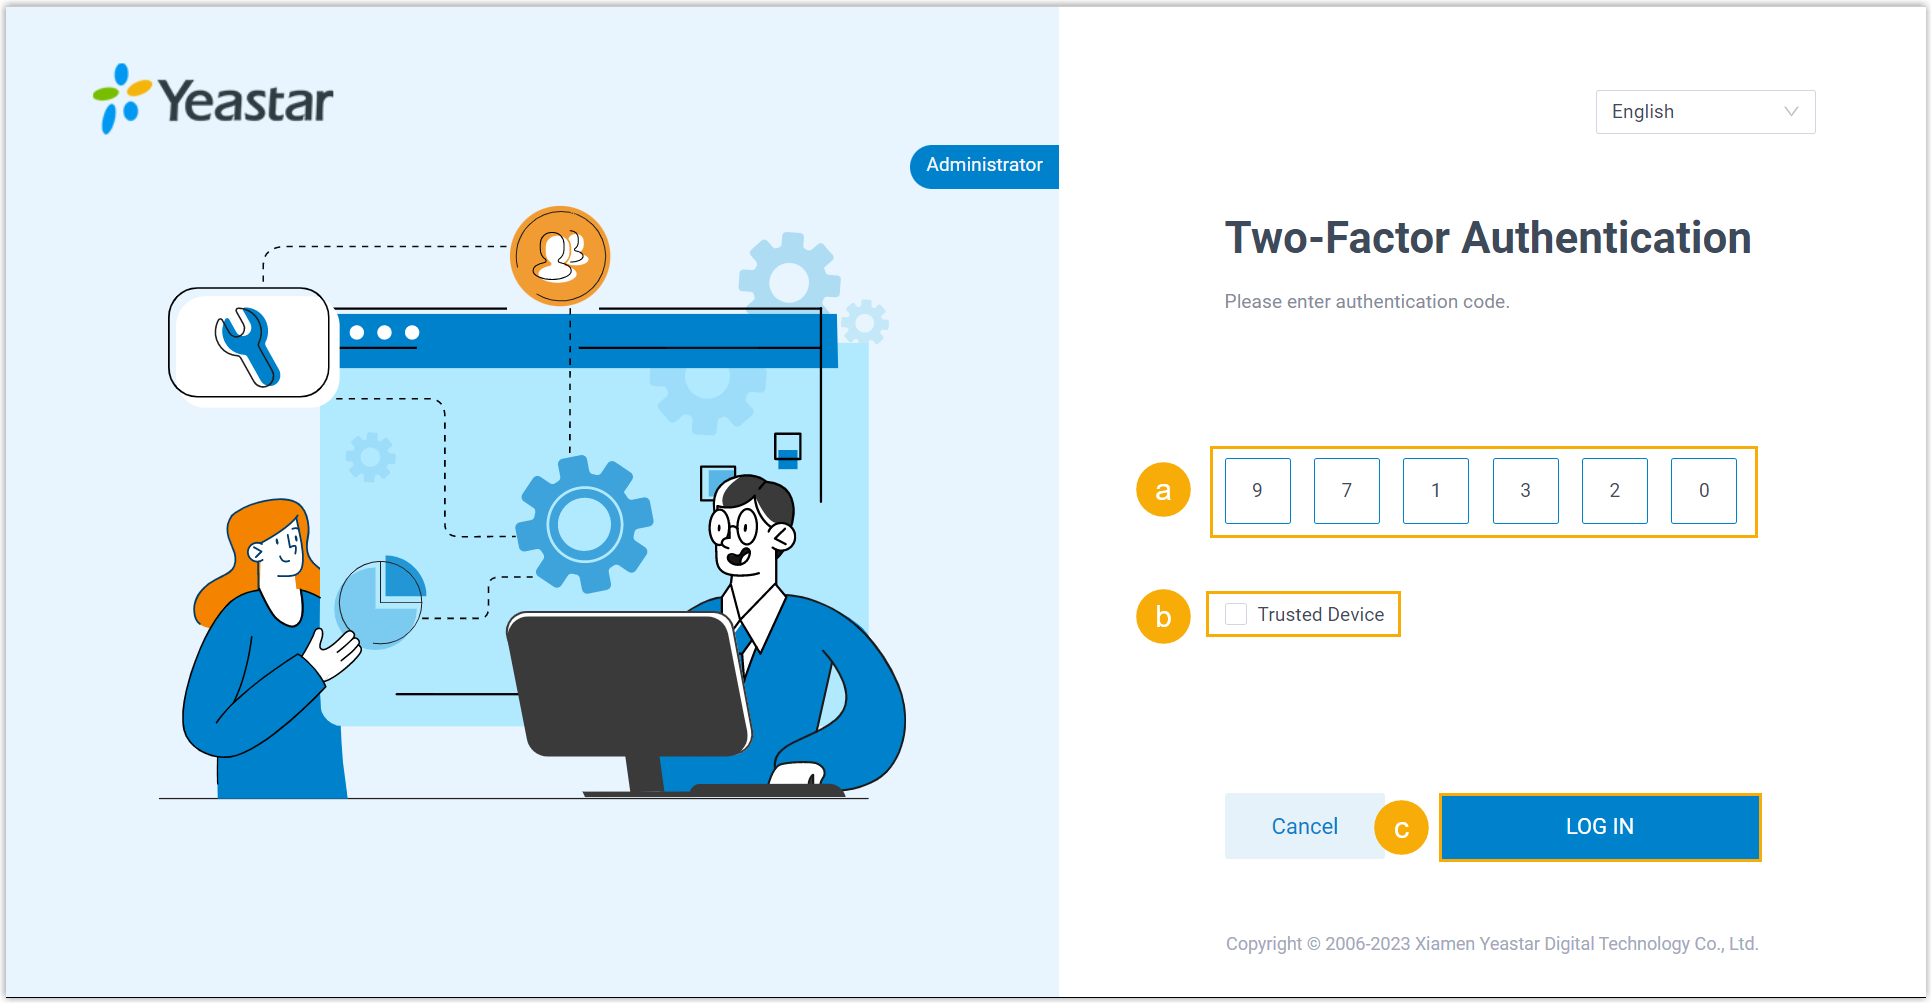
- Enter the authentication code provided by an authenticator application or email.
- Optional: Select the
checkbox of Trusted Device.Note: For the device from which you log in most frequently, you can select the option to add it as a trusted device. In this way, you don't have to re-enter an authentication code with this device for the next 180 days.
- Click LOG IN.
- Open the web browser, enter the PBX IP address in the address bar,
followed by a forward slash and the word "admin", i.e. PBX IP
address/admin, and press
Log in to management portal
- Prerequisite
-
- An operation and maintenance terminal (a PC) is available. The PC
must meet the following requirements:
- Have a web browser installed. The following table shows
the compatible browsers.
Table 1. Web Browser Version Google Chrome (recommended) Chrome 87 or later Microsoft Edge Edge 87 or later Opera Opera 72 or later - Support the resolution of 1366 x 768 or higher.
- Have a web browser installed. The following table shows
the compatible browsers.
- If the PBX is installed on virtual machines or on-premise servers,
make sure you have set the IP address of your PC.
The IP address of the PC must be on the same network segment as that of the PBX and cannot conflict with IP addresses of other devices.
Note:- The default IP address of Yeastar P-Series Software Edition is 192.168.5.150, and the default gateway address is 192.168.5.1.
- If you fail to access the PBX web portal, contact your network administrator to check if your PC can communicate with the IP address 192.168.5.150.
- An operation and maintenance terminal (a PC) is available. The PC
must meet the following requirements:
- Procedure
-
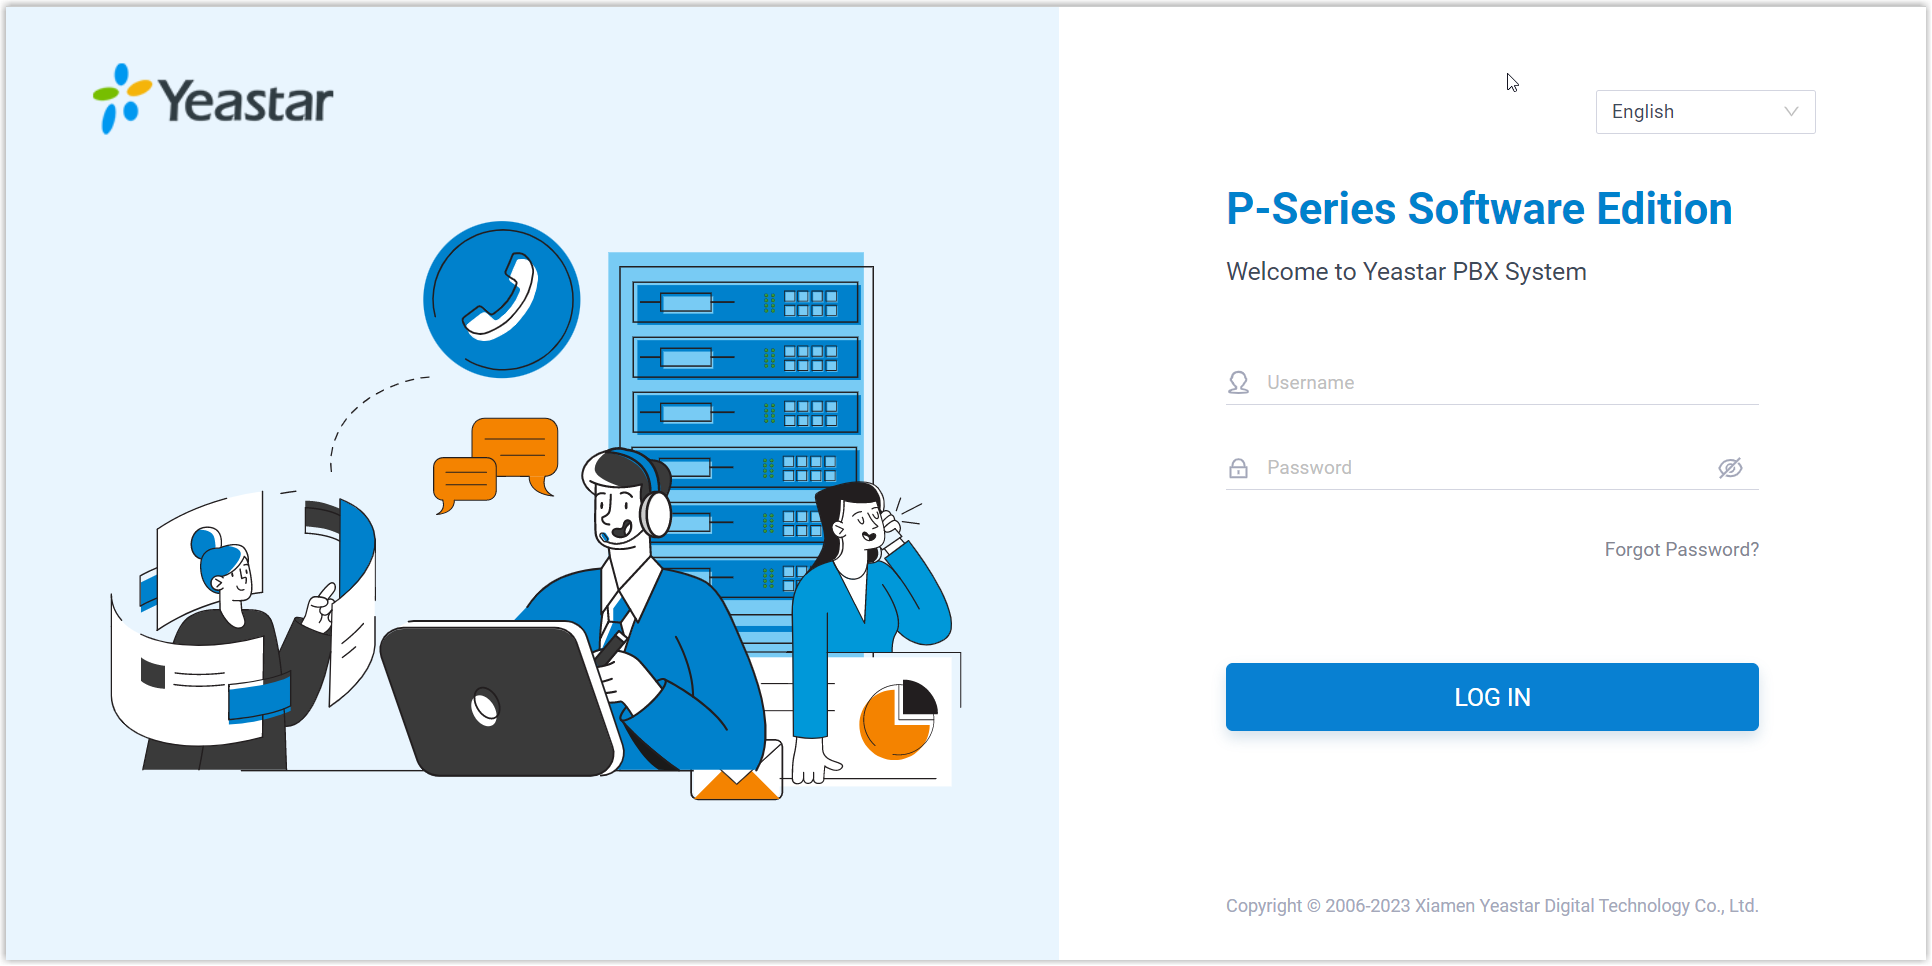
- Open a web browser, enter the IP address of the PBX in the address
bar, and press
Enter. - If a warning appears to remind you that the page is not secure,
ignore the warning on the web page, expand the
Advanced tab, and proceed to the PBX web.
- Enter the credential of the user account, then click LOG
IN.
- Username: The email address or extension number of the user account.
- Password: The password of the user account.
- If
you have set up two-factor
authentication, you need to enter an authentication
code.
- Enter the authentication code provided by an authenticator application or email.
- Optional: Select the
checkbox of Trusted Device.Note: For the device from which you log in most frequently, you can select the option to add it as a trusted device. In this way, you don't have to re-enter an authentication code with this device for the next 180 days.
- Click LOG IN.
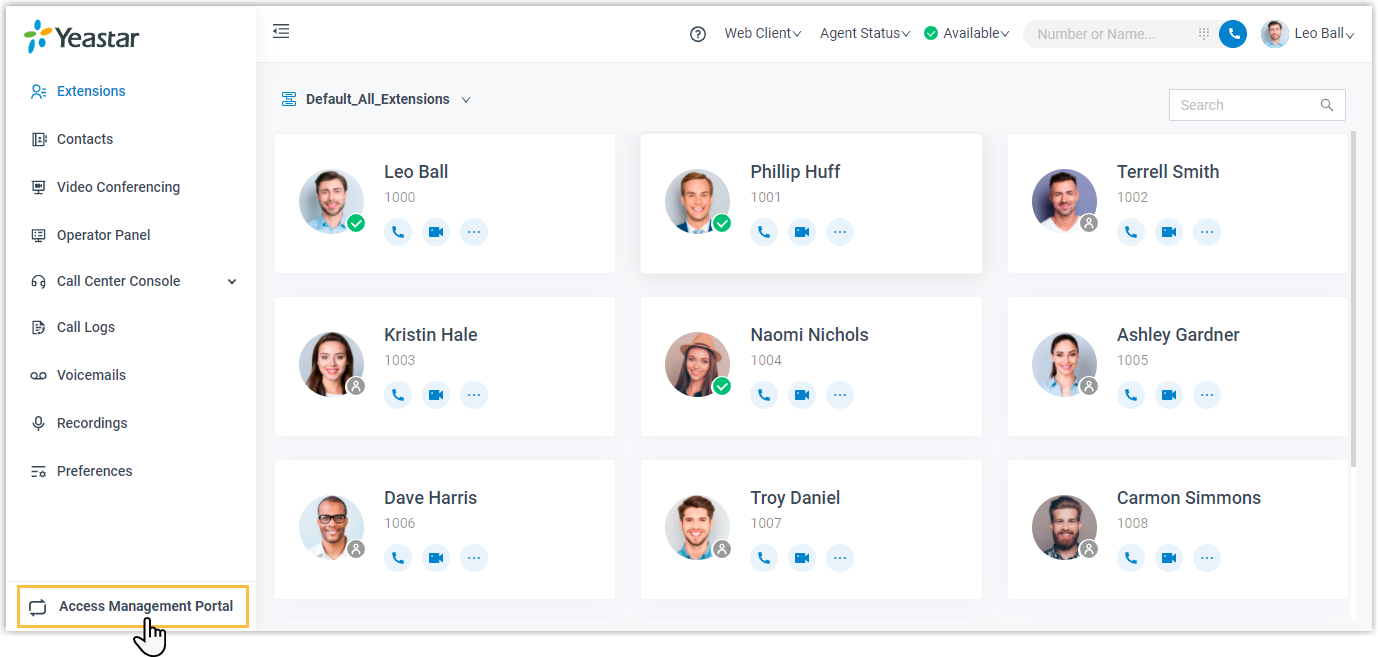
- In the bottom left corner, click Access Management
Portal.
- Open a web browser, enter the IP address of the PBX in the address
bar, and press