Install Onsite Proxy
This topic takes Ubuntu operating system as example to introduce how to install Onsite Proxy on a host in the same subnet as the remote IP phones, and connect it to the Yeastar P-Series Software Edition during installation.
Prerequisites
- PBX server
-
- You have added an Onsite Proxy instance on Yeastar PBX.
- You have obtained connection information from the PBX.
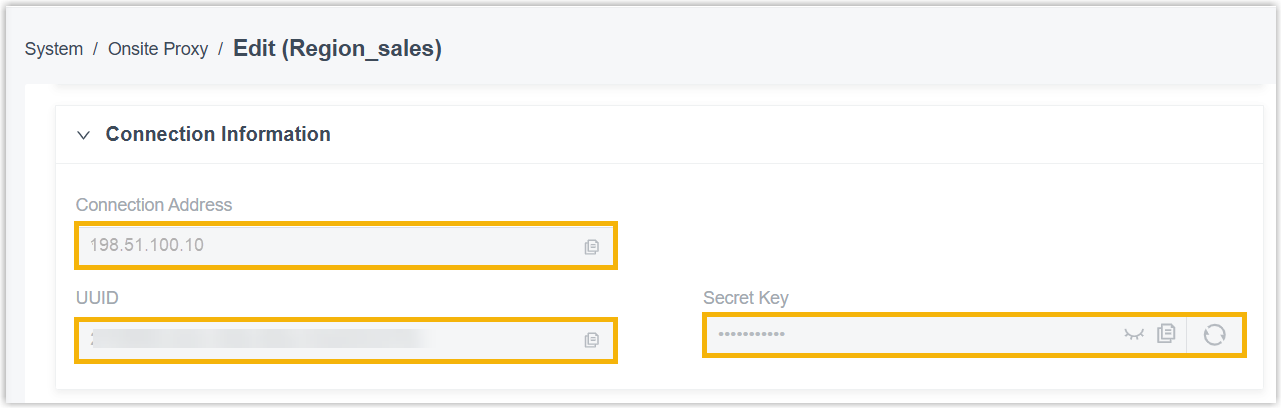
- Obtain connection credentials (connection address, UUID,
secret key) (Path: ).Note: To avoid the Secret Key being used, it is recommended refresh it and copy the new one.
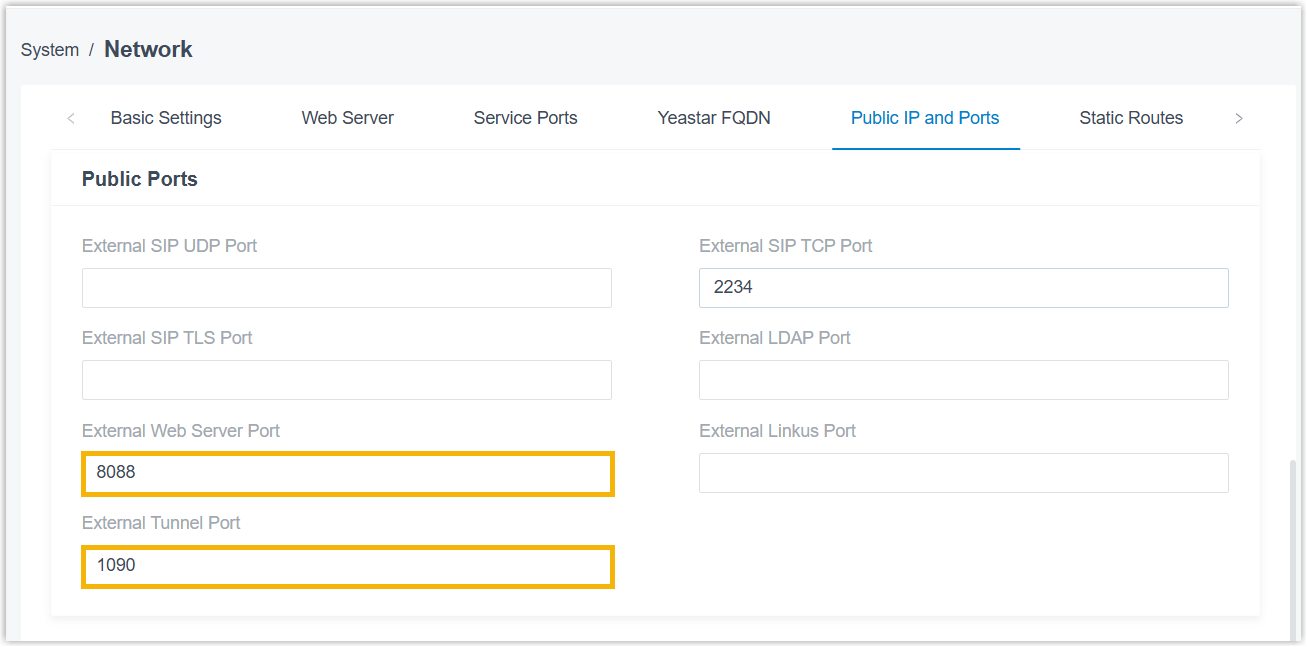
- Obtain external ports (External Web Server Port and
External Tunnel Port) (Path: ).
- Obtain connection credentials (connection address, UUID,
secret key) (Path: ).
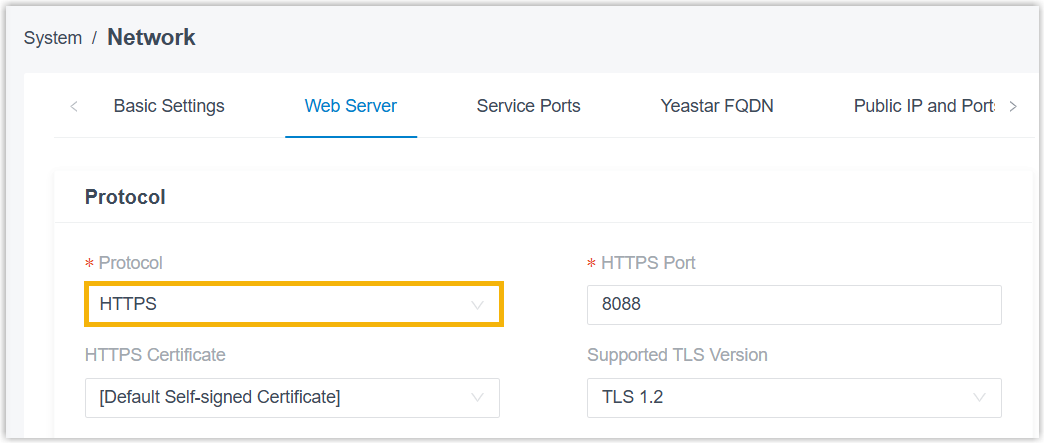
- HTTPS protocol is enabled on the PBX (Path: ).
- Onsite Proxy host
-
Item Prerequisite Network The host must reside in the same subnet as the remote IP phones, and there is network connectivity between the subnet and the PBX server. Operating system The host is deployed with required operating system. Hardware The host meeting the minimum specifications. Port forwarding UDP port 5060on the host is available.IP address The host have been assigned a static IP address.
Procedure
- Step 1. Download and unzip the Onsite Proxy installation package to the host
- Step 2. Install and configure Onsite Proxy to connect it to PBX
- Step 1. Download and unzip the Onsite Proxy installation package to the host
-
- Access the command line on the Onsite Proxy host.
- Run
sudo -ito switch to the root user.Note: If a password is required, enter your current user's password and pressEnter. - Run the following command to download
the latest Onsite Proxy installation package to the desired directory.Note: Replace
<desired_directory>in the following command with the directory path where you want to download the package to.Architecture Command x86_64 wget https://help.yeastar.com/download/docs/onsite-proxy/onsiteproxy-x86_64.tar.gz -O <desired_directory>/onsiteproxy.tar.gzARM64 wget https://help.yeastar.com/download/docs/onsite-proxy/onsiteproxy-aarch64.tar.gz -O <desired_directory>/onsiteproxy.tar.gzIn this example, run
wget
                                        https://help.yeastar.com/download/docs/onsite-proxy/onsiteproxy-x86_64.tar.gz
                                        -O /home/user/Desktop/onsiteproxy.tar.gz
to download the latest Onsite Proxy installation package to desktop directory. - Run
tar -xzf <your_package_path>/onsiteproxy.tar.gz -C
                                    /
to unzip the package to the root directory.Note: Replace<your_package_path>with the actual path to your package.In this example, run
tar -xzf
                                        /home/user/Desktop/onsiteproxy.tar.gz -C
                                /
.
- Step 2. Install and configure Onsite Proxy to connect it to PBX
-
- Run
onsite-proxy-installto initiate the installation. - In the pop-up Onsite Proxy Installation
window, conform the Onsite Proxy version and operating system
details, and then select Yes and press
Enter.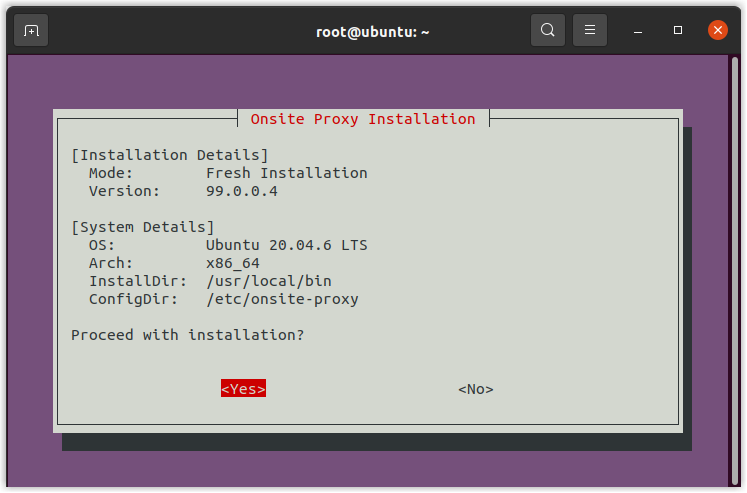
Wait about one minute until a requirement prompt window pops up.
- In the Important Requirements prompt window,
press
Enter.
- In the Onsite Proxy Configuration Wizard
prompt window, press
Enter.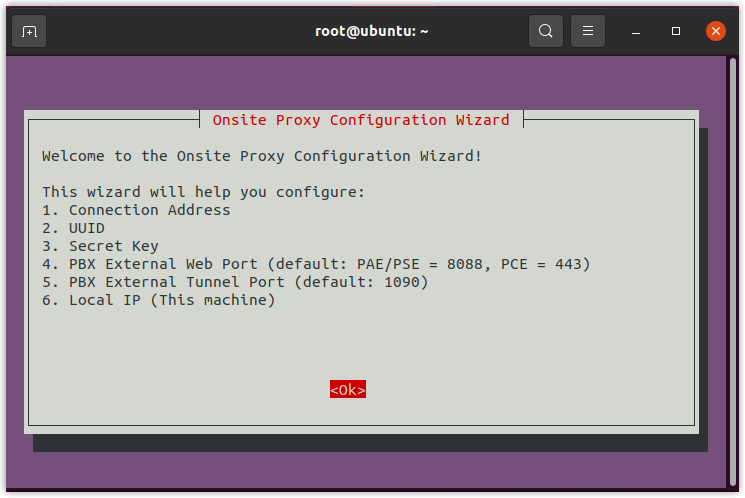
- Configure connection information as
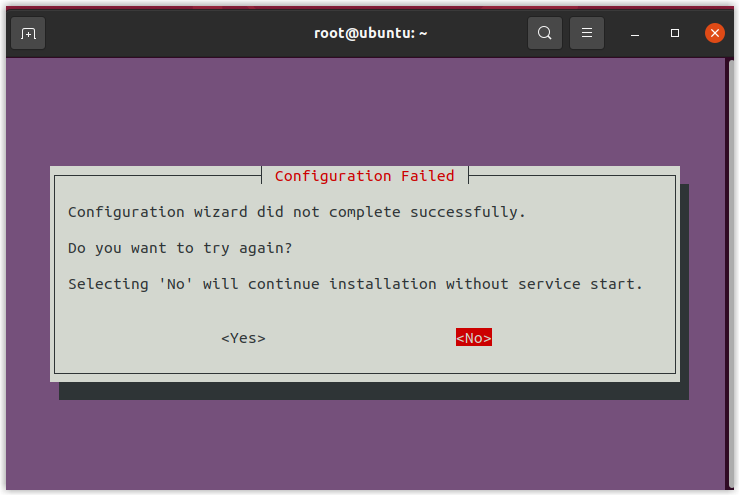
follows:Note: You can skip the wizard at this stage and complete the configuration after installation as needed.
To skip configuration wizard, select <Cancel> in one of the following configuration windows, and select No in Configuration Failed window.
Action Instruction Configure PBX connection address - In the Configure PBX Connection Address
window, do as follows:
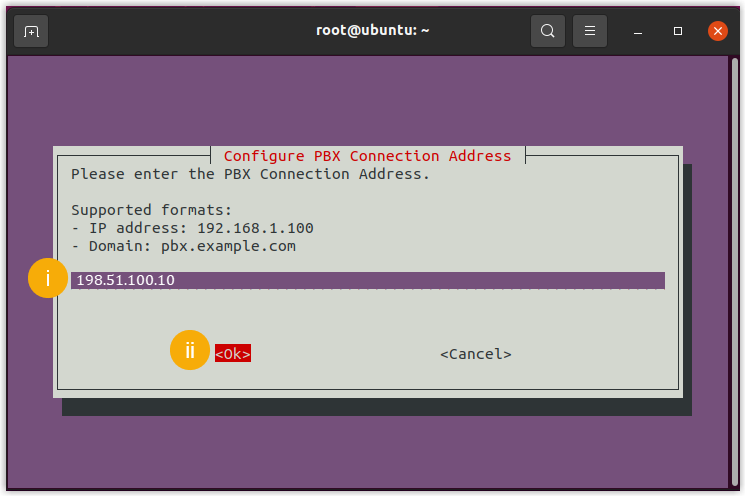
- Paste the PBX connection address obtained from PBX.
- Select <Ok> and
press
Enter.
- In the
Confirm Connection Address window, select
<Yes> and press
Enter.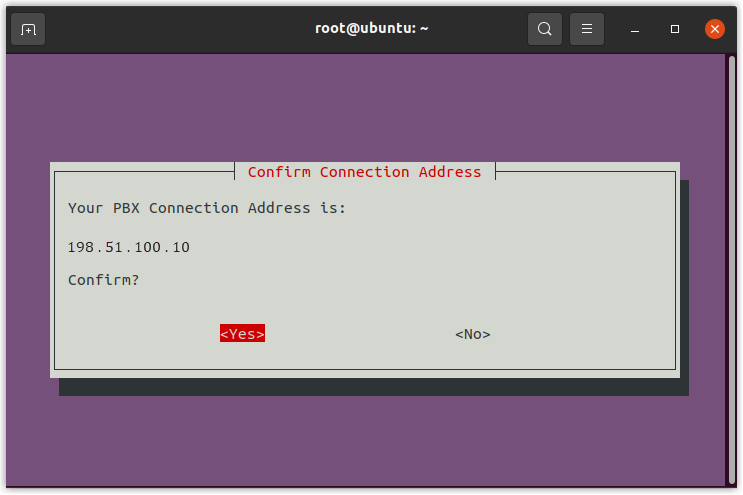
Configure UUID - In the Configure UUID
window, do as follows:
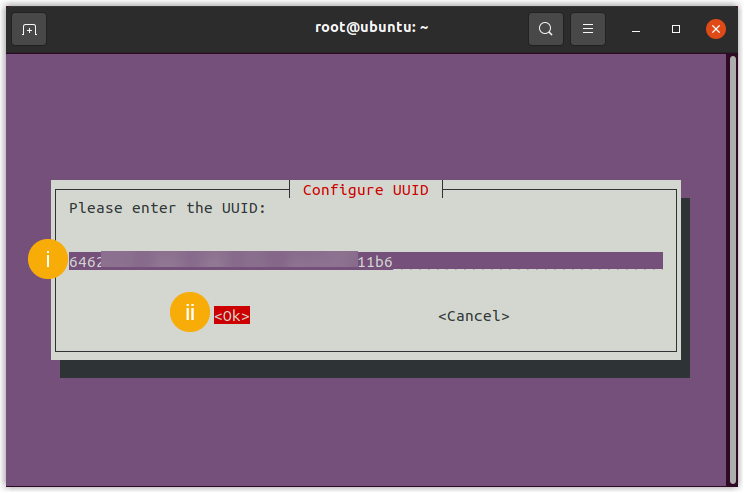
- Paste the UUID obtained from PBX.
- Select <Ok> and
press
Enter.
- In the Confirm
UUID window, select
<Yes> and press
Enter.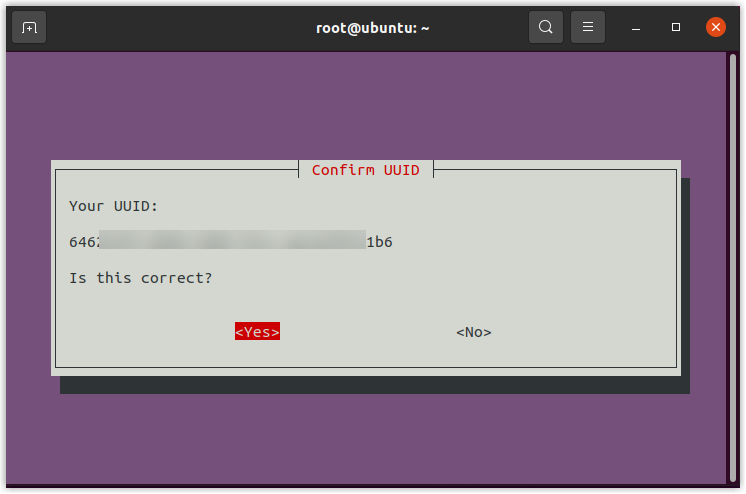
Configure secret key - In the Configure Secret
Key window, do as follows:

- Paste the secret key obtained from PBX.
- Select <Ok> and
press
Enter.
- In the
Confirm Secret Key window,
select <Yes> and press
Enter.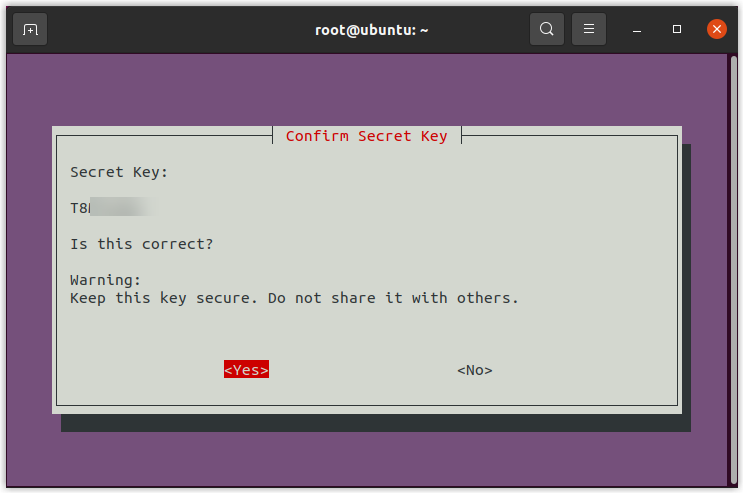
Configure PBX external web server port - In the Configure
PBX External Web Server Port window,
do as follows:
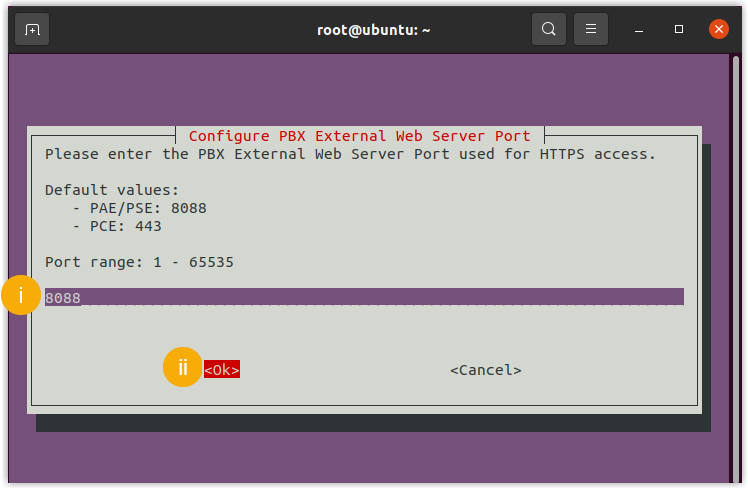
- Paste the external web server port obtained from PBX.
- Select <Ok> and
press
Enter.
- In the
Confirm PBX External Web Server
Port window, select
<Yes> and press
Enter.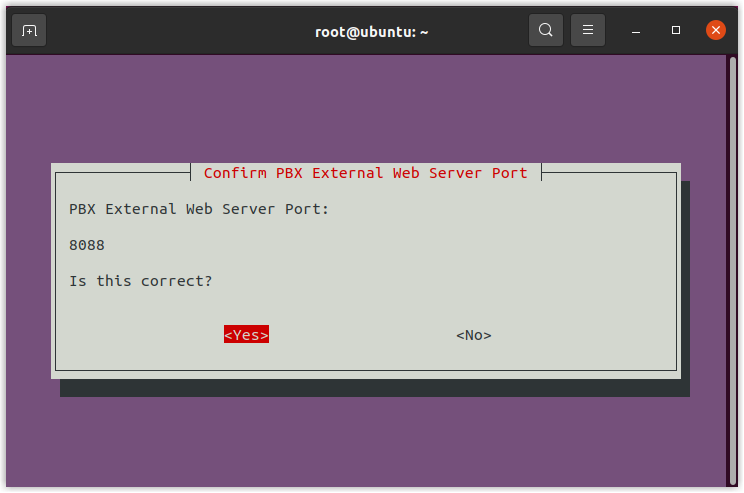
Configure PBX external tunnel port - In the Configure
PBX External Tunnel Port window, do as
follows:
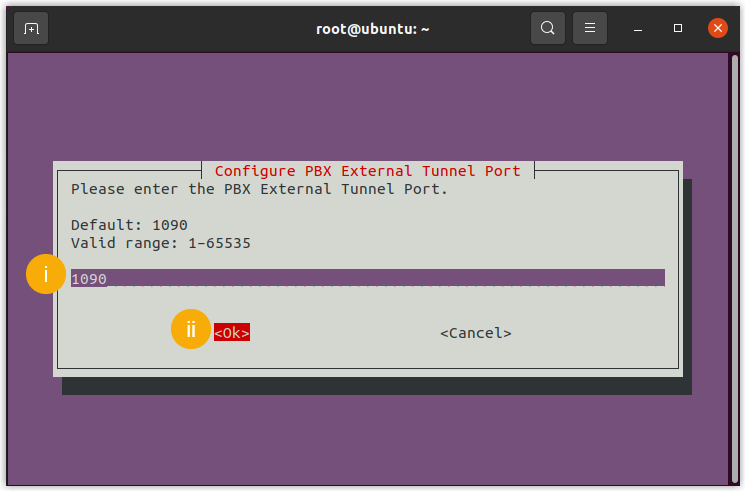
- Paste the external tunnel port obtained from PBX.
- Select <Ok> and
press
Enter.
- In the
Confirm PBX External Tunnel
Port window, select
<Yes> and press
Enter.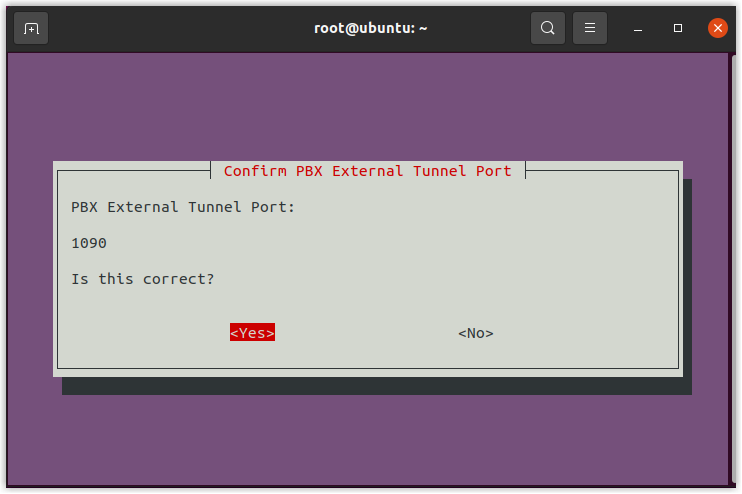
Select local IP - In the Select Local IP
window, do as follows:
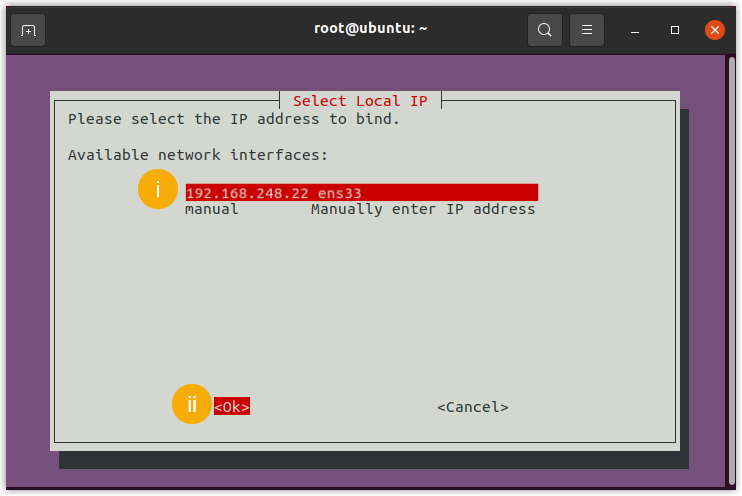
- Select the static IP address assigned to the
host.Note: If the desired IP address is not displayed in the Available network interfaces list, you need to select manual and press
Enterto manually enter the IP address.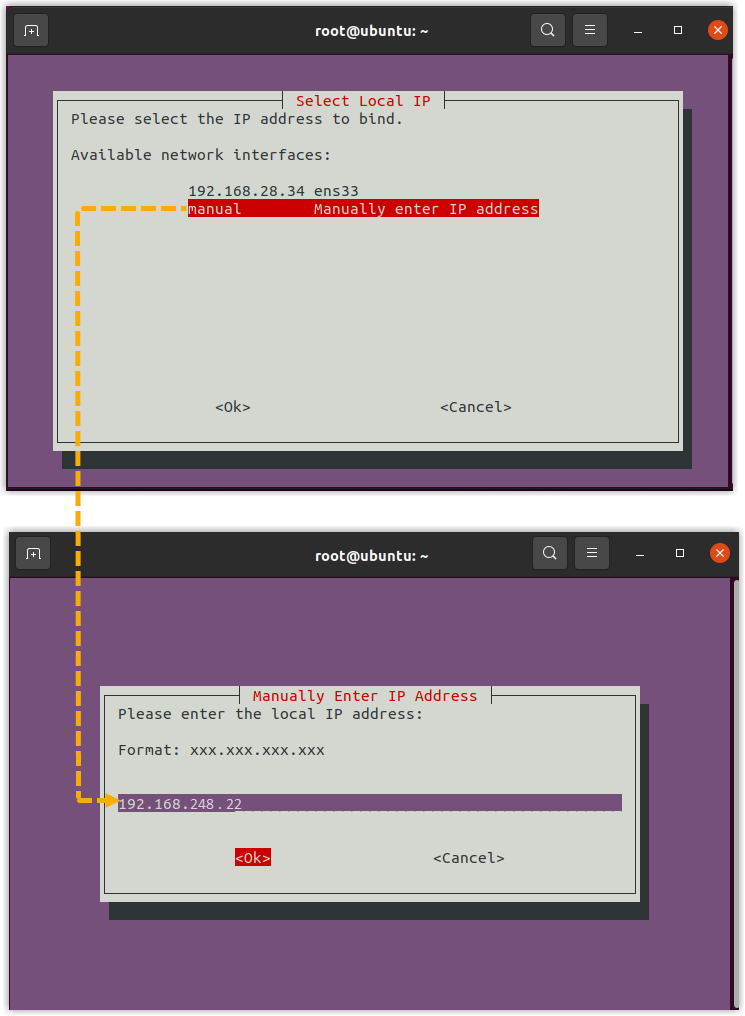
- Select <Ok> and
press
Enter.
- Select the static IP address assigned to the
host.
- In the Confirm Local IP
window, select <Yes> and
press
Enter.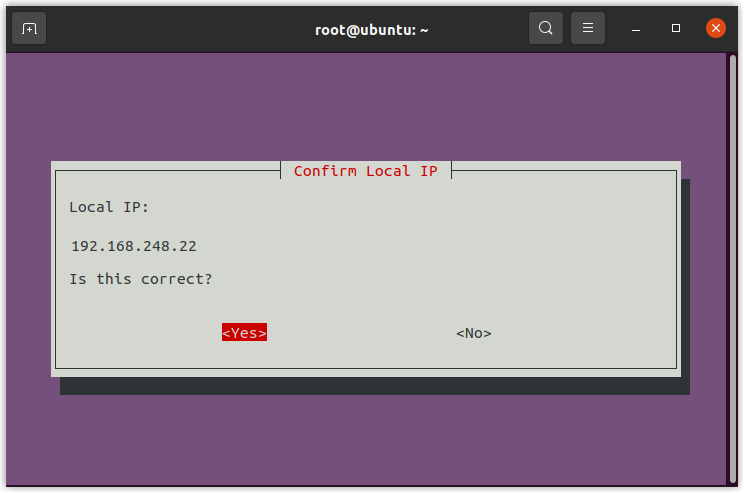
- In the Configure PBX Connection Address
window, do as follows:
- In the Configuration
Summary window, confirm the configuration details,
and then select <Yes> and press
Enter.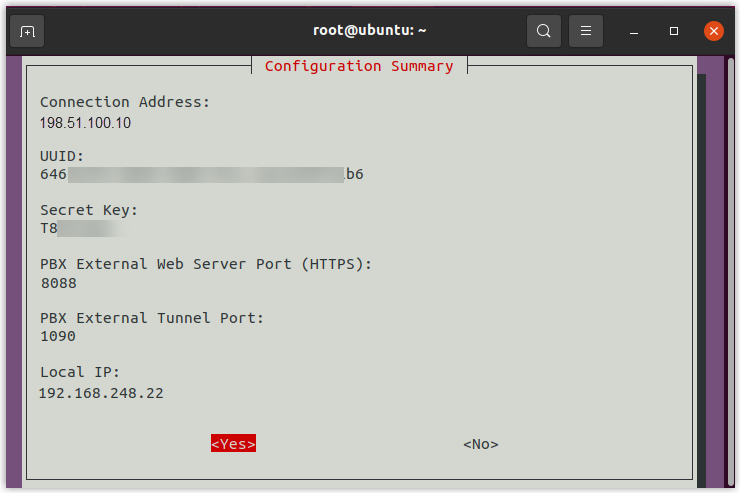
- In the Verification Successful prompt window,
press
Enter.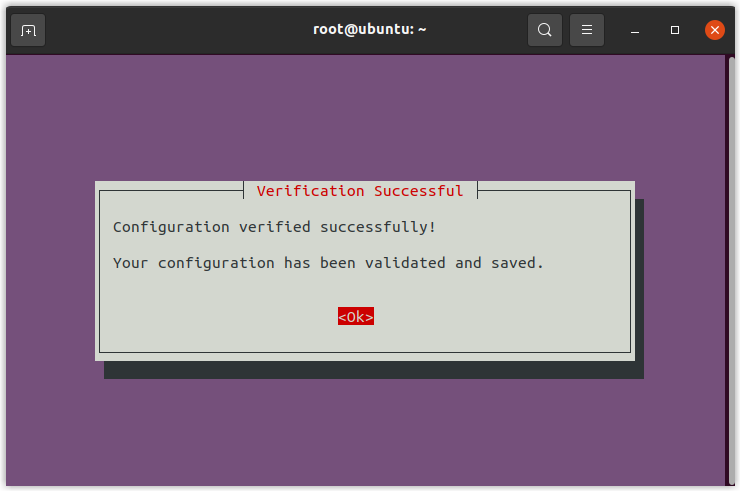
- In the Configuration Complete prompt window,
press
Enter.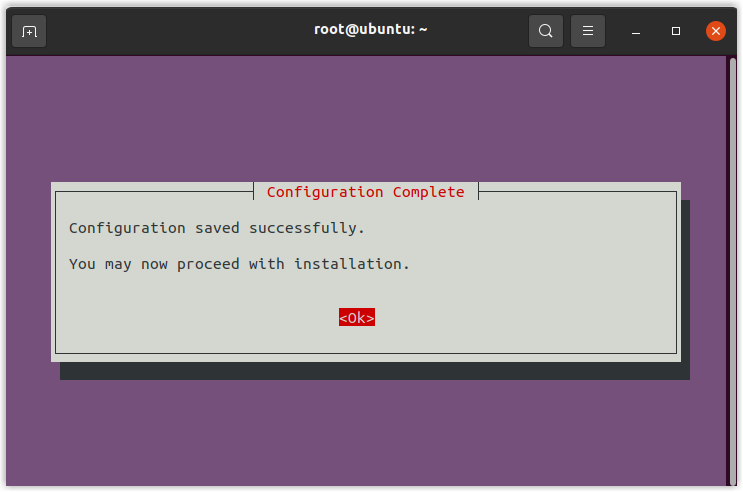
- In the Installation Complete prompt window,
press
Enter.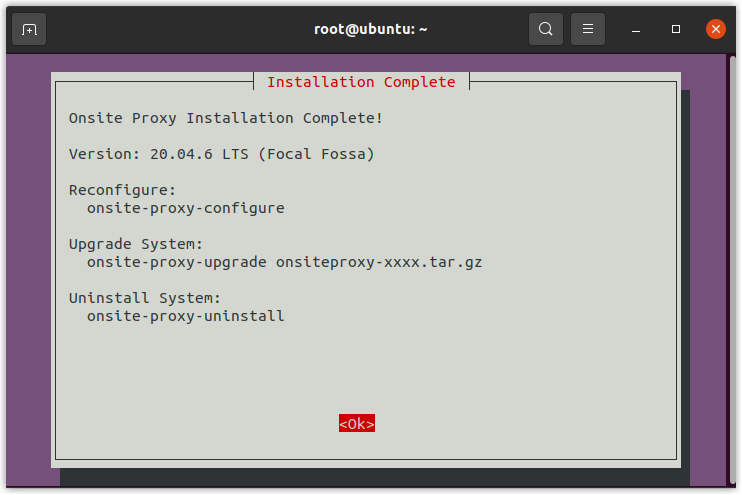
- Run
Result
-
The Onsite Proxy is successfully installed and connected to the PBX.Note: Onsite Proxy can automatically start on boot and reconnect to the PBX upon network restoration.
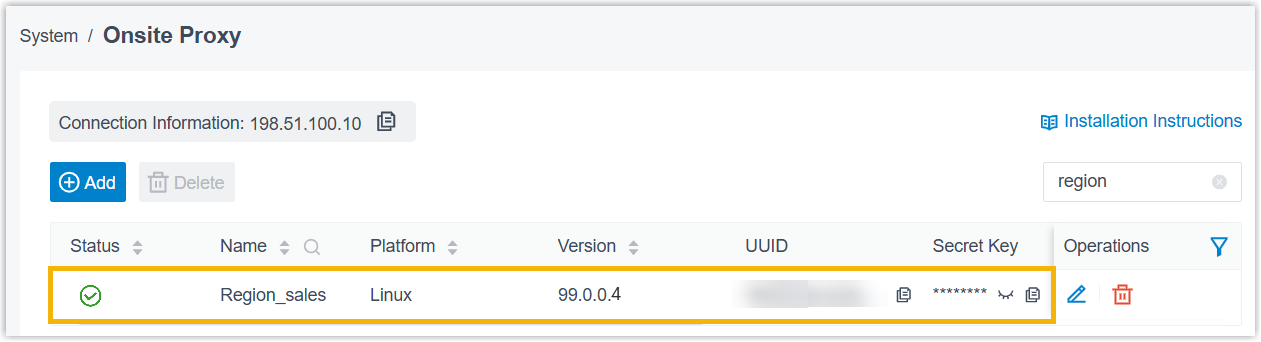
- On the PBX, the Onsite Proxy instance displays a
 status
along with the proxy's information, such as version, internal IP address, and
public IP address.Note: Once the connection is interrupted, or when the system resource utilization for Onsite Proxy exceeds the any of following thresholds, the PBX sends a event notification Onsite Proxy to relevant contacts.
status
along with the proxy's information, such as version, internal IP address, and
public IP address.Note: Once the connection is interrupted, or when the system resource utilization for Onsite Proxy exceeds the any of following thresholds, the PBX sends a event notification Onsite Proxy to relevant contacts.- The CPU utilization exceeds 85%.
- The memory utilization exceeds 85%.
- The disk utilization exceeds 95%.
What to do next
- Log in to PBX web portal, go to .
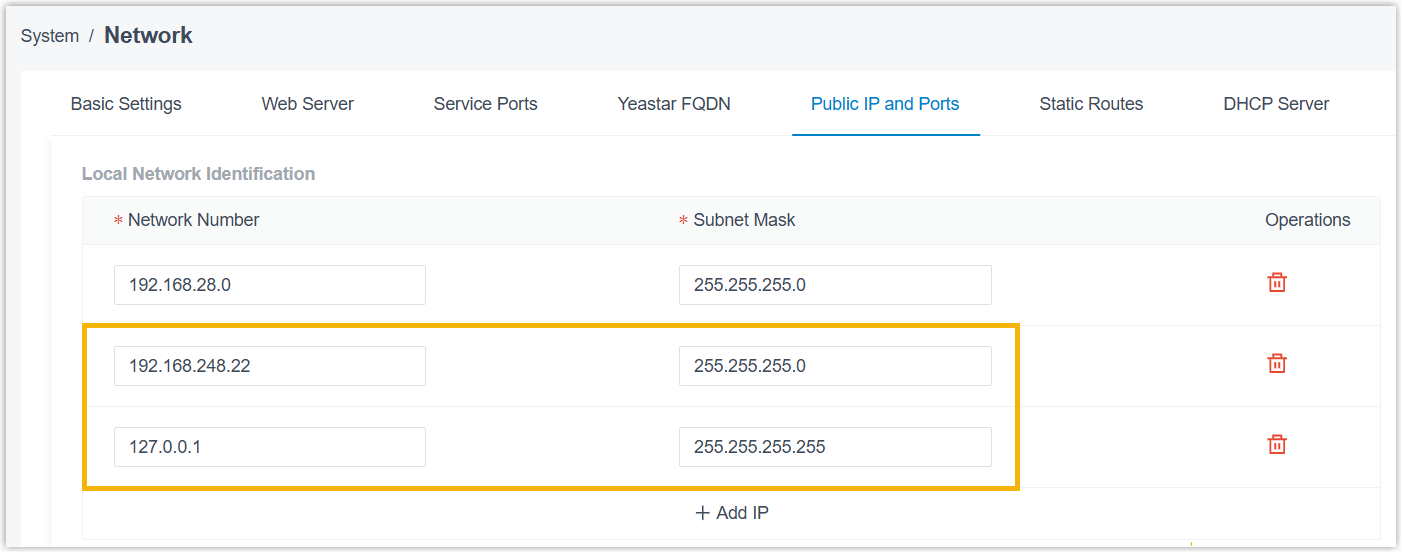
- In the Local Network Identification section, add the
following IP addresses and subnet masks:
- The internal IP address and subnet mask of the Onsite Proxy. In this
example, fill in
192.168.248.22/255.255.255.0. - The loopback address and subnet mask:
127.0.0.1/255.255.255.255.
- The internal IP address and subnet mask of the Onsite Proxy. In this
example, fill in
- Click Save.