Upgrade Onsite Proxy
This topic describes how to upgrade the version of Onsite Proxy.
Prerequisites
You have installed Onsite Proxy.
Procedure
- Access the command line on the Onsite Proxy host.
- Run
sudo -ito switch to the root user.Note: If a password is required, enter your current user's password and pressEnter. - Run the following command to download
the latest Onsite Proxy installation package to the desired directory.Note: Replace
<desired_directory>in the following command with the directory path where you want to download the package to.Architecture Command x86_64 wget https://help.yeastar.com/download/docs/onsite-proxy/onsiteproxy-x86_64.tar.gz -O <desired_directory>/onsiteproxy.tar.gzARM64 wget https://help.yeastar.com/download/docs/onsite-proxy/onsiteproxy-aarch64.tar.gz -O <desired_directory>/onsiteproxy.tar.gzIn this example, run
wget
                                        https://help.yeastar.com/download/docs/onsite-proxy/onsiteproxy-x86_64.tar.gz
                                        -O /home/user/Desktop/onsiteproxy.tar.gz
to download the latest Onsite Proxy installation package to desktop directory. - Run
onsite-proxy-upgrade
                        <your_package_path>/onsiteproxy.tar.gz
to initiate upgrade.Note: Replace<your_package_path>with the actual path to your new package.In this example, run
onsite-proxy-upgrade
                            /home/user/Desktop/onsiteproxy.tar.gz
. - In the pop-up Onsite Proxy Upgrade window, confirm the
new version, and then select Yes and press
Enter.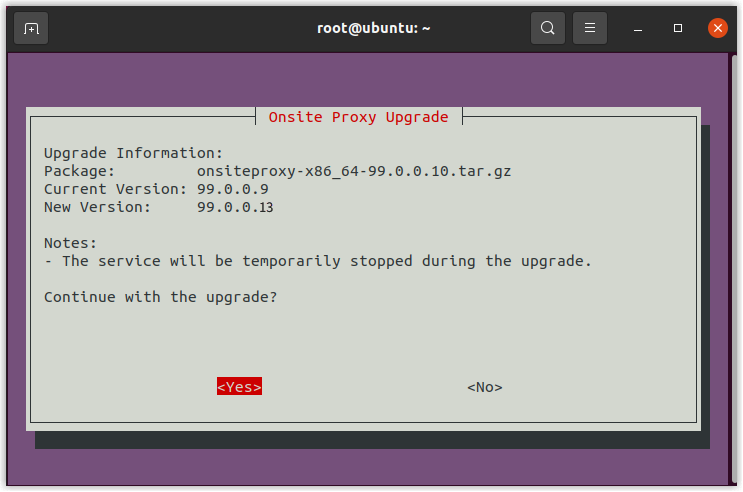
- In the Upgrade Complete prompt window, press
Enter.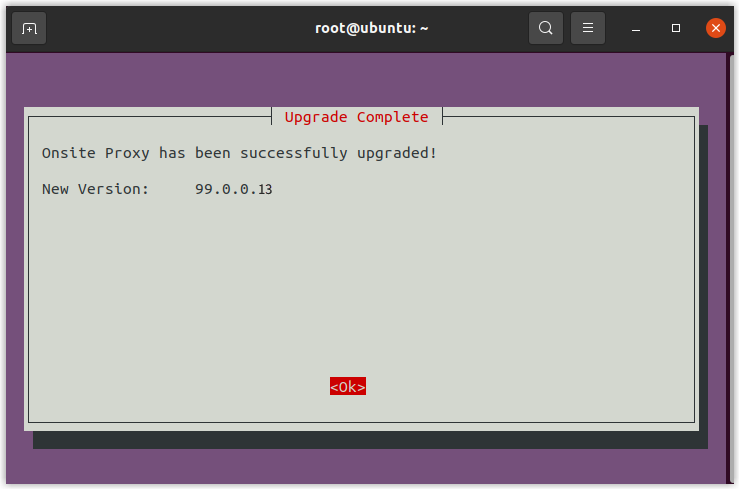
Result
The Onsite Proxy is successfully upgraded to the new version, and all configurations (including connection information and service enablement status) are automatically carried over from the previous version.