Configure Connection Information
If you want to connect the Onsite Proxy to Yeastar P-Series Software Edition for the first time after skipping the configuration wizard during installation, or if you need to establish a new connection, you can configure the connection information on the Onsite Proxy.
Prerequisites
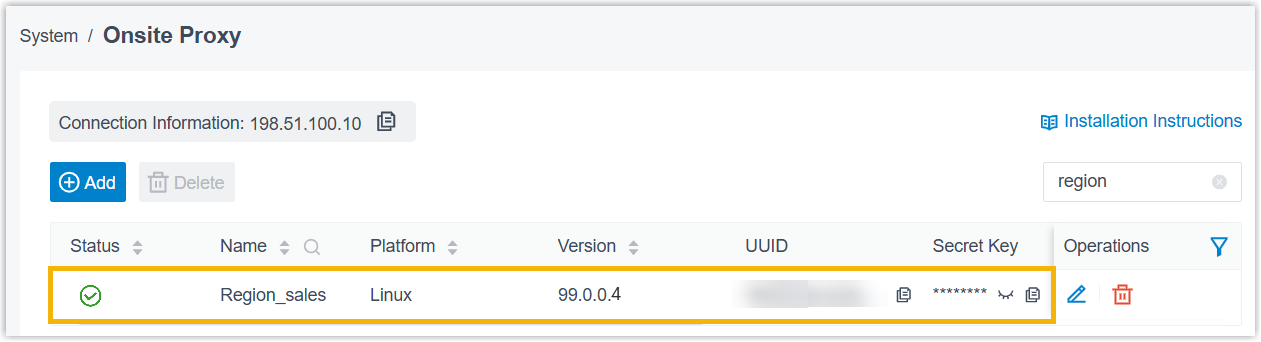
- You have added an Onsite Proxy instance on Yeastar PBX.
- You have obtained connection information from the PBX.
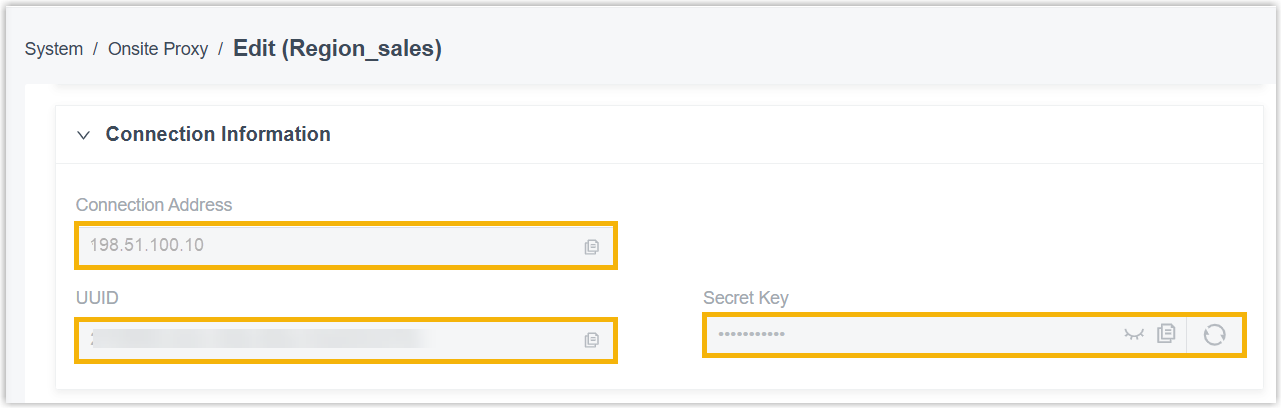
- Obtain connection credentials (connection address, UUID,
secret key) (Path: ).Note: To avoid the Secret Key being used, it is recommended refresh it and copy the new one.
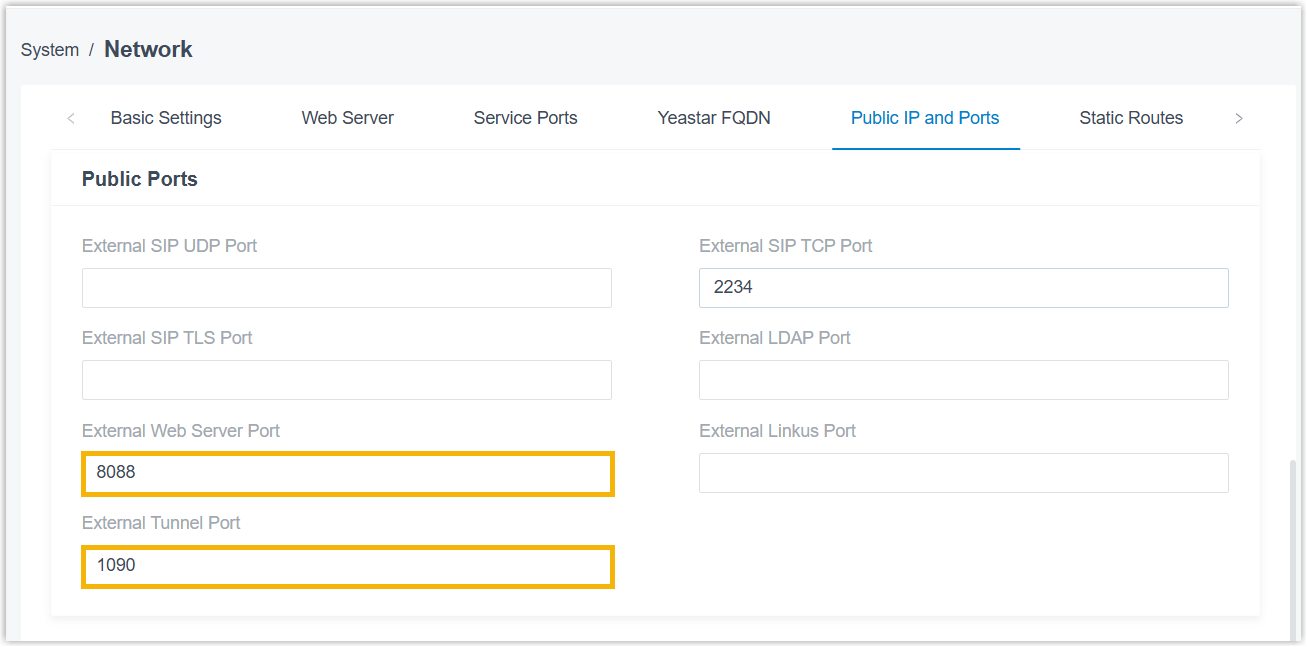
- Obtain external ports (External Web Server Port and
External Tunnel Port) (Path: ).
- Obtain connection credentials (connection address, UUID,
secret key) (Path: ).
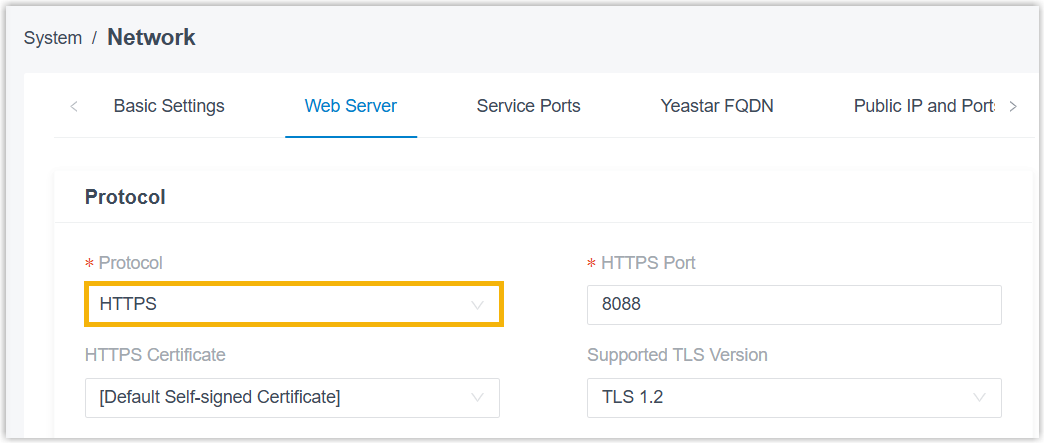
- HTTPS protocol is enabled on the PBX (Path: ).
Procedure
- Step 1. Configure Onsite Proxy
-
- Access the command line on the Onsite Proxy host.
- Run
sudo -ito switch to the root user.Note: If a password is required, enter your current user's password and pressEnter. - Run
onsite-proxy-configure.The Onsite Proxy Configuration Wizard prompt window pops up.
- In the pop-up prompt window, press
Enter.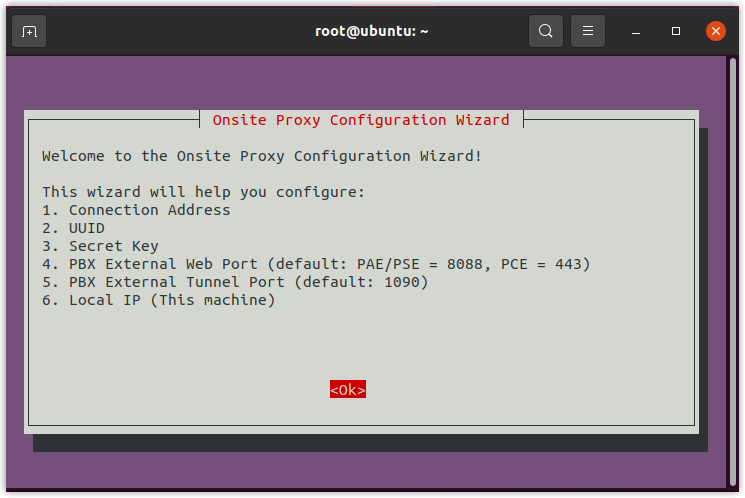
- Configure connection information as follows:
Action Instruction Configure PBX connection address - In the Configure PBX Connection Address
window, do as follows:
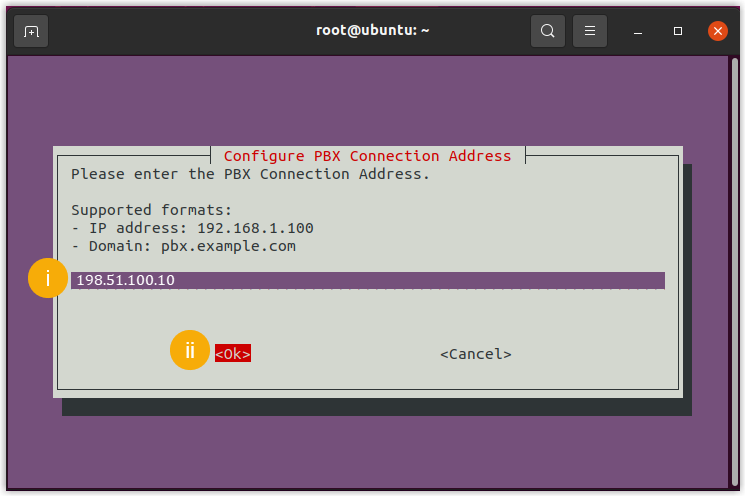
- Paste the PBX connection address obtained from PBX.
- Select <Ok> and
press
Enter.
- In the
Confirm Connection Address window, select
<Yes> and press
Enter.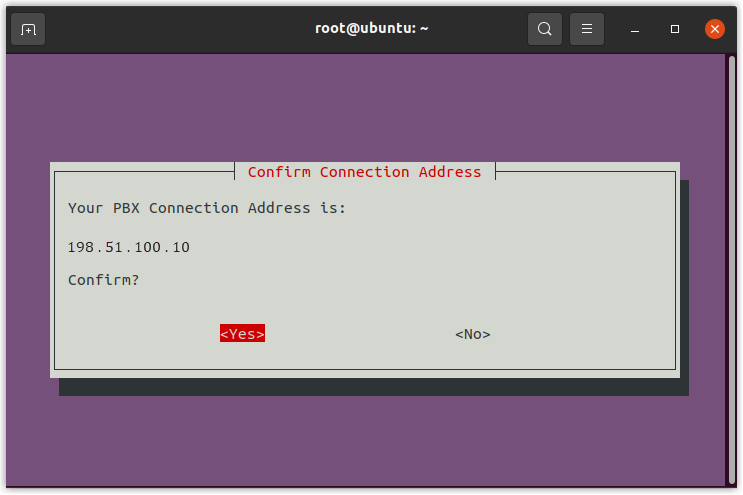
Configure UUID - In the Configure UUID
window, do as follows:
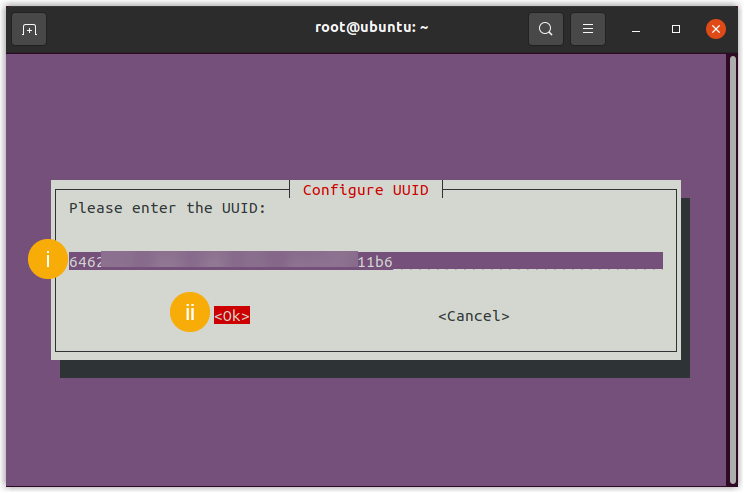
- Paste the UUID obtained from PBX.
- Select <Ok> and
press
Enter.
- In the Confirm
UUID window, select
<Yes> and press
Enter.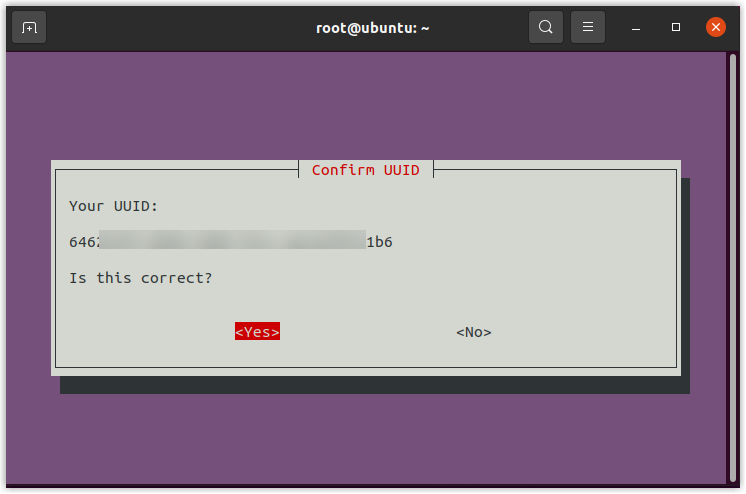
Configure secret key - In the Configure Secret
Key window, do as follows:

- Paste the secret key obtained from PBX.
- Select <Ok> and
press
Enter.
- In the
Confirm Secret Key window,
select <Yes> and press
Enter.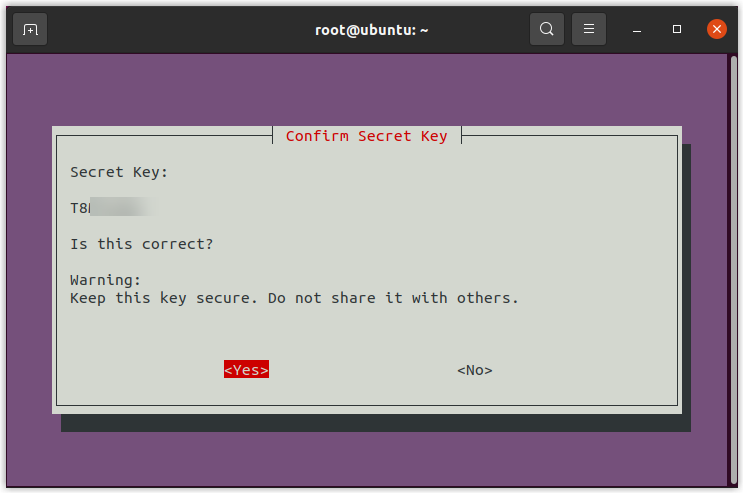
Configure PBX external web server port - In the Configure
PBX External Web Server Port window,
do as follows:
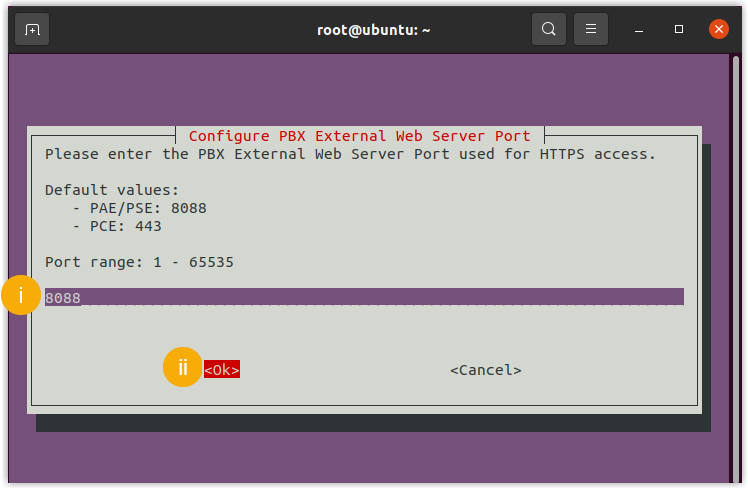
- Paste the external web server port obtained from PBX.
- Select <Ok> and
press
Enter.
- In the
Confirm PBX External Web Server
Port window, select
<Yes> and press
Enter.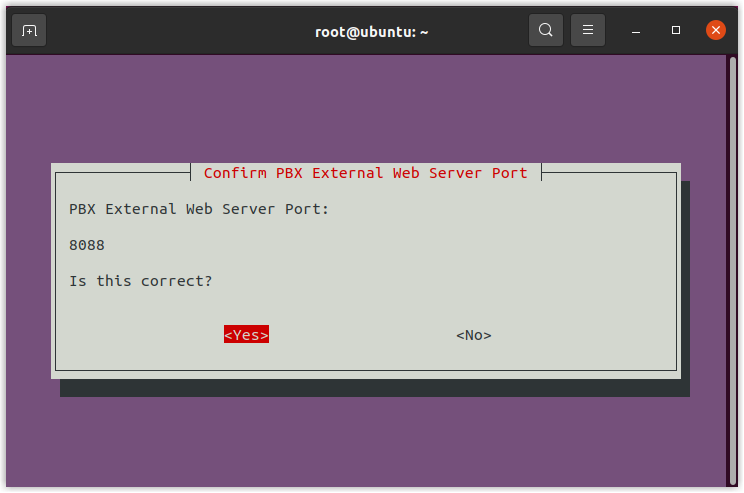
Configure PBX external tunnel port - In the Configure
PBX External Tunnel Port window, do as
follows:
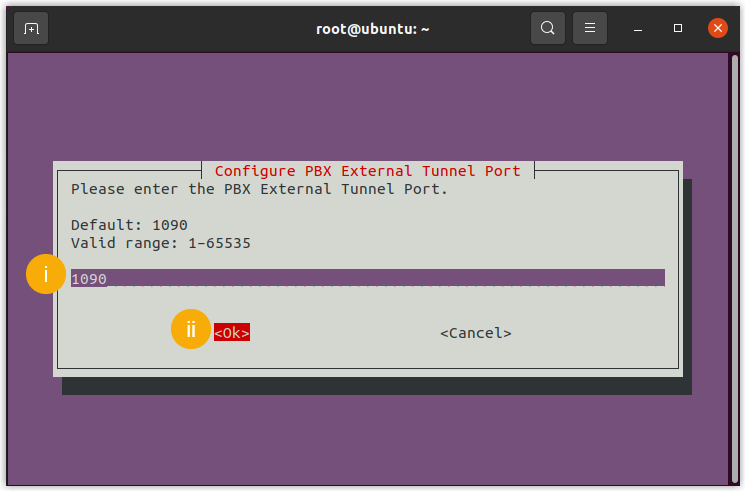
- Paste the external tunnel port obtained from PBX.
- Select <Ok> and
press
Enter.
- In the
Confirm PBX External Tunnel
Port window, select
<Yes> and press
Enter.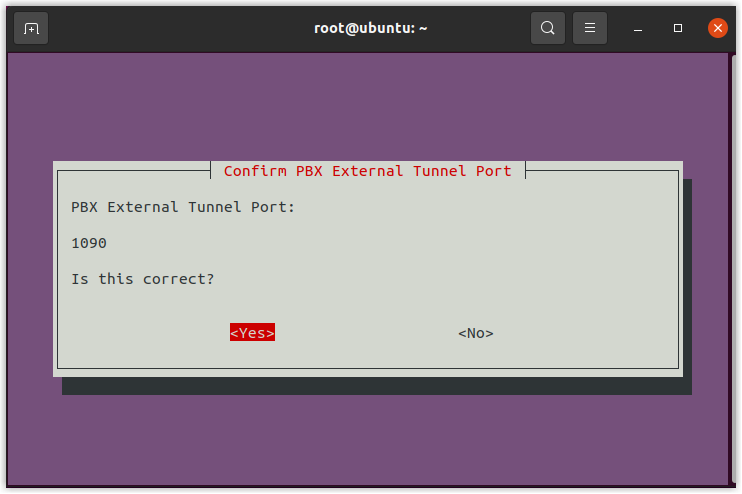
Select local IP - In the Select Local IP
window, do as follows:
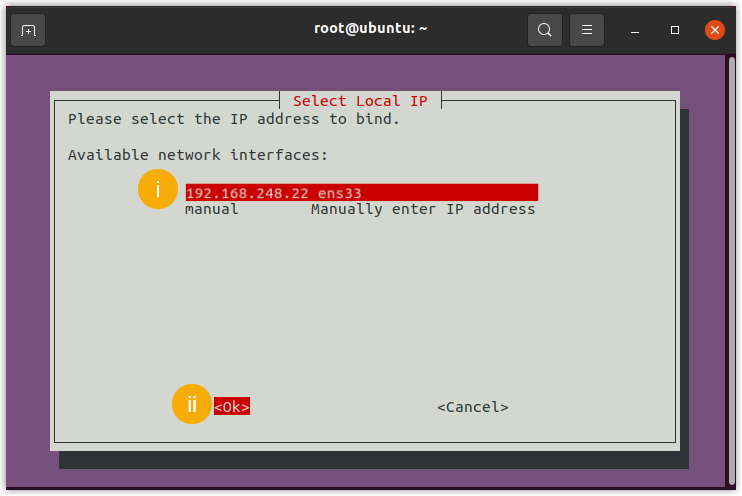
- Select the static IP address assigned to the
host.Note: If the desired IP address is not displayed in the Available network interfaces list, you need to select manual and press
Enterto manually enter the IP address.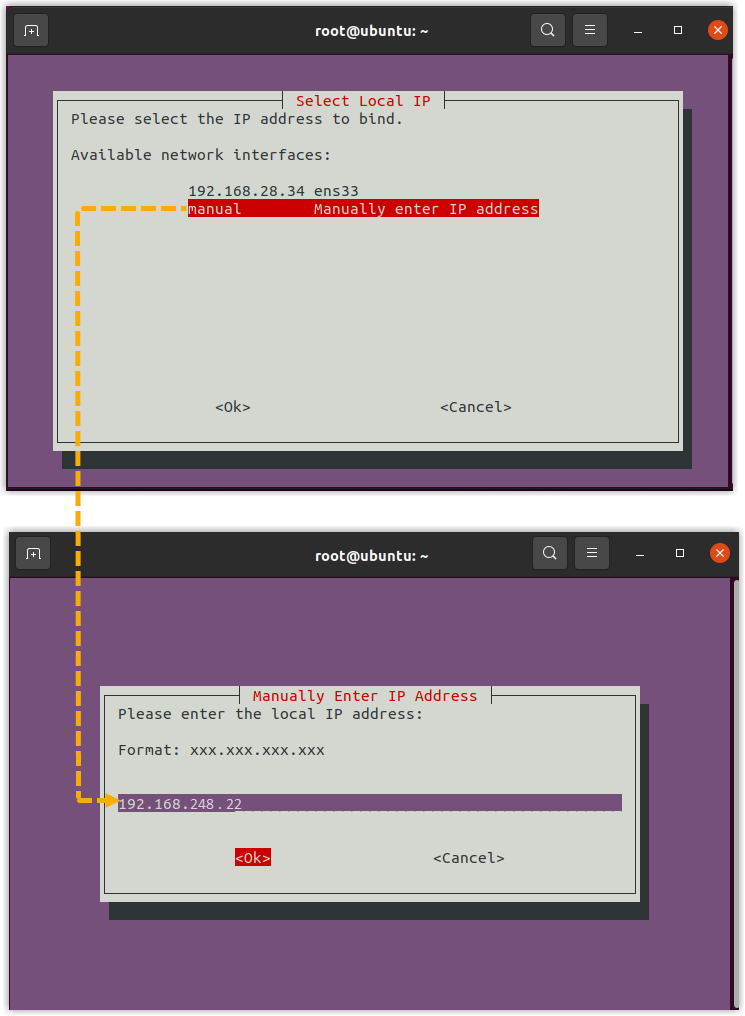
- Select <Ok> and
press
Enter.
- Select the static IP address assigned to the
host.
- In the Confirm Local IP
window, select <Yes> and
press
Enter.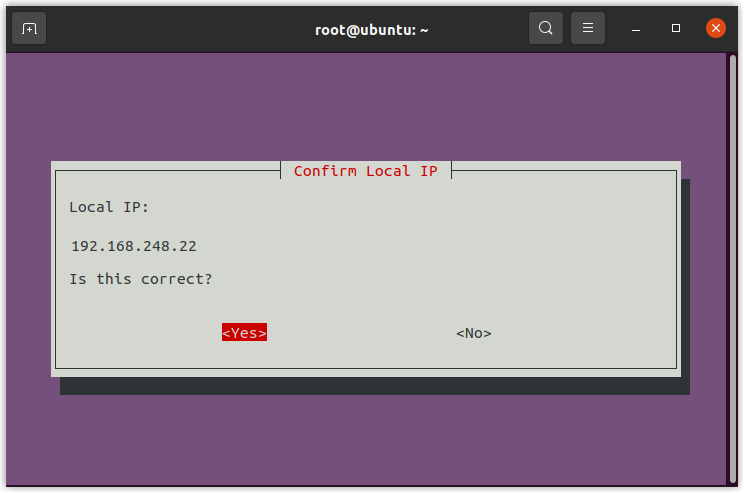
- In the Configure PBX Connection Address
window, do as follows:
- In the Configuration
Summary window, confirm the configuration details,
and then select <Yes> and press
Enter.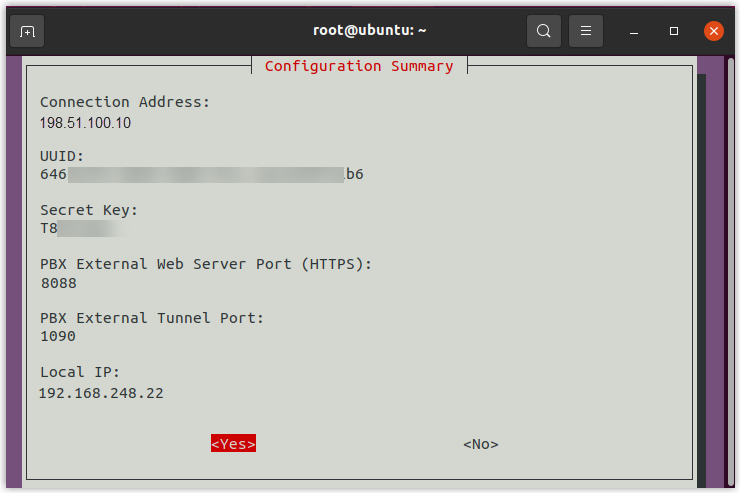
- In the Verification Successful prompt window,
press
Enter.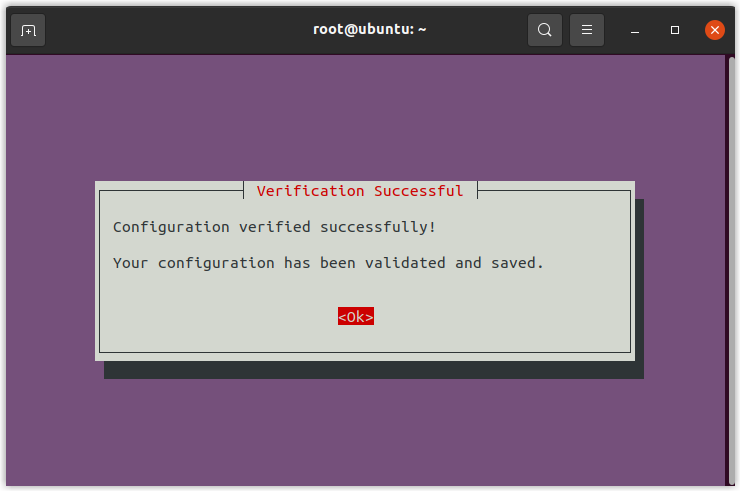
- In the Configuration Complete prompt window,
press
Enter.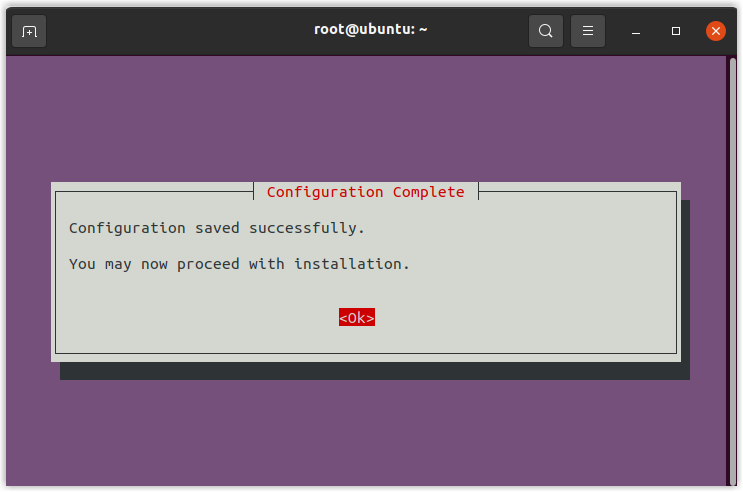
- Step 2. Restart proxy service
-
- Run
systemctl restart proxycore.serviceto restart tunnel forwarding service. - Run
systemctl restart proxycron.serviceto restart tunnel status reporting service.
- Run
Result
The Onsite Proxy is successfully connected to the PBX. You can check the connection
status using one of following methods:
- On Onsite Proxy host, run
onsiteproxy-cli status. For more information, see Query client status. - On the PBX web portal, check the connection status on .Note: Once the connection is interrupted, or when the system resource utilization for Onsite Proxy exceeds the any of following thresholds, the PBX sends a event notification Onsite Proxy to relevant contacts.
- The CPU utilization exceeds 85%.
- The memory utilization exceeds 85%.
- The disk utilization exceeds 95%.