Set Up File Sharing
Yeastar P-Series Software Edition supports a file sharing feature, which allows you to access and share files that are stored in external storage devices of PBX from a local computer.
Prerequisite
- You have set up external storage devices on PBX.
- You have stored desired data on external storage devices. For more information, see Manage Storage Locations.
Procedure
Step1. Enable File Sharing feature on the PBX
- Log in to PBX web portal, go to .
- In the File Sharing section, enable File Sharing and click OK in the pop-up window.
- Select the checkbox of Allow to Change Shared Files.
Note: Ensure this option is selected otherwise you can not edit, upload or download the files in the shared file holder.
- In the Shared Folder Name field, specify a folder name to help you identify it.
- Click Save.
- Check and note down the Account and
Password.

- Account:
share.Note: The Account name can not be changed. - Password: Auto-generated random password.
- Click
to check the password.
- Click
 to generate a new
random password.
- Click
- Account:
Step2. Access the shared files on PC
- In the Windows search field, enter \\{IP
address of the PBX}, then press Enter.For example, the IP address of the PBX is 192.168.7.112, then you should enter \\192.168.7.112.
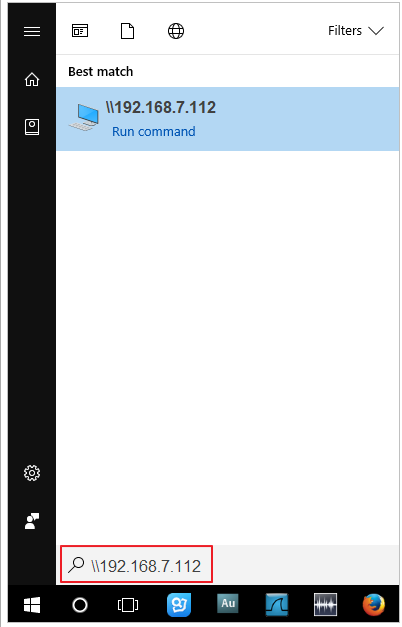
- Double-click the shared folder.
A pop-up window requires login credentials.
- In the pop-up window, enter the credentials.
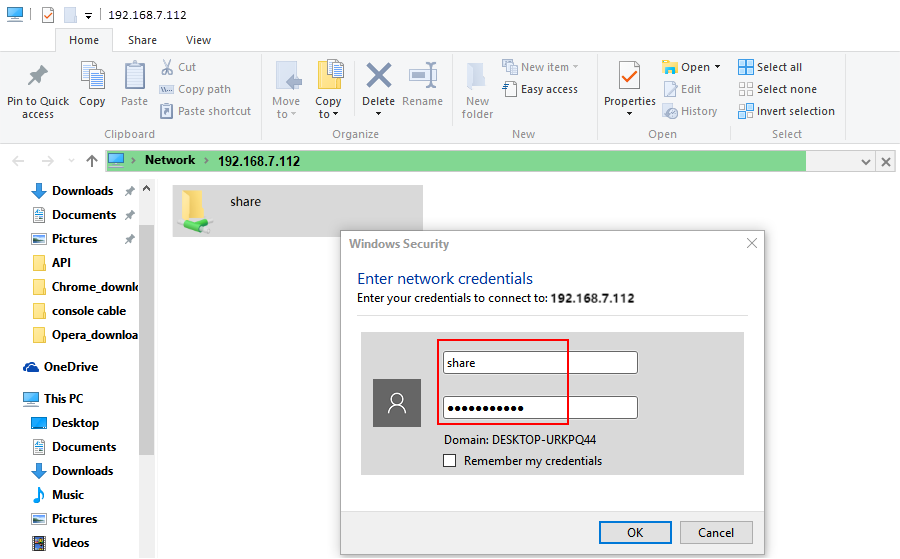
- Enter the user name and password.
- User name: Enter share.
- Password: Enter the password.
- Click OK.
You can now access the shared folder. If you have connected a hard disk drive to the PBX, there will be a subfolder harddisk for the files stored in the hard disk.
- Enter the user name and password.
File Sharing FAQ
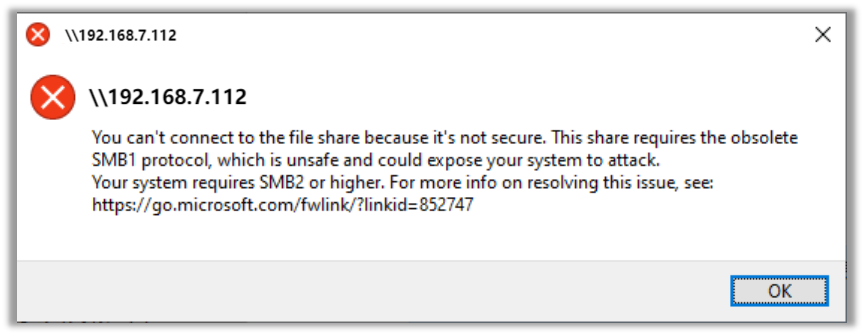
- Windows 10 users cannot access the shared folder of the PBX
- If you fail to access the shared folder and see the pop-up window shown
as below, do as follows.
-
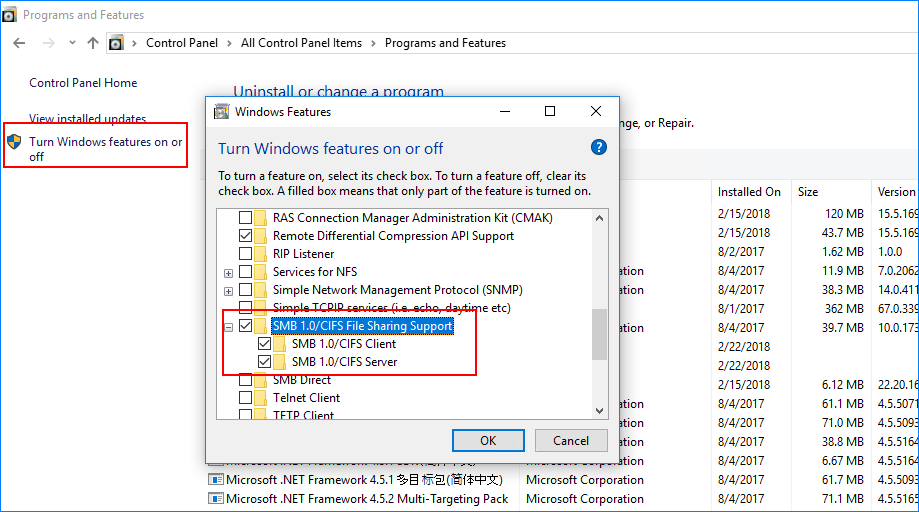
Go to .
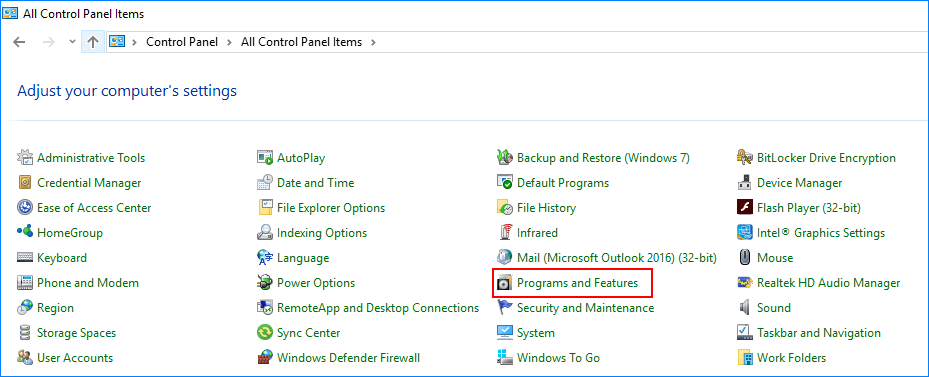
- On the left column of the window, click Turn Windows features on or off.
- In the pop-up window, check the option of SMB
1.0/CIFS File Sharing Support.
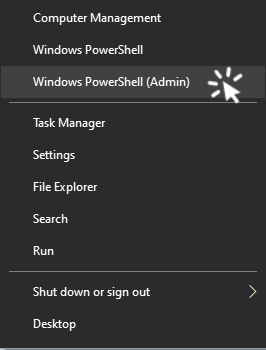
- Press Win + X, and select Windows
Powershell(Admin).
- In the pop-up window, enter
Set-SmbServerConfiguration –EnableSMB2Protocol
$true, and press Enter.
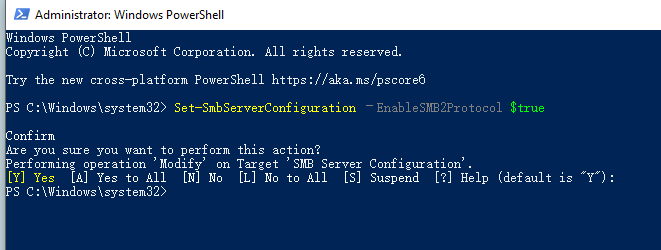
- Press Enter again to execute the command.
- Reboot your computer and retry.
-