Set up SD-WAN Network on Working Server
In a cross-region disaster recovery scenario, you can create an SD-WAN network on the Working Server and invite the Redundancy Server at a remote site to join the network. With disaster recovery in place, the Redundancy Server can replicate telephony data from Working Server and take over telephony services if the Working Server goes down.
Requirements and restrictions
- Requirements
- Both servers in a disaster recovery pair must meet the following requirements:
- Restrictions
-
Item Quantity Max. SD-WAN network that can create or join (per PBX) 1 Max. redundancy member 1
Prerequisites
- Contact your service provider for the Serial Number (SN) of the Redundancy Server.
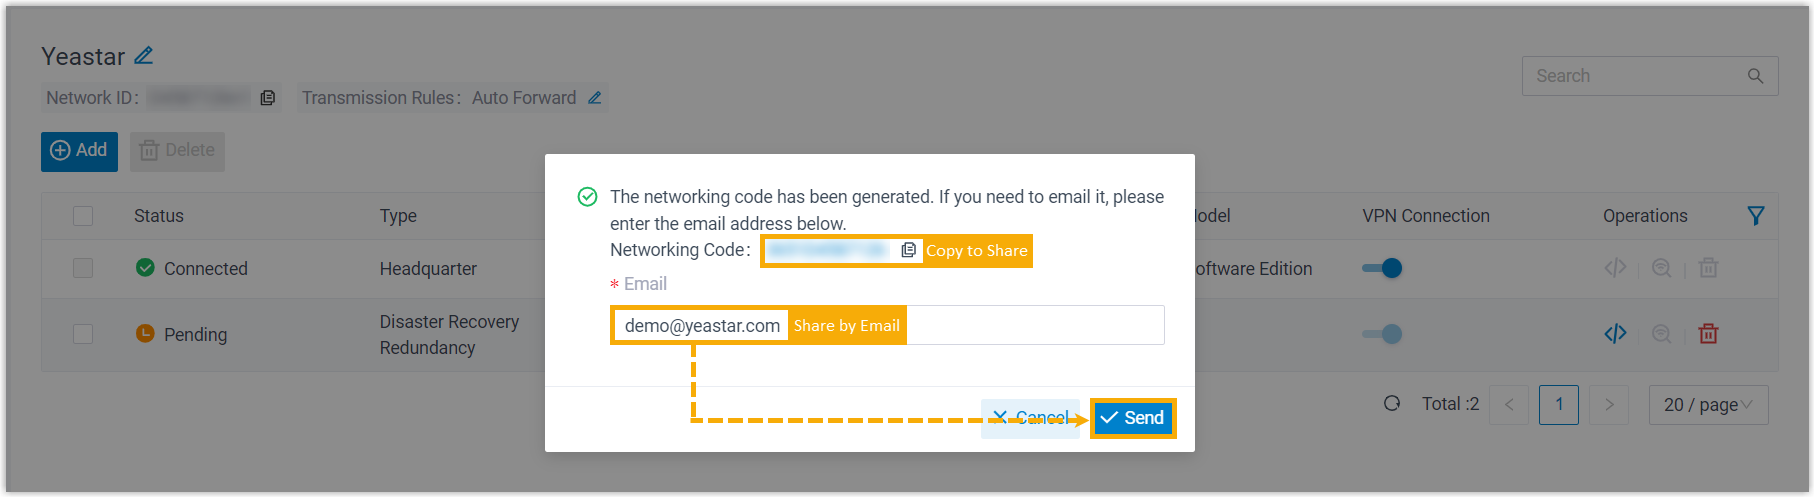
- (Optional) Set up an email server if you want to share SD-WAN networking
credential or send SD-WAN networking event notifications via email (Path: ).
For more information, see Email Server Overview.
Step 1. Create an SD-WAN network
- Log in to PBX web portal, go to .
- Create an SD-WAN network.

- Click Create Network.
- In the Network Name field, enter a name to help you identify the network.
- Click Confirm.
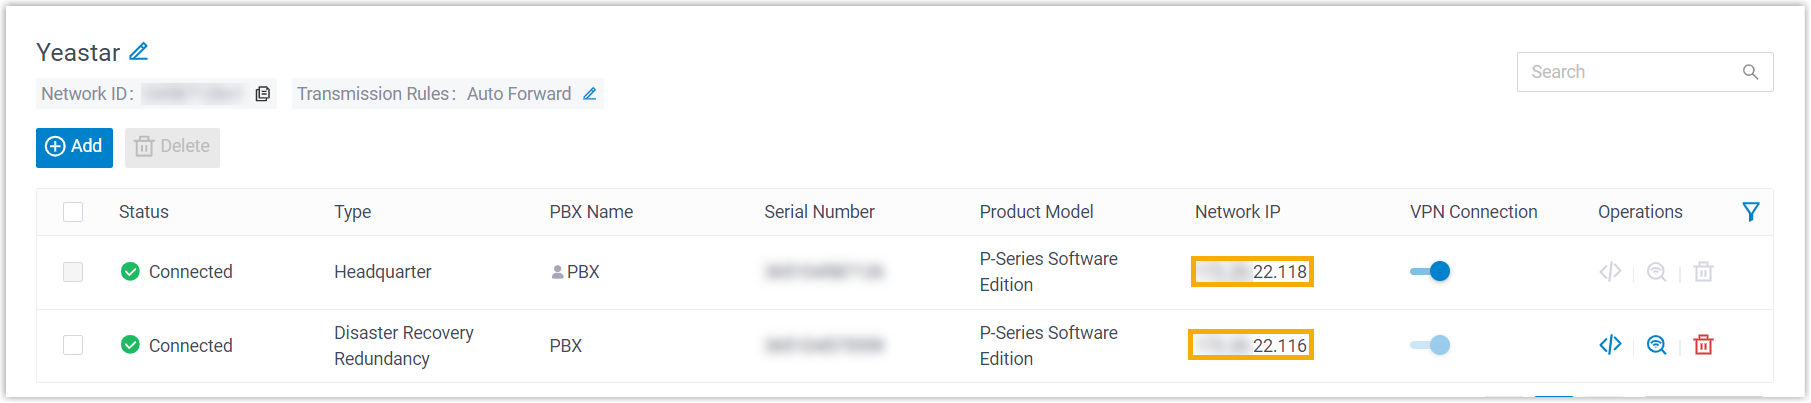
An SD-WAN network is created; The Working Server has automatically joined and connected to the network, with the type displayed as Headquarter.

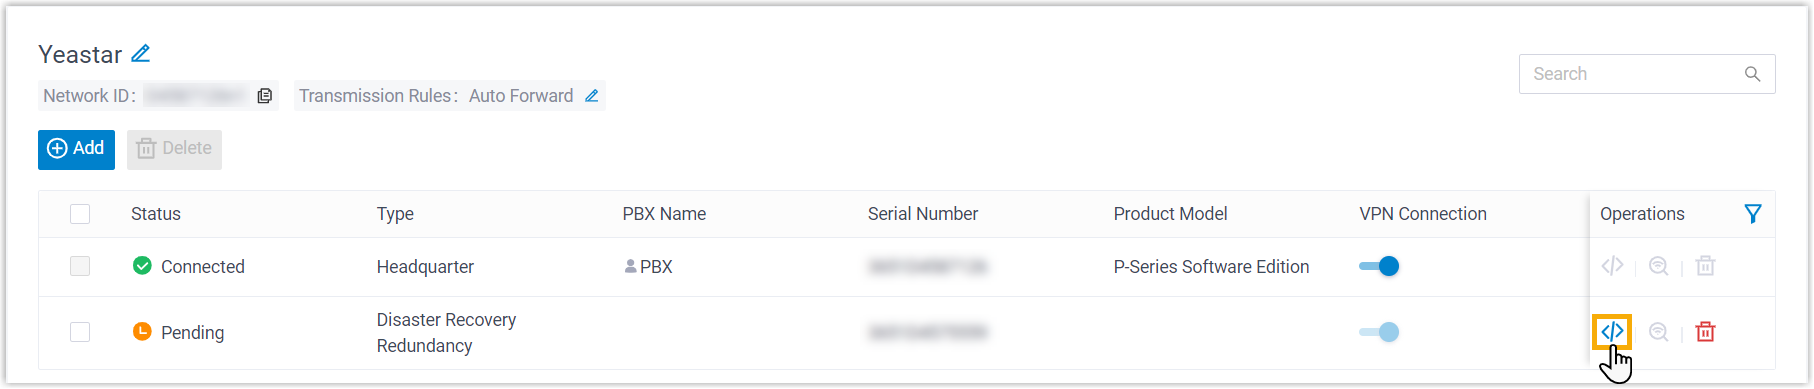
Step 2. Add Redundancy Server to the SD-WAN network

- At the top-left corner, click Add.
- In the pop-up window, configure the following settings, then click
Confirm.
- Serial Number: Enter the SN of the Redundancy Server.
- Type: Select Disaster Recovery Redundancy.
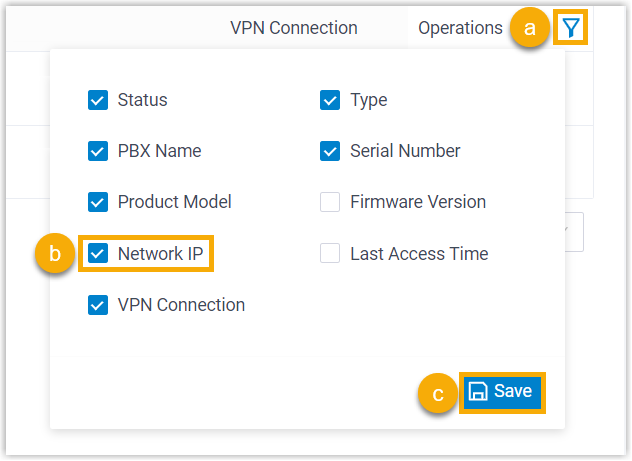
After the Redundancy Server joins the SD-WAN network, the specified contacts of both servers will receive a SD-WAN Network Joined Successfully event notification; Both servers have been assigned network IPs, which allow them to communicate with each other over the SD-WAN network.