Set up a Remote SIP Phone via Yeastar FQDN
A Yeastar-supplied Fully Qualified Domain Name (FQDN) frees you from complicated network settings and helps you quickly establish a secure tunnel for remote SIP access, therefore it is more secure and convenient to set up a remote SIP phone using Yeastar FQDN. This topic takes Yealink T53W IP phone as an example to describe how to register a remote SIP phone via Yeastar FQDN.
Prerequisites
Make sure the following required FQDN settings are ready.
- The Yeastar FQDN domain name is available.
- The extension account to be registered can perform remote SIP registration via FQDN.
Procedure
Step 1. Gather information for extension registration
Log in to PBX web portal, and gather the required credentials.
- The FQDN of PBX (Path: )
In this example, the PBX FQDN is
yeastardocs.ras.yeastar.com.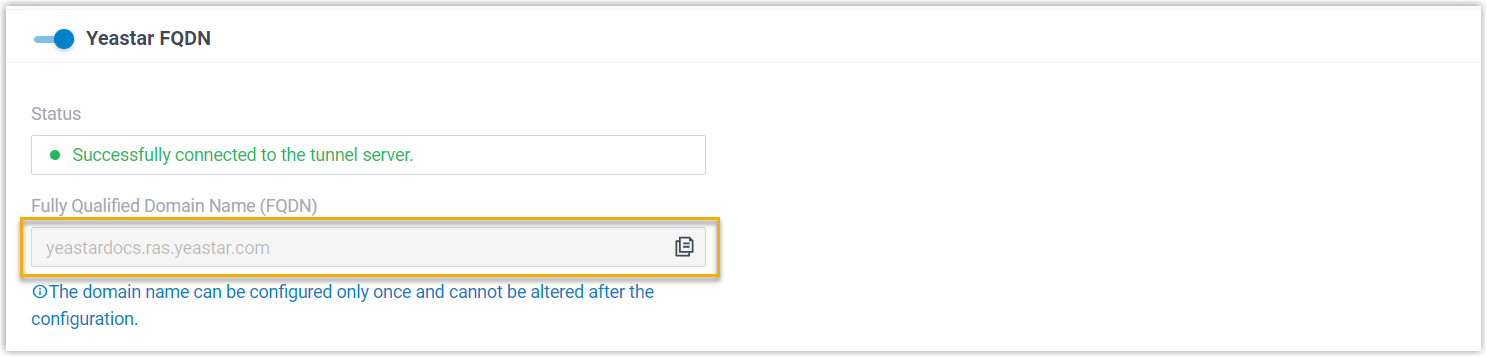
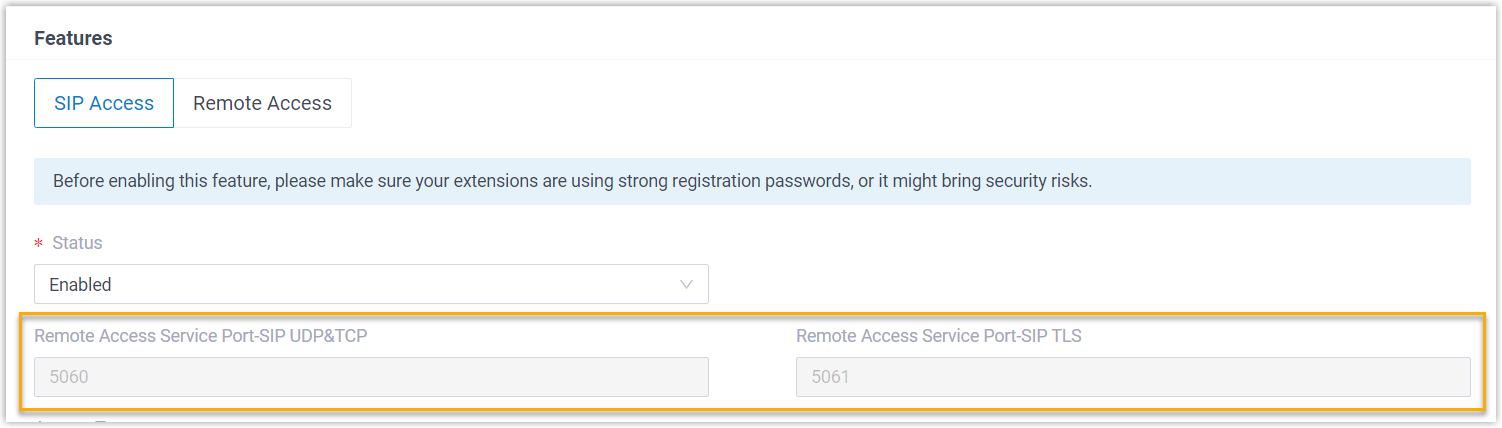
- Remote SIP registration port (Path: )
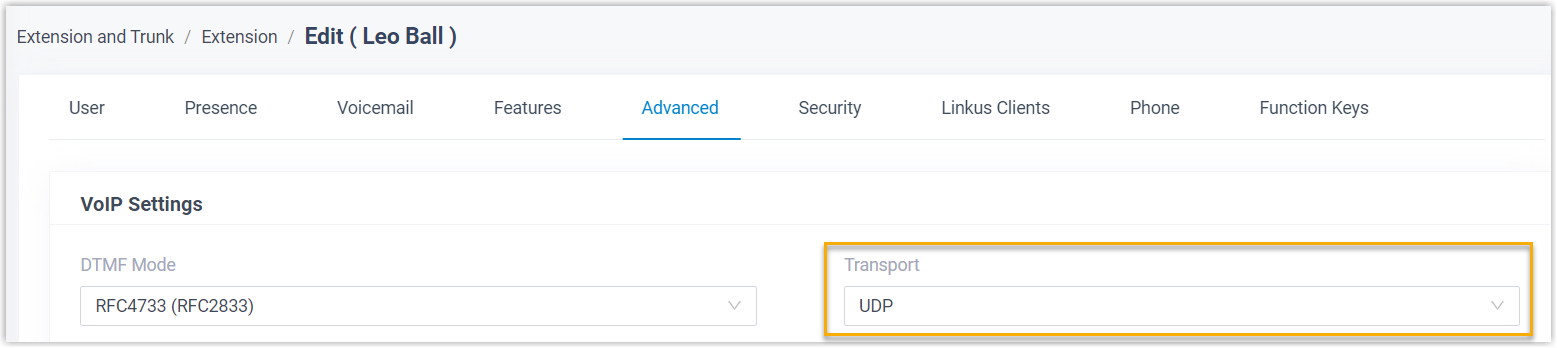
- Transport protocol (Path: )
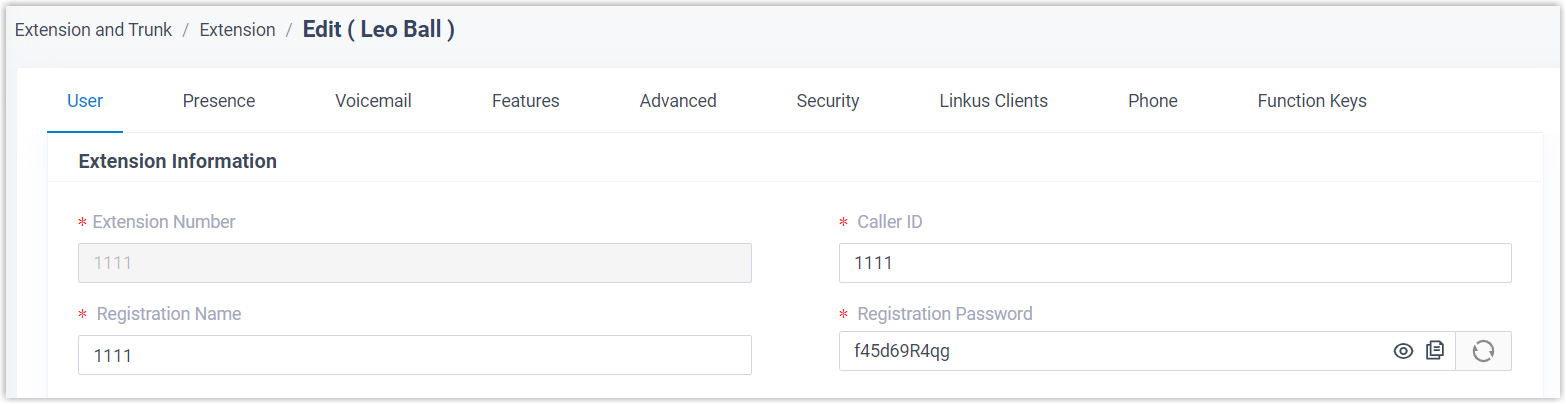
- Extension information (Path: )
- Extension number
- Registration name
- Registration password
Step 2. Register the extension on an IP phone
- Log in to phone web interface, go to .
- From the Account drop-down list, select an available account.
- Set Line Active to ON.
- Fill in the required information to register the SIP extension.
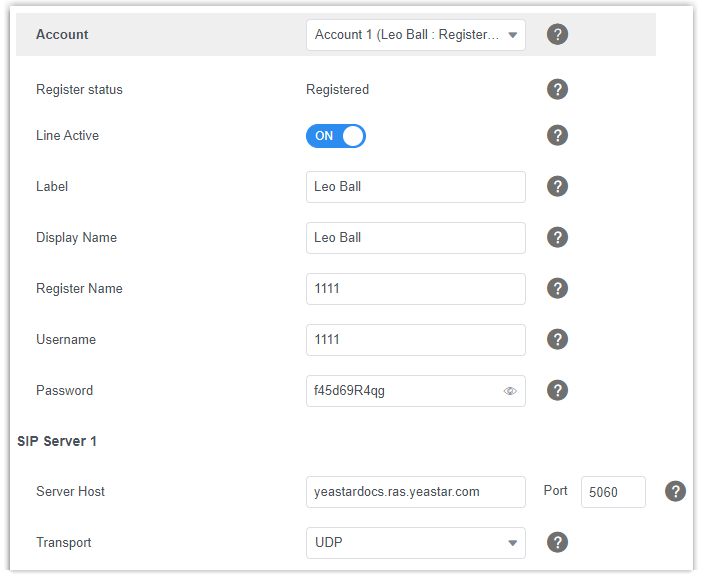
- Label: Specify the name to be displayed on the LCD screen of IP phone.
- Display Name: Specify the display name of the account when sending a call.
- Register Name: Enter the registration name of the extension.
- Username: Enter the extension number of the extension.
- Password: Enter the registration password of the extension.
- Server Host: Enter the FQDN of the PBX.
- Port: Enter the remote SIP registration port.
- Transport: Select the same transport as that of the extension.
- Click Confirm.
Step 3. Confirm the extension's registration status
You can confirm the extension's registration status in one of the following ways:
- On the phone's web interface, check if the extension is registered.
- Log in to PBX web portal, go to , check if the endpoint icon displays
 in the
Online Status column.
in the
Online Status column.
Result
The SIP phone is ready for use. Users can use the SIP phone to make and receive calls.