Set up Recording Prompts
Yeastar P-Series Cloud Edition supports configuring recording prompts to notify both caller and callee of the recording status during a call. You can create and apply different prompts for different communication types. This topic describes how to set up recording prompts on Yeastar P-Series Cloud Edition.
Set up recording prompt for internal calls
If recording for internal calls is enabled, you can configure a dedicated prompt to notify both caller and callee that the call is being recorded. When an internal call is established, the system plays the prompt and starts recording.
- Create a custom prompt for internal calls.
- Log in to PBX web portal, go to .
- Upload an audio file or record a custom prompt for internal
calls.
 Note: The uploaded audio file should meet the audio file requirements.
- Assign the prompt to internal call recording.
- Go to .
- In the Recording Tones section, select a
prompt from the drop-down list of Internal Call Being
Recorded Prompt.
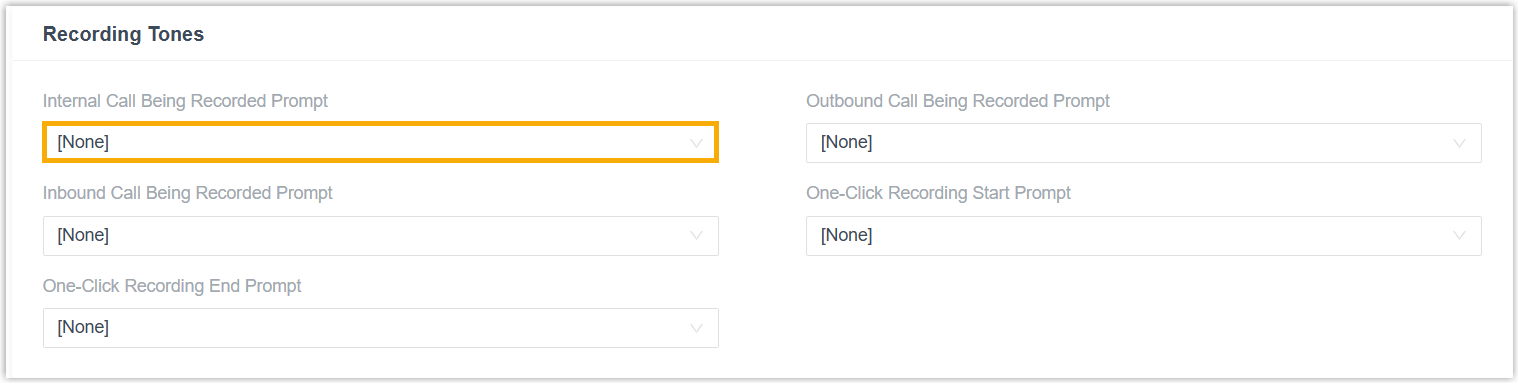
- Click Save and Apply.
Set up recording prompt for inbound calls
If recording is enabled for specific objects (e.g. extension or trunk), you can configure a dedicated prompt for inbound calls to notify both caller and callee that the call is being recorded. When an inbound call to these objects is answered, the system plays the prompt and starts recording.
- Create a custom prompt for inbound calls.
- Log in to PBX web portal, go to .
- Upload an audio file or record a custom prompt for inbound
calls.Note: The uploaded audio file should meet the audio file requirements.
- Assign the prompt to inbound call recording.
- Go to .
- In the Recording Tones section, select a
prompt from the drop-down list of Inbound Call Being
Recorded Prompt.
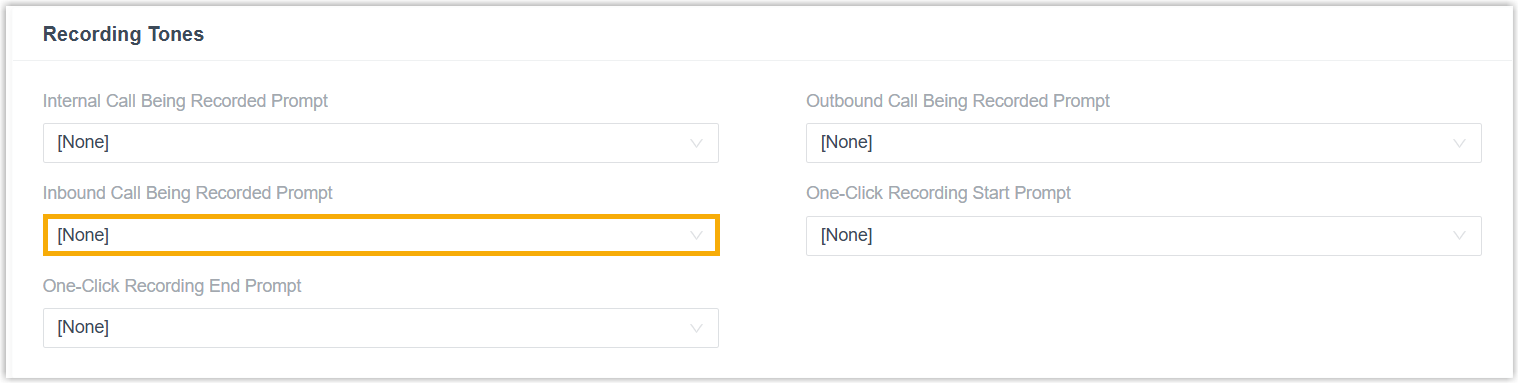
- Click Save and Apply.
Set up recording prompt for outbound calls
If recording is enabled for specific objects (e.g. extension or trunk), you can configure a dedicated prompt for outbound calls to notify both caller and callee that the call is being recorded. When an outbound call from these objects is established, the system plays the prompt and starts recording.
- Create a custom prompt for outbound calls.
- Log in to PBX web portal, go to .
- Upload an audio file or record a custom prompt for outbound
calls.Note: The uploaded audio file should meet the audio file requirements.
- Assign the prompt to outbound call recording.
- Go to .
- In the Recording Tones section, select a
prompt from the drop-down list of Outbound Call Being
Recorded Prompt.
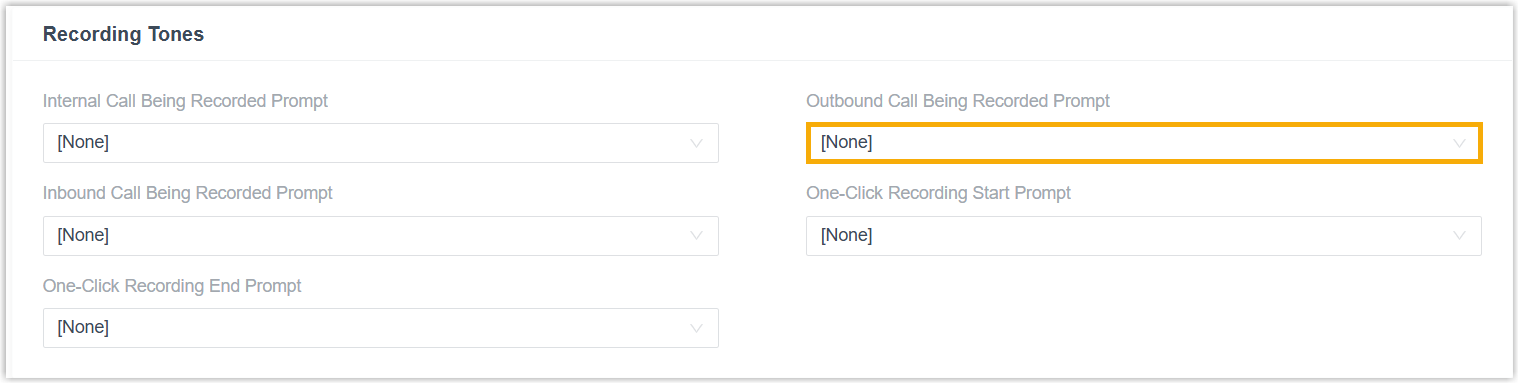
- Click Save and Apply.
Set up recording prompt for one-click recording
During a call, authorized extension users can start or stop call recording by
pressing the recording button on Linkus UC Clients or by dialing the feature code
(default *1). You can configure two dedicated prompts to notify
both caller and callee when call recording starts or stops. When the recording
status changes, the system plays the corresponding prompt.
- Create custom prompts for one-click recording.
- Log in to PBX web portal, go to .
- Upload audio files or record custom prompts for one-click
recording.Note: The uploaded audio file should meet the audio file requirements.
- Assign the prompts to one-click recording.
- Go to .
- In the Recording Tones section, select
prompts from the drop-down lists of One-Click Recording
Start Prompt and One-Click Recording End
Prompt.
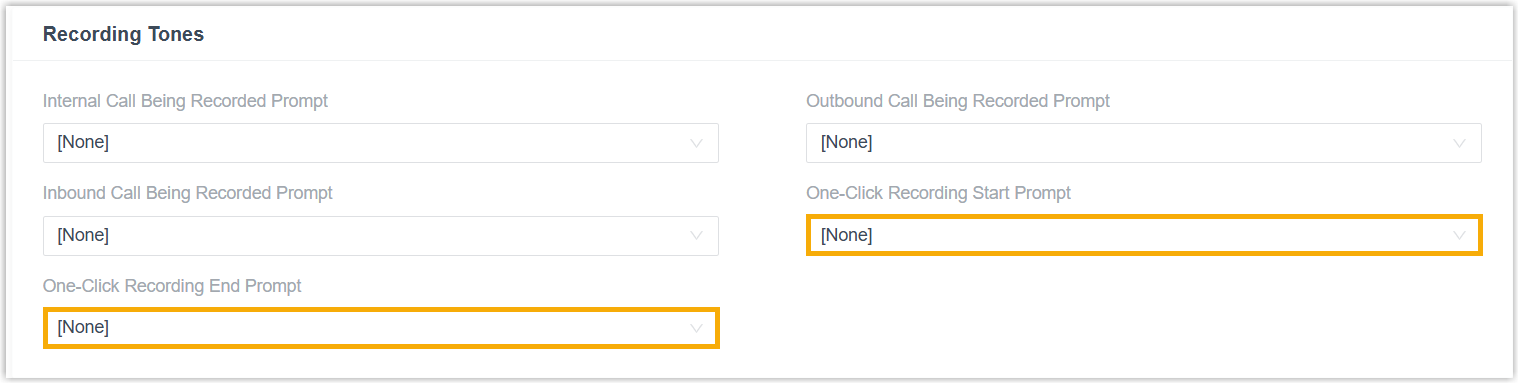
- Click Save and Apply.