Yeastar PBX Onboarding Troubleshooting Guide
This guide covers common errors that may occur during the Yeastar P-Series Cloud Edition onboarding process, along with their possible causes and solutions. If you encounter any issues when setting up Yeastar P-Series Cloud Edition, you can analyze and solve your problems by following this guide.
Activation email not received
- Issue description
- After purchasing Yeastar P-Series Cloud Edition, you should receive an activation email containing all the necessary information to set up your PBX. However, this activation email hasn't reached your mailbox.
- Possible cause
- The activation email may have been put in your spam folder by your email service provider.
- Solution
- Check your spam folder for email from sender <noreply@ycm.yeastarcloud.com>.
Activation URL not working
- Issue description
- When trying to activate Yeastar P-Series Cloud Edition using the activation URL, the activation web page is unavailable or keeps loading.
- Possible cause
-
The web browser you are using to open the activation URL is not compatible with Yeastar P-Series Cloud Edition.
- Solution
-
Open the activation URL in Google Chrome.
Auto provision with RPS failure
- Issue description
-
Failed to remotely auto provision IP phones via RPS.
- Possible cause & solution
-
Possible Cause Solution The IP phone has been auto provisioned by another PBX. Remove the IP phone from provisioning list of another PBX, then auto provision the IP phone via RPS. The provisioning server URL in IP phone doesn't match the provisioning link that was generated for the phone in PBX web portal. Make sure that the provisioning server URL is exactly the same in IP phone and Yeastar PBX. 
No certificate has been uploaded to PBX or the certificate has expired. Upgrade the IP phone to the latest version or disable certificate verification on IP phone. Tip: An example of disabling certificate verification on Yealink T53W is shown below.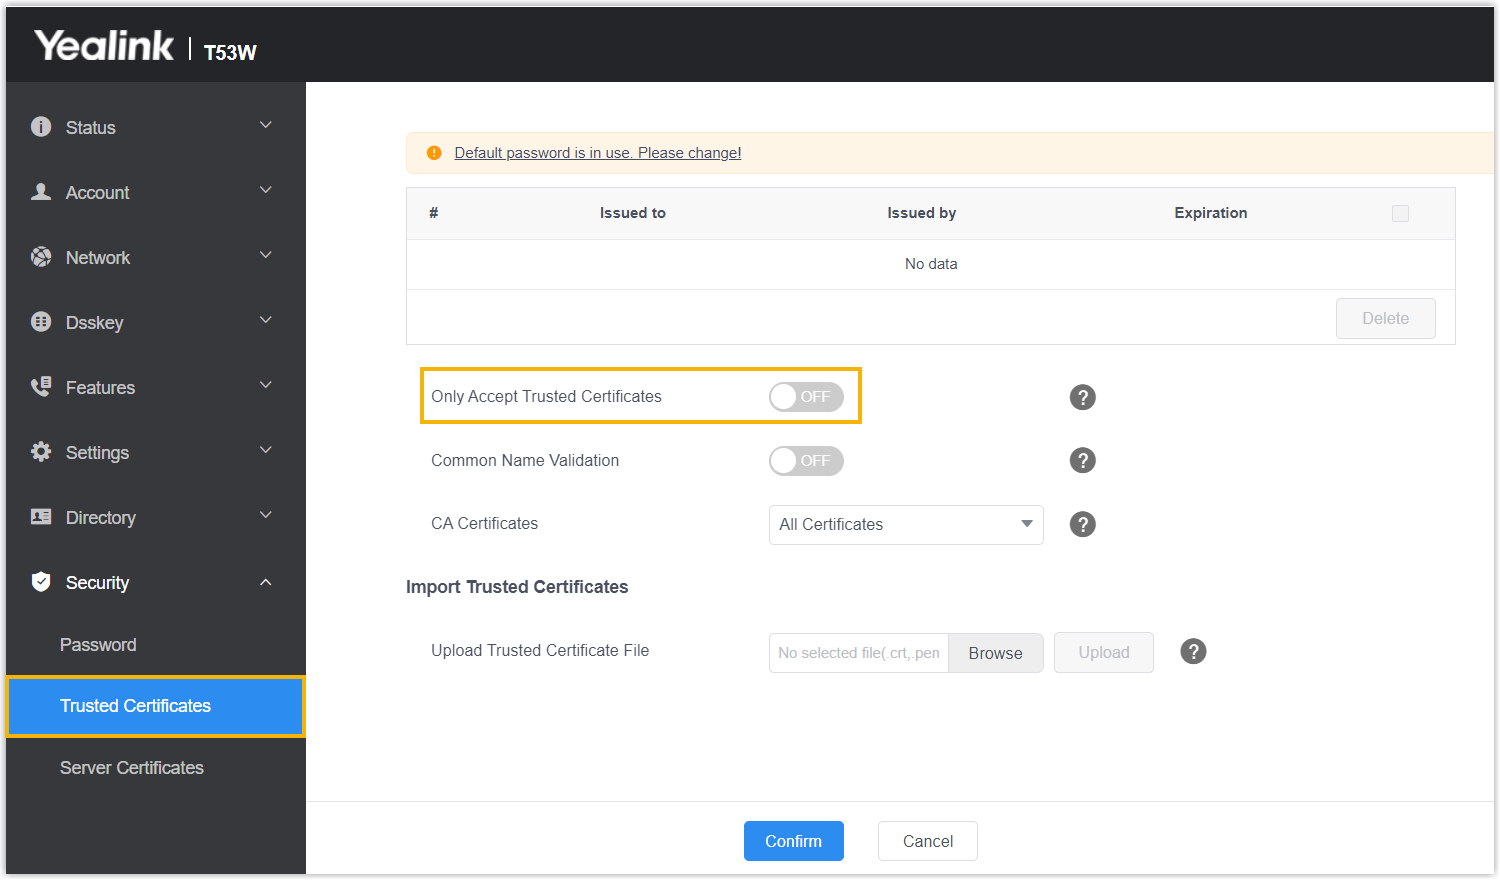
Trunk registration failure
- Issue description
- When trying to create a SIP register/peer trunk to connect Yeastar P-Series Cloud Edition to service provider, the trunk registration failed.
- Possible cause & solution
-
Possible Cause Solution Possible cause for SIP register trunk:
There may be an issue with proxy server setting.
Some SIP trunk providers utilize multiple proxy servers for load balancing or failover and configure NAPTR-SRV records for the domain.Change the transport protocol of proxy server to DNS-NAPTR.
- Log in to PBX web portal, go to .
- Click
 beside the SIP
register trunk that you want to edit.
beside the SIP
register trunk that you want to edit. - In the Transport
drop-down list, select
DNS-NAPTR.

- Click Save and Apply.
Possible cause for SIP peer trunk:
There may be an issue with proxy server setting.Some SIP trunk providers require a dedicated fixed public IP address for trunk registration, but your PBX instance may share one proxy server with other instances.
Contact Yeastar to deploy a dedicated proxy server for you.
Inbound call failure
- Issue description
- Inbound calls to SIP trunks should be routed to the inbound route destination, but inbound calls are not routed as expected.
- Possible cause
- DID in SIP trunk or inbound route is not configured properly.
- Solution
- Add all possible DID patterns in SIP trunk or inbound route to ensure proper
routing.
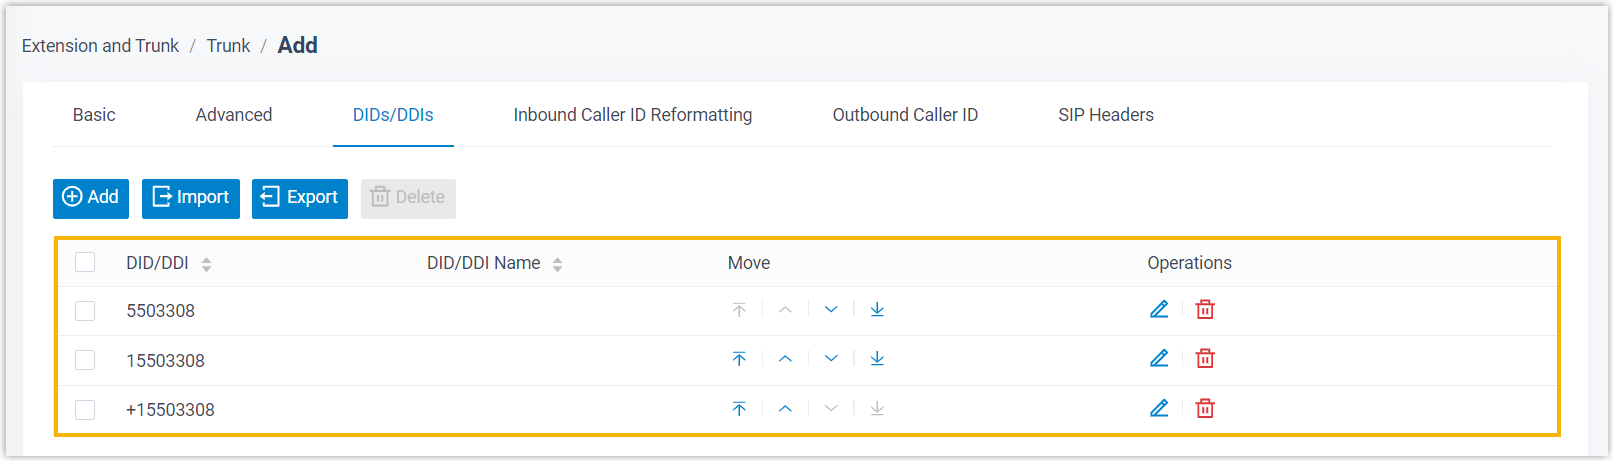
- Add DID patterns in SIP trunk.
- Log in to PBX web portal, go to .
- Click beside the trunk that you want
to edit.
- Under the DIDs/DDIs tab, click
Add to add all possible DIDs from
service provider.
- Click Save and Apply.
- Add DID patterns in inbound route.
-
Log in to PBX web portal, go to .
-
Click
beside the inbound route
that you want to edit. -
Scroll down to the DID Pattern section, click Add to add all possible DIDs from service provider.
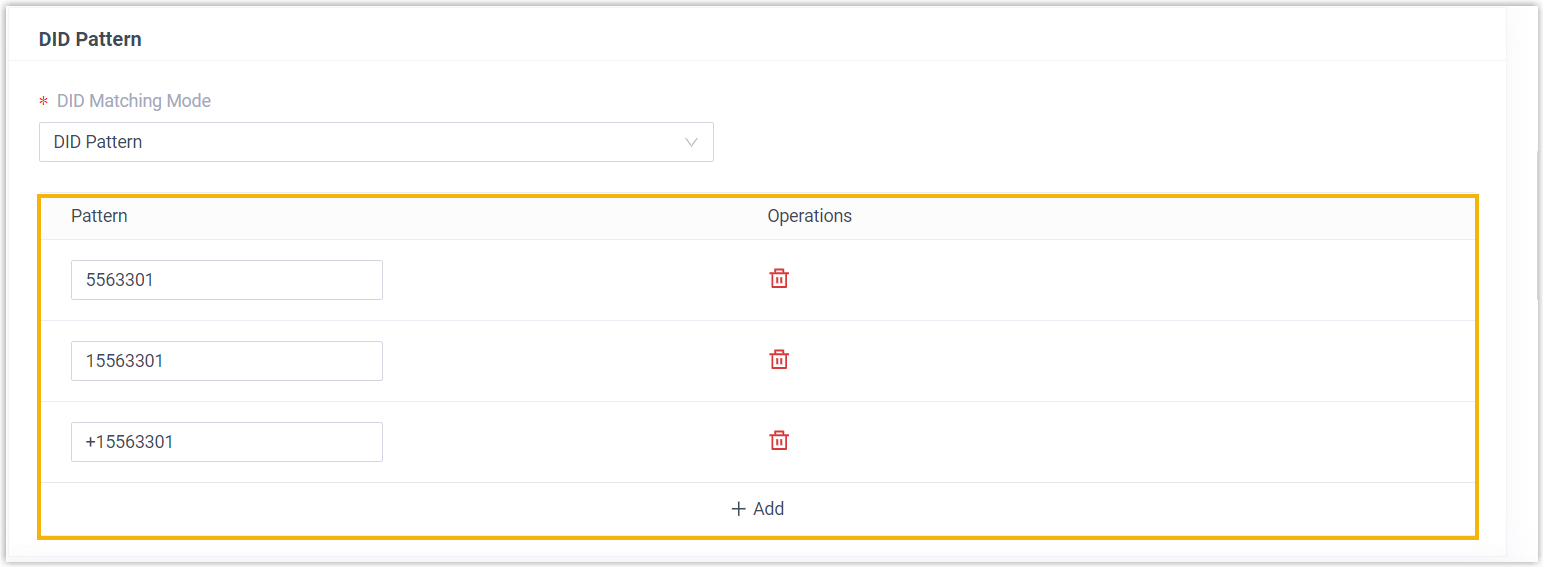
- Click Save and Apply.
-
- Add DID patterns in SIP trunk.