Create a Backup File of P-Series Cloud PBX
This topic describes how to create a backup file of P-Series Cloud PBX on Yeastar Central Management.
Procedure
- Access the configuration page for backup task in either of the following
ways.
- Go to , select the PBXs that you want to back up, then click
Backup.
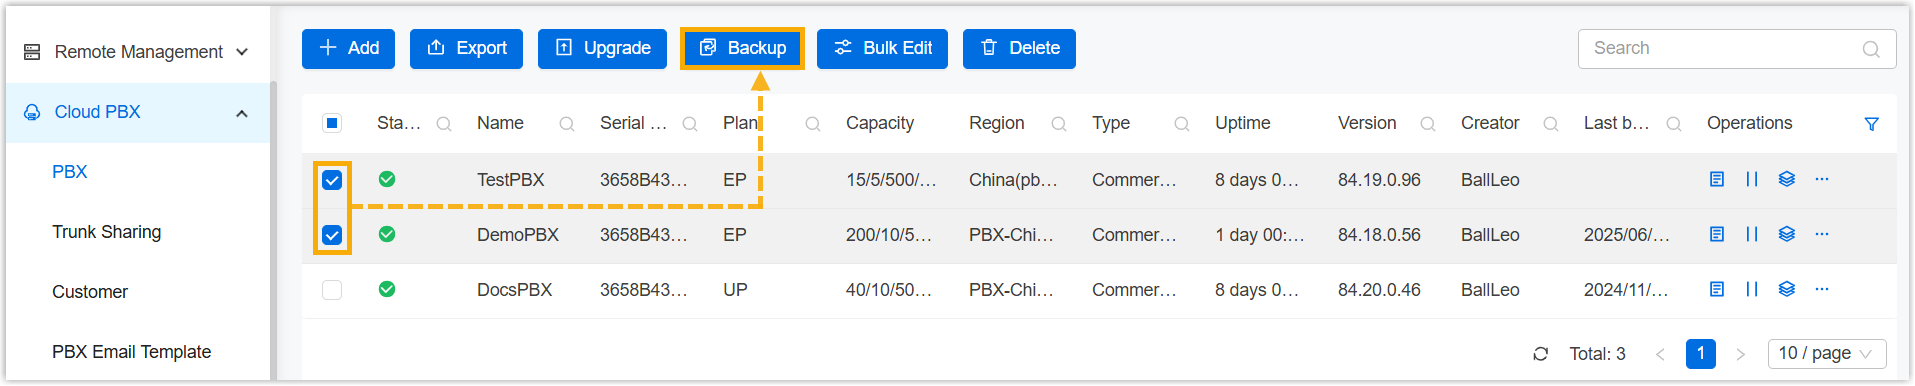
You are redirected to the Add Task page.
- Go to , click Add.

- Go to , select the PBXs that you want to back up, then click
Backup.
- Set up a backup task.
- Fill in the following information.
Setting Description Name Enter a name to help you identify the task. Object Type Retain P-Series Cloud Edition.
Task Select Backup. The Backup File will Include Choose the items that will be backed up. - System Configuration
- Custom Prompts
- Call Logs
- Company Contacts and Phonebooks Settings
- External Chat History
- Fax Logs
Repeat Retain One-time. Execution Time Select the checkbox of Immediately. Timezone Select a time zone of the task execution time. Tip: You can enable or disable Daylight Saving Time (DST) as needed.Creator Your name is automatically filled in, and the field can not be edited. Remark Optional. Add a note to the task. Object Select the P-Series Cloud PBXs that you want to back up.
- Click Save.
- Fill in the following information.
Result
- The task status is displayed as
 (Executing),
and PBX system is being backed up.
(Executing),
and PBX system is being backed up.
- After PBX system is backed up, the followings are achieved:
- The task status is displayed as
 (Finished).
- A task execution log is generated and displayed on .

- The backup file is generated and displayed on .

- The task status is displayed as
What to do next
To restore specific P-Series Cloud PBX to the backup, see Restore P-Series Cloud PBX from a Backup.