Set up PBX as a TFTP Server
By setting up the TFTP feature, Yeastar P-Series PBX System can work as a TFTP server, you can upload or download desired files to/from a specific PBX file folder (/ysdisk/tftpboot) via TFTP.
Procedure
- Log in to PBX web portal, go to .
- Scroll down to the TFTP section, enable TFTP and click OK in the pop-up window.
- Click Save.
Result
The PBX can now be used as a TFTP server, you can upload or download desired files to/from the specific PBX file folder.
TFTP File Sharing examples
This section gives examples to show how to upload and download files in the specific
PBX file holder using Tftpd64.
- Configure a TFTP Client
-
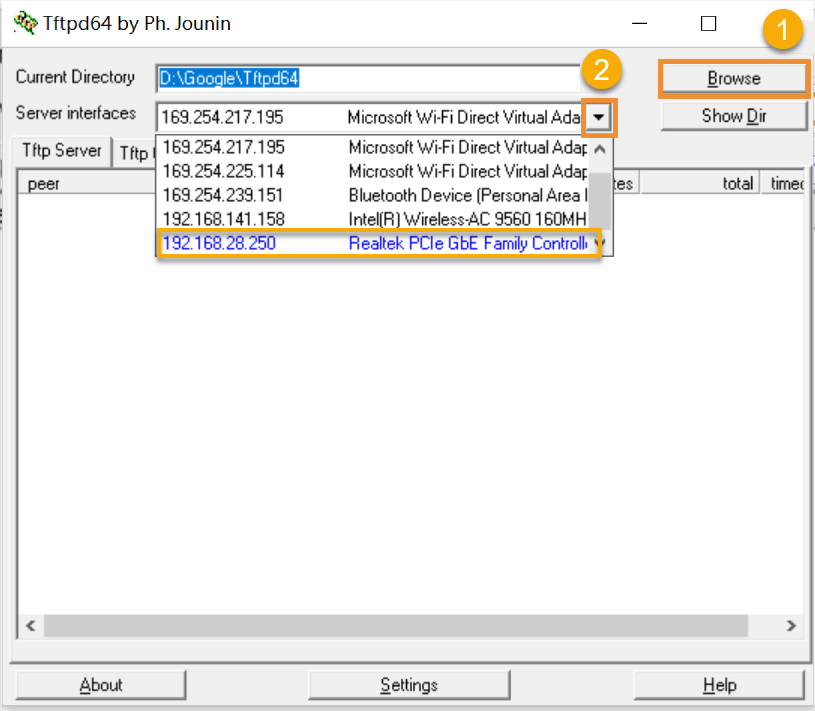
- Download a Tftpd64 and run the software.
- On the top of the window, click Browse to select the storage path for the shared files.
- In the Server interface drop-down list,
select the IP address of your computer.
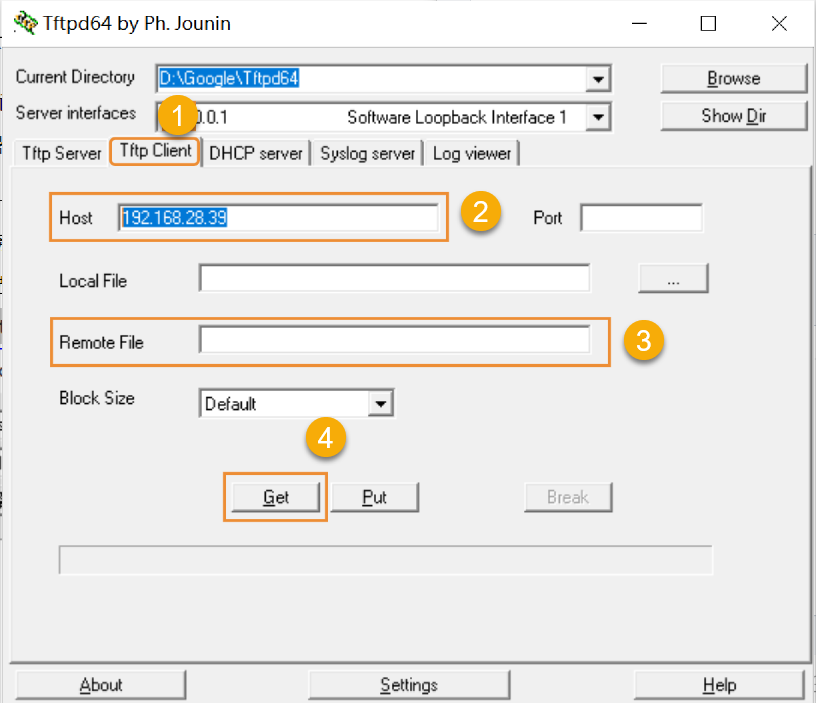
- Download a file from PBX
-
- In the Tftpd64, go to Tftp Client tab.
- In the Host field, enter the IP address of the PBX.
- In the Remote File field, enter the name of the desired file.
- Click Get to download the file.
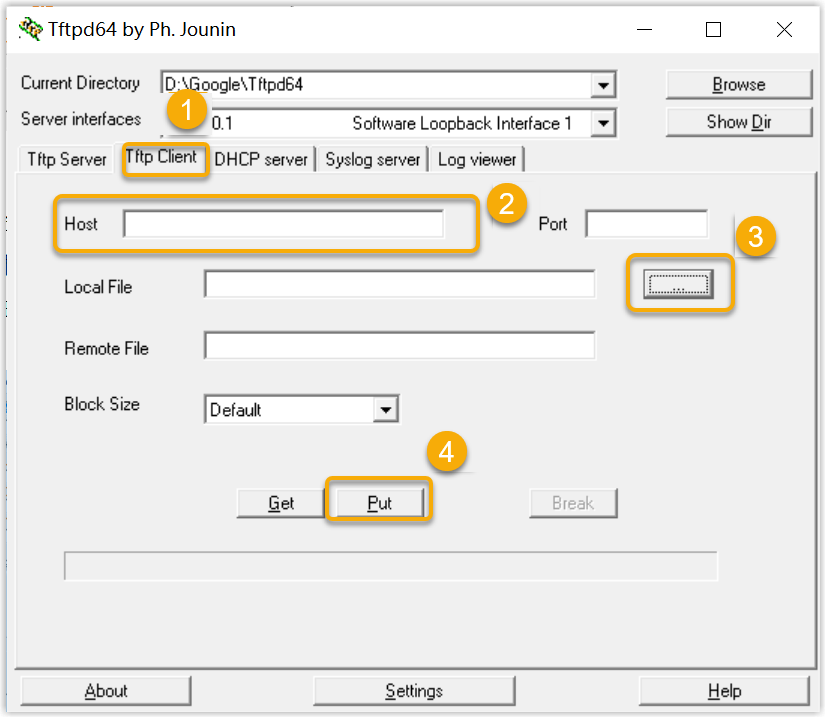
- Upload a file to PBX
-
- In the Tftpd64, go to Tftp Client.
- In the Host field, enter the IP address of the PBX.
- Click the
 beside the Local
File field to select the desired file.
beside the Local
File field to select the desired file. - Click Put to upload the file to the
PBX.