Set up a Hard Disk Drive
This topic describes how to set up a hard disk drive on Yeastar P-Series PBX System.
Note: Hard disk drive is ONLY supported on P560 and P570.
Prerequisites
- Make sure your PBX is power off.
- Prepare a 2.5'' SATA hard disk drive.
- Back up data on the hard disk drive in advance.
Procedure
- Install hard disk drive on Yeastar P-Series PBX System.
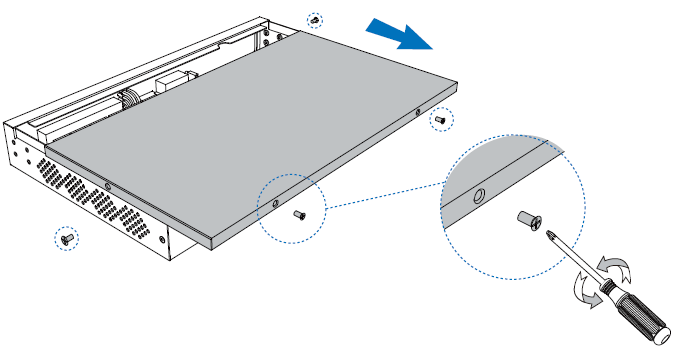
- Loosen the screws at the bottom of the device and remove the
upper cover.
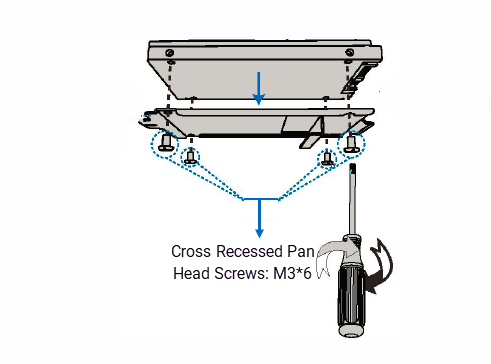
- Lock the hard disk drive on the bracket.
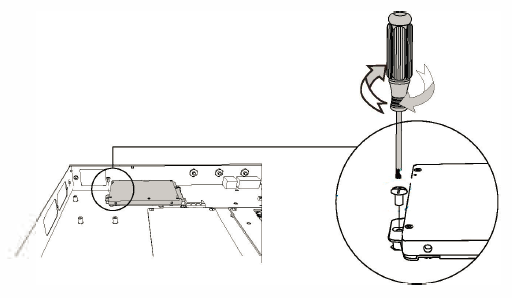
- Push the hard disk drive to the right.

- Lock the screws to fix the hard disk drive.
- Loosen the screws at the bottom of the device and remove the
upper cover.
- Format the hard disk drive.Note: All the data in the hard disk drive will be cleared after formatting.
- Log in to PBX web portal, go to , find the hard disk drive.
- In the Operations column, click
 .
. - In the pop-up dialog box, click OK.
The hard disk drive is formatting.
- In the Storage Devices section, check status of the
hard disk drive.
- Connected: The hard disk drive is connected.
- Not Inserted: No hard disk drive is inserted.
- Error: Format error.
- Read Only: Can NOT write data to the hard disk drive.
What to do next
Power on the PBX, and decide what data will be stored on the hard disk drive. For more information, see Manage Storage Locations.