Set Up File Sharing
Yeastar P-Series PBX System supports a file sharing feature, which allows you to access and share files that are stored in external storage devices of PBX from a local computer.
Prerequisite
- You have set up external storage devices on PBX.
- You have stored desired data on external storage devices. For more information, see Manage Storage Locations.
Procedure
Step1. Enable File Sharing feature on the PBX
- Log in to PBX web portal, go to .
- In the File Sharing section, enable File Sharing and click OK in the pop-up window.
- Select the checkbox of Allow to Change Shared Files.
Note: Ensure this option is selected otherwise you can not edit, upload or download the files in the shared file holder.
- In the Shared Folder Name field, specify a folder name to help you identify it.
- Click Save.
- Check and note down the Account and
Password.
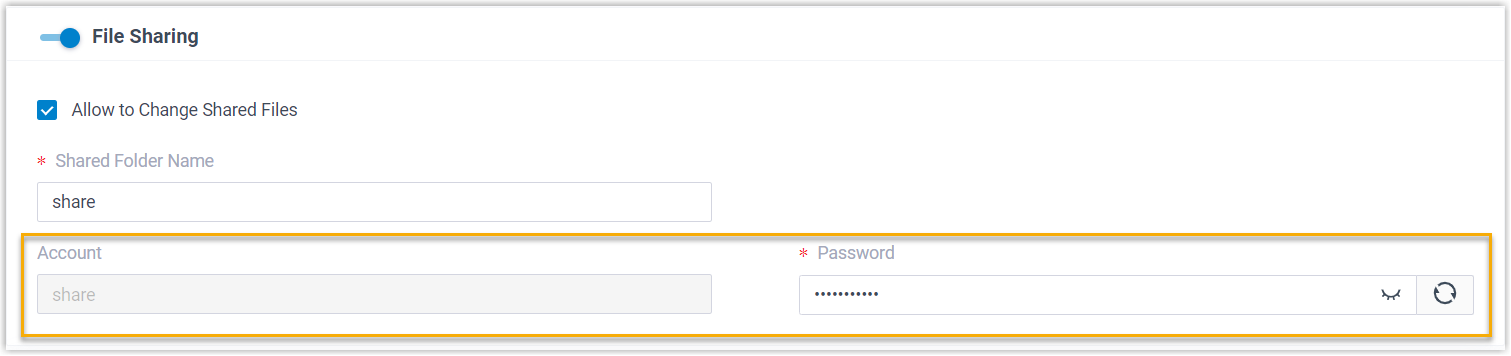
- Account:
share.Note: The Account name can not be changed. - Password: Auto-generated random password.
- Click
 to check the password.
 - Click
 to generate a new
random password.
to generate a new
random password.
- Click
- Account:
Step2. Access the shared files on PC
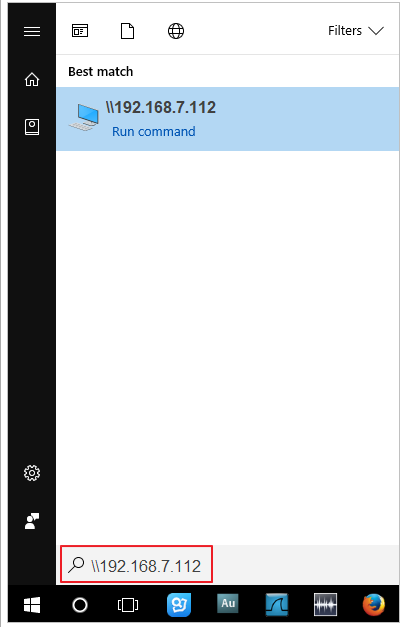
- In the Windows search field, enter \\{IP
address of the PBX}, then press Enter.For example, the IP address of the PBX is 192.168.7.112, then you should enter \\192.168.7.112.
- Double-click the shared folder.
A pop-up window requires login credentials.
- In the pop-up window, enter the credentials.
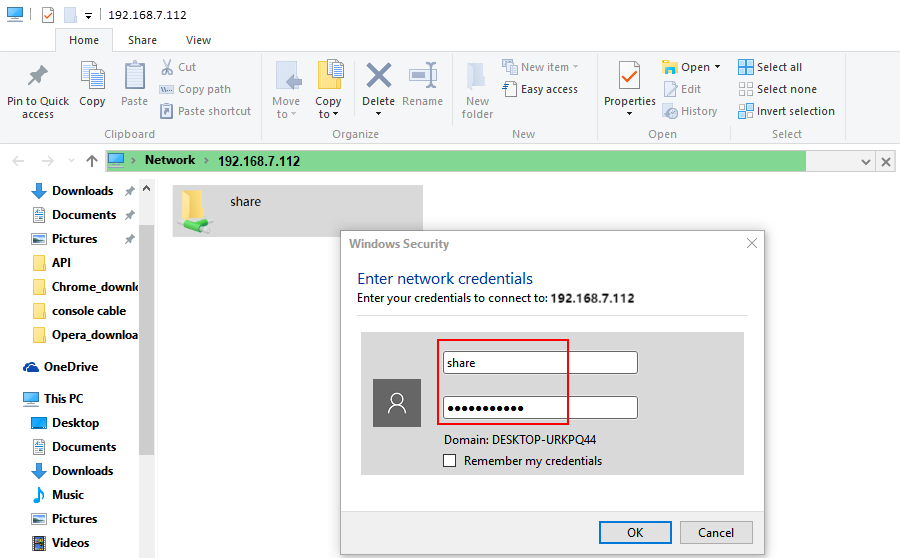
- Enter the user name and password.
- User name: Enter share.
- Password: Enter the password.
- Click OK.You can now access the shared folder. In this folder, there are subfolders that contain the shared files from PBX external storage. The subfolders vary depending on the PBX external storage device:
- mmc folder for the shared files in SD card.
- usb folder for the shared files in USB drive.
- harddisk folder for the shared files in hard disk.
Note: If no subfolders appears, check if the external storage device is connected to the PBX properly.
- Enter the user name and password.
File Sharing FAQ
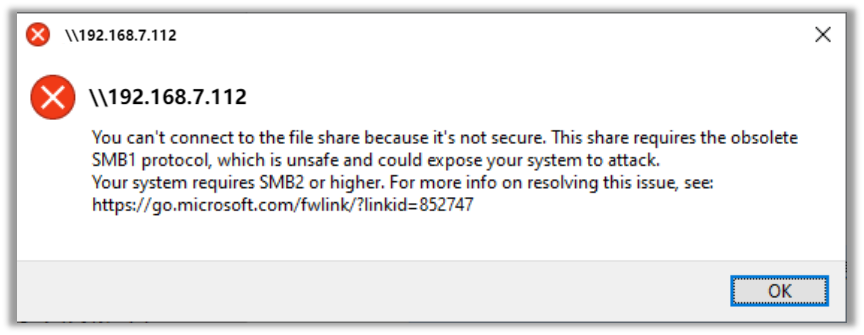
- Windows 10 users cannot access the shared folder of the PBX
- If you fail to access the shared folder and see the pop-up window shown
as below, do as follows.
-
Go to .
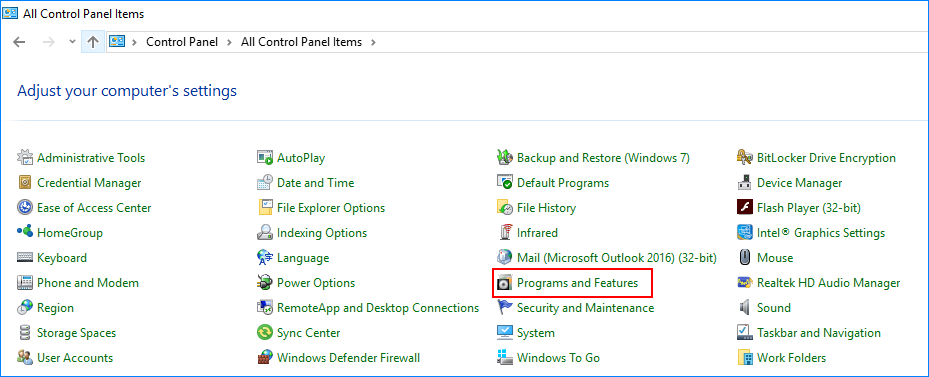
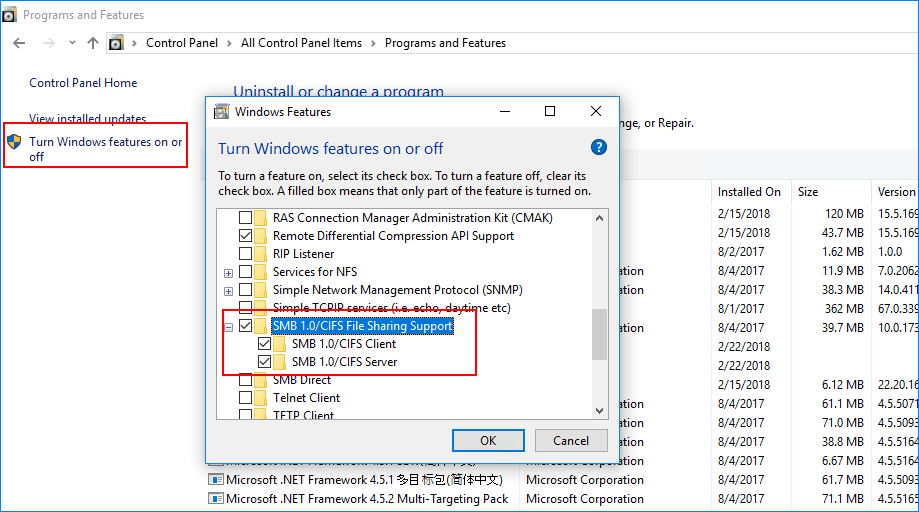
- On the left column of the window, click Turn Windows features on or off.
- In the pop-up window, check the option of SMB
1.0/CIFS File Sharing Support.
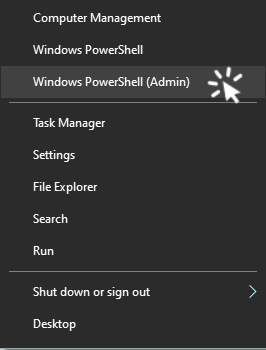
- Press Win + X, and select Windows
Powershell(Admin).
- In the pop-up window, enter
Set-SmbServerConfiguration –EnableSMB2Protocol
$true, and press Enter.
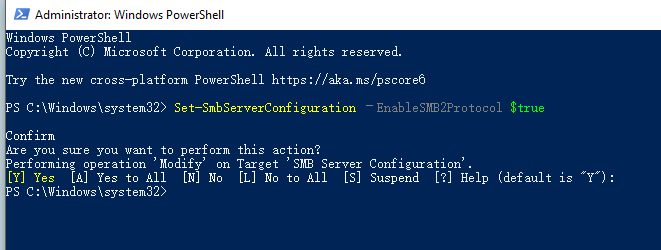
- Press Enter again to execute the command.
- Reboot your computer and retry.
-