Install Yeastar P-Series Software Edition on Mini PC via Command Line
This topic describes how to install Yeastar P-Series Software Edition on Ubuntu in a mini PC via command line.
Requirements
Make sure that your mini PC meets the minimum system requirements according to the extensions and concurrent calls covered by your PBX license.
| 1-19 EXT (1-4 CC) |
20-40 EXT (5-8 CC) |
41-69 EXT (9-16 CC) |
70-130 EXT (17-32 CC) |
||
|---|---|---|---|---|---|
| vCPU | 2 | 2 | 4 | 4 | |
| CPU Frequency | 2.4 GHz | 2.4 GHz | 2.4 GHz | 2.4 GHz | |
| CPU Family | Intel i3 (Gen.8) or equivalent |
Intel i3 (Gen.8) or equivalent |
Intel i5 (Gen.8) or equivalent |
Intel i5 (Gen.8) or equivalent |
|
| Memory | 2 GB | 4 GB | 4 GB | 4 GB | |
| Storage | Call Recording Disabled | 40 GB | 40 GB | 50 GB | 50 GB |
| Call Recording Enabled | 1 GB of storage holds approximately 1000 minutes of recorded calls. You can set up the storage based on your recording usage. | ||||
Procedure
Step 1. Write Ubuntu 24.04 Image to a USB Drive
- Download Ubuntu 24.04 ISO image.
- Format your USB drive with FAT32.
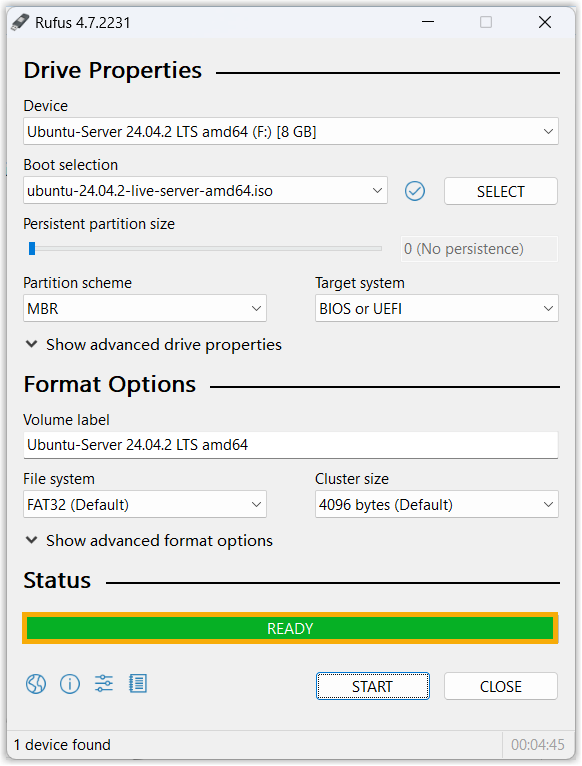
- Open the Ubuntu ISO image via Rufus.
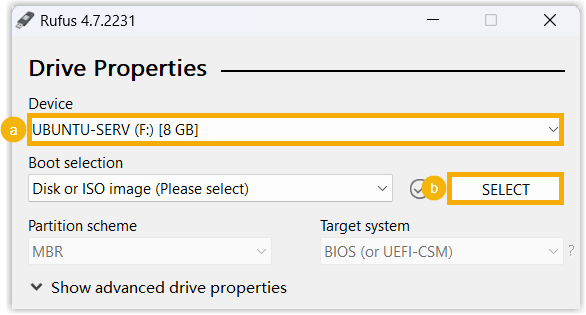
- In the Device drop-down list, select your USB drive.
- In the Boot selection section, click SELECT to select the Ubuntu ISO image.
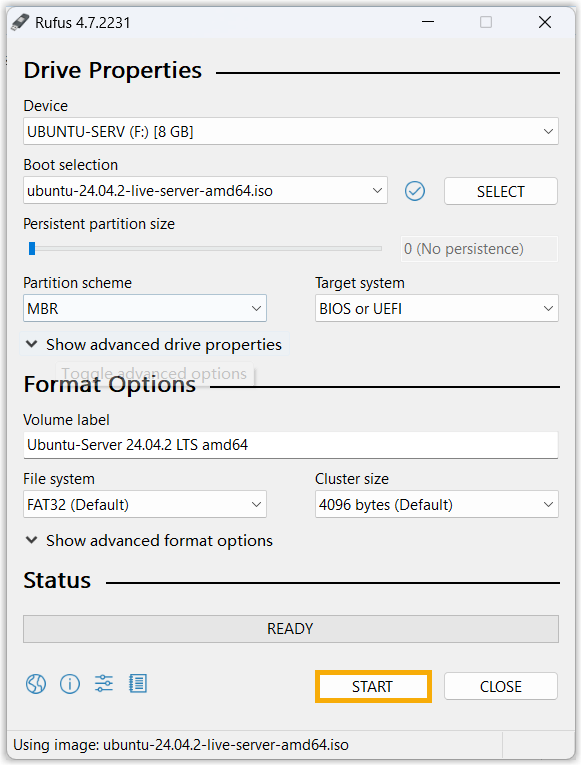
- Write Ubuntu ISO image to the USB drive.
- Click START.
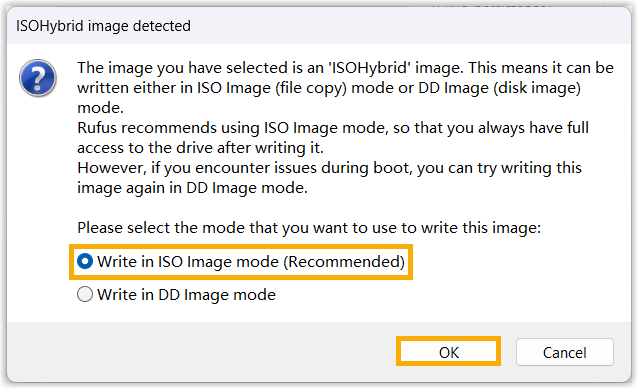
- In the pop-up window, select Write in ISO Image
mode, then click
OK.
-
In the pop-up window, click OK.
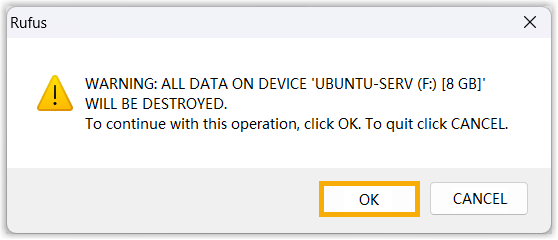
If the status shows "READY", it indicates that the process of writing ISO image is completed.
- Click START.
Step 2. Install Ubuntu 24.04 LTS
- Connect the USB drive to the USB port on mini PC.
- Press the power button to power on mini PC, and immediately
press a key to enter the "Aptio Setup".Note: The key to enter the setup depending on your computer manufacturer and model.
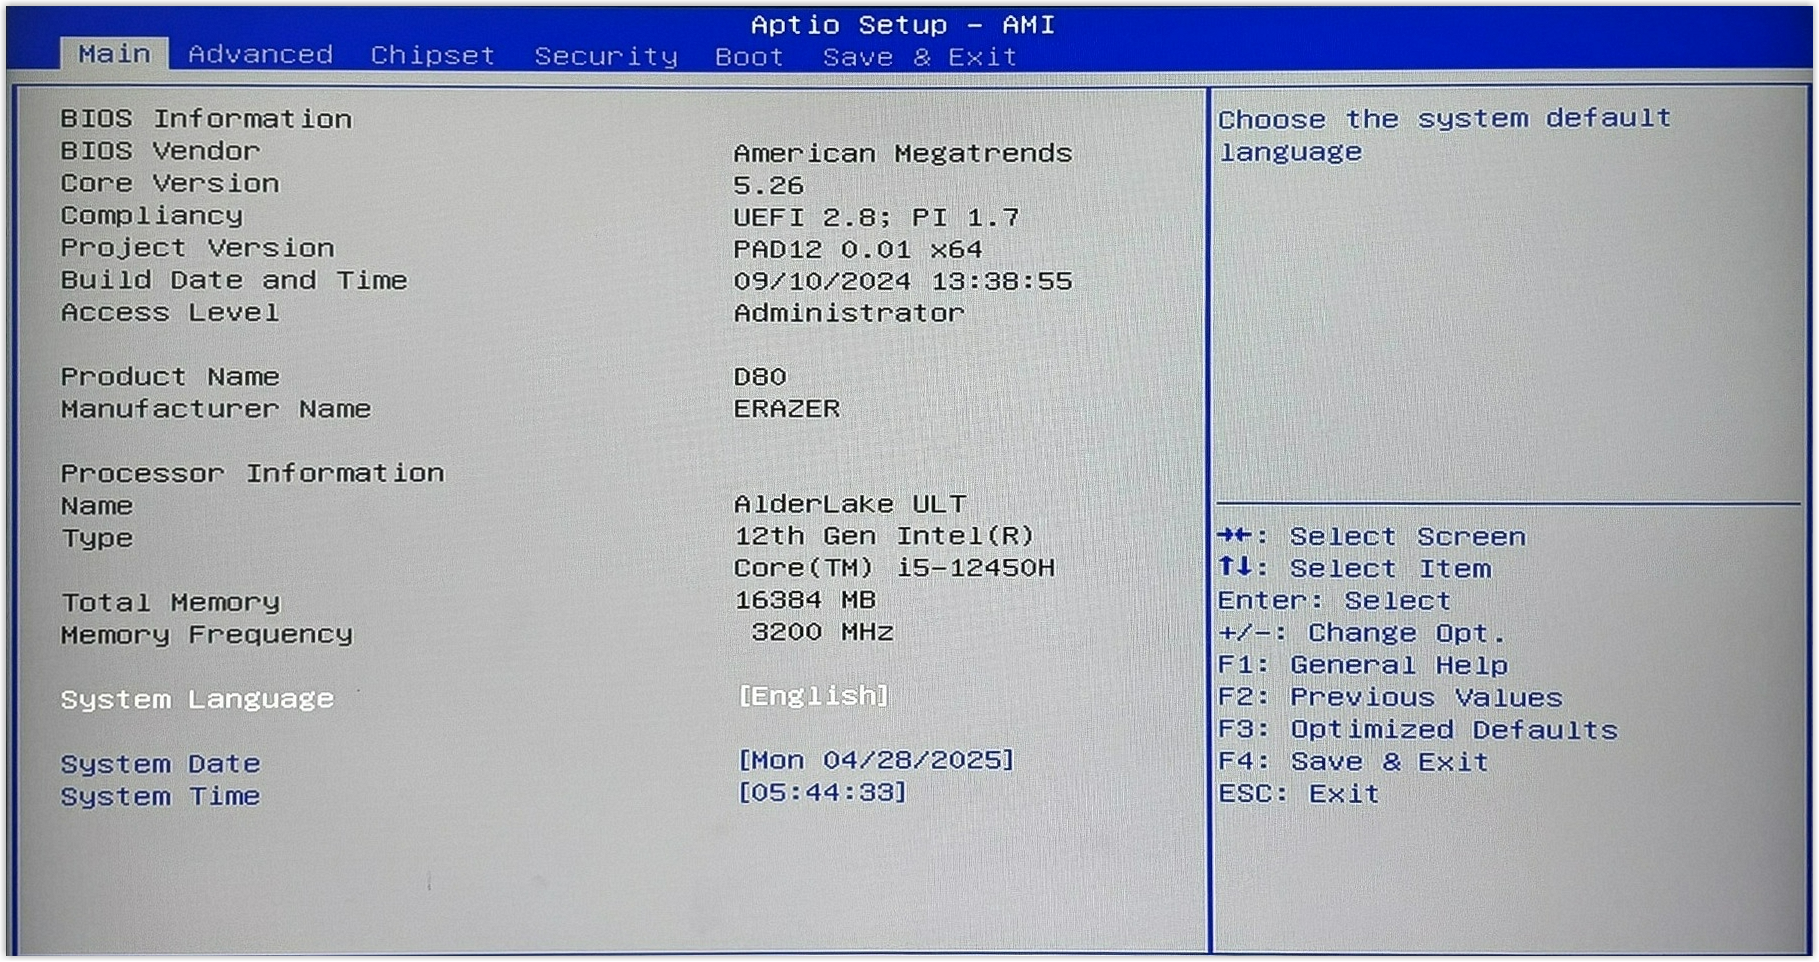
- Set the mini PC to boot from the USB drive.
- Go to Boot tab, then set Boot
Option #1 to boot from the USB drive.
-
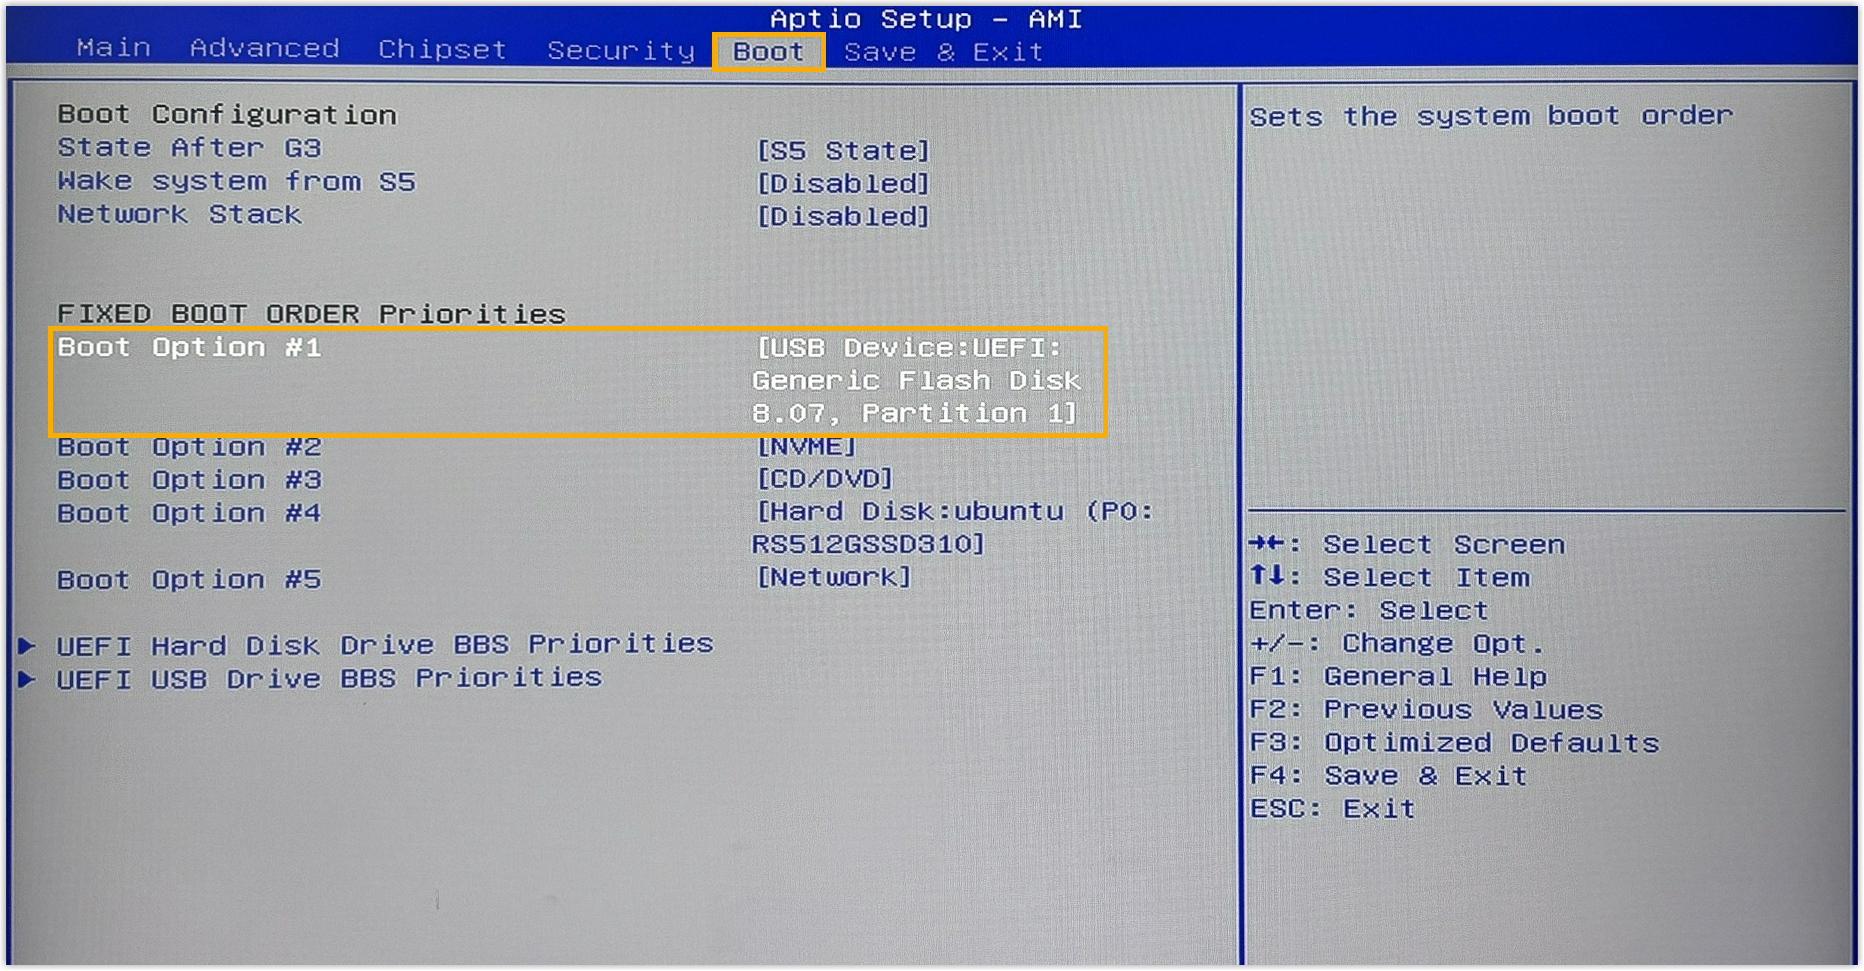
Go to Save & Exit tab, then select Save Changes and Exit and confirm the operation.
- Go to Boot tab, then set Boot
Option #1 to boot from the USB drive.
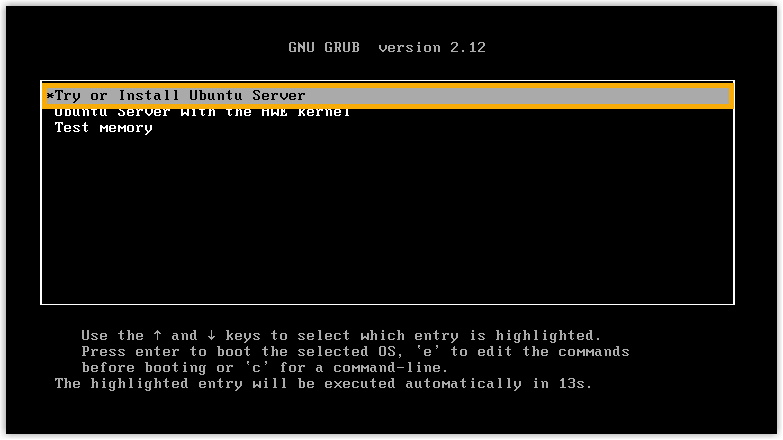
- Select Try or Install Ubuntu Server.
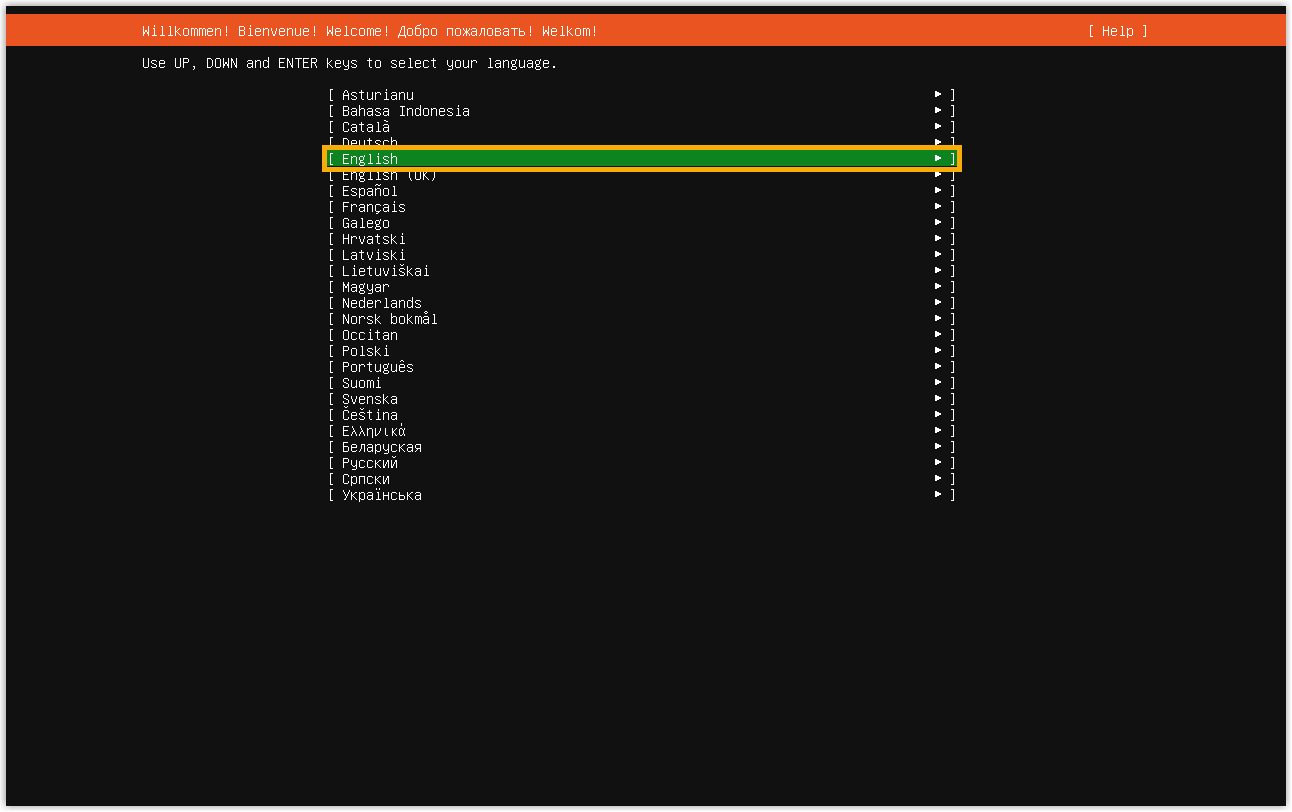
- Select your preferred installation language.
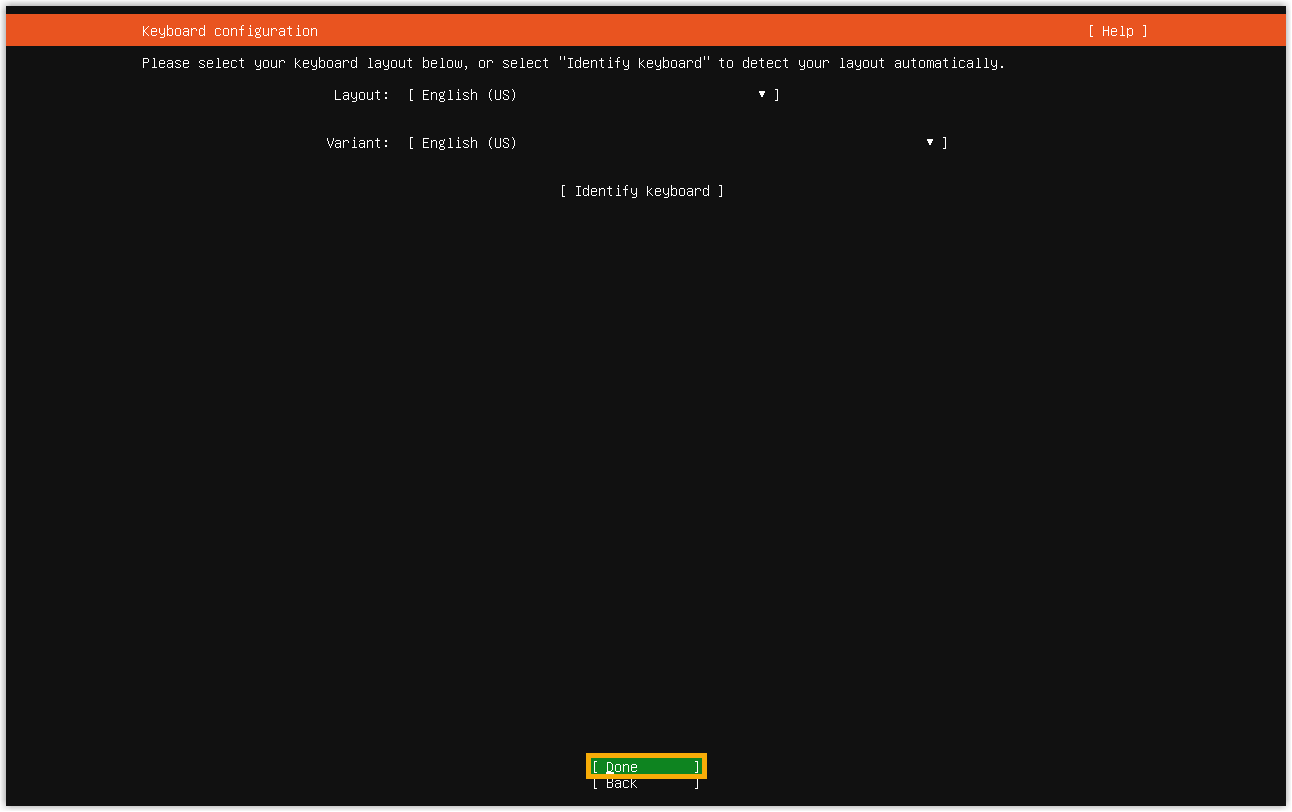
- Select your preferred keyboard layout, then select
Done.
- Select your preferred installation type, then select
Done.

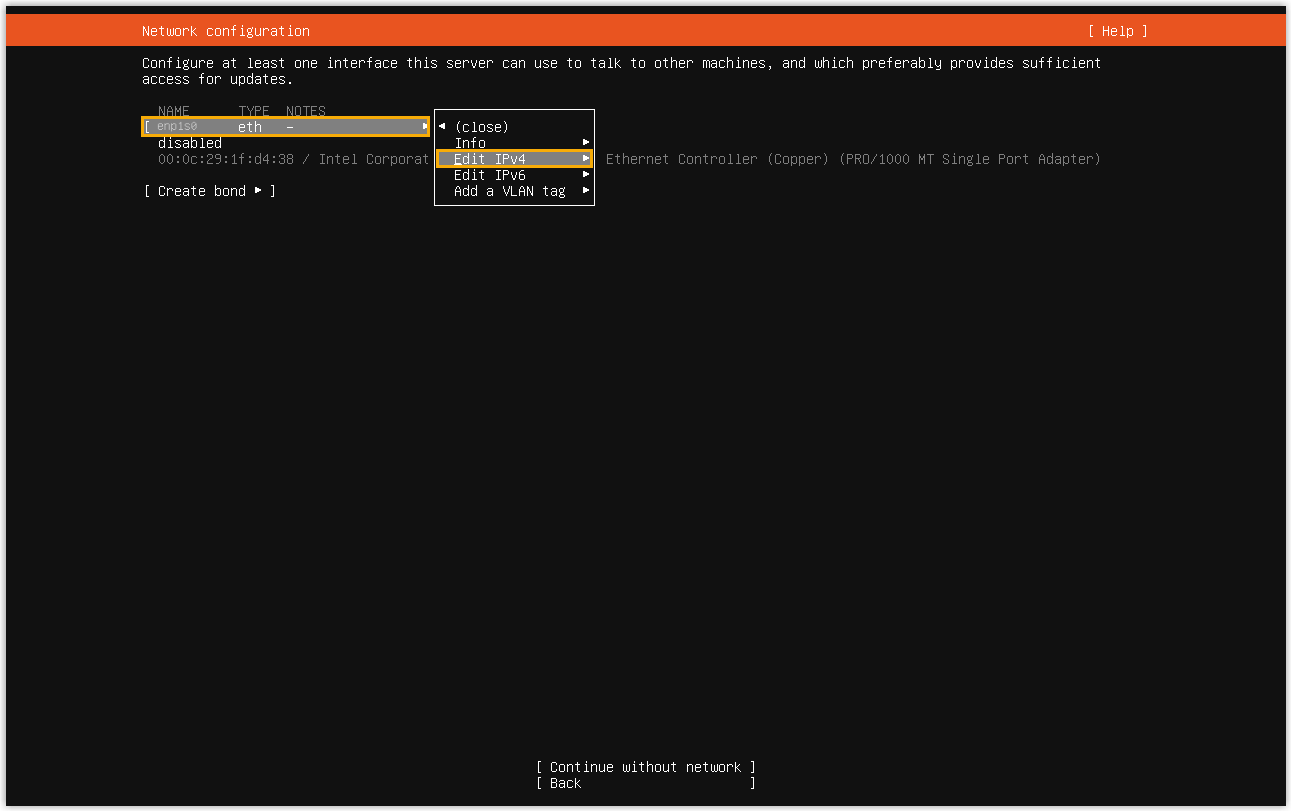
- Set an interface for network and internet connection.
- Select an active network interface, then select Edit
IPv4.
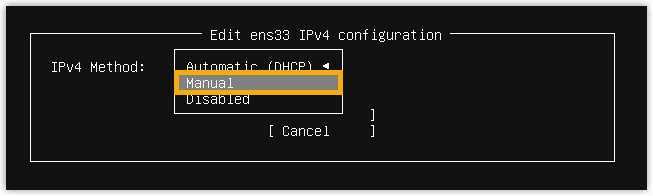
- Set IPv4 Method to
Manual.
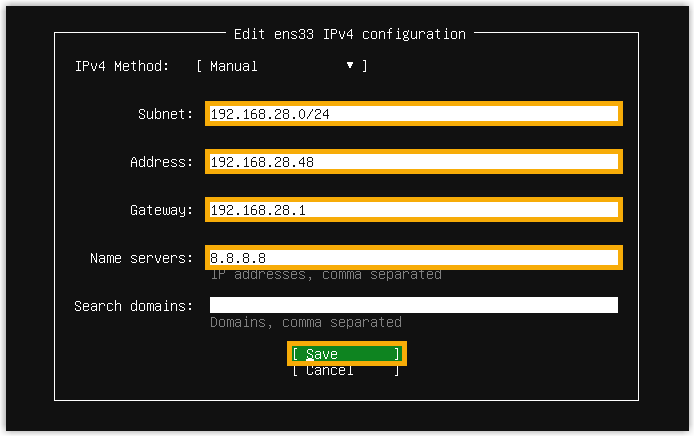
- Fill in the IP details, then select
Save.
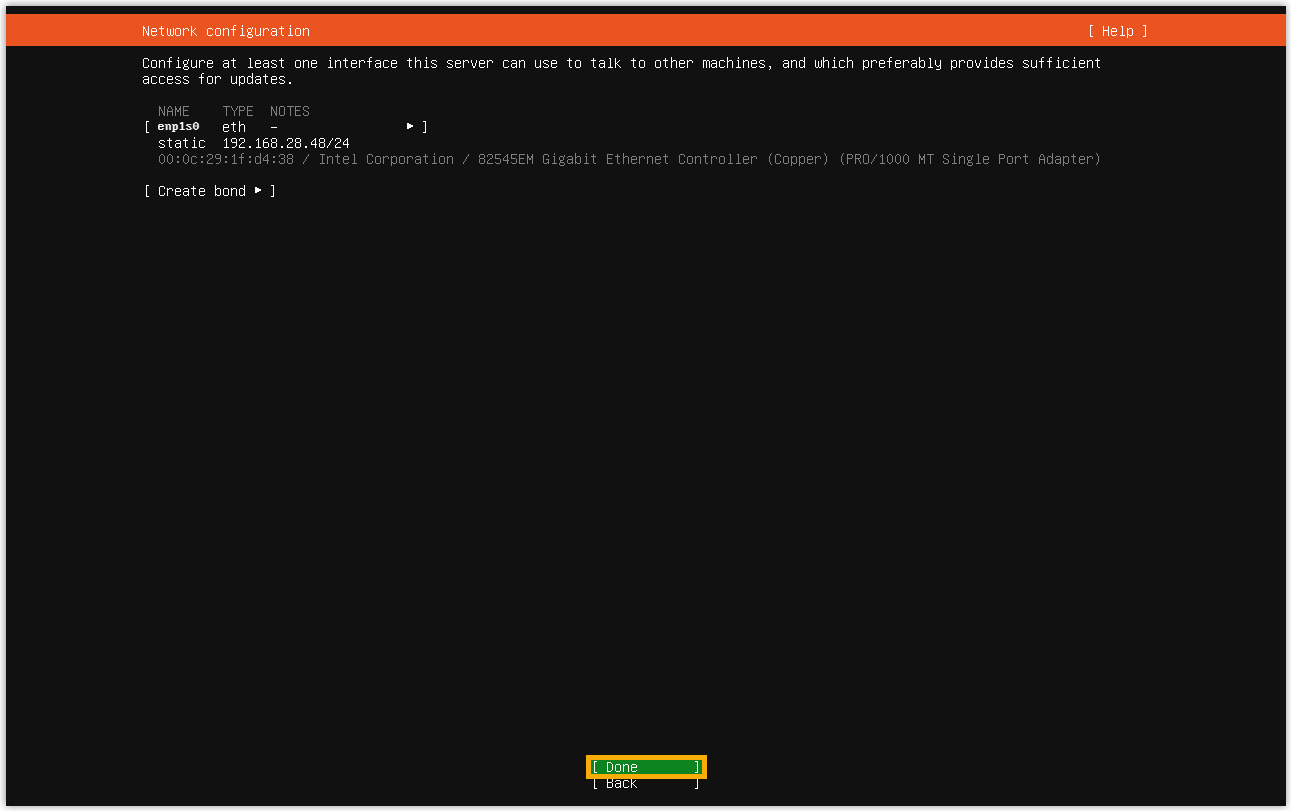
- Select Done to confirm the setting.
- Select an active network interface, then select Edit
IPv4.
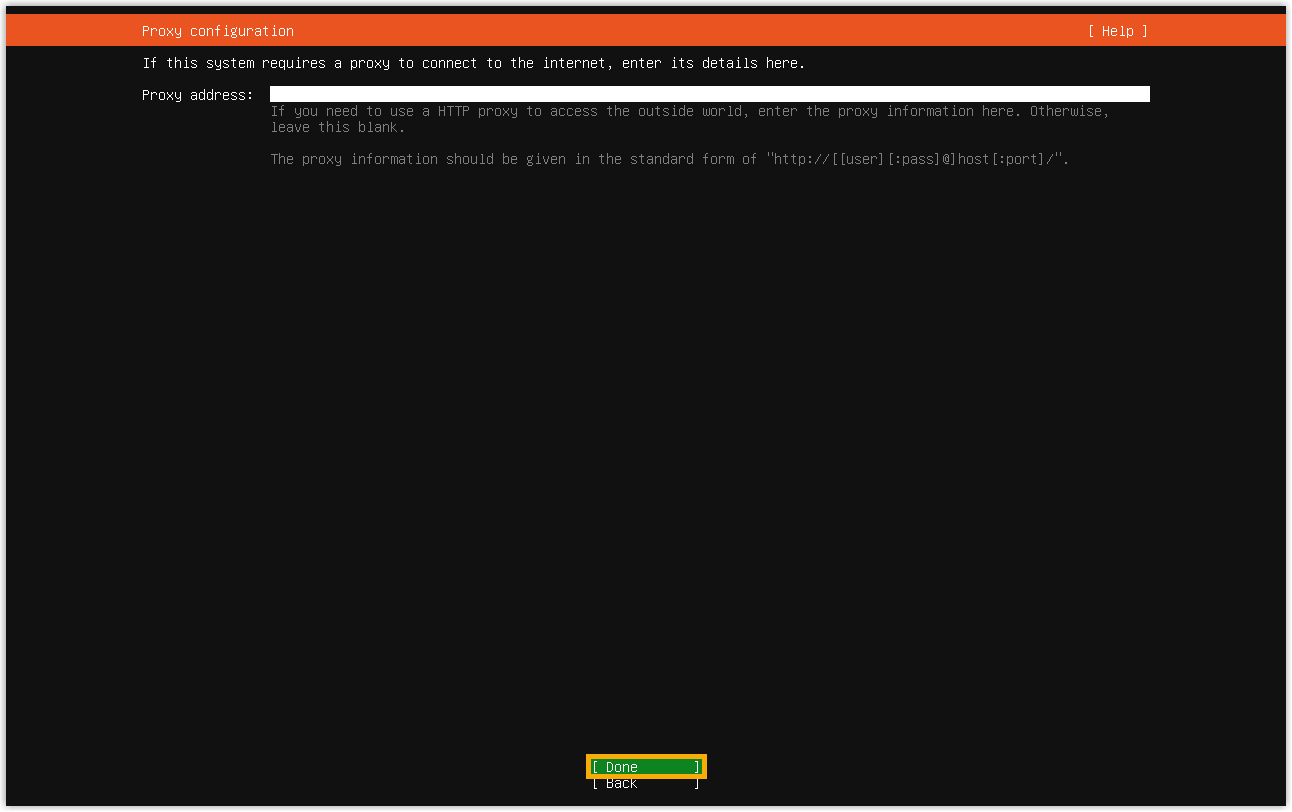
- Set proxy as needed, then select Done.
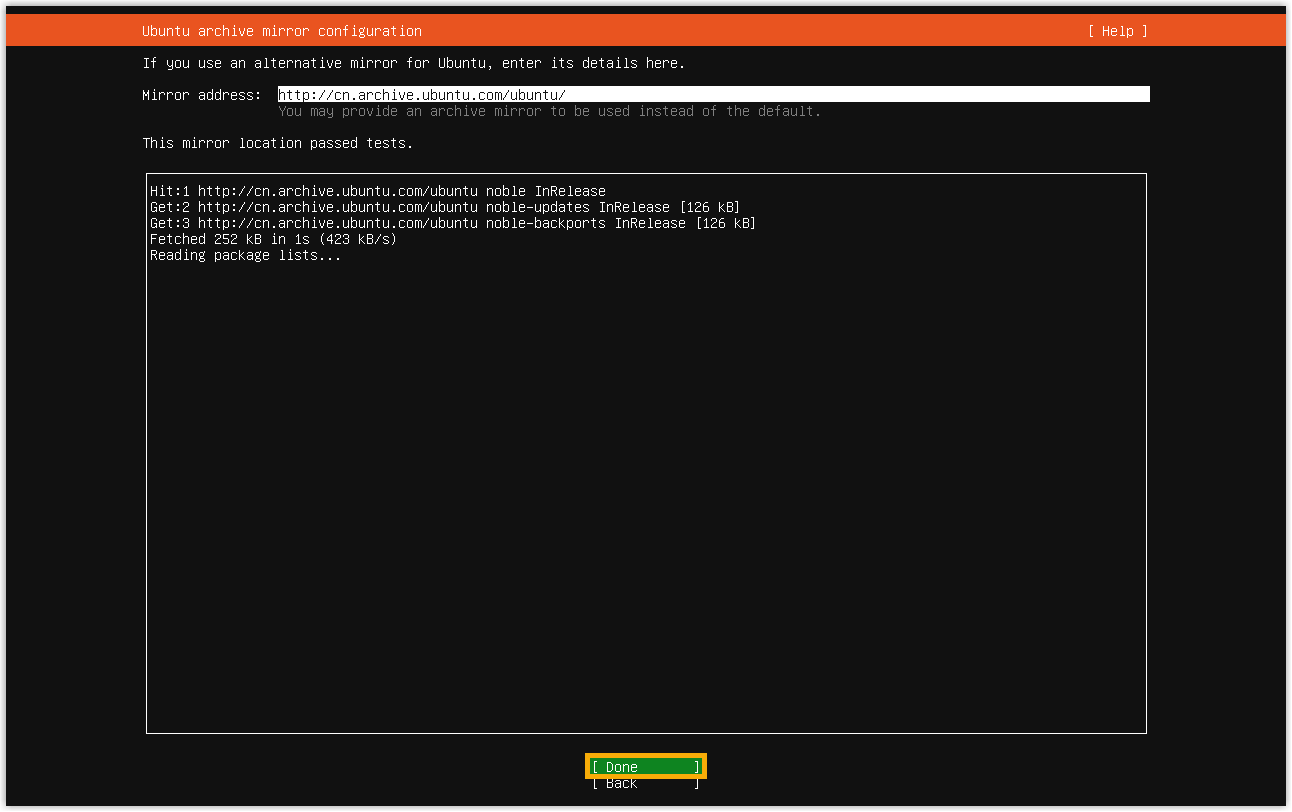
The installer will perform a mirror test by updating the package index.
- Once the mirror test is complete, select
Done.
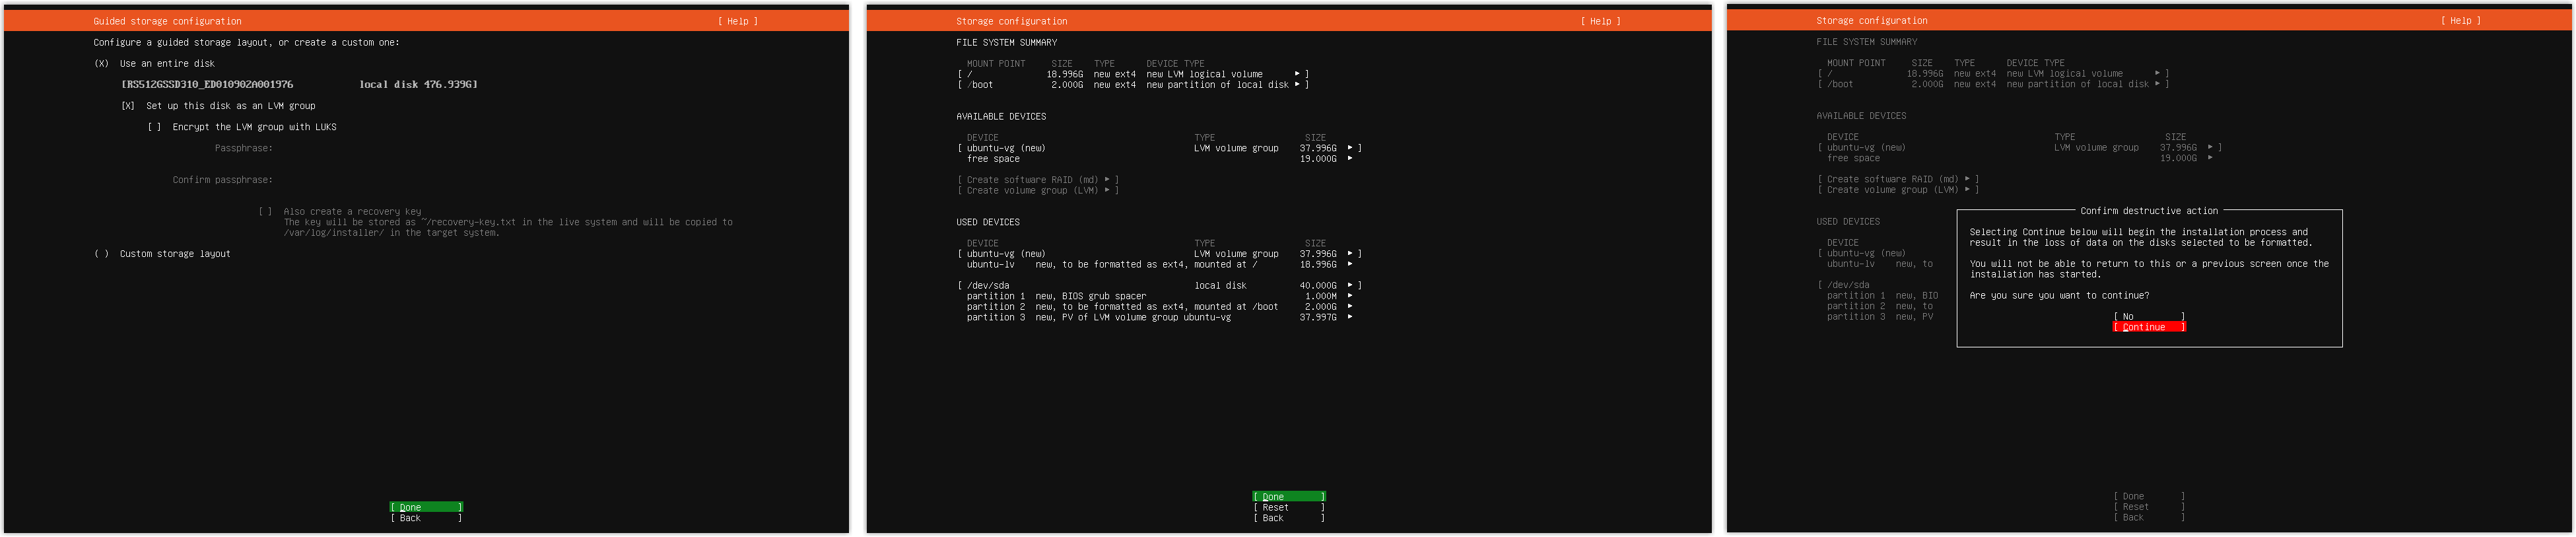
- Configure disk partitions as needed, then select
Continue to write the changes to
disk.
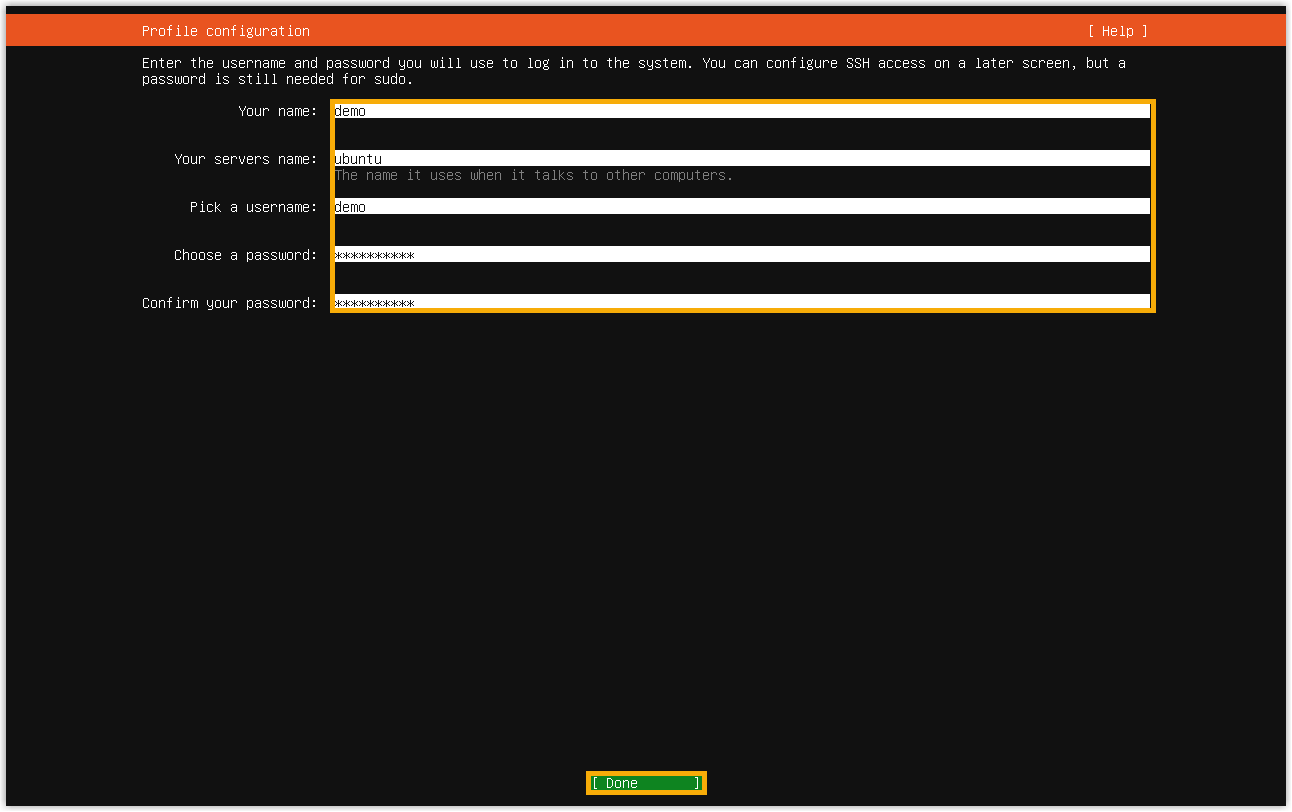
- Create a user account, then select
Done.
- Select whether to enable Ubuntu Pro, then select
Continue.

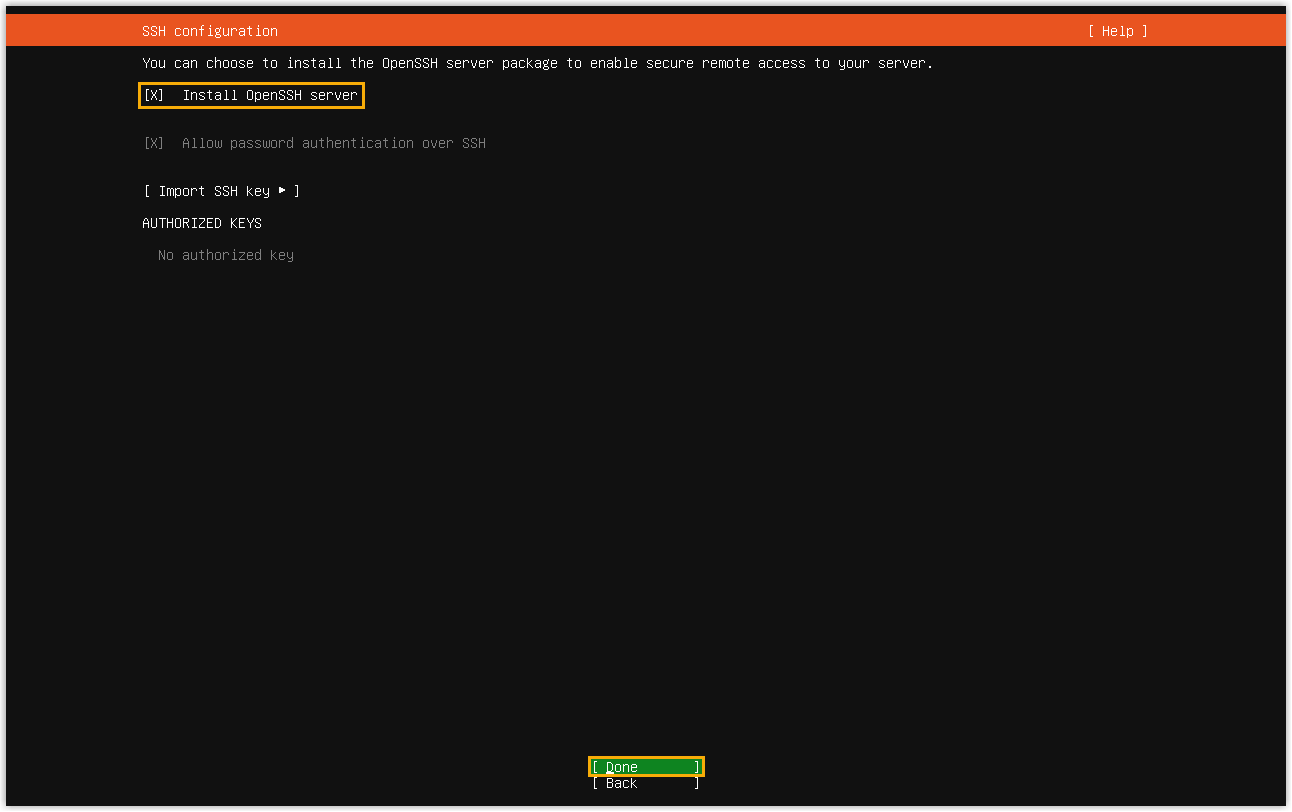
- Select to install the OpenSSH server, then select
Done.
- Select whether to install some featured applications in the form of snaps,
then select Done.
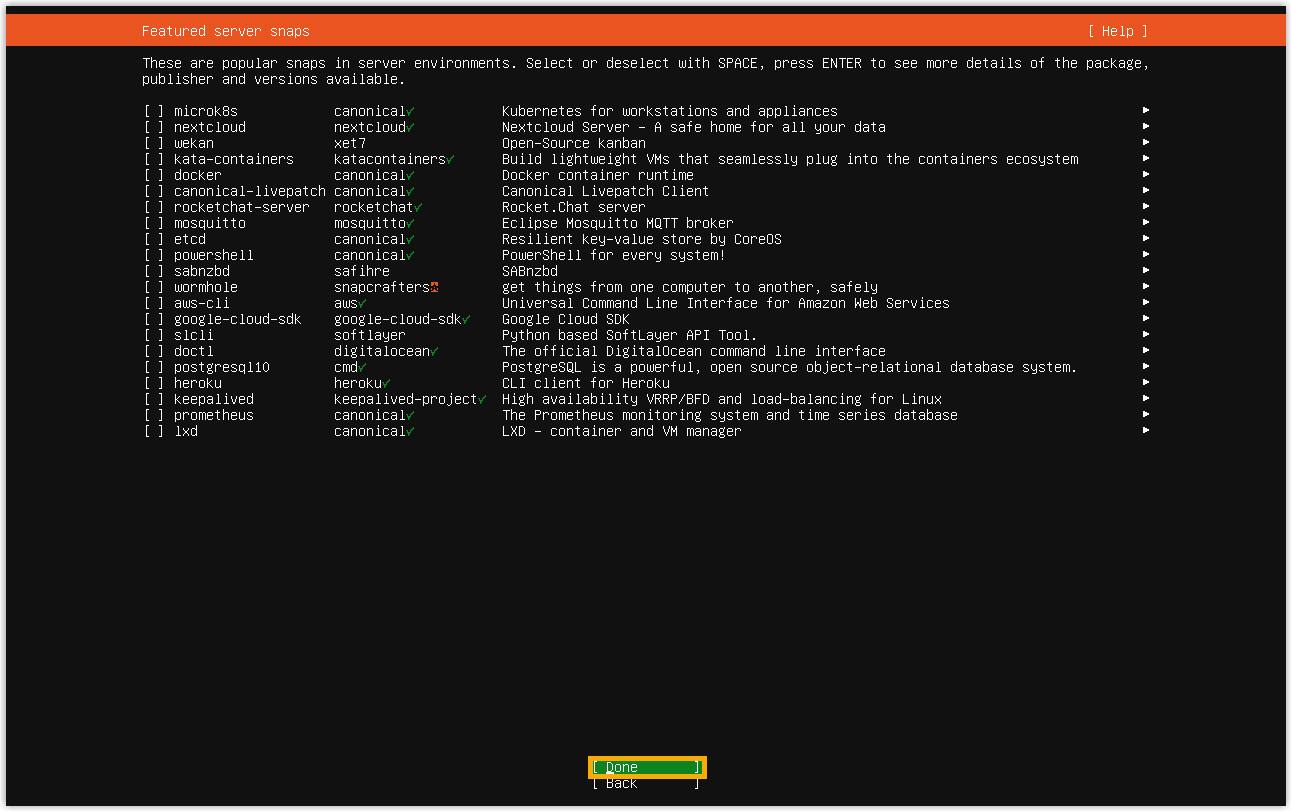
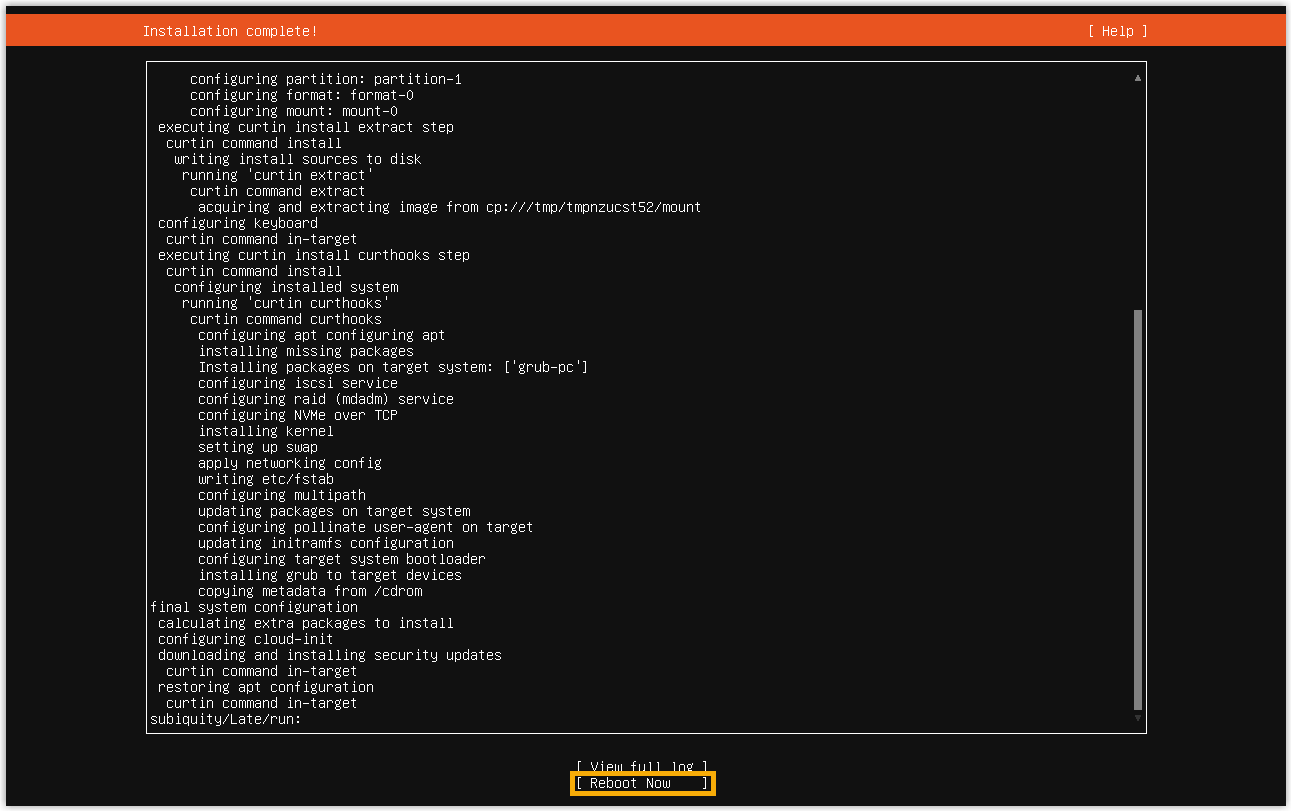
The installer will copy all the files from the USB drive and configure all the required settings.
- Select Reboot Now to reboot.
- When you see the following prompt, remove the USB drive from
mini PC, then press
Enterto continue.
Step 3. Install Yeastar P-Series Software Edition
- Log in as the root user.
- Log in to the user account.
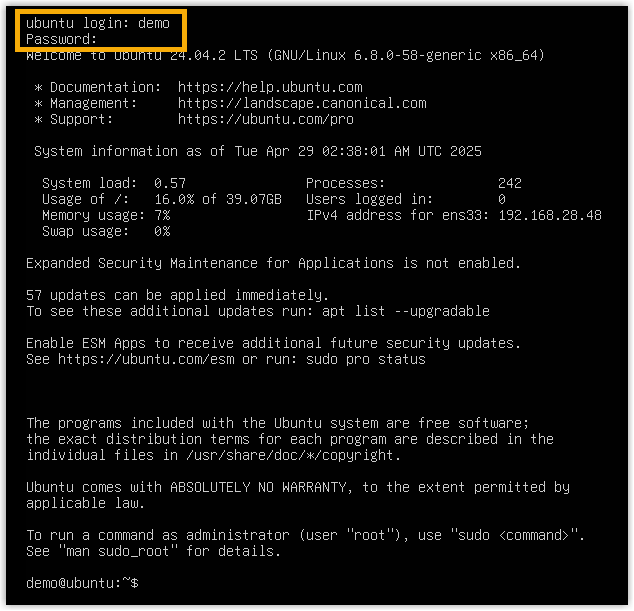
- Run
sudo -i, then enter the password of the user account, so as to switch to root.
- Log in to the user account.
- Run the following commands to check the NIC name.
- Run
apt install net-tools. - Run
ifconfig.
If the NIC name is
enp1s0, proceed to install PBX.Note: If the NIC name is NOTenp1s0, run the following commands to modify the network.- Run
cd /etc/netplan/, then runlsto check the name of the YAML configuration file.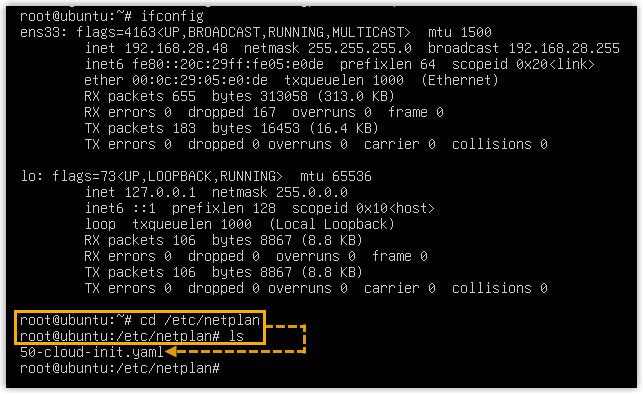
- Run
sed -i's/{nic_name}/eth0/g'
                                            /etc/netplan/{name_of_yaml_configuration_file}.yaml
.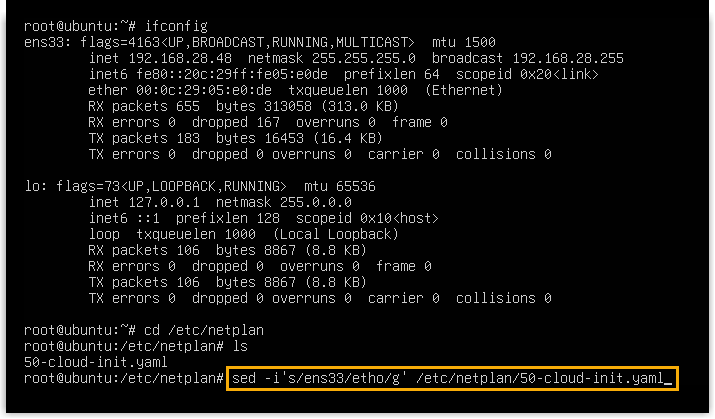
- Run
netplan applyto apply the updated network configuration. - Run
cdto return to the home directory.
- Run
- Run the following commands to install Yeastar P-Series
Software Edition.
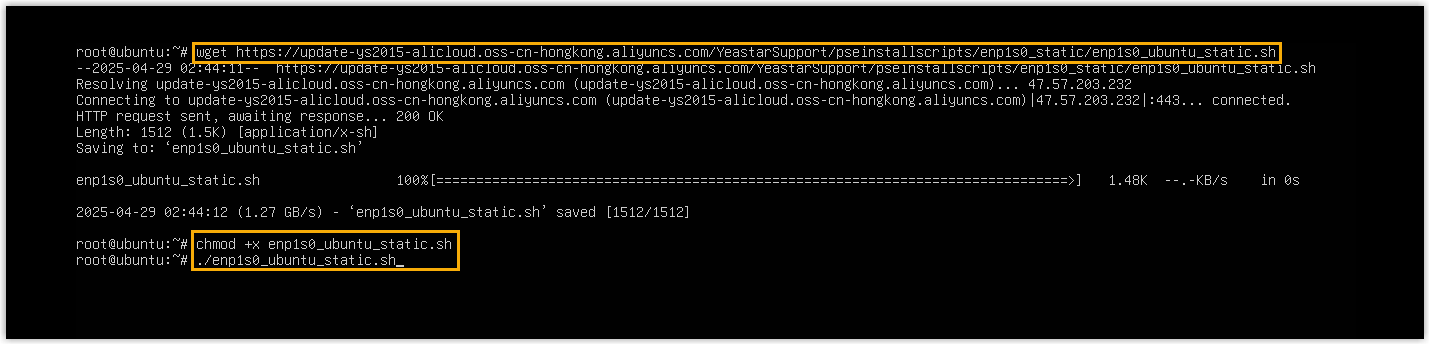
wget
                                    https://update-ys2015-alicloud.oss-cn-hongkong.aliyuncs.com/YeastarSupport/pseinstallscripts/enp1s0_static/enp1s0_ubuntu_static.sh
chmod +x enp1s0_ubuntu_static.sh-
./enp1s0_ubuntu_static.sh
- Wait 5 to 10 minutes until the installation process is no longer
running, then press
Enter.If a
IPPBX loginprompt is displayed and no errors likewait for basicsrv run okoccur, it indicates that P-Series Software Edition is installed.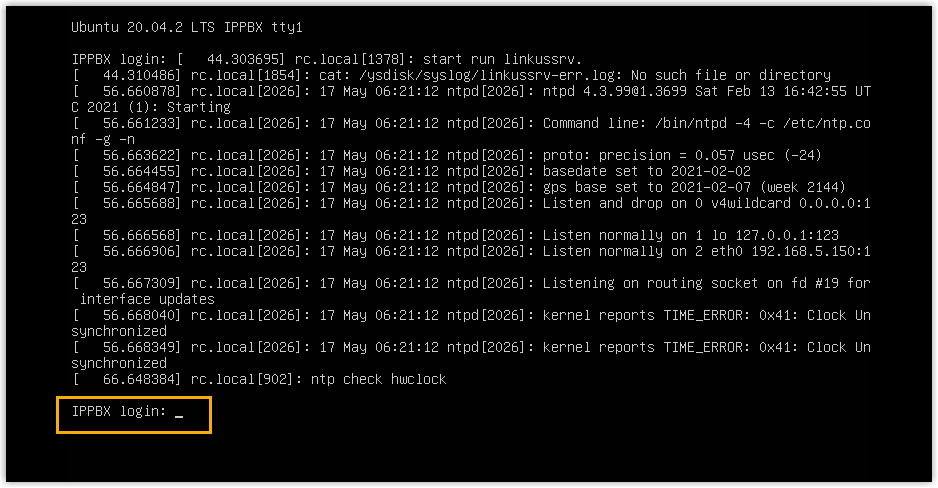
(Optional) Step 4. Change the default IP address of Yeastar P-Series Software Edition
192.168.5.150. If you prefer another IP address or your PC is
on a different network segment such as 192.168.28.X, you can change
the PBX's default IP address.We assume that your PC is on the network segment
192.168.28.X and your desired PBX IP address is
192.168.28.45. Refer to the following instructions to change
the PBX's IP address.
- At the
IPPBX loginprompt, typesupportand pressEnter.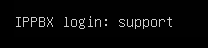
- At the
Passwordprompt, typeloginpbx(if the PBX firmware version is 83.18.0.59 or later) orQhcyaxsGcywymg2022(if the PBX firmware version is 83.18.0.18 or earlier), then pressEnter. Note: Generally, you will NOT get any visual feedback from the screen when you type the password.
You are presented with a prompt, displaying the Ubuntu information and system information. In the meanwhile, you are given the option to ping an IP address, view or update current network configuration, and log out the
supportaccount. You can type a specific number to run the command of the corresponding number.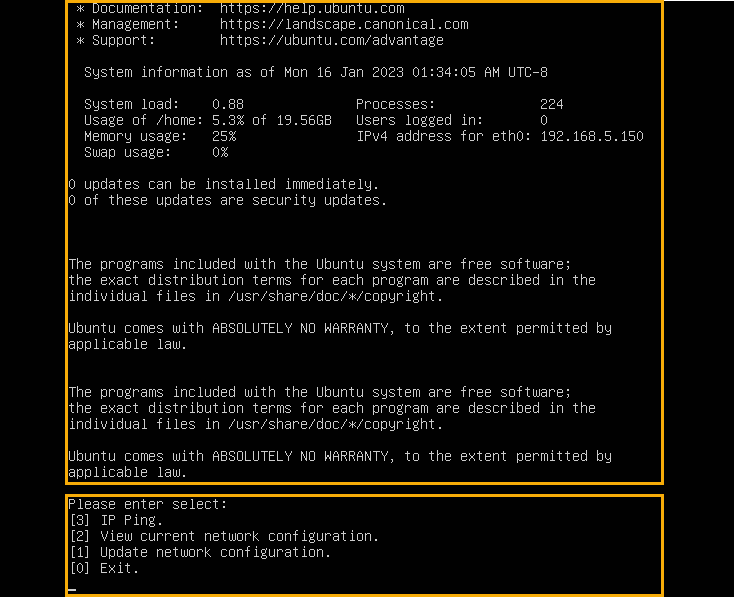
- Type
1and pressEnterto update the network configuration.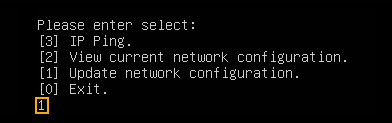
- Change the IP address of Yeastar
P-Series Software Edition as follows.
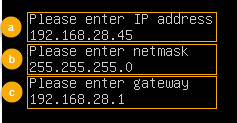
- At the
Please enter IP addressprompt, type the desired IP address and pressEnter.In this example, type
192.168.28.45. - At the
Please enter netmaskprompt, type the subnet mask and pressEnter.In this example, type
255.255.255.0. - At the
Please enter gatewayprompt, type the gateway address and pressEnter.In this example, type
192.168.28.1.It takes about two minutes to change the PBX's IP address from
192.168.5.150to your desired IP address.
- At the
Result
Yeastar P-Series Software Edition is installed successfully.
What to do next
Activate and set up Yeastar P-Series Software Edition to make it ready for use. You can do this using one of the following methods:
- Complete setup via Web GUI using the installation wizard
-
- Open a web browser, enter the PBX's IP address and port
in the address bar (e.g.
https://192.168.28.45:8088), and
press
Enter.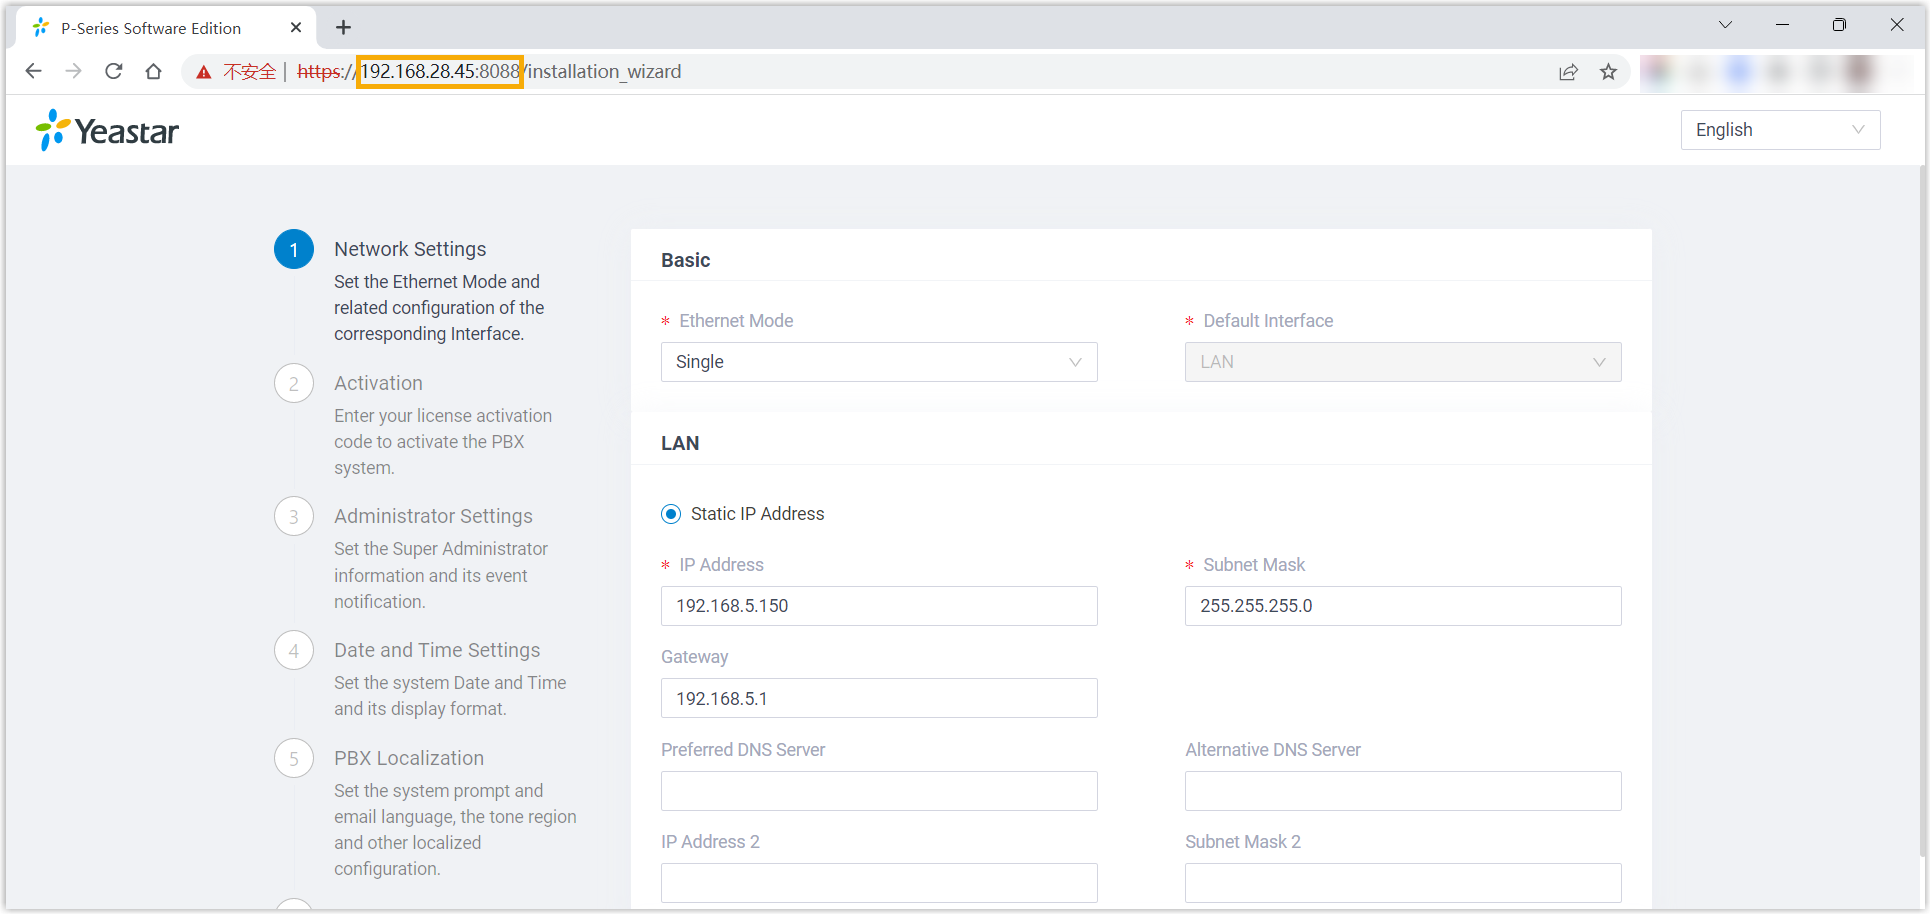
- Activate and initially set up Yeastar P-Series Software Edition following the installation wizard.
- Open a web browser, enter the PBX's IP address and port
in the address bar (e.g.
https://192.168.28.45:8088), and
press
- Complete setup via SSH using a prepared XML file
Upload a prepared XML file to the PBX via SSH. This method allows you to complete the initial setup and apply additional supported PBX settings, such as creating extensions, trunks, inbound routes, and more.
- Download the XML configuration file and edit it as needed.
- Upload the XML configuration file to the designated directory and reboot the PBX to take effect.
For more information, see Activate and Set up Yeastar P-Series Software Edition Using XML Configuration File.
- Root Account: Username is
root, and password is the credential configured in XML configuration file.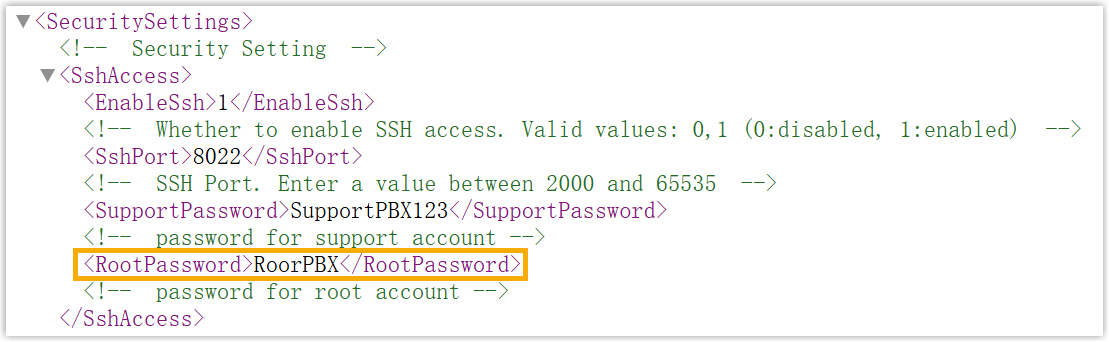
- Support Account: Username is
support, and password is the credential configured in PBX web portal (Path: ) or in XML configuration file.Figure 1. Support password in PBX web portal 
Figure 2. Support password in XML configuration file 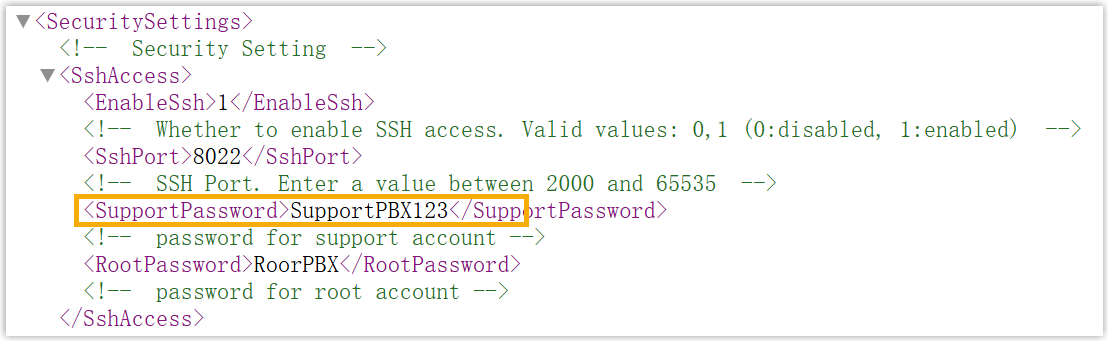
- Custom Account: Username and password are the credentials configured during installation process.