Activate and Set up Yeastar P-Series Software Edition Using XML Configuration File
You can activate and set up the system using a XML configuration file. The configuration file will be automatically parsed to auto-configure Yeastar P-Series Software Edition.
Prerequisites
- You have installed PBX with firmware version 83.19.0.22 or later.
- You have downloaded the XML configuration file and edit it as needed.
Procedure
- After completing the installation, obtain root access according to the ISO image used.
ISO Image Instruction Auto-install ISO (Ubuntu) - Obtain root access using root account

- Obtain root access using custom account
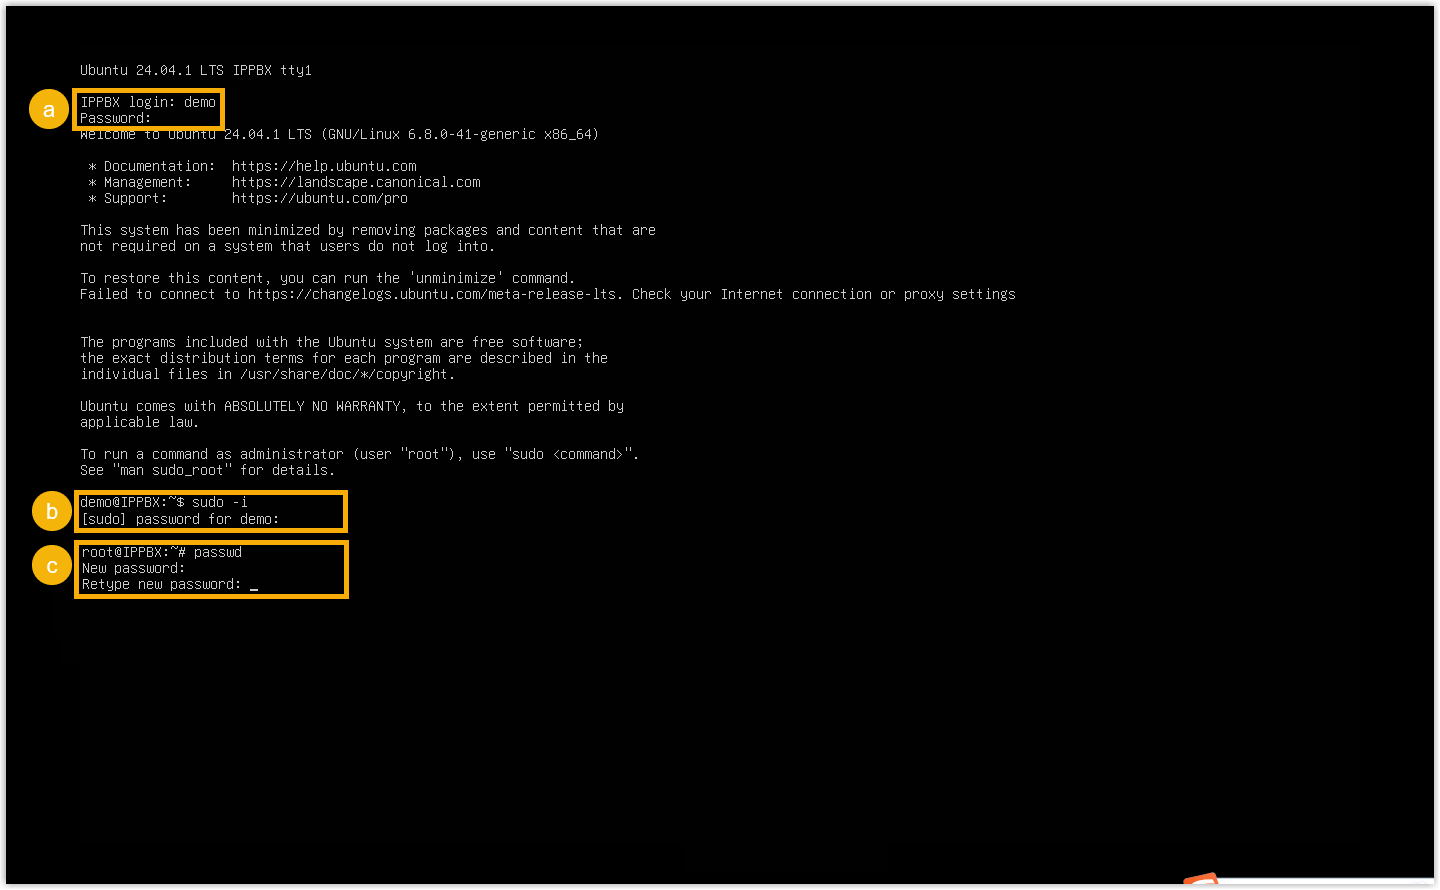
-
- Log in to the user account.Note: The user account credentials are set during the installation process, as shown below.
- Run
sudo -i, then enter the user account password to switch to the root account.
- Log in to the user account.
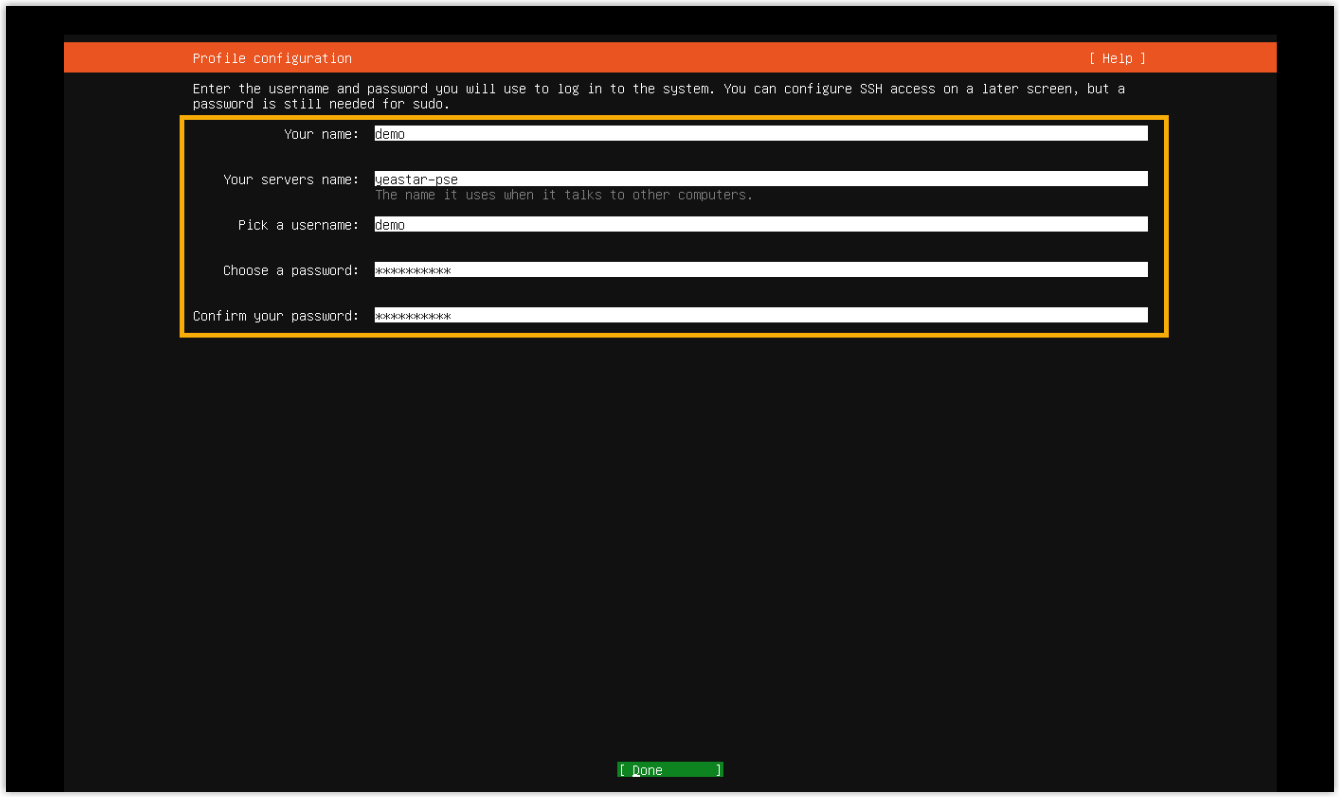
Manual-install ISO (Ubuntu) - Log in to the user account.Note: The user account credentials are set during the installation process, as shown below.
- Run
sudo -i, then enter the user account password to switch to the root account.
Manual-install ISO (Debian) - Log in to the user account.Note: The user account credentials are set during the installation process, as shown below.
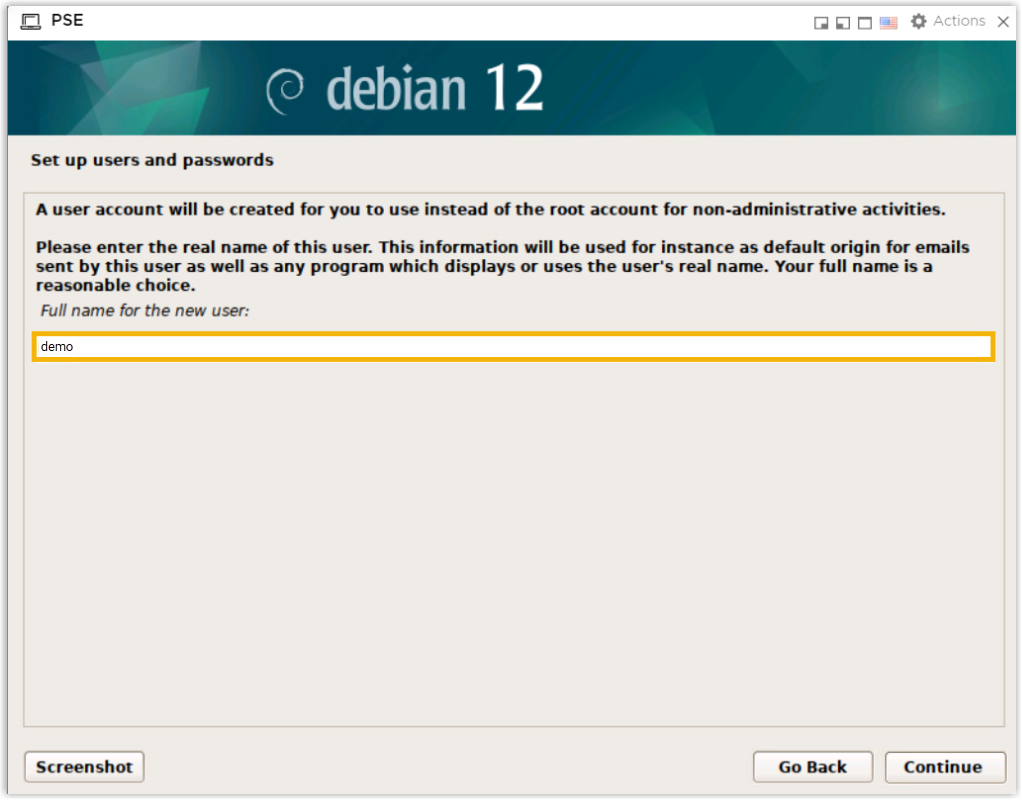
- Run
sudo -i, then enter the user account password to switch to the root account.
- Enable SSH access for PBX.
- Run
vi /etc/inetd.conf. - Press i key to enter insert mode.
- Enter
ssh stream tcp nowait root /bin/dropbear -L super
                                -i
. - Press Esc key to exit the insert mode, then run
:wq!and press Enter key to write the change and quit. - Run
killall -9 inetd;/bin/inetd > /dev/null &.
- Run
- Save the XML configuration file to the designated directory.
We take WinSCP to show you how to access PBX via SSH and upload the file.
- Access PBX via SSH
using root
account.
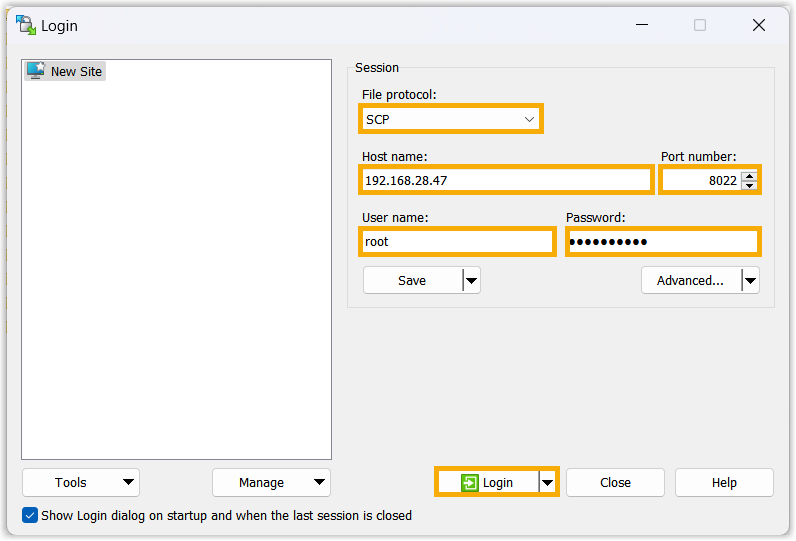
-
Go to /ysdisk/gui_backups/ directory, then add a new sub-directory xmlimport.
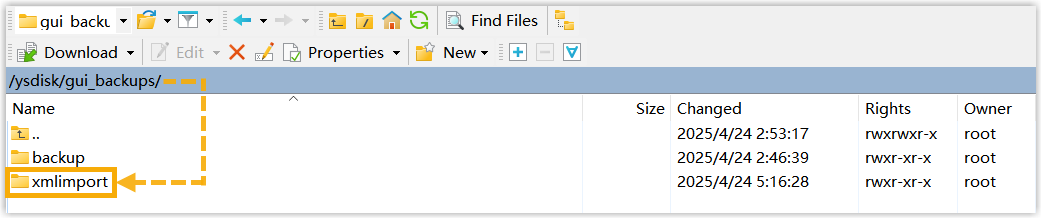
-
Save the XML configuration file to the xmlimport directory.

- Access PBX via SSH
using root
account.
- Run
rebootto reboot PBX.
Wait 5 to 10 minutes for PBX to boot up.
Result
Yeastar P-Series Software Edition is activated and set up based on the XML configuration file.
Note: If you want to access the PBX via SSH, you can
use one of the following accounts:
- Root Account: Username is
root, and password is the credential configured in XML configuration file.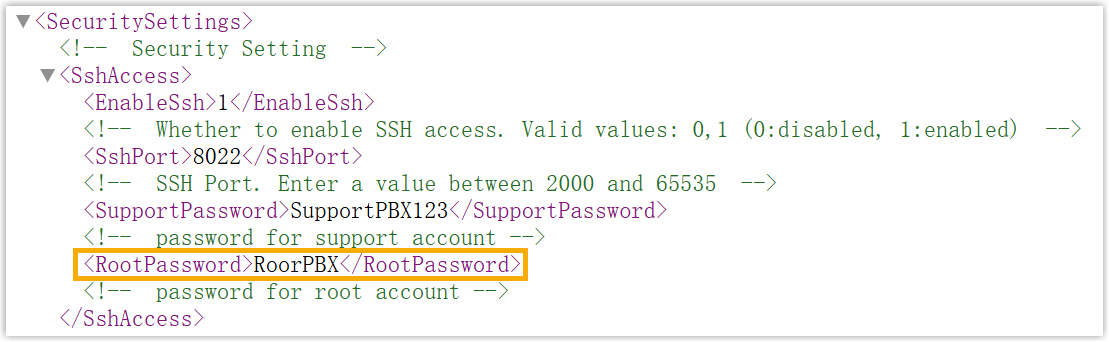
- Support Account: Username is
support, and password is the credential configured in PBX web portal (Path: ) or in XML configuration file.Figure 1. Support password in PBX web portal 
Figure 2. Support password in XML configuration file 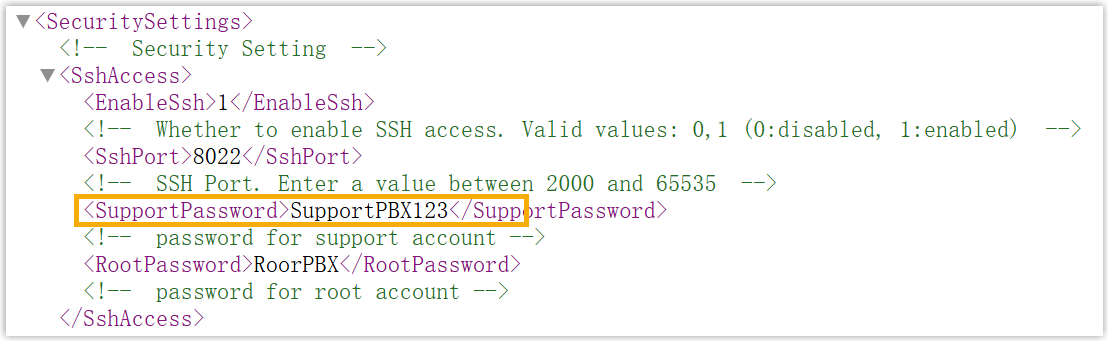
- Custom Account: Username and password are the credentials configured during manual installation process.