Set up a Hot Desking Phone
This topic describes how to set up a phone for hot desking via auto provisioning.
Supported devices
Hot desking is applicable on the IP phones listed in Auto Provisioning - Supported Devices.Supported methods
Set up a hot desking phone in local network (PnP method)
If the IP phone is in the same LAN subnet as the PBX, the PBX will detect the IP phone via PnP, and display the phone in the auto provisioning phone list. You can directly set an IP phone to a hot desking phone.
- Log in to PBX web portal, go to .
- Click
 beside an unassigned IP phone.
- In the Options section, complete the following
settings.
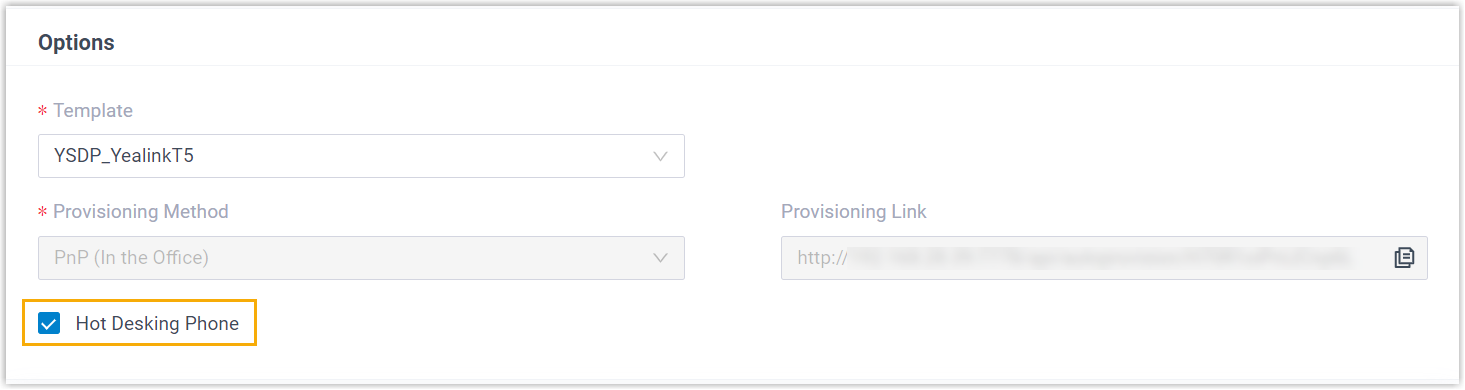
- Select the checkbox of Hot Desking Phone.
- Optional: In the Hot Desking Emergency Outbound
Caller ID field, enter a valid Emergency Location
Identification Number (ELIN) provided by ITSP. Note:
- The ELIN is used to map to the physical location of the hot desking phone for emergency address lookup.
- To ensure this outbound caller ID is sent to the Public Safety Answering Point (PSAP) during an emergency call, set the Emergency Outbound Caller ID Priority to Extension's Emergency Outbound Caller ID when setting up enhanced emergency calling.
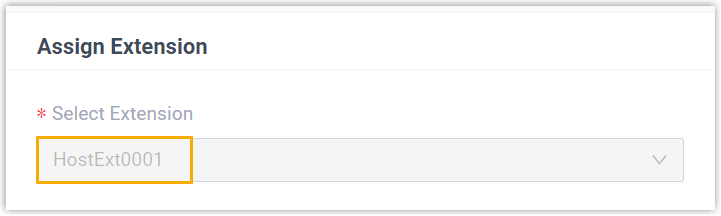
The phone is automatically assigned to a virtual extension named HostExt{virtual_num}.
- Click Save.
Set up a hot desking phone in local network (DHCP method)
If the IP phone is in the same LAN subnet as the PBX server but doesn't support PnP provisioning method, or the IP phone is in different LAN subnet with the PBX server, you can set up the phone to a hot desking phone via DHCP provisioning method.
- Prerequisites
-
- Make sure the IP phone supports DHCP provisioning method.
- Gather information of IP phone, including Vendor, Model, and MAC address.
- Procedure
-
- Log in to PBX web portal, go to .
- Click .
- In the IP Phone section, enter the
phone's information:
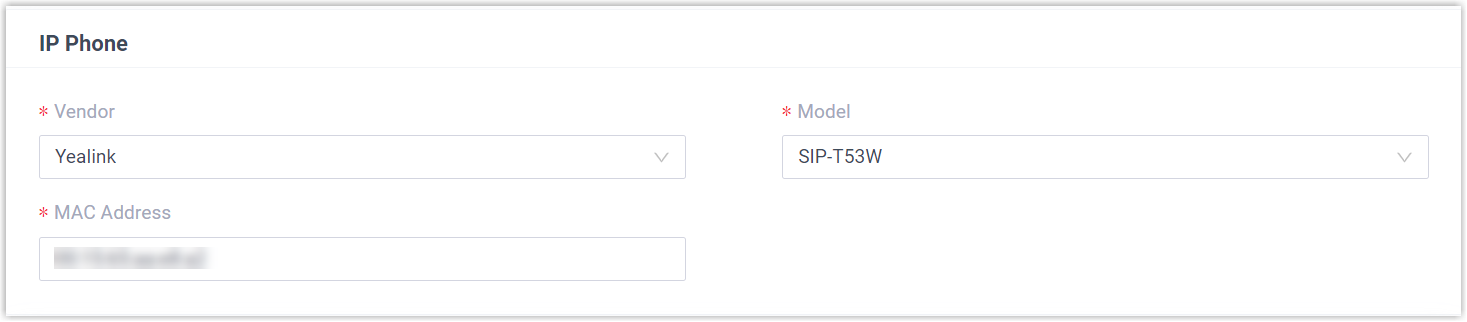
- Vendor: Select a phone vendor.
- Model: Select a phone model.
- MAC Address: Enter MAC address of the phone.
- In the Options section, configure the
following settings.
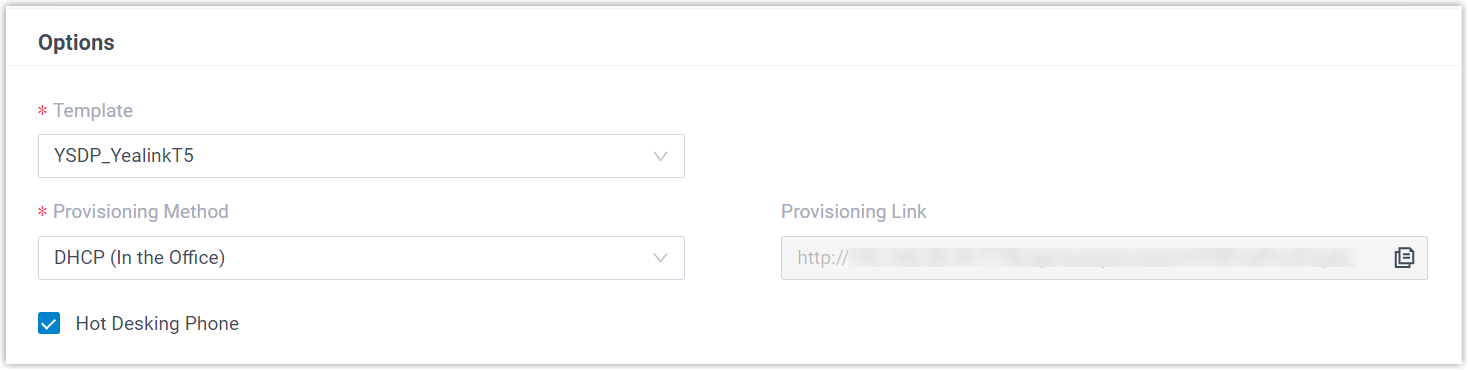
- Template: Select a desired template for the phone from the drop-down list.
- Provisioning Method: Select DHCP (In
the Office).
A provisioning server URL is generated accordingly and displayed on the Provisioning Link field.
- Hot Desking Phone: Enable the option to set the phone as a hot desking phone.
- Hot Desking
Emergency Outbound Caller ID: Optional.
Enter a valid Emergency Location Identification Number
(ELIN) provided by ITSP.Note:
- The ELIN is used to map to the physical location of the hot desking phone for emergency address lookup.
- To ensure this outbound caller ID is sent to the Public Safety Answering Point (PSAP) during an emergency call, set the Emergency Outbound Caller ID Priority to Extension's Emergency Outbound Caller ID when setting up enhanced emergency calling.
The phone is automatically assigned to a virtual extension named HostExt{virtual_num}.
- Click Save.
- Configure the DHCP server.Note: Make sure there is only one DHCP server running on the network where the IP phone is located, otherwise the IP phone may fail to obtain an IP address.
Scenario Instructions The IP phone is in the same LAN as the PBX server, but doesn't support PnP provisioning You can configure the DHCP server in either of the following ways: - Set up PBX as a DHCP serverNote: The PBX built-in DHCP server will automatically obtain the provisioning link.
- Set up option 66 on a third-party DHCP server with the provisioning link.
The IP phone is in different LAN with the PBX server Set up DHCP option 66 on a third-party DHCP server with the provisioning link. - Set up PBX as a DHCP server
- Reboot the IP phone manually.
Set up a hot desking phone in remote network (RPS FQDN / RPS method)
If the IP phone is deployed in a remote network, you can set up the phone to a hot desking phone via RPS FQDN or RPS method.
- Prerequisites
- Make sure that the following prerequisites are met according to your desired
provisioning method.
Method Prerequisites RPS FQDN -
You have subscribed Enterprise Plan or Ultimate Plan.
- You have configured Yeastar FQDN for remote SIP access and remote web access.
- Gather information of IP phone, including Vendor, Model, and MAC address.
RPS - You have set up port forwarding on router (including RTP ports, SIP port, and Web Server port), and set up SIP NAT on the PBX to ensure remote registration.
- Gather information of IP phone, including Vendor, Model, and MAC address.
-
- Procedure
-
- Log in to PBX web portal, go to .
- Click .
- In the IP Phone section, enter the phone's
information:
- Vendor: Select a phone vendor.
- Model: Select a phone model.
- MAC Address: Enter MAC address of the phone.
- In the Options section, configure the following
settings:
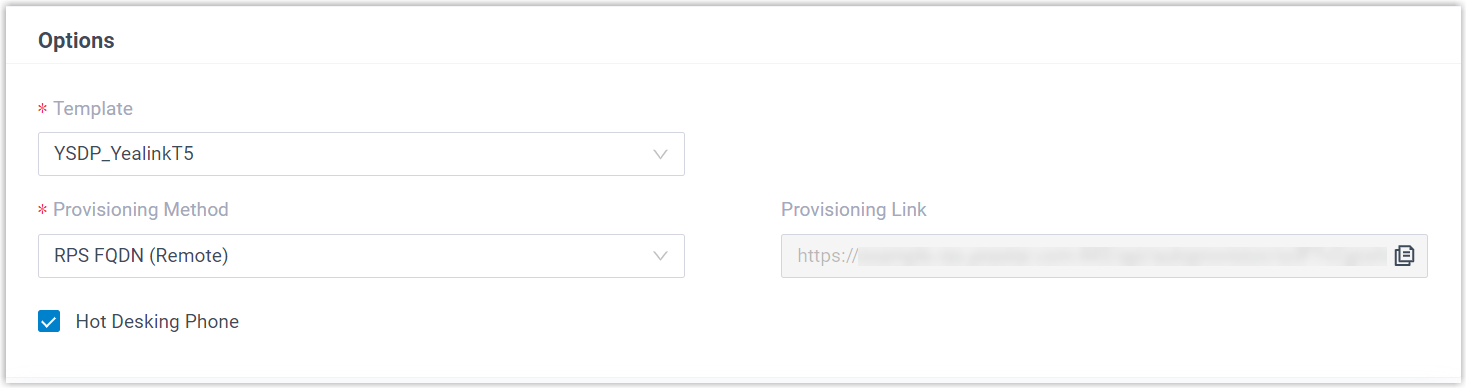
- Template: Select a desired template for the phone from the drop-down list.
- Provisioning Method:
Select a desired provisioning method.
A provisioning server URL is generated accordingly and displayed on the Provisioning Link field.
- Hot Desking Phone: Enable the option to set the phone as a hot desking phone.
- Hot Desking
Emergency Outbound Caller ID: Optional.
Enter a valid Emergency Location Identification Number
(ELIN) provided by ITSP.Note:
- The ELIN is used to map to the physical location of the hot desking phone for emergency address lookup.
- To ensure this outbound caller ID is sent to the Public Safety Answering Point (PSAP) during an emergency call, set the Emergency Outbound Caller ID Priority to Extension's Emergency Outbound Caller ID when setting up enhanced emergency calling.
The phone is automatically assigned to a virtual extension named HostExt{virtual_num}.
- Click Save.
- Reboot the IP phone manually.
Result
The phone is connected to the PBX and set as a hot desking phone with the virtual extension registered. You can check the registration status from the phone list; The PBX system automatically assigns a Guest In key to the phone.