Set up PBX as a DHCP Server
Yeastar P-Series PBX System provides a built-in DHCP server. When there is no DHCP server in the local network, you can set up the PBX as a DHCP server to assign IP addresses, gateway, DNS and other network parameters to devices in the same local network.
Prerequisites
Make sure there is only one DHCP server running in the local network.
Procedure
- Log in to PBX web portal, go to , click DHCP Server tab.
- Turn on the DHCP Server on the top.
- Complete the following network configurations.
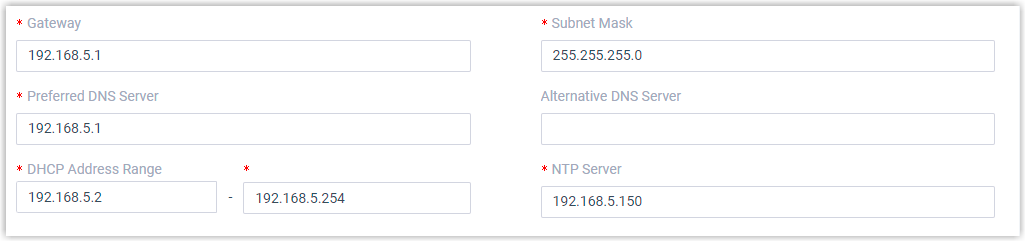
- Gateway: Specify the IP address of the default gateway for the DHCP server.
- Subnet Mask: Specify the subnet mask used to subdivide your IP address.
- Preferred DNS Server: Specify a DNS server for the DHCP server.
- Alternative DNS Server: Optional. Specify a secondary DNS server for the DHCP server.
- DHCP Address Range: Specify the IP address range that will be allocated to DHCP clients.
- NTP Server: Enter the IP address of an NTP server.Tip: The default value is the IP address of the PBX, which can synchronize the network time of the client devices with the PBX.
- Click Save.
The Status field displays Running, indicating the DHCP server is running.
Result
The PBX can now be used as a DHCP server and assign IP addresses, gateway, and other network configurations to the devices located in the local network.