Purchase License for New P-Series Software Edition
Yeastar P-Series Software Edition is a fully functional, secure, and adaptable unified communications, which can be deployed in public cloud, private cloud, or local data center to take full control of the phone system. You can subscribe to plans and services for customers' software PBXs on Yeastar Partner Portal, and then obtain a license that can be used to commercialize software PBX.
Introduction
Yeastar offers two offerings of licenses for P-Series Software Edition - Trial License and Commercial License. Refer to the following table for the differences.
For more information, see Obtain Free Trial for PSE White Label Service, Subscribe to PSE White Label Service, and Subscribe to PSE Custom Domain Service.
| Item | Trial License | Commercial License |
|---|---|---|
| Subscription Plan |
|
|
| Value-added Service |
|
|
| Activation Method | Online Activation |
|
| Extensions | 100 | Expandable |
| Concurrent Calls | 25 | Expandable |
| AI Transcription |
|
Expandable |
| AI Receptionist | 60 minutes (one-time) | Expandable |
| Validity Period | 30 days Note: The validity period begins from
the day you activate software PBX with the provided
license.
|
Annual subscription Note: The start date
of the validity period depends on the activation method.
|
| Price | Free | Paid |
This topic describes how to purchase a commercial license for a new P-Series Software Edition. To obtain a trial license, see Obtain a Free Trial License for P-Series Software Edition.
Step 1. Go to product purchase page
- Log in to Yeastar Partner Portal, go to Products & Purchase.
- On the product list, click Purchase on
Software PBX (PSE Self-hosted).

- Search and select the user for whom you want to purchase a
license from the drop-down list by filter (Yeastar ID or
Company Name).

Step 2. Select plan and service
- Select the plan that you want to subscribe.
- Under Plan List tab, click Subscribe of the desired plan.
- On the left plan details section, select extension capacity,
subscription term, and activation method as needed.Note:
- For Subscription Term, you must
select a billing frequency. The default value is 1 year and
the supported value is 1 to 5 years.

- For Activation Method, if you choose
Online Activation, you need to ensure that PBX
can access the Internet; if you choose Offline
Activation, you need to upload the activation
request file that was downloaded from the desired PBX by
clicking
 beside
Activation Request File.
beside
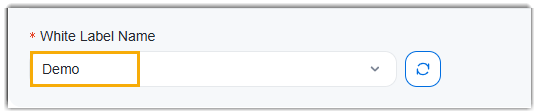
Activation Request File. - If the selected user has subscribed to
PSE White Label service, you can select a white
label template from the White Label
Name drop-down list to apply to the
PBX.
- For Subscription Term, you must
select a billing frequency. The default value is 1 year and
the supported value is 1 to 5 years.
- Optional: Subscribe to or try out service(s) as needed.
- On the Service section, click
 beside the desired service.
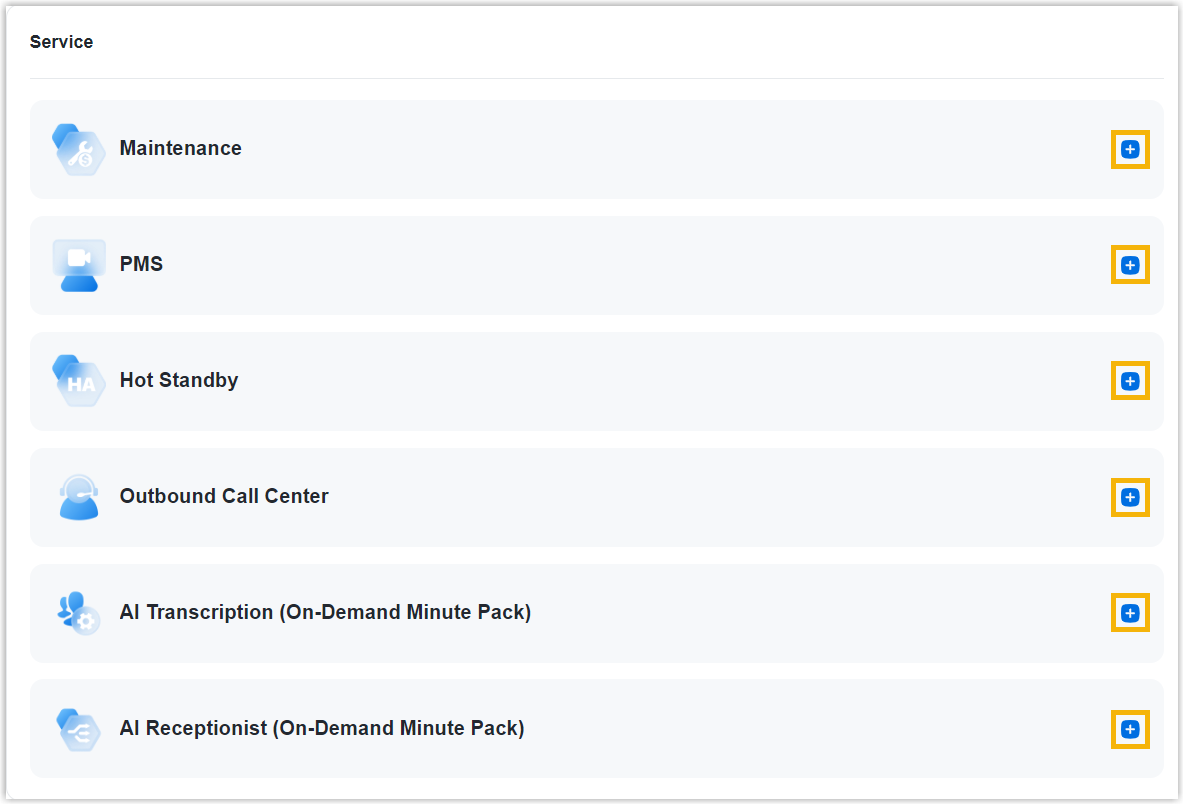
- In the pop-up window, select Subscribe or
Trial.Note:
- If you subscribe to service, it will follow the expiration date of the selected plan.
- If you try out service, the trial is only valid for 30 days.
- Click Confirm.
- On the Service section, click
Step 3. Assign the product to another Yeastar ID
Product assignment allows you to grant another user access to view the subscription details within Yeastar Partner Portal (Path: ), and the assigned user will also receive a PBX activation email.
- Select an existing user from the drop-down list.

-
If desired user doesn't exist, you can click Add Partner to create a new Partner Portal account for the user.Important: Clicking Add Partner will create a new Partner Portal account, and an activation email will be sent to the assigned email address. If you DO NOT want your customer to receive this email, do NOT click Add Partner here.
- On the right Order Summary section, click Checkout.
Step 4. Review the order and check out
- On the left Plan Information section and Service Information section, review the information.
- On the left Billing Information section, review and edit
the billing information as needed.Note:
- The billing information will be displayed on an invoice, which will be generated and sent to the selected billing contact's email address after you complete payment.
- By default, your information is automatically filled in. You can
change to another billing contact, either by selecting an
existing one from the drop-down list, or by clicking
Add New to add a contact. The billing
contacts are synchronized with the ones that you have set on
Billing
Receiver.

- On the right Checkout
section, choose either of the following ways to check out.
- Pay by PayPal
-
- In the Payment Method section, click PayPal.
- Optional: Select or unselect the checkbox of Auto Renew to enable or disable the automatic renewal.
- Click PayPal and log in to your PayPal account to complete payment.
- Pay offline
-
- In the Payment Method section, click Offline.
- Optional: In the PI Number field, enter the PI number that is provided by Yeastar Sales.
- Click Place Order.
After you submit the order, your account manager or local distributor will contact you actively for the payment.
Result
- The billing contact will receive an email, which contains the order summary
and an invoice. He or she can click on the attached link to view or download
the invoice.Note:
- The attached link is valid in 24 hours and can be used ONCE only.
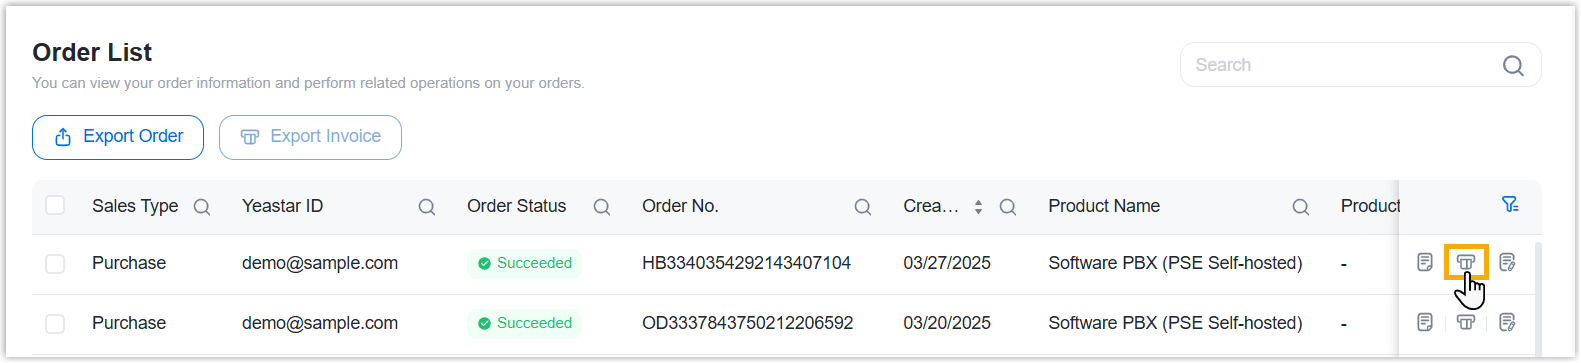
- You can also view the invoice on Yeastar Partner Portal: Orders and Billing > Orders > Operations >
 .
.
- You and the user to whom you assign the product will receive an email, which
contains the subscription summary and the necessary information to help
activate and set up the PBX server.
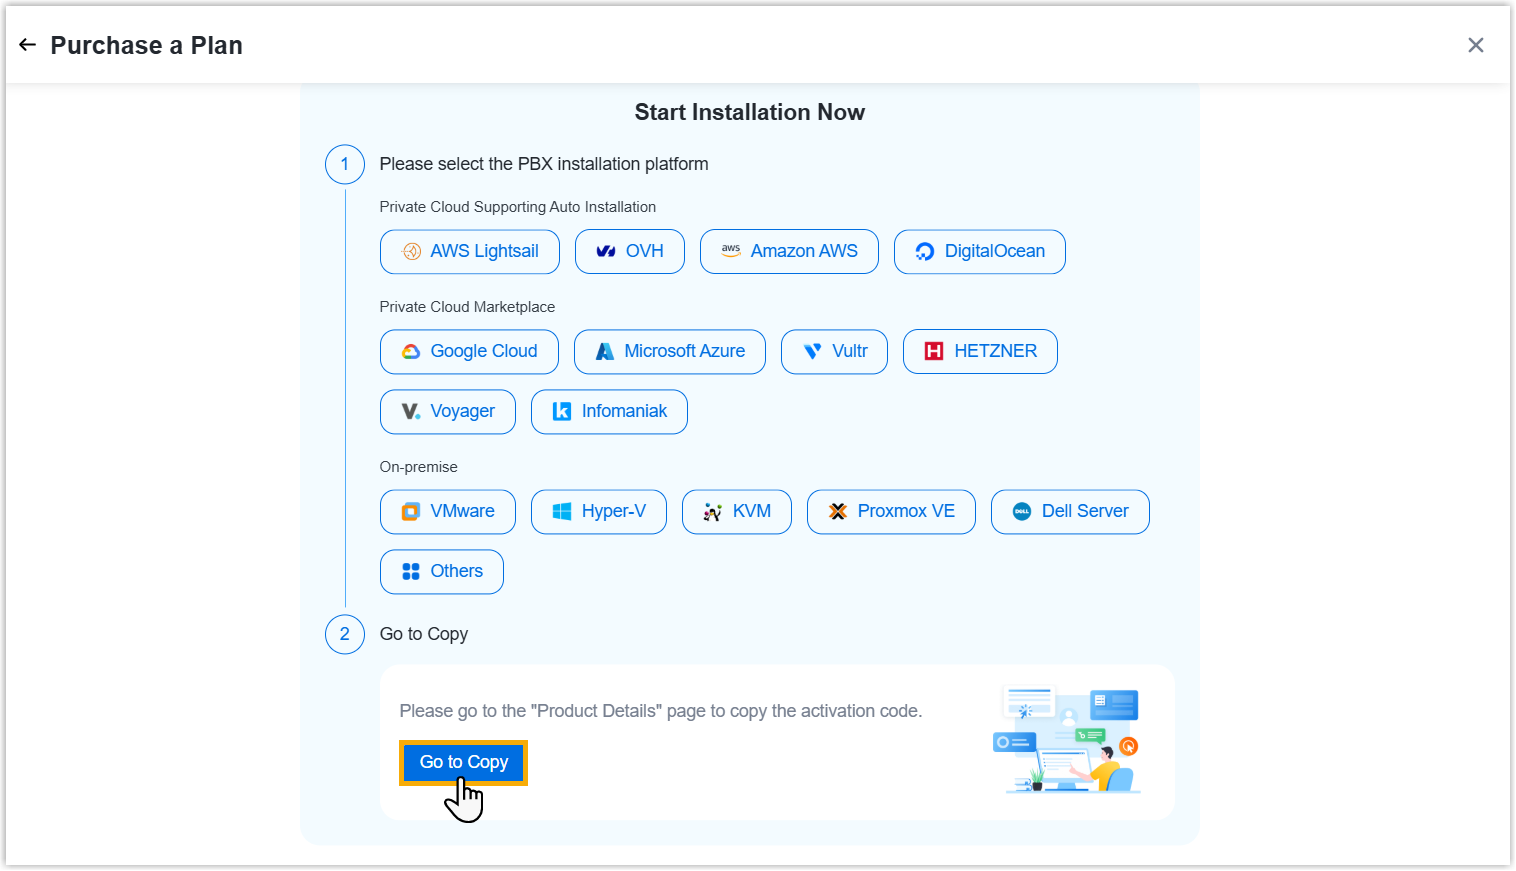
You can also quickly start PBX deployment without going to your mailbox, as shown below.
- Install PBX server on your desired platform.
- On Yeastar Partner Portal, click on the platform on
which you want to deploy software PBX.
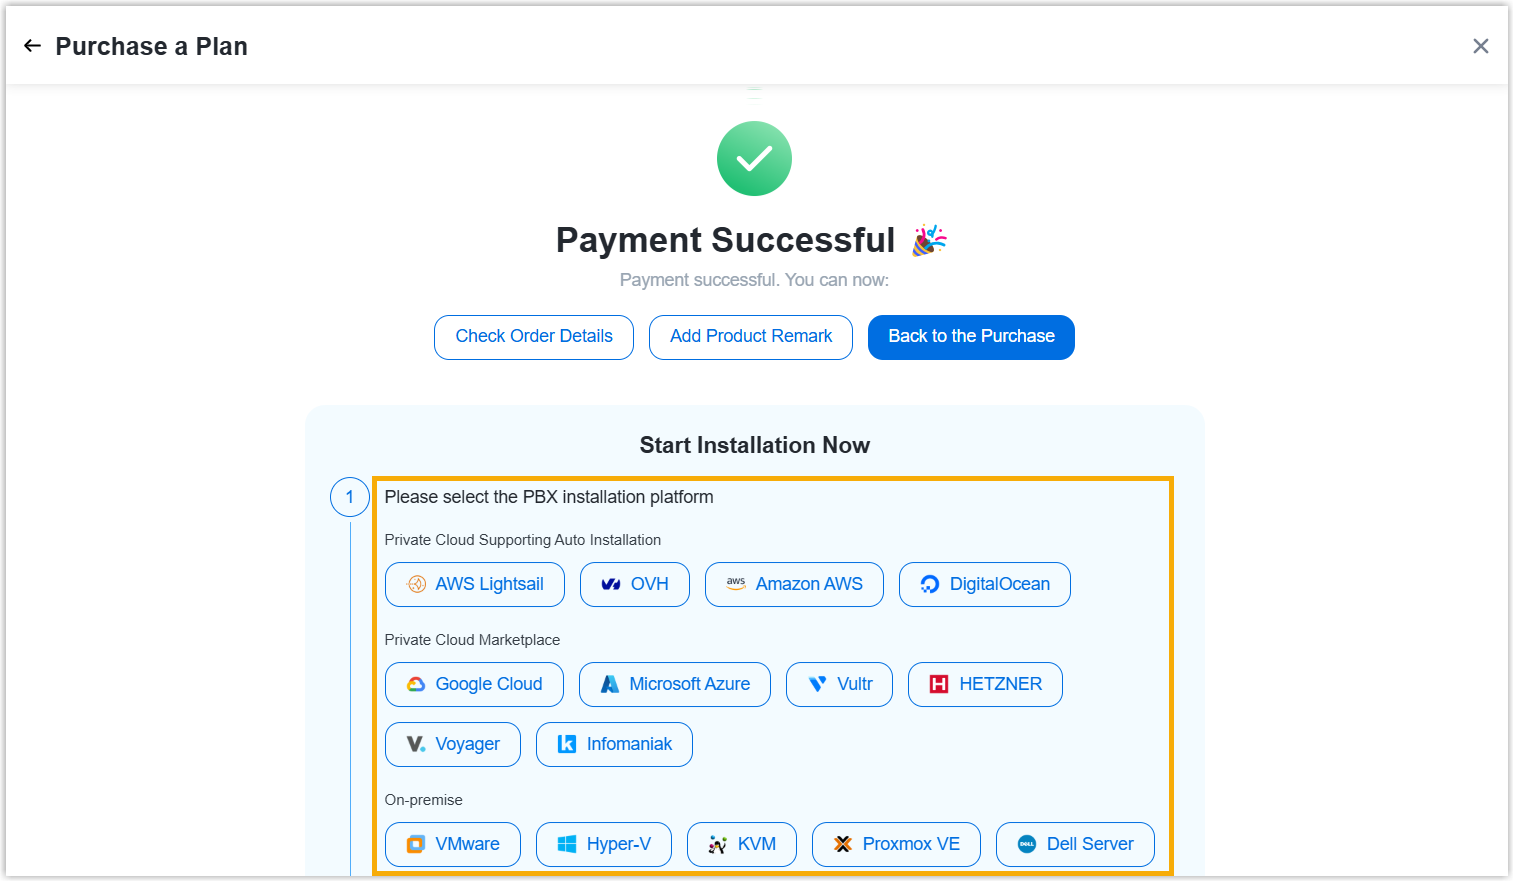
You will be directed to the corresponding online tutorial.
Note: For AWS Lightsail, OVH, Amazon AWS, and DigitalOcean, the PBX deployment can be automated via Yeastar Partner Portal. - Follow the tutorial to deploy software PBX.
- On Yeastar Partner Portal, click on the platform on
which you want to deploy software PBX.
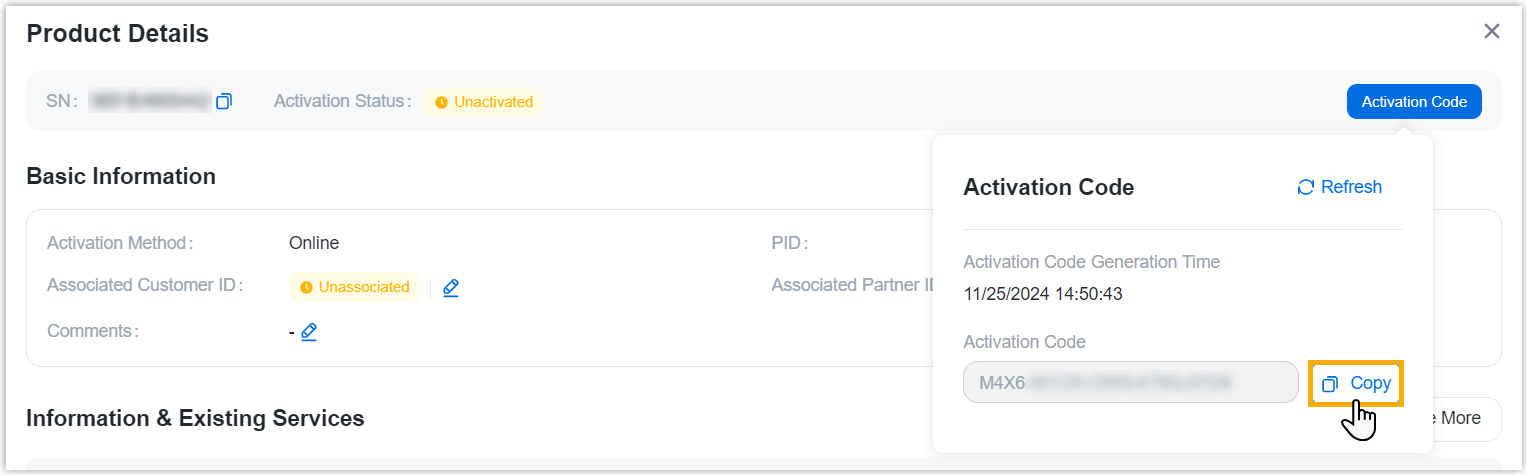
- Activate your PBX server.
-
On Yeastar Partner Portal, click Go to Copy to copy the activation code.
- In the Product Details section,
click Copy.
 Note: If you subscribe to Hot Standby service or Disaster Recovery service, you will get another license for Secondary Server or Redundancy Server. In this case, copy the activation codes of the server pair as follows.
-
- Set up PBX server to be accessible to the features supported in the subscription plan and subscription service by following the instructions in the links below:
- Install PBX server on your desired platform.