Integrate Yeastar P-Series Software Edition with Google Cloud Speech-to-Text Service
You can integrate Yeastar P-Series Software Edition with Google Cloud Speech-to-Text service and enable Voicemail Transcription feature on the PBX to converts voicemail audio into readable text.
Limitations
- Audio length: 1 minute
- The integration of Yeastar P-Series Software Edition with Google Cloud Speech-to-Text service uses the Synchronous Recognition method for speech recognition, which can process up to 1 minute of speech audio data.
- Service cost
- Google Cloud Speech-to-Text service provides a free amount of 60 minutes per month, you will be charged if the minutes of audio processed per month exceeds the free amount. For more information about the pricing, see Google Cloud Speech-to-Text Pricing.
Prerequisites
- You need to create a Google Cloud billing account.
- Make sure the Yeastar P-Series Software Edition can access
Google services.
- Log in to PBX web portal, go to .
- In the Target Host field, enter www.google.com.
- Click Start.
- Check the Result box to see if the packet
transmission is normal.Note: If the PBX can not access Google service, go to to check and configure the PBX network.
- Click Stop to stop pinging.
Procedure
Get the API key from Google Cloud Platform
- Step1. Create a project on Google Cloud Platform
-
- Log in to Google Cloud Platform.
- In the top bar, click My First Project to
open the project list.

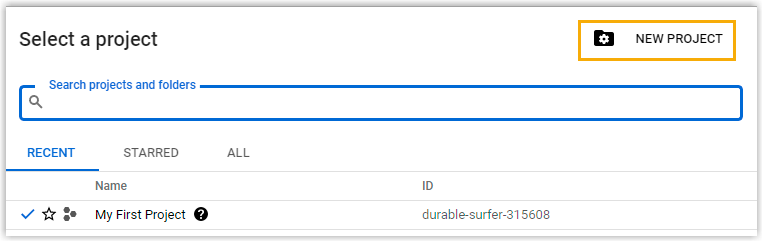
- On the Select a project page, click
NEW PROJECT in the top-right
corner.
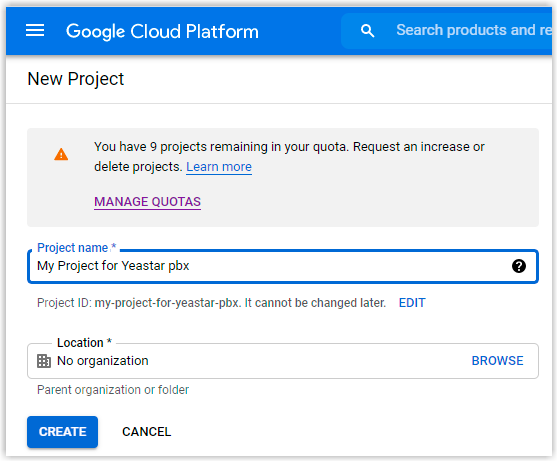
- On the New Project page, set a project
name, and click CREATE.
A new project is created, you can select the new project in the project list.
- Step2. Enable Speech-to-Text API service on Google Cloud Platform
-
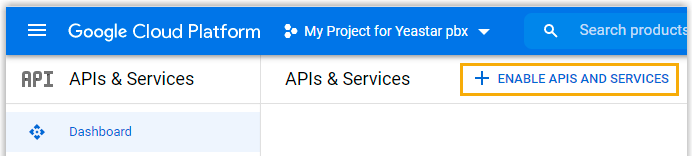
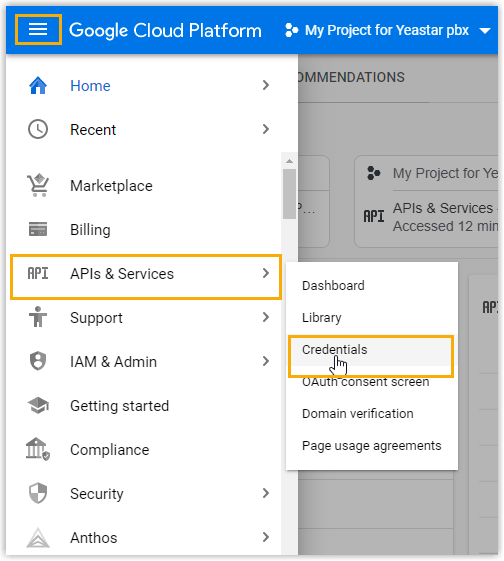
- In the top-left conner, click
 to open the navigation menu, and go
to .
to open the navigation menu, and go
to . - Click ENABLE APIS AND SERVICES.
- In the API Library, enter speech in the
search box and press
Enter, then select Cloud Speech-to-Text API.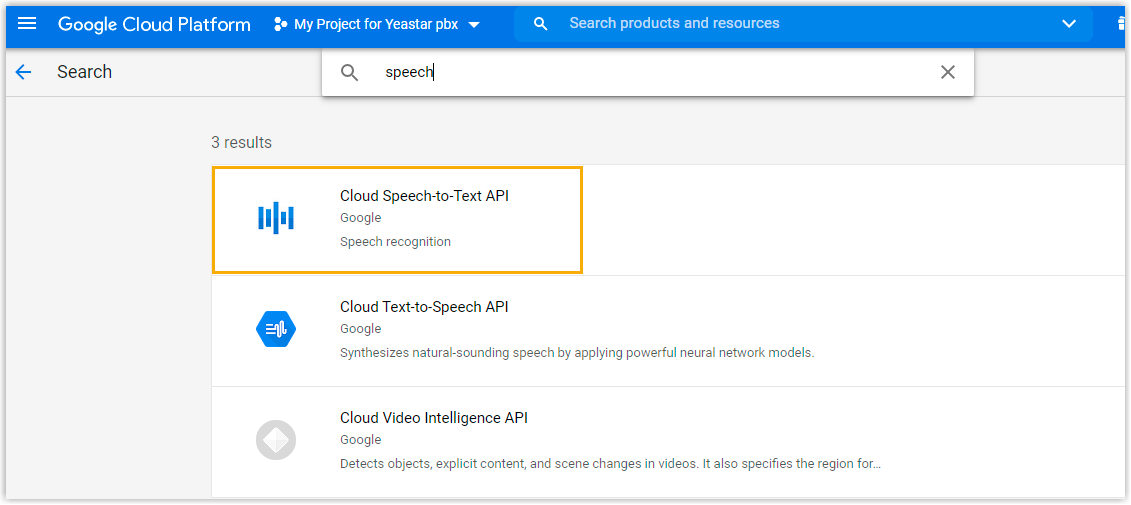
- Click ENABLE button for the
Cloud Speech-to-Text API.
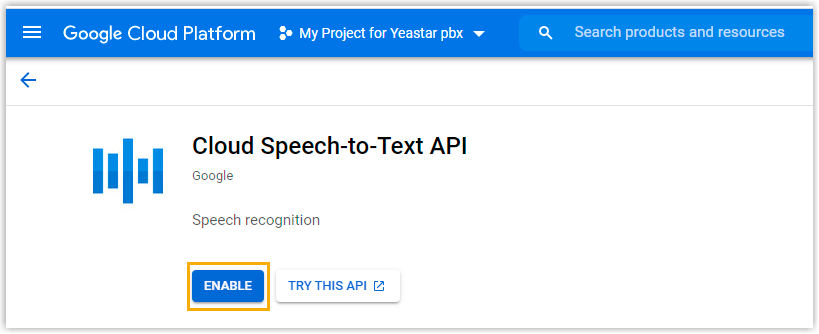
The Speech-to-Text service is enabled.
- In the top-left conner, click
- Step3. Create API credentials on Google Cloud Platform
-
- In the left navigation panel, go to .
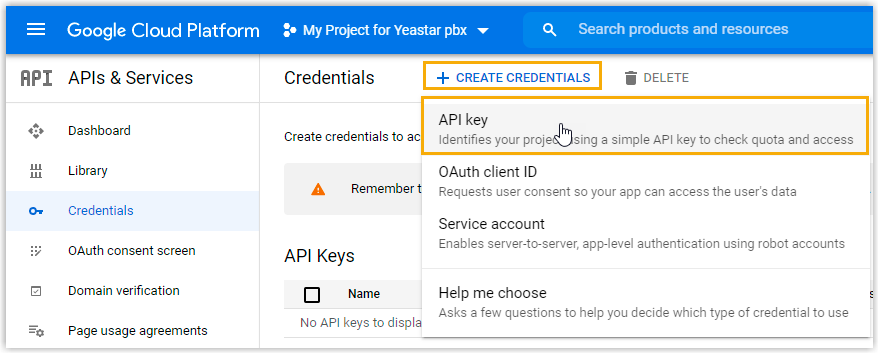
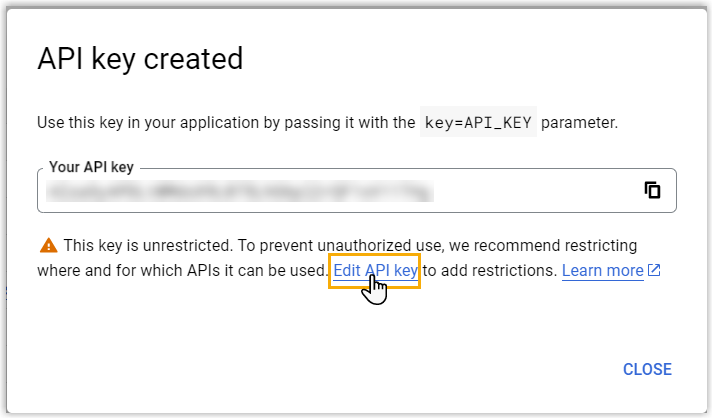
- Click CREATE CREDENTIALS and select
API key.
- In the pop-up window, click Edit API
key to edit and set restrictions for the
key. Important: For security purpose, you need to restrict your API key, ensuring only authorized requests are made with your API key.
- In the Edit API key page, complete
the following configurations.
- In the Name field, set a name
to help you identify the API key.

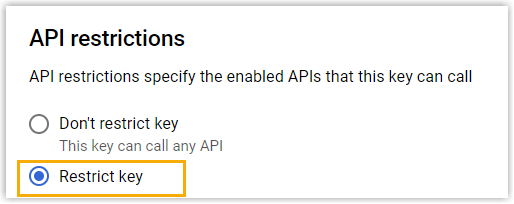
- In the API restrictions
section, select Restrict
key.
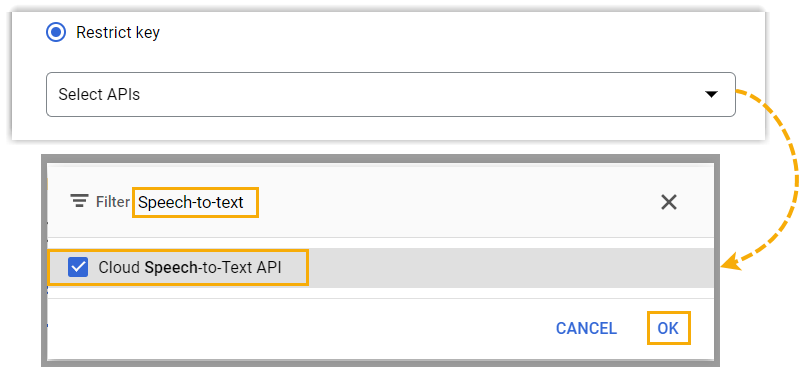
- In the Select APIs drop-down
list, search and select the Cloud
Speech-to-Text API, then click
OK.
- At the bottom of the page, click
SAVE to apply your
configuration.
The API key is now only allowed to call the Cloud Speech-to-Text API.
- In the Name field, set a name
to help you identify the API key.
- In the Credentials page,
click SHOW KEY beside the restricted
API key, then
 in the pop-up window to copy
the key.
in the pop-up window to copy
the key.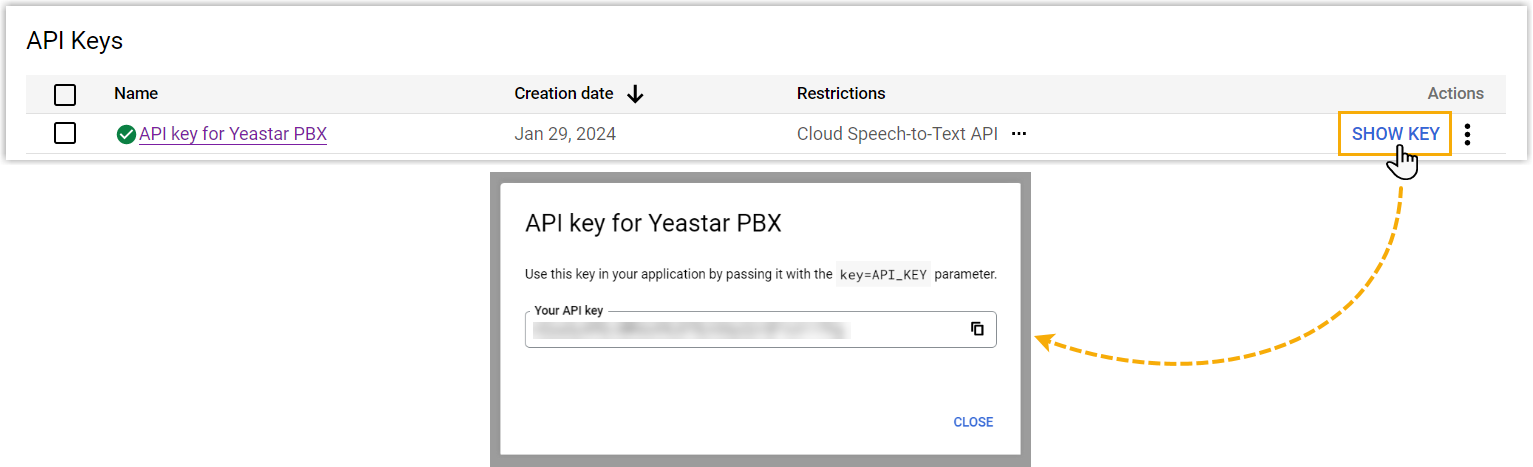
- In the left navigation panel, go to .
Enable Speech to Text (STT) integration on Yeastar P-Series Software Edition
- Log in to PBX web portal, go to .
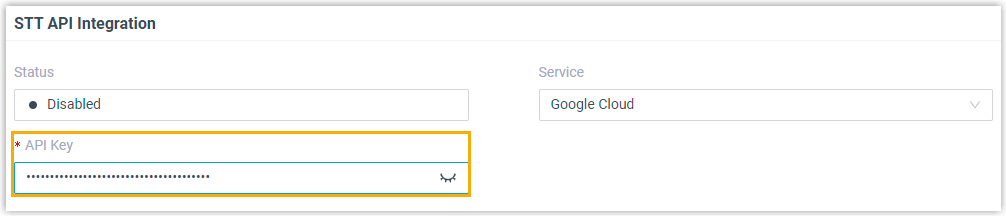
- In STT API Integration section, fill in the required
API credentials.
- Service: Select Google Cloud.
- API Key: Paste the restricted
API key copied in the former procedure.
- In Settings section, select the transcription
language.
The audio messages will be transcribed to text in the selected language.
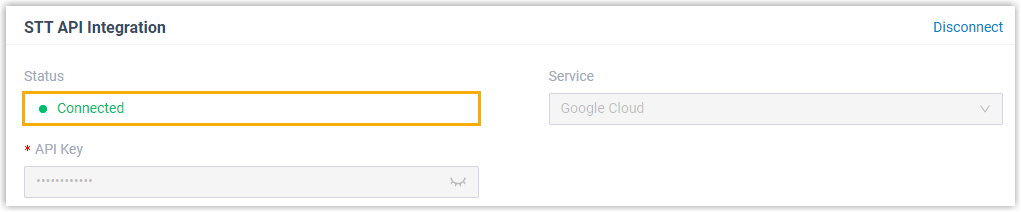
Note: If the language of voicemail is different from the selected language, the transcribed text will be inaccurate. - Click Save.
If the integration succeeds, the Status in the STT API Integration section will display Connected.
Enable Voicemail Transcription on Yeastar P-Series Software Edition
- On PBX web portal, go to .
- Scroll down to the bottom of the page, turn on Voicemail
Transcription.

- Click Save.
Result
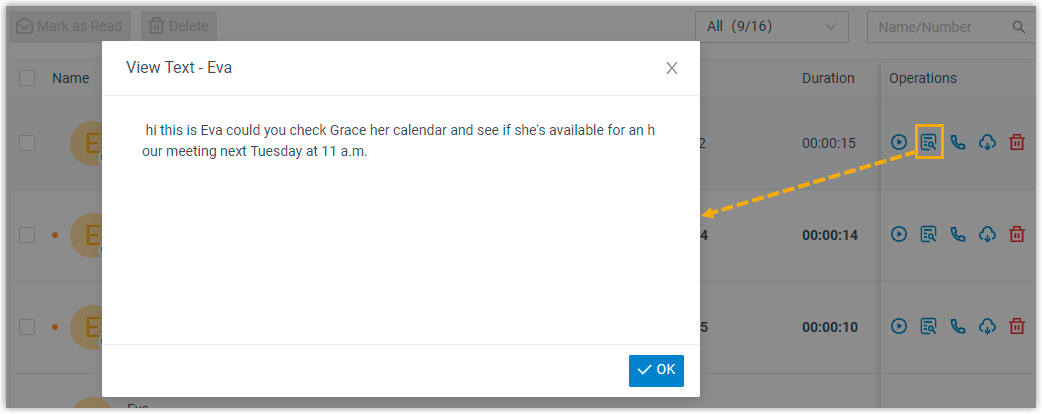
The Voicemial Transcription feature powed by Google Cloud Speech-to-Text service is enabled, users can receive voicemails in the form of text on different platforms.
- Linkus UC Clients
- Users can check the transcribed text for each voicemail on Linkus Web
Client, Desktop Client, and Mobile Client.
- Email Client
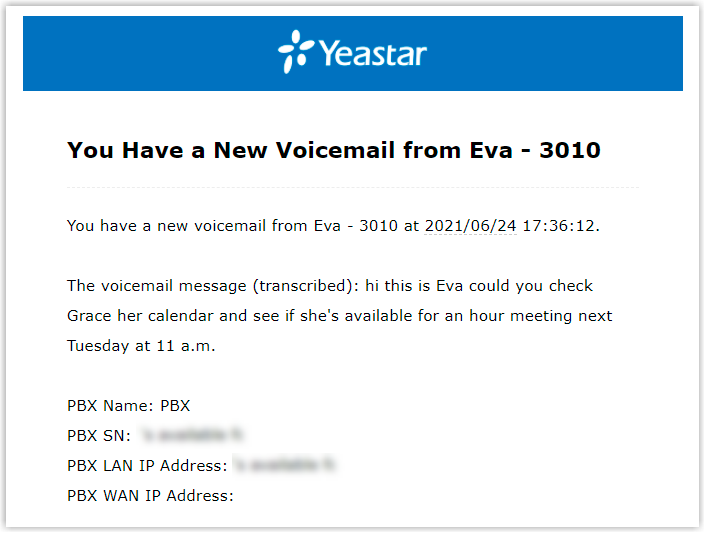
- If Voicemail to
Emai feature is enabled, the transcribed text will be
displayed in the email content for received voicemails.
The figure below shows an example of voicemail notification email.