Auto Provision IP Phones Remotely (Provision Link Method)
For IP phones that are located in remote network but don't support RPS Auto Provisioning method, Yeastar P-Series PBX System supports to provision the IP phones using Provision Link method via public IP address/domain name and port.
Supported IP phones
This topic can be applied to the 'Provision Link' supported IP phones that are deployed in a remote network.
Prerequisites
- You have set up port forwarding on router and
set up SIP NAT on the PBX to ensure remote registration.Important: The following PBX ports must be forwarded.
- RTP ports
- SIP port
- Web Server port
For more information, see Configure Network for Remote Access by a Public IP Address or Configure Network for Remote Access by a Domain Name.
- Make sure that you have downloaded the template for the desired phone model (Path: ).
- Gather information of IP phone, including Vendor, Model, and MAC address.
Step 1. Set a remote extension
- Log in to PBX web portal, go to , edit the extension to be assigned.
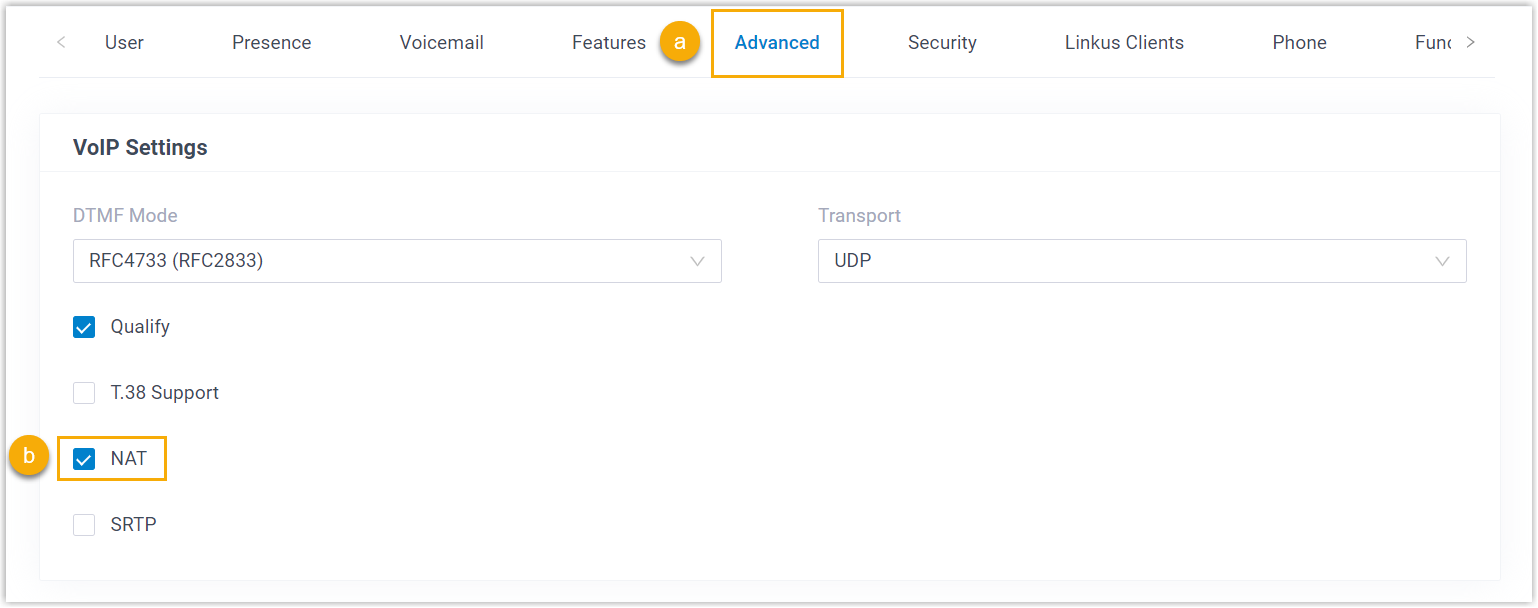
- Click Advanced tab, select the checkbox of
NAT in the VoIP Settings
section.

- Click Security tab, select the checkbox of
Allow Remote Registration in the SIP
Security section.

- Click Save and Apply.
The extension can be registered in different LAN subnet or in a remote network.
Step 2. Generate configuration file for an IP phone on the PBX
- RESET the phone if it is previously used.
- Log in to PBX web portal, go to .
- Click Add to add an IP phone.
- In the IP Phone section, configure phone information
as follows:
- Vendor: Select a phone vendor.
- Model: Select a phone model.
- MAC Address: Enter MAC address of the phone.
- In the Options section, configure the following
settings.
- Template: Select a desired template from the
drop-down list.Note: The template provides configurations except extension assignment. You can select the default template corresponding to the phone model, or customize your own template.
For more information, see Create a Custom Auto Provisioning Template.
- Provisioning Method:
Select Provision Link (Remote).
A provisioning server URL is generated automatically and displayed on the web page.
Note: Note down the generated provisioning link, as you will use it later.
- Template: Select a desired template from the
drop-down list.
- In the Assign Extension section, assign an extension
to the phone.Tip: If your desired extension is not listed in the drop-down list, you can check if the extension has been associated with other IP phone or gateway.
- To release the previous phone or gateway, see Release an Extension from a Provisioned IP Phone/Gateway.
- To associate an extension with multiple IP phones, see Allow Multiple Registrations for One Extension Number.
- Click Save.
Step 3. Make the configuration file accessible to the IP phone
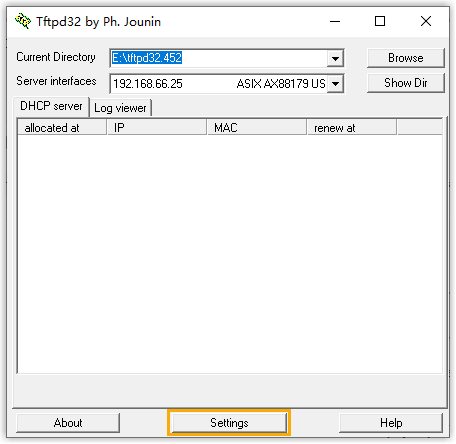
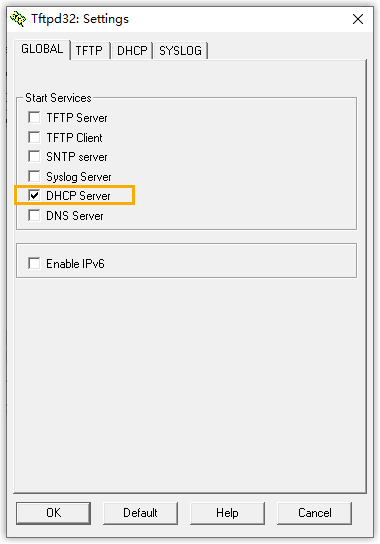
- Configure a DHCP server and set up option 66
- Configure a DHCP server and set up DHCP option 66 to the provisioning link. The IP phone will download configurations from PBX via the provisioning link, and apply the settings automatically.
- Configure provisioning server address on the phone
-
Here takes the Yealink IP phone as an example.
- On the IP phone, go to , check the IP address of the IP phone on the IPv4 field.
- Log in to the IP phone web page by the IP address, go to .
- In the Server URL field, paste the PBX provisioning link.
- Scroll down to the bottom, click Auto Provision Now.
- In the pop-up dialog box, click OK to
auto provision the IP phone.
The IP phone downloads the configuration file from the PBX, and applies the configurations automatically.


