Integrate Yeastar P-Series Software Edition with Microsoft Entra ID
This topic describes how to integrate Yeastar P-Series Software Edition with Microsoft Entra ID (Azure Active Directory).
Requirements
| Item | Requirement |
|---|---|
| Microsoft Entra ID | Free, Office 365 apps, Premium P1, or Premium P2 |
| Yeastar PBX Server |
|
Prerequisites
Before you begin, make sure the followings are ready:
- Your organization already has a Microsoft Entra tenant.
- Use a Microsoft account with Global Administrator privilege to implement the integration.
- You have configured network for remote access by a domain name.
Procedure
- Log in to PBX web portal, go to .
- Click Integrate beside the Microsoft
365.

- In the integration page, select the desired
Redirect URI, then click
Integration.

You are redirected to a connection page.
- Review and configure access for your Microsoft 365 app, then click
Integrations to proceed.
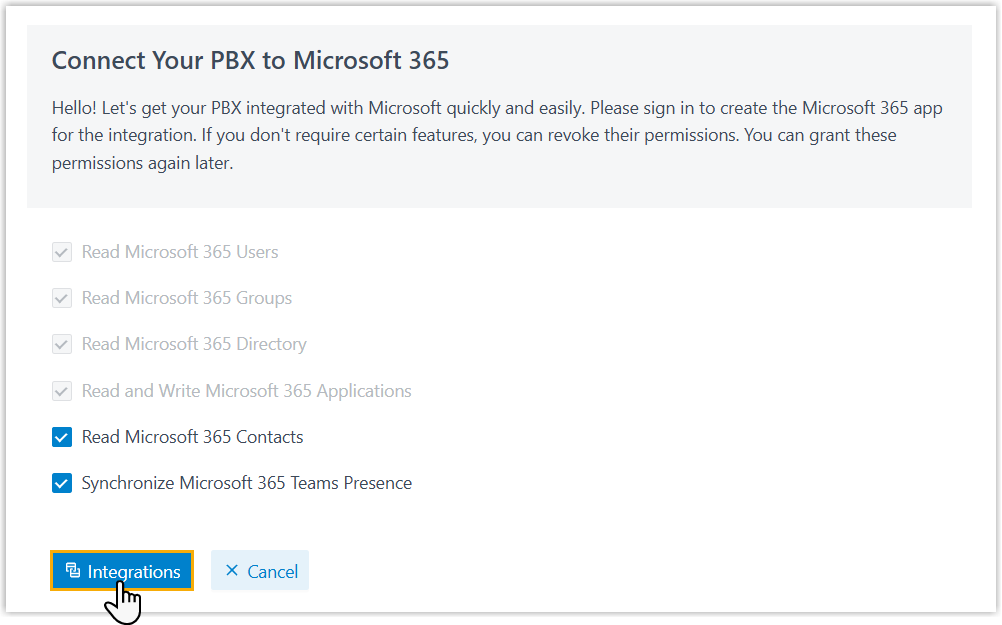
You are redirect to the Microsoft Sign-in page.
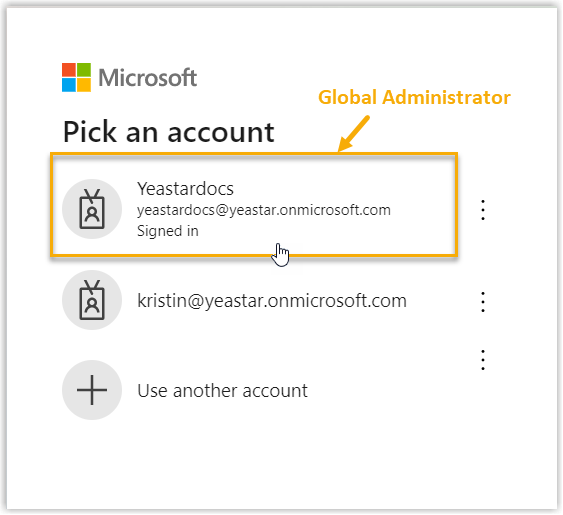
- Sign in to your Microsoft account and grant permissions.
- Sign in with the Microsoft account that has Global
Administrator privilege.
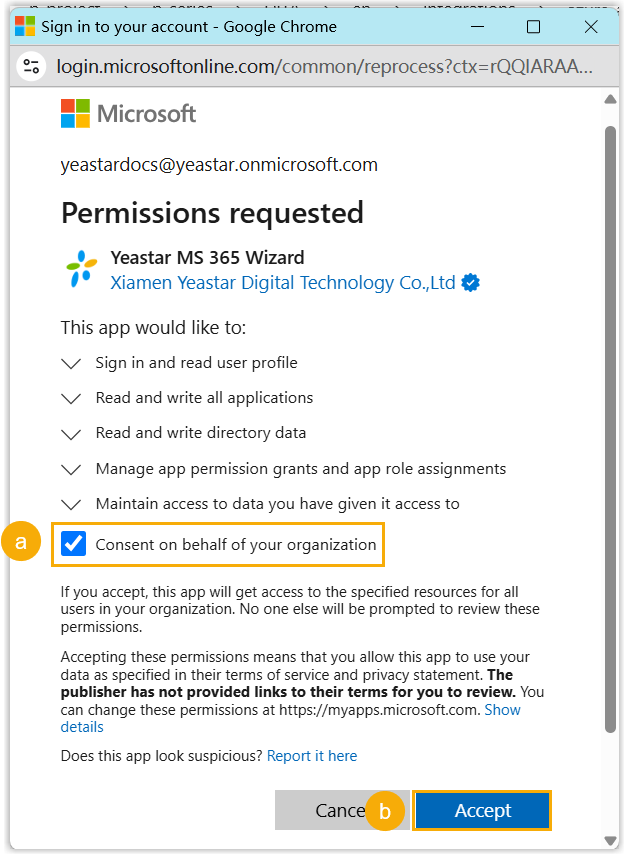
- In the consent window, select the checkbox to grant the permission
requested by the Yeastar MS 365 Wizard, then click
Accept to confirm.
- Sign in with the Microsoft account that has Global
Administrator privilege.
- Wait for several minutes while the integration settings are
applied.

Once completed, the connection page displays Integration succeeded.

- Click Confirm to return to the integration page.
Result
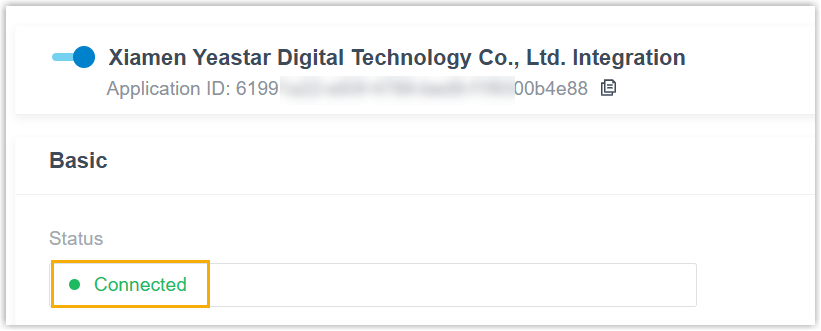
In the integration page, the status of the integration displays
Connected, indicating that the PBX is successfully
connected to your organization's Microsoft Entra ID.
Note: The
PBX automatically creates an application in Microsoft Entra for the connection;
You can search for the corresponding application in Microsoft Entra using the
PBX serial number(SN) or the Application ID displayed at
the top of the integration page.
What to do next
Set up synchronization rules to synchronize the desired users and groups from Microsoft Entra ID to PBX. For more information, see the following topics: