Preparations for Microsoft 365 Integration
Before starting the integration, you need to add room resources and assign Microsoft 365 Business/Enterprise license to users in Microsoft 365 admin center.
- We recommend that you start the integration 24 hours after you complete the following preparations, as it may take up to 24 hours for the room resources and assigned licenses to be fully synchronized.
- Please note that the 24 hours needed here are for Microsoft 365 internal synchronization of meeting room resources and user licenses, which does not require any admin privileges.
Add room resources in Microsoft 365
Add room resources in Microsoft 365 based on the number of physical meeting rooms in your workplace. Room resources represent the physical meeting rooms, users in your workplace can book meeting rooms through them.
-
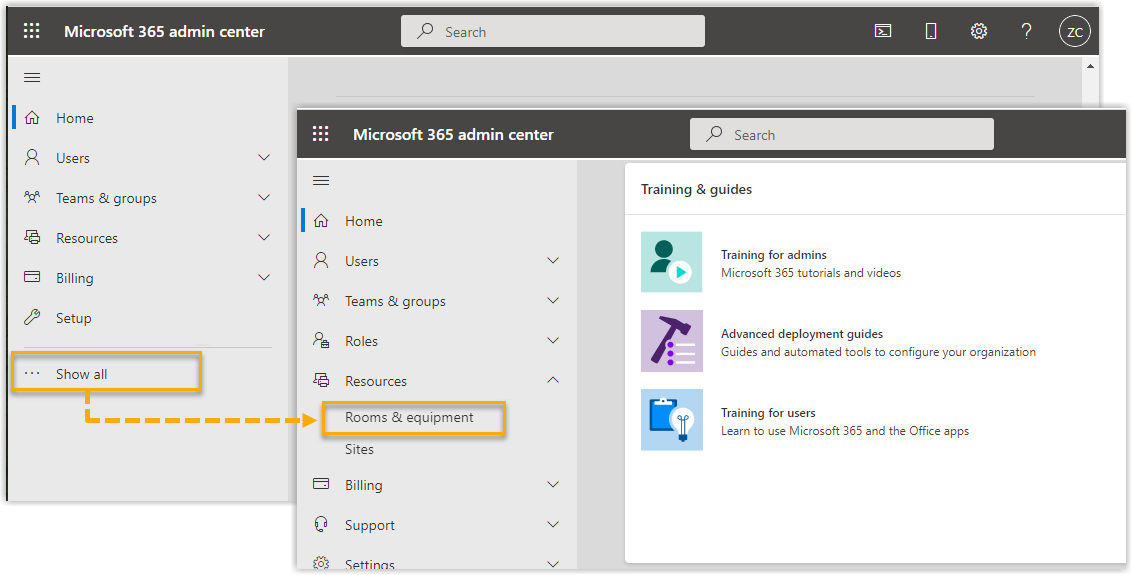
Log in to Microsoft 365 admin center with an administrator account.
-
In the left panel, click Show all, then click Resources and select Rooms & equipment.
-
On the Rooms & equipment page, click Add resource and set the following parameters:

-
Resource type: Select Room.
-
Name: Enter a name to help you identify this meeting room.
-
Email: Specify the email address of this meeting room calendar.
-
Capacity: Enter the number of people who can fit in the room at the same time.
-
Location: Enter the location of this meeting room.
-
-
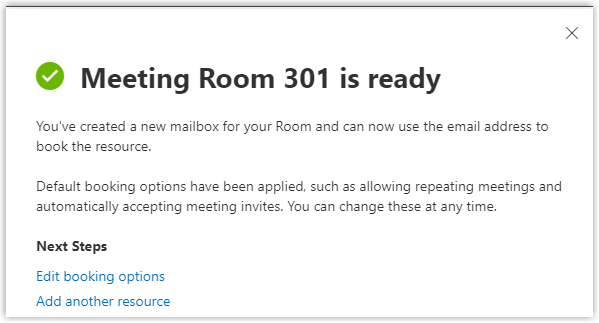
Click Save.
The room resource is created successfully.
Assign Microsoft 365 Business/Enterprise licenses to users
To enjoy all the features provided by Microsoft 365 integration, users in your workplace must be assigned a Microsoft 365 Business/Enterprise license.
- Step 1. Check users' licenses
-
-
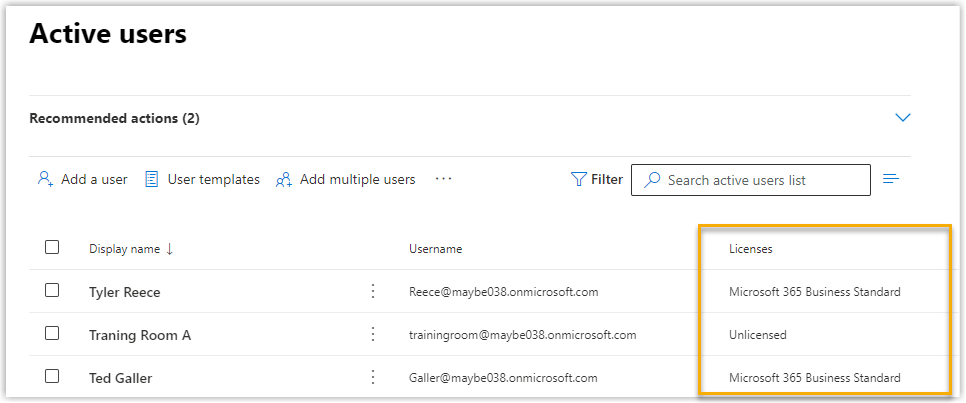
Log in to Microsoft 365 admin center with a Global Administrator account.
-
In the left panel, click Users and select Active users.
The licenses assigned to users are displayed under the Licenses column.
-
- Step 2. Assign Microsoft 365 Business/Enterprise licenses to users who don't have them
-
Scenario Instruction Assign licenses to multiple users -
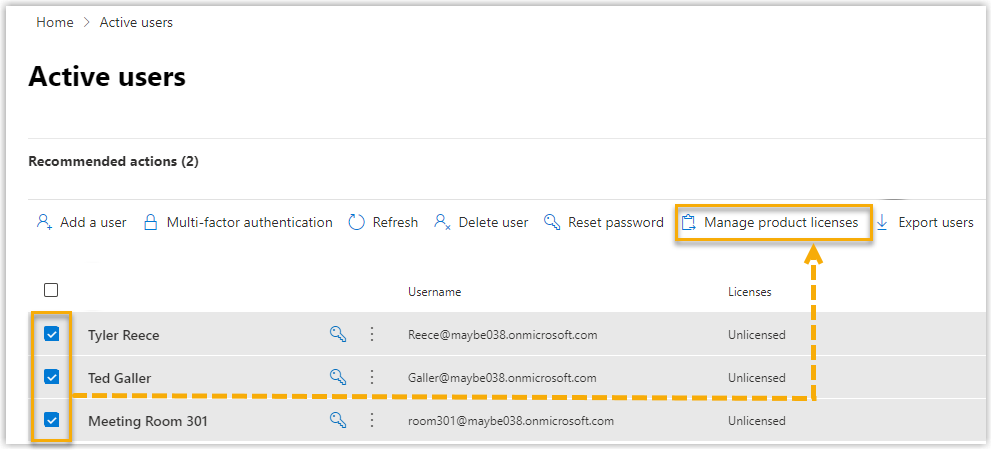
Log in to Microsoft 365 admin center with a Global Administrator account.
-
In the left panel, click Users and select Active users.
-
On the Active users page, select the desired user and click Manage product licenses.
-
In the Manage product licenses pane, do as follow:
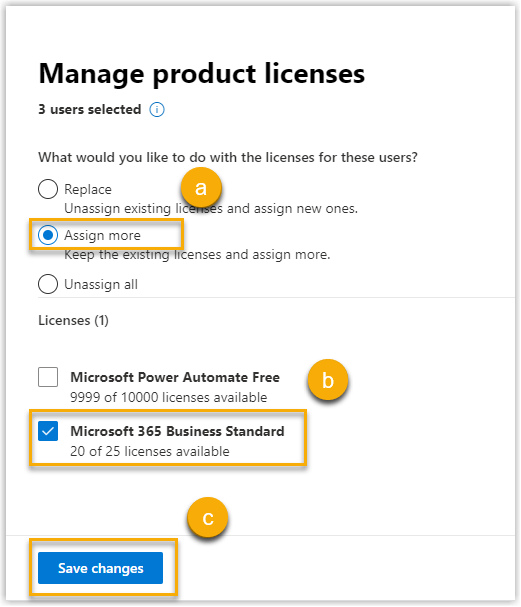
- Select Assign more.
- In the Licenses section, select a Microsoft 365 Business/Enterprise license.
- Click Save changes.
Assign a license to one user -
Log in to Microsoft 365 admin center with a Global Administrator account.
-
In the left pane, click Users and select Active users.
-
Click the row of the user that you want to assign a license to.
-
In the right pane, select Licenses and Apps.
-
Expand the Licenses section, and select a Microsoft 365 Business/Enterprise license.
-
Click Save changes.
-