Install Yeastar P-Series Software Edition on Dell EMC PowerEdge R750 Server
This topic describes how to install Yeastar P-Series Software Edition on Dell EMC PowerEdge R750 server.
Prerequisites
- Write Yeastar P-Series image to a USB drive.
- Make sure the server meets requirements.
- Make sure no external hard disk is installed on the server, or an installation error may occur.
Procedure
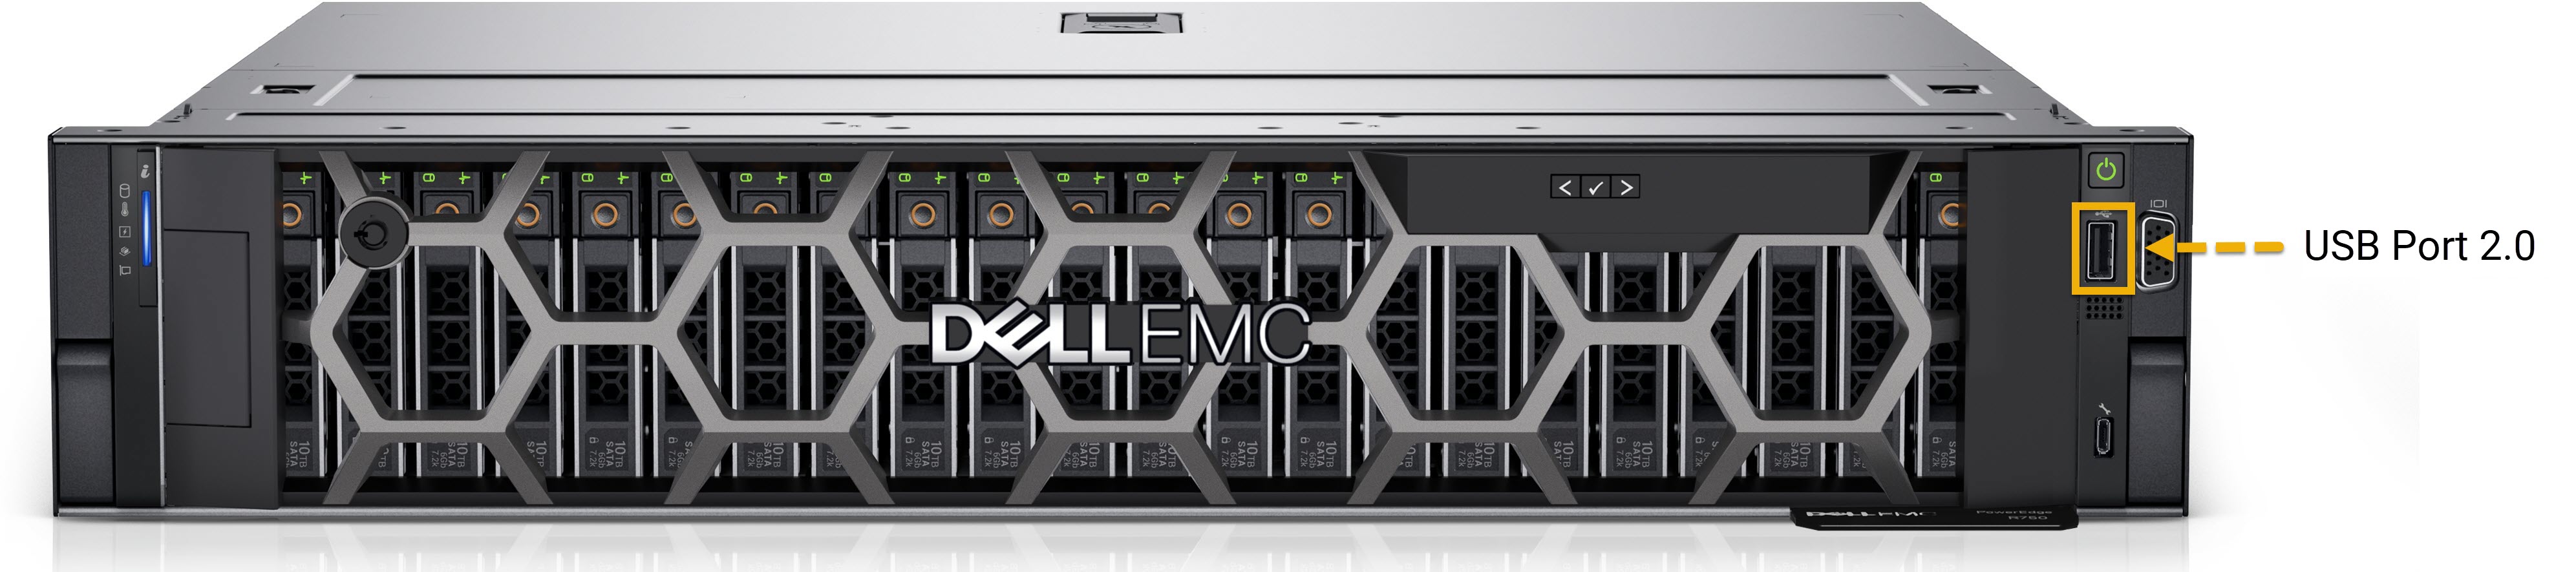
- Connect the USB drive to the USB 2.0 port on Dell EMC PowerEdge R750
server.
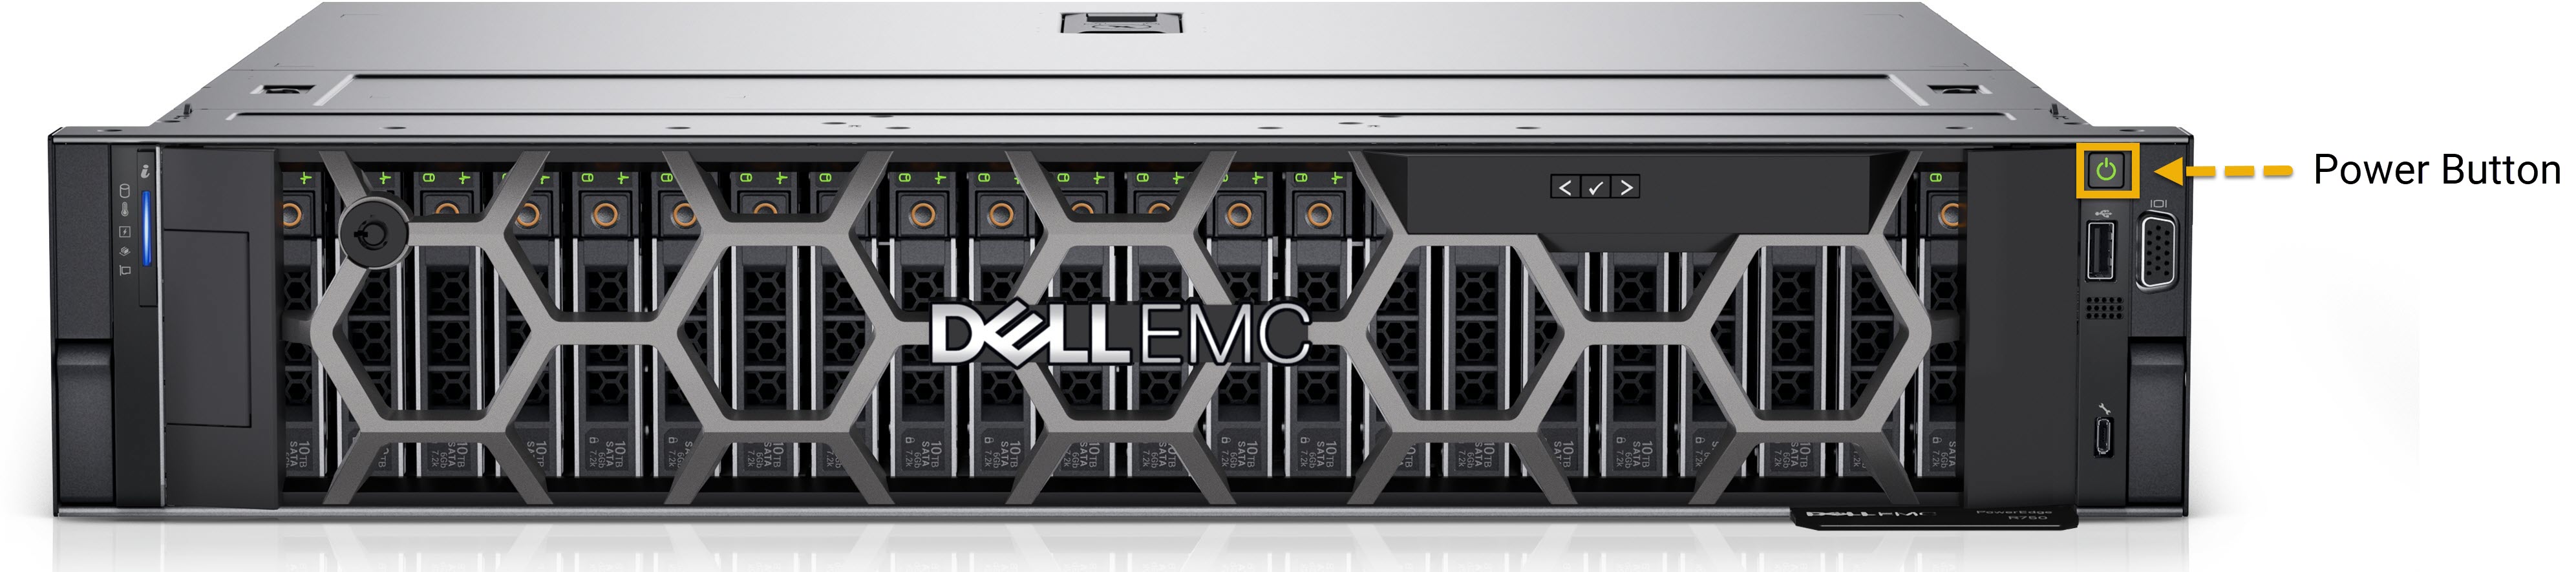
- Press the power button to power on Dell EMC PowerEdge R750 server.
- Press
F2immediately after you see the following image.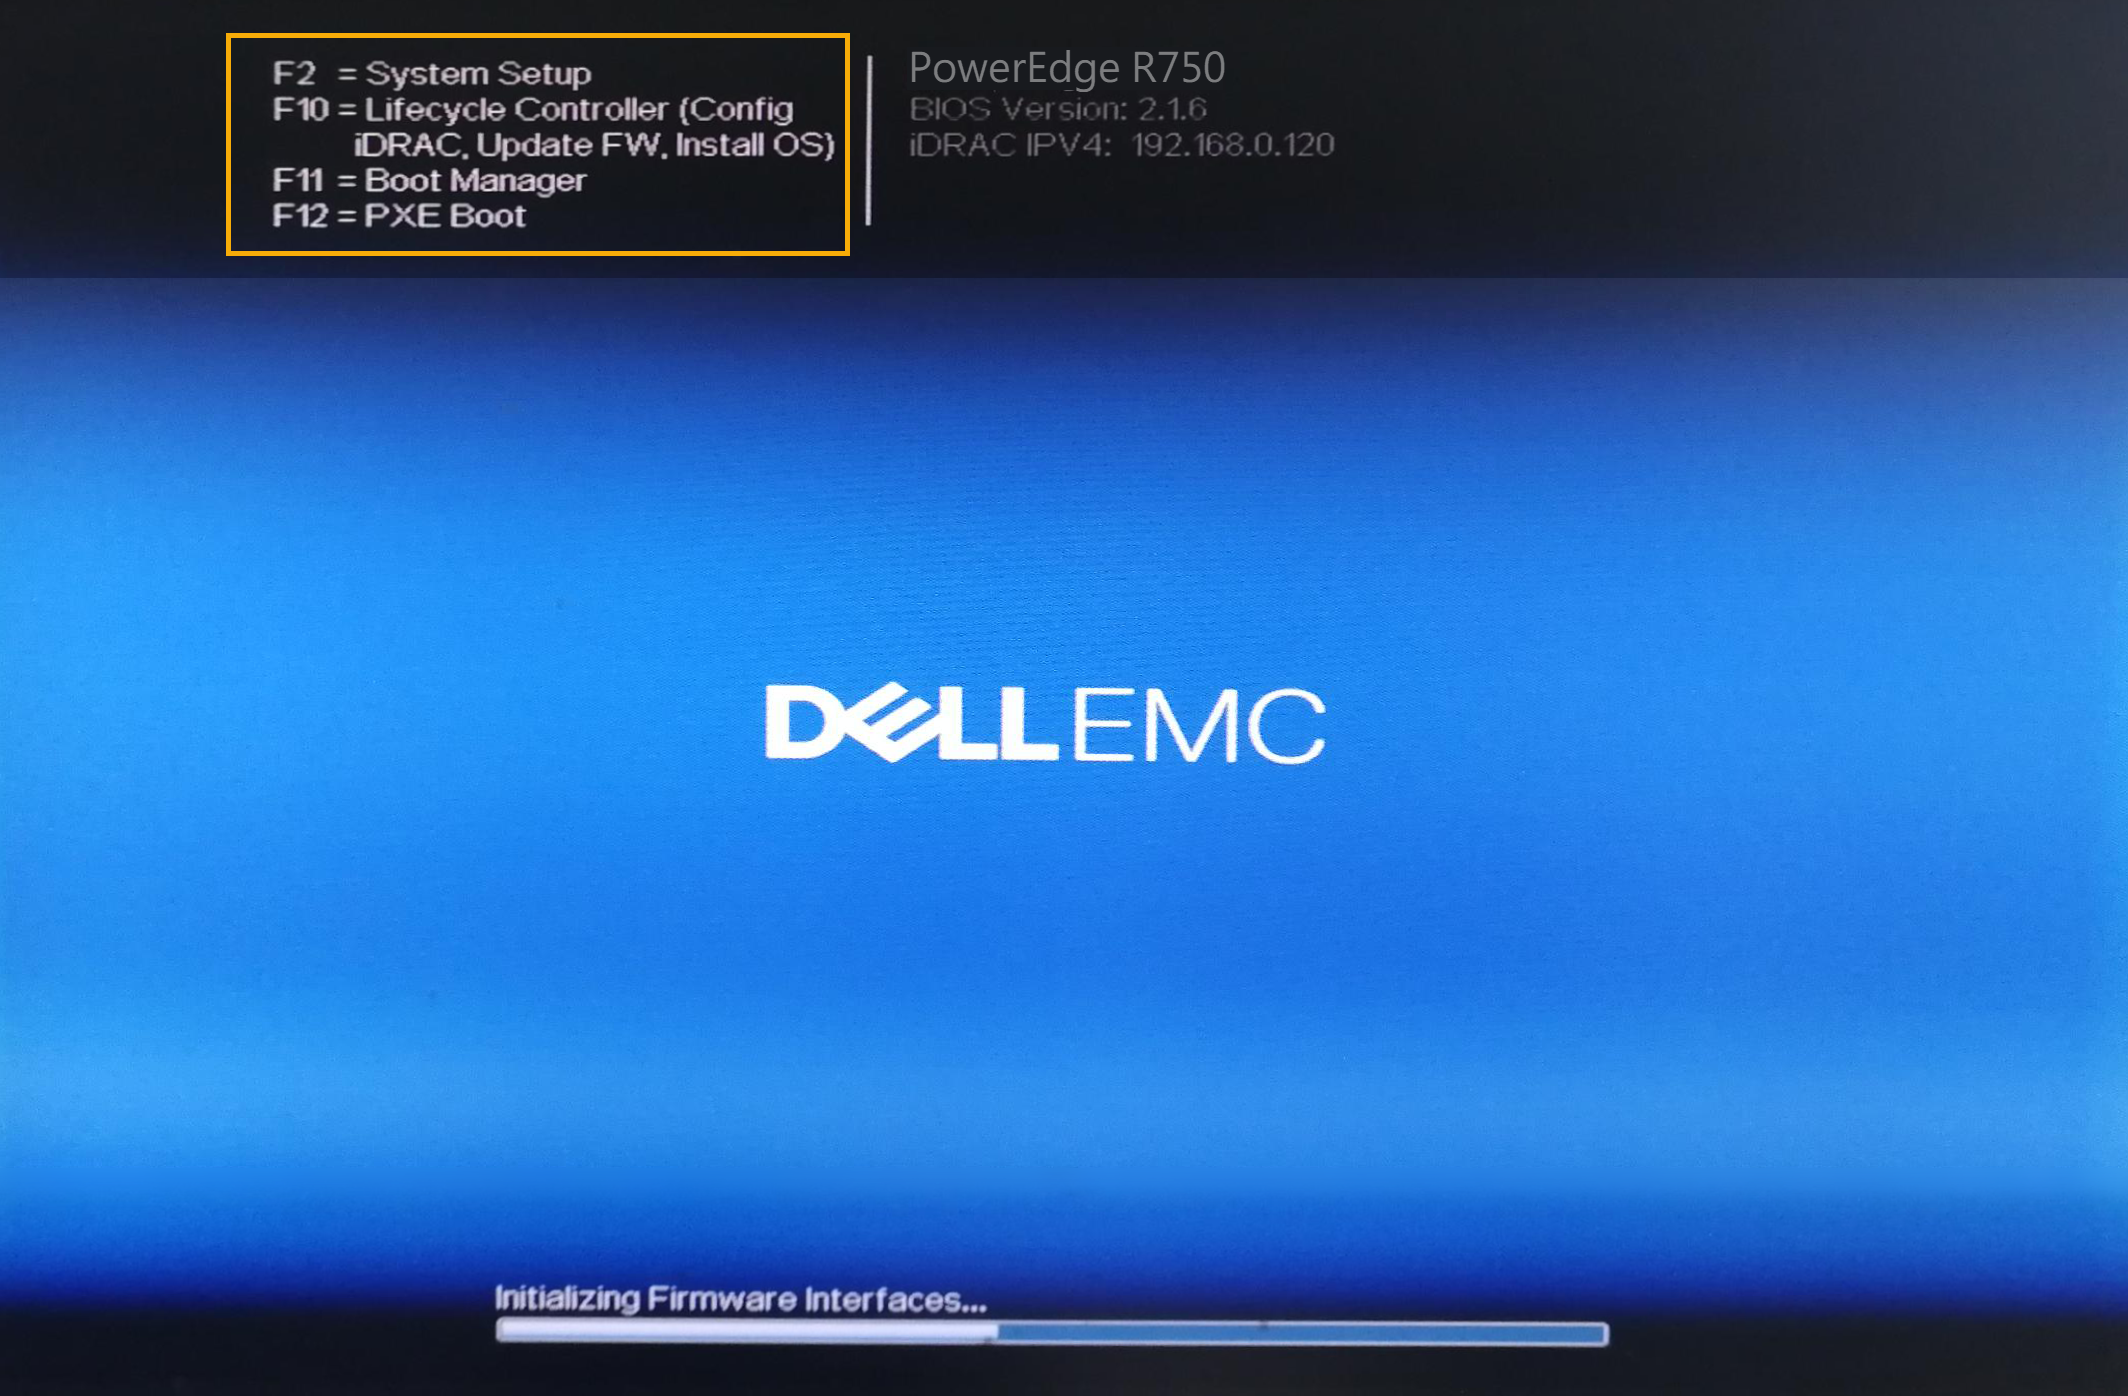
- Set boot mode to BIOS mode.
- Go to .
- Set the Boot Mode to
BIOS.

- Move hard drive to the top in the boot order.
- Go to .
- Select Boot Sequence.
- Select Hard drive C:, select
+ to move the hard drive to the
top.
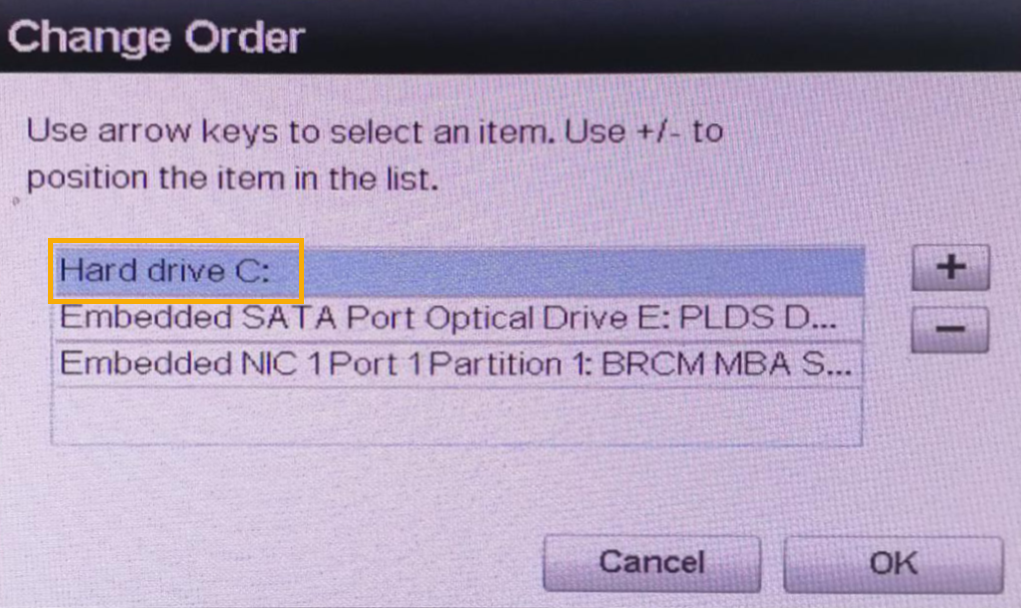
- Select OK.
- Set the system to optimal performance.
- Go to .
- Select Performance.
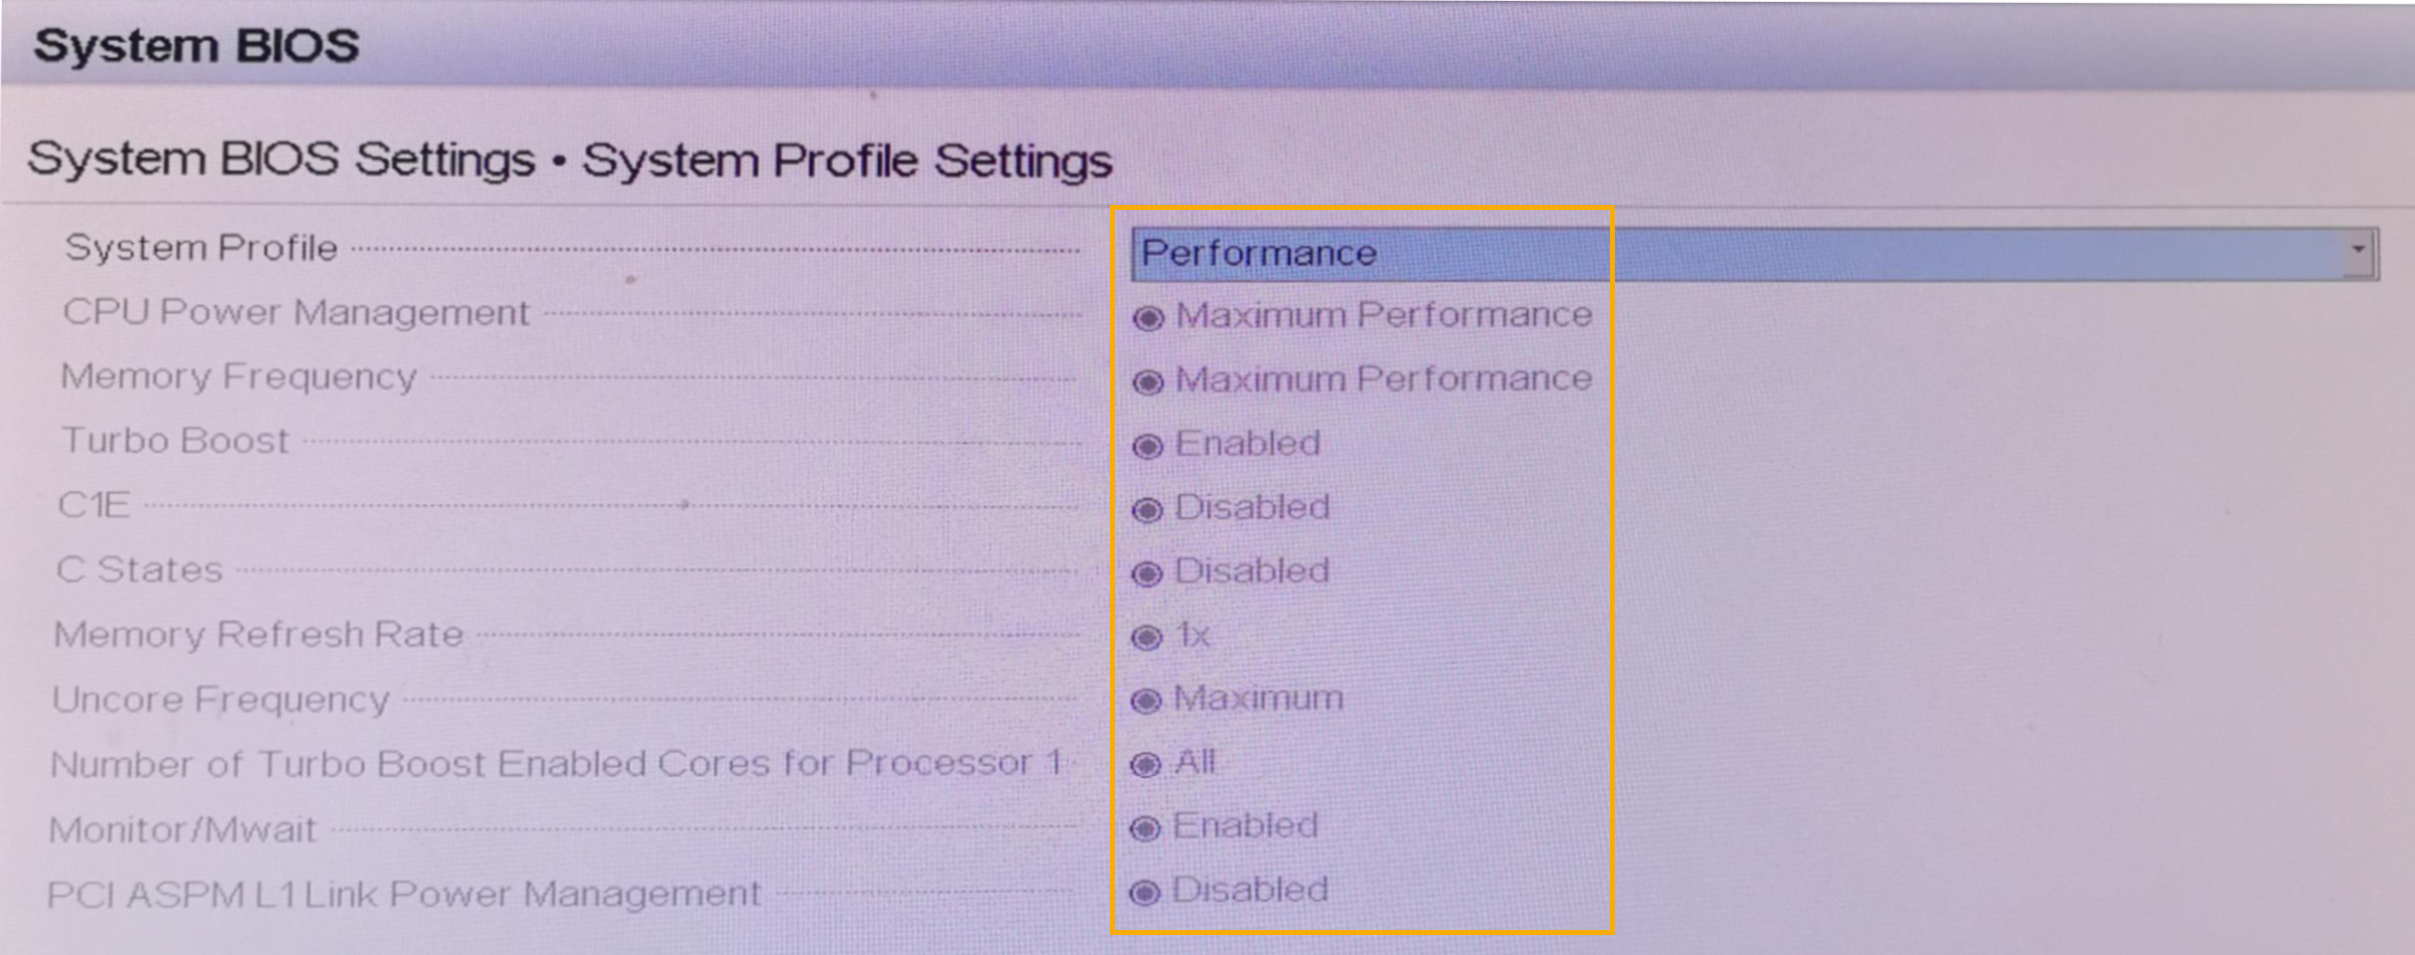
- Press
Esctwice to exit System BIOS Settings, then select Yes to save the setting.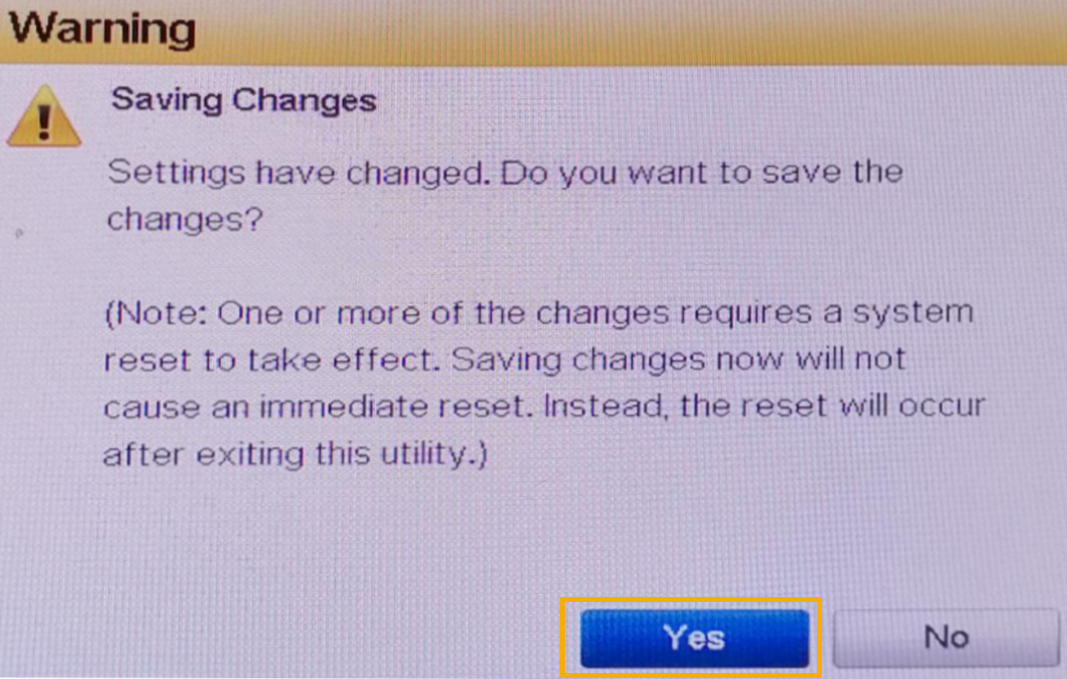
- Press
Ctrl+Alt+Deletekey to reboot the sever. - During boot, press
F11to enter the Boot Manager.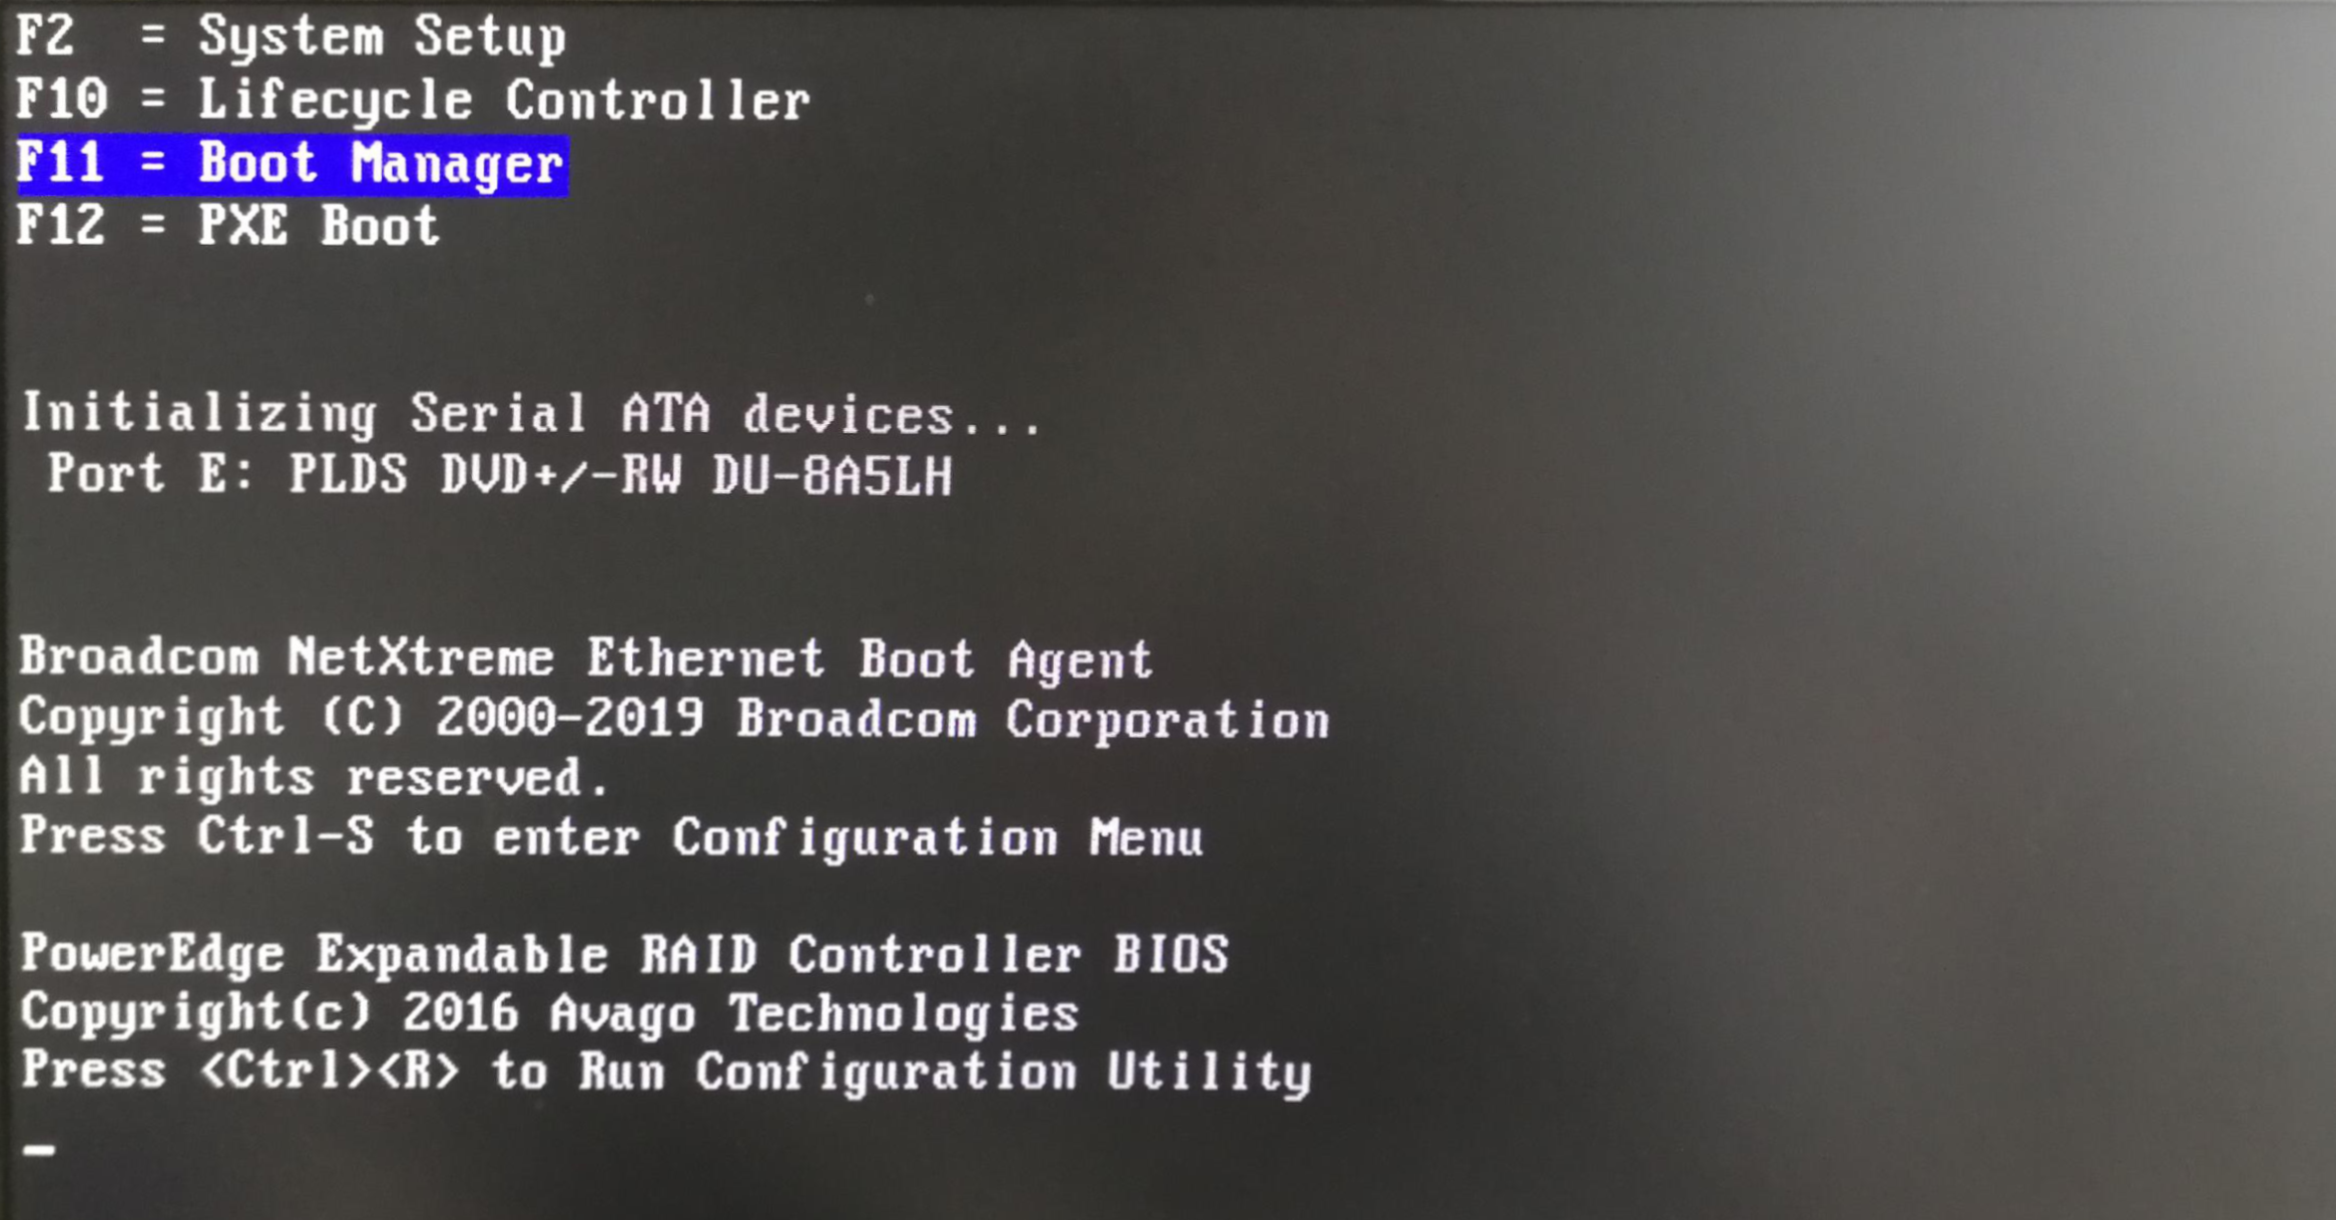
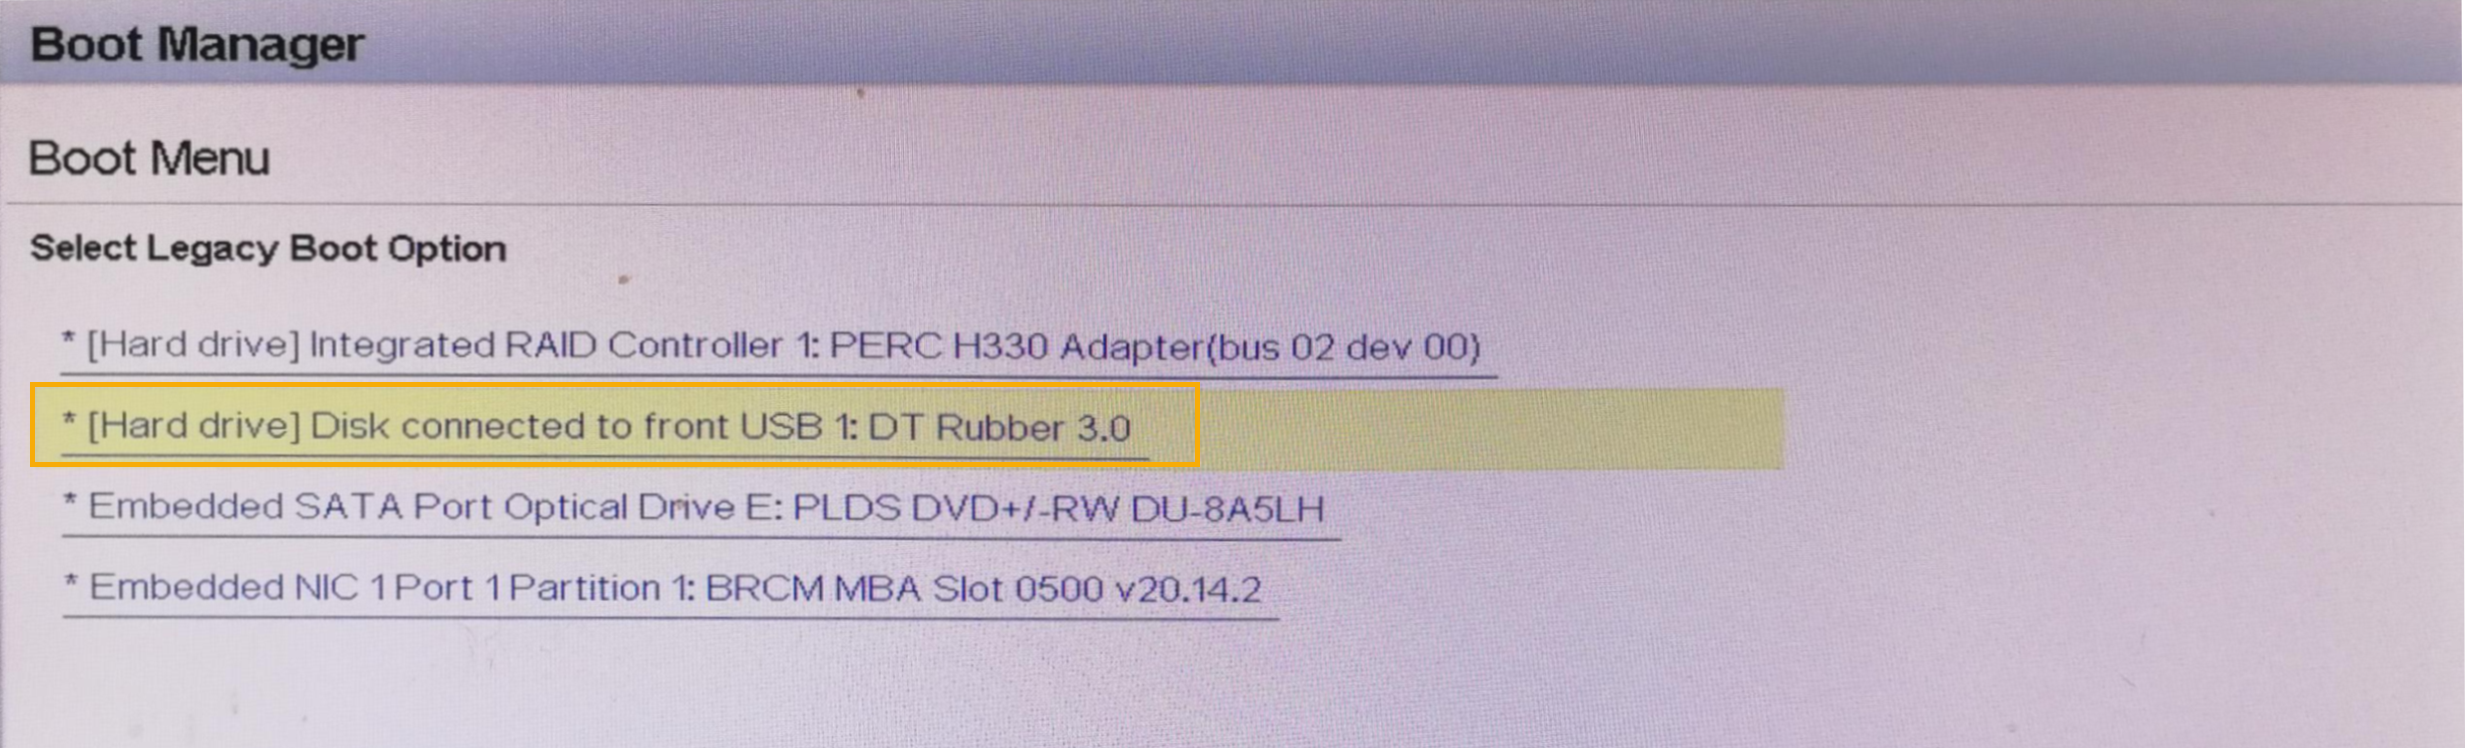
- Select One-shot BIOS Boot Menu, then select
Disk connected to front USB 1: DT Rubber
3.0.
- If you choose to automatically install Yeastar P-Series Software Edition, do as
follows;
- Select
Try or Install Ubuntu
                                        Server
, then pressEnter.
- Wait 5 to 10 minutes until the installation process is no longer
running, then press
Enter.If a
IPPBX loginprompt is displayed and no errors likewait for basicsrv run okoccur, it indicates that P-Series Software Edition is installed with default IP address192.168.5.150.Note: If you want to change IP address, see step13.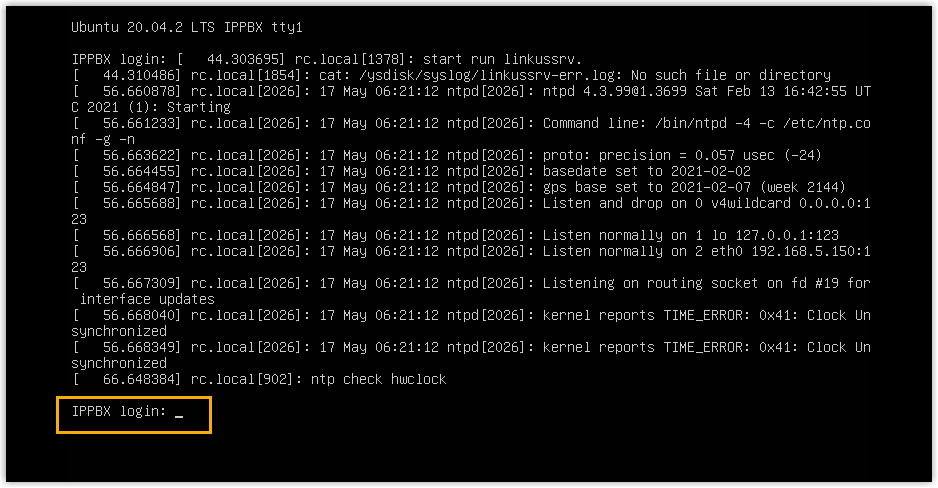
- Select
- If you choose to manually install Yeastar P-Series Software Edition, do as follows:
- Select
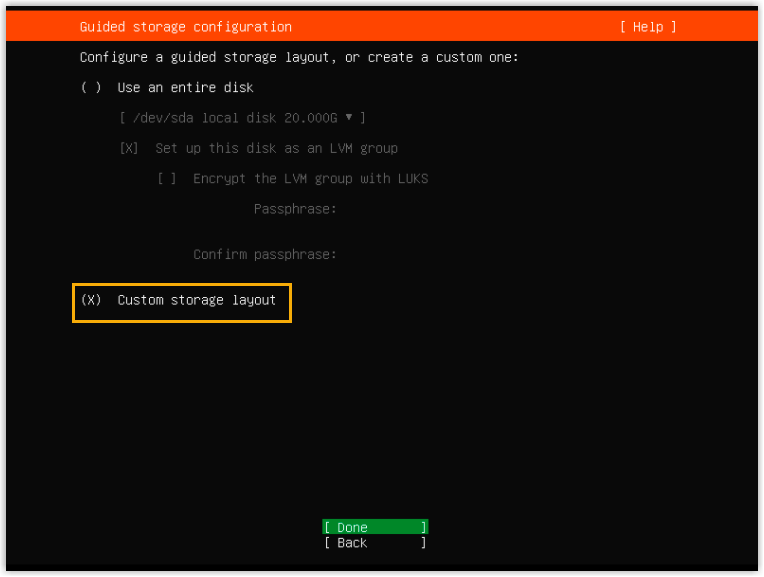
Try or Install Ubuntu
                                        Server
, then pressEnter. - Select Custom storage layout
and select Done.
- In the AVAILABLE DEVICES section, select the free disk space, then select Add GPT Partition.
- In the pop-up window, partition the hard disk according to your
needs.Note: The following partitions are required. You can also add other partitions.
Partition Name Description Format Recommended Partition Space /swapThis is where you extend the system memory by dedicating part of the hard drive to it. swap Minimum 50 GB /The slash /alone stands for the root of the file system tree.ex4 Minimum 100 GB /homeThis holds all the home directories for the users. ex4 Minimum 850 GB 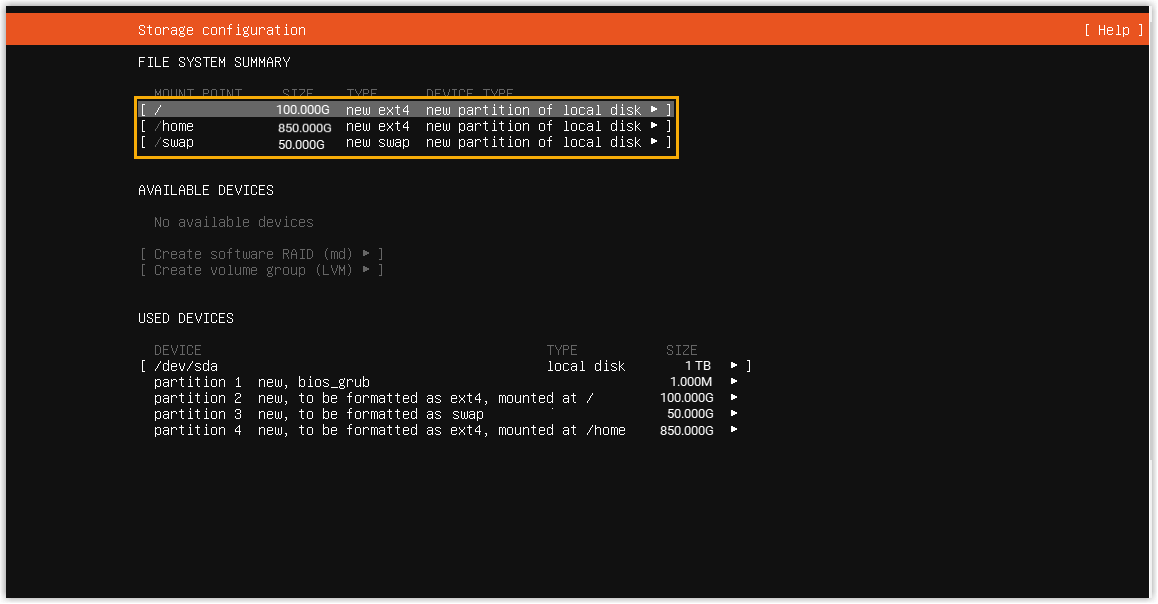
- Select Done.
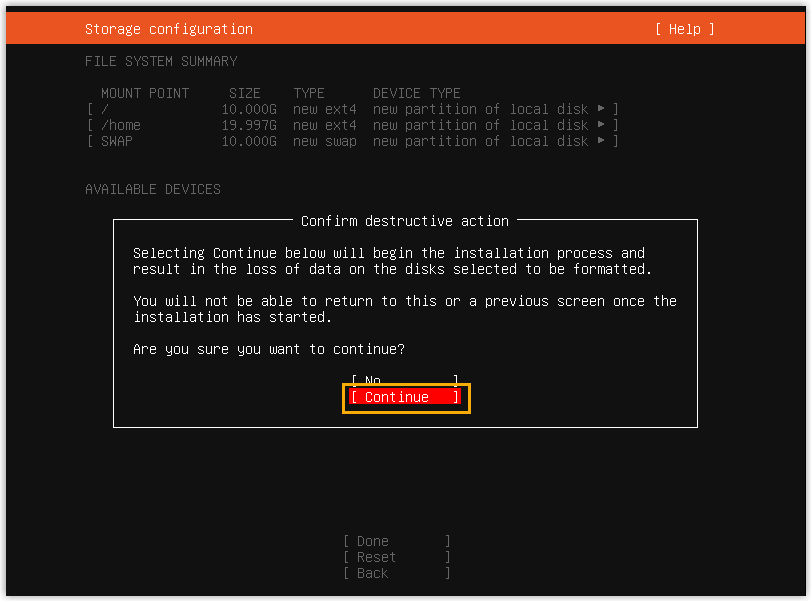
- In the pop-up dialog box, select
Continue.
- Create a user account, then press
Done.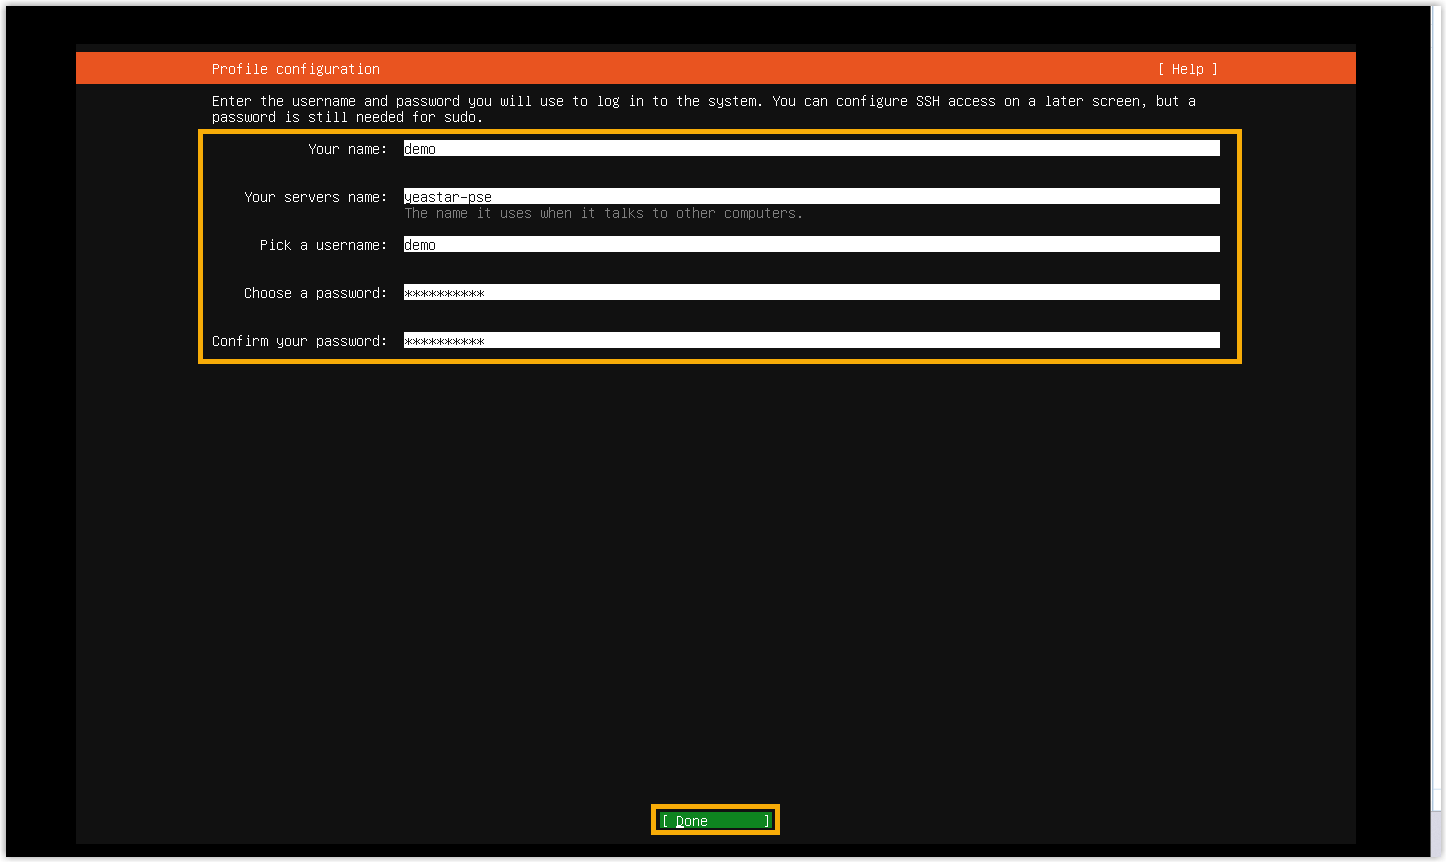
- When you see the following prompt, press
Enterto continue.
- Wait 5 to 10 minutes until the installation process is no longer
running, then press
Enter.If a
IPPBX loginprompt is displayed and no errors likewait for basicsrv run okoccur, it indicates that P-Series Software Edition is installed with default IP address192.168.5.150.
- Select
-
Optional: If you prefer another IP address or your PC is on a different network segment such as
192.168.28.X, you can change the PBX's default IP address.Important: PBX's IP address MUST be on the same network segment as your PC, or you can NOT access the PBX from your PC.We assume that your PC is on the network segment
192.168.28.Xand your desired PBX IP address is192.168.28.45. Refer to the following instructions to change the PBX's IP address.- At the
IPPBX loginprompt, typesupportand pressEnter.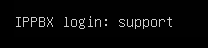
- At the
Passwordprompt, typeloginpbx(if the PBX firmware version is 83.18.0.59 or later) orQhcyaxsGcywymg2022(if the PBX firmware version is 83.18.0.18 or earlier), then pressEnter. Note: Generally, you will NOT get any visual feedback from the screen when you type the password.
You are presented with a prompt, displaying the Ubuntu information and system information. In the meanwhile, you are given the option to ping an IP address, view or update current network configuration, and log out the
supportaccount. You can type a specific number to run the command of the corresponding number.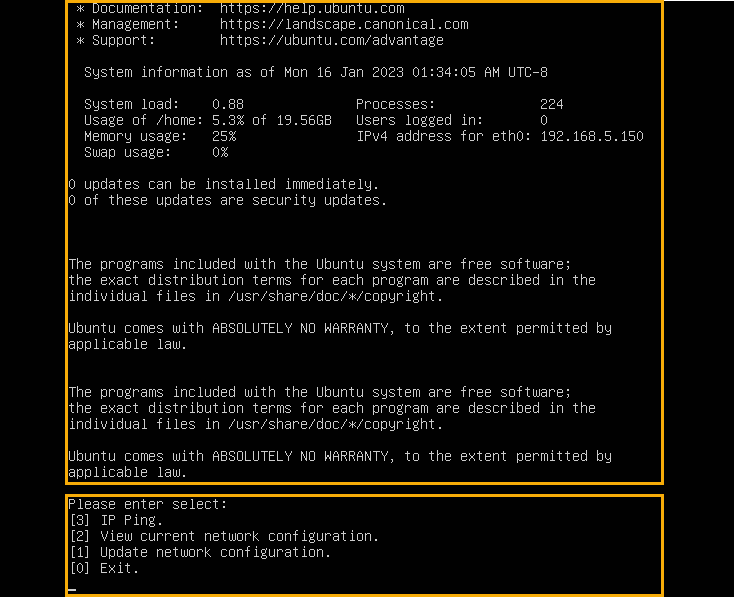
- Type
1and pressEnterto update the network configuration.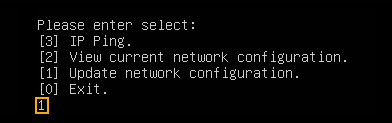
- Change the IP address of Yeastar P-Series Software Edition as
follows.
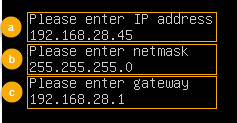
- At the
Please enter IP addressprompt, type the desired IP address and pressEnter.In this example, type
192.168.28.45. - At the
Please enter netmaskprompt, type the subnet mask and pressEnter.In this example, type
255.255.255.0. - At the
Please enter gatewayprompt, type the gateway address and pressEnter.In this example, type
192.168.28.1.It takes about two minutes to change the PBX's IP address from
192.168.5.150to your desired IP address.
- At the
- At the
Result
Yeastar P-Series Software Edition is installed successfully.
What to do next
Activate and set up Yeastar P-Series Software Edition to make it ready for use. You can do this using one of the following methods:
- Complete setup via Web GUI using the installation wizard
-
- Open a web browser, enter the PBX's IP address and port
in the address bar (e.g.
https://192.168.28.45:8088), and
press
Enter.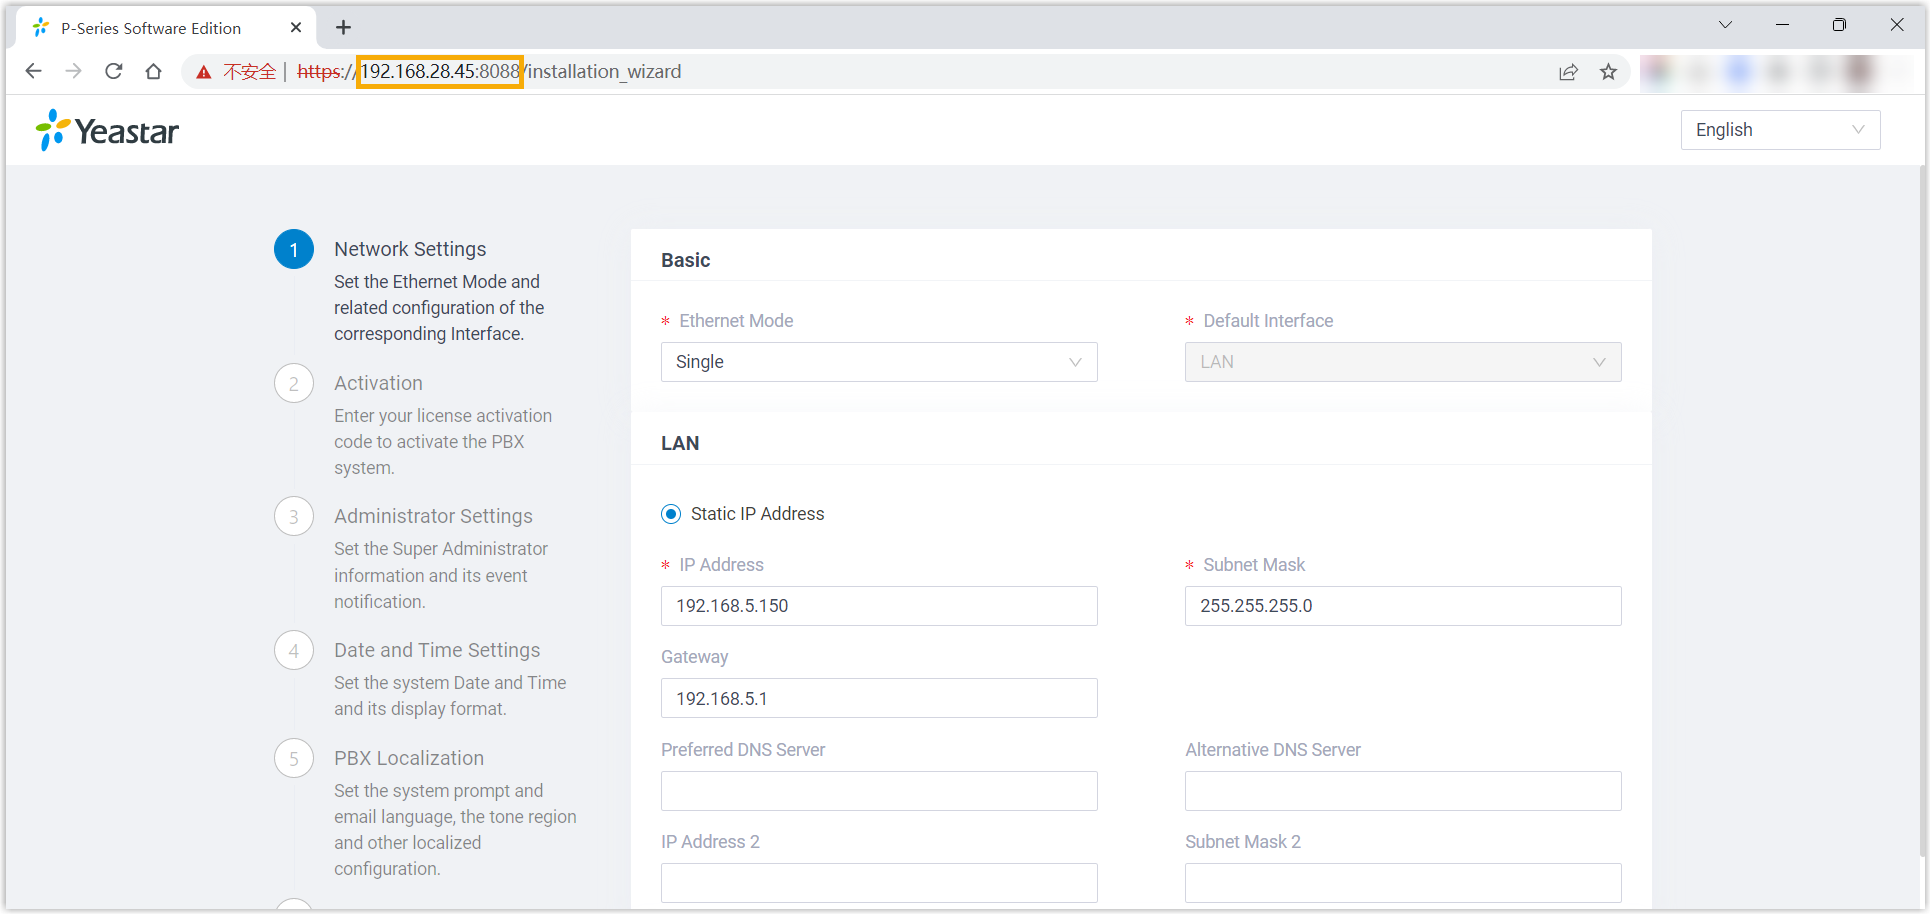
- Activate and initially set up Yeastar P-Series Software Edition following the installation wizard.
- Open a web browser, enter the PBX's IP address and port
in the address bar (e.g.
https://192.168.28.45:8088), and
press
- Complete setup via SSH using a prepared XML file
Upload a prepared XML file to the PBX via SSH. This method allows you to complete the initial setup and apply additional supported PBX settings, such as creating extensions, trunks, inbound routes, and more.
- Download the XML configuration file and edit it as needed.
- Upload the XML configuration file to the designated directory and reboot the PBX to take effect.
For more information, see Activate and Set up Yeastar P-Series Software Edition Using XML Configuration File.
- Root Account: Username is
root, and password is the credential configured in XML configuration file.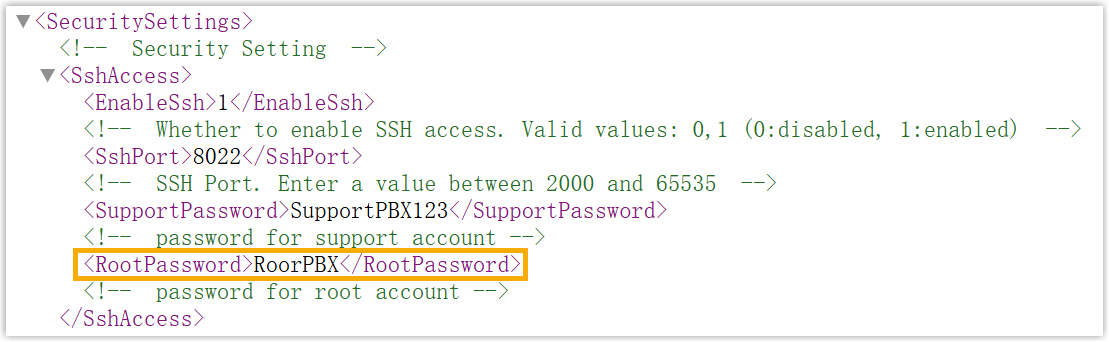
- Support Account: Username is
support, and password is the credential configured in PBX web portal (Path: ) or in XML configuration file.Figure 1. Support password in PBX web portal 
Figure 2. Support password in XML configuration file 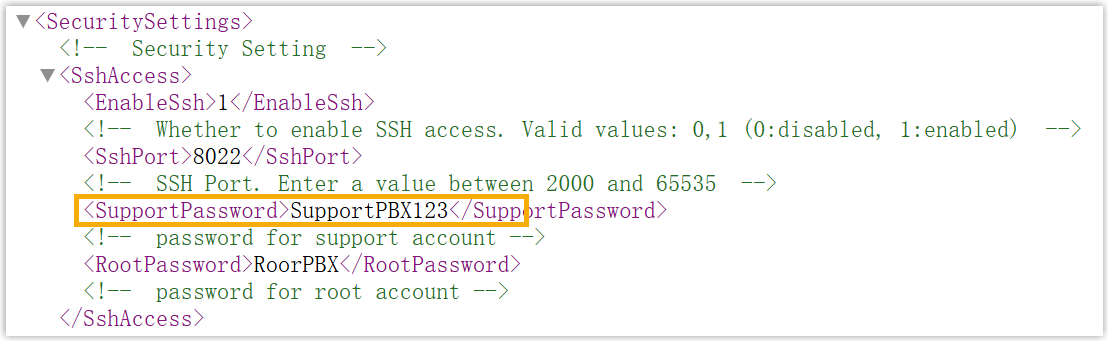
- Custom Account: Username and password are the credentials configured during installation process.