Deploy 'Yeastar Workplace for Outlook' Add-in
This topic describes how to integrate Yeastar Workplace with Microsoft Outlook by deploying 'Yeastar Workplace for Outlook' add-in to your users' Outlook clients on Microsoft admin center.
Requirements
- Yeastar Workplace
-
- Plan: Standard Plan or Pro Plan
- Microsoft Outlook
-
- Outlook version:
- Outlook for Windows 2013 or later
- Outlook for macOS 2013 or later
- Outlook for Web
- Exchange version:
- Exchange Online
- Exchange Server 2013 or later
- Outlook version:
Prerequisites
- Make sure that your Microsoft 365 account has the role of Global Administrator.
-
Make sure that Yeastar Workplace is integrated with either Microsoft 365 or Microsoft Exchange.Note: The integration of Yeastar Workplace and Microsoft 365 or Microsoft Exchange implements the synchronization of Outlook room resources to Yeastar Workplace. This enables the ‘Yeastar Workplace for Outlook’ add-in to retrieve available meeting room resources and synchronize meeting room schedules in real-time between both platforms.
Step 1. Obtain the manifest file URL
'Yeastar Workplace for Outlook' add-in is deployed via a manifest file, you need to obtain the manifest file's URL of the Outlook add-in from Yeastar Workplace web portal.
- Log in to Yeastar Workplace admin portal, go to .
- In the Outlook Add-in section, note
down the Add-in Manifest file
URL.

Step 2. Deploy 'Yeastar Workplace for Outlook' add-in
Deploy 'Yeastar Workplace for Outlook' add-in on Microsoft admin center, and specify which users have access to this add-in.
- Log in to Microsoft admin center with a Global Administrator account.
- Access the add-in deployment page.
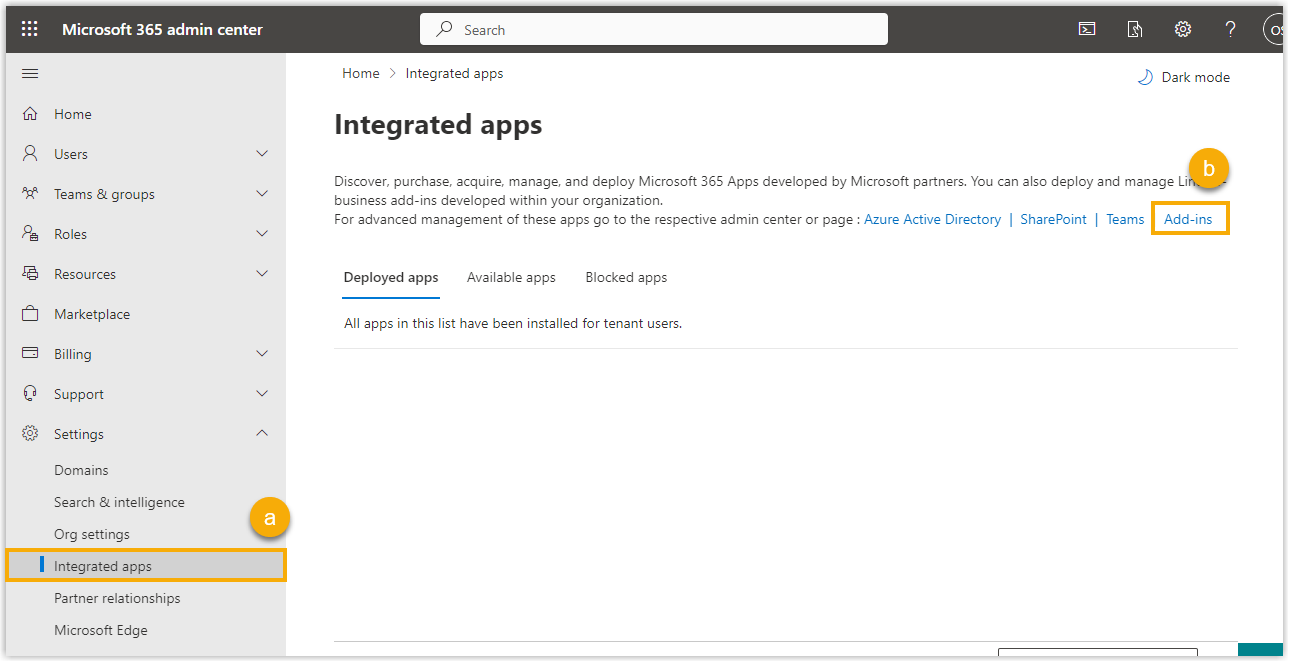
- On the left panel, go to .
- Click Add-ins.
- Upload the manifest file of 'Yeastar Workplace for Outlook' add-in.
- Click Deploy Add-in and click
Next.

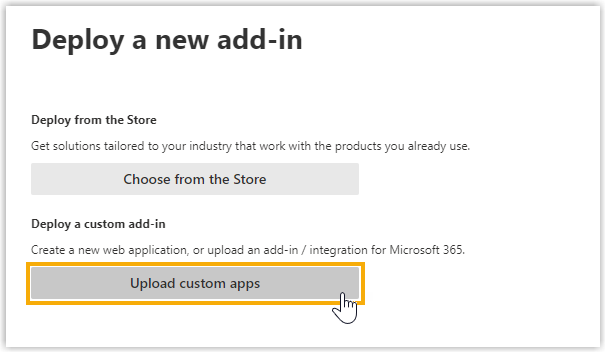
- Click Upload custom apps.
- Select I have a URL for the manifest file and
enter the
manifest file URL of 'Yeastar Workplace for Outlook'
add-in.
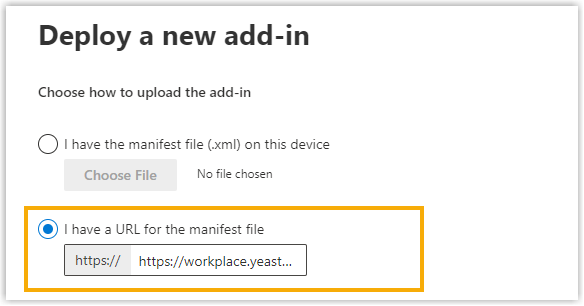
- Click Upload.
- Click Deploy Add-in and click
Next.
- Assign the access permission and select deployment method for this
add-in.
- In the Assign Users section, decide which
users have access to this add-in.
- Everyone: All employees in your organization (and in your domain) can access this add-in.
- Specific users/groups: Only specific users or groups from your Active Directory can access this add-in.
- Just me: Only you can access this add-in.
- In the Deployment method section, choose the Fixed (Default).
- In the Assign Users section, decide which
users have access to this add-in.
- Click Deploy.
Result
You have deployed 'Yeastar Workplace for Outlook' for the assigned users. Next time the assigned users open their Outlook clients, they can access the add-in from the ribbons and book meeting rooms through it.