Set up a Facebook Channel
This topic describes how to set up a Facebook channel on Yeastar P-Series Software Edition, so that agents in your business can receive and reply to your Facebook Page messages.
Step 1. Create a Meta app
On 'Meta for Developers' portal, create a Meta app for the integration.
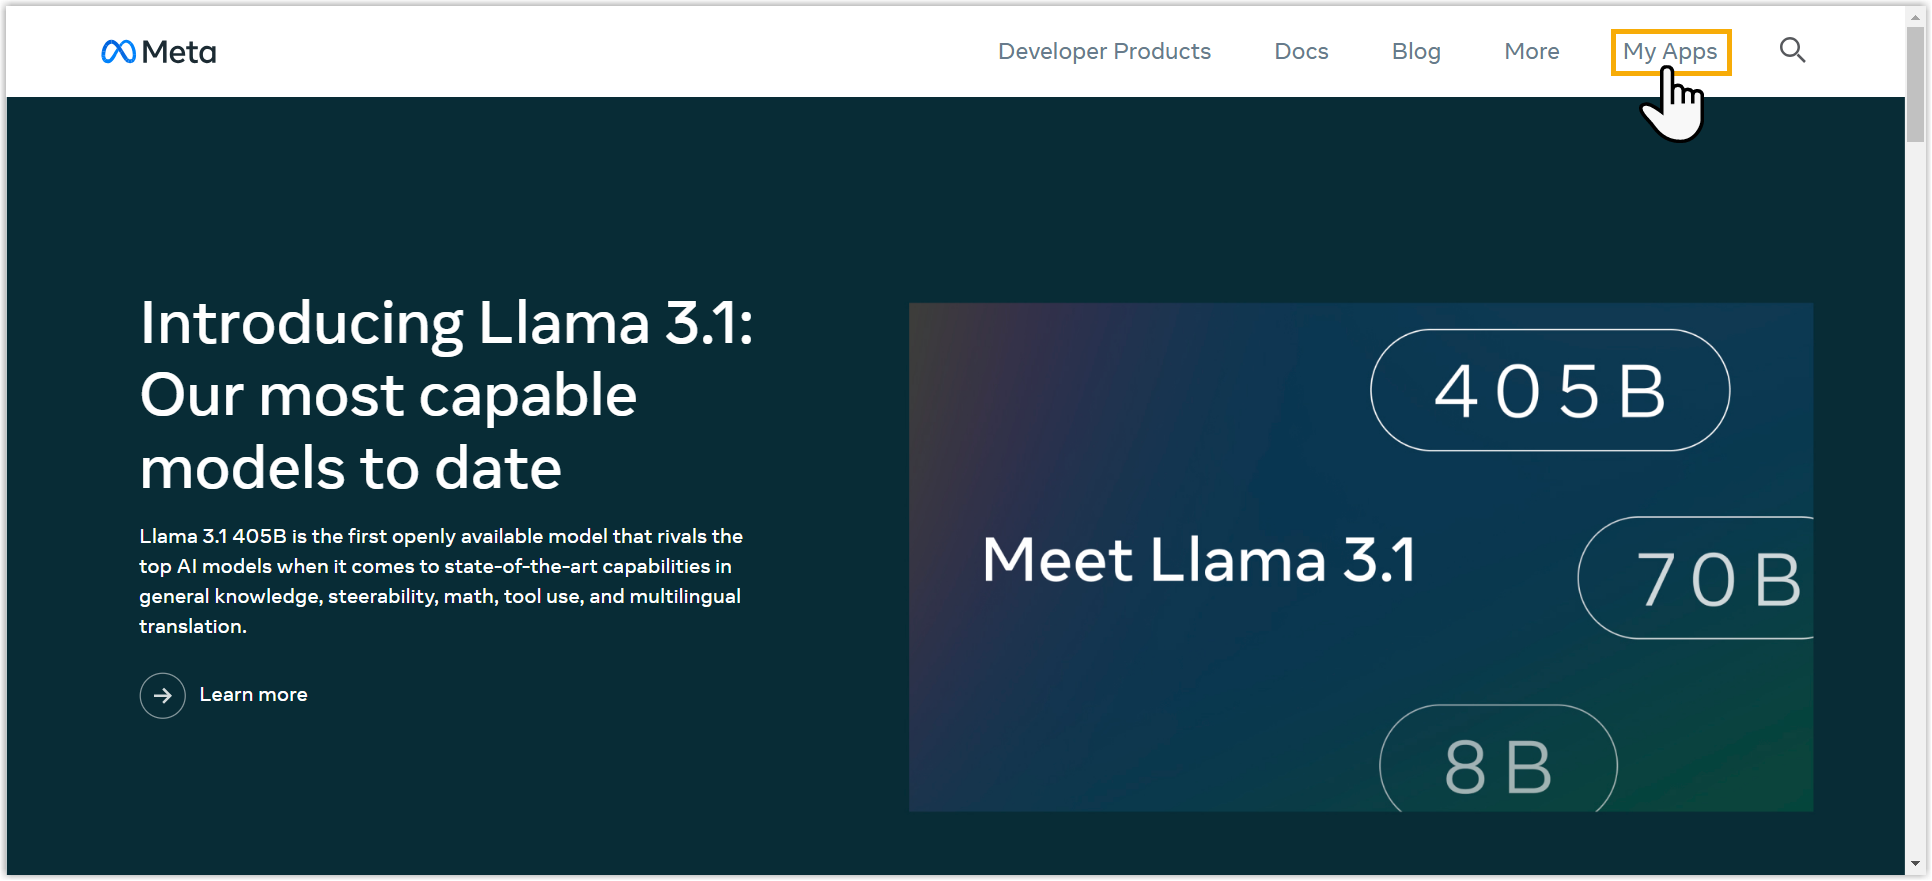
- Log in to 'Meta for Developers' portal, then go to
My Apps from the top menu.
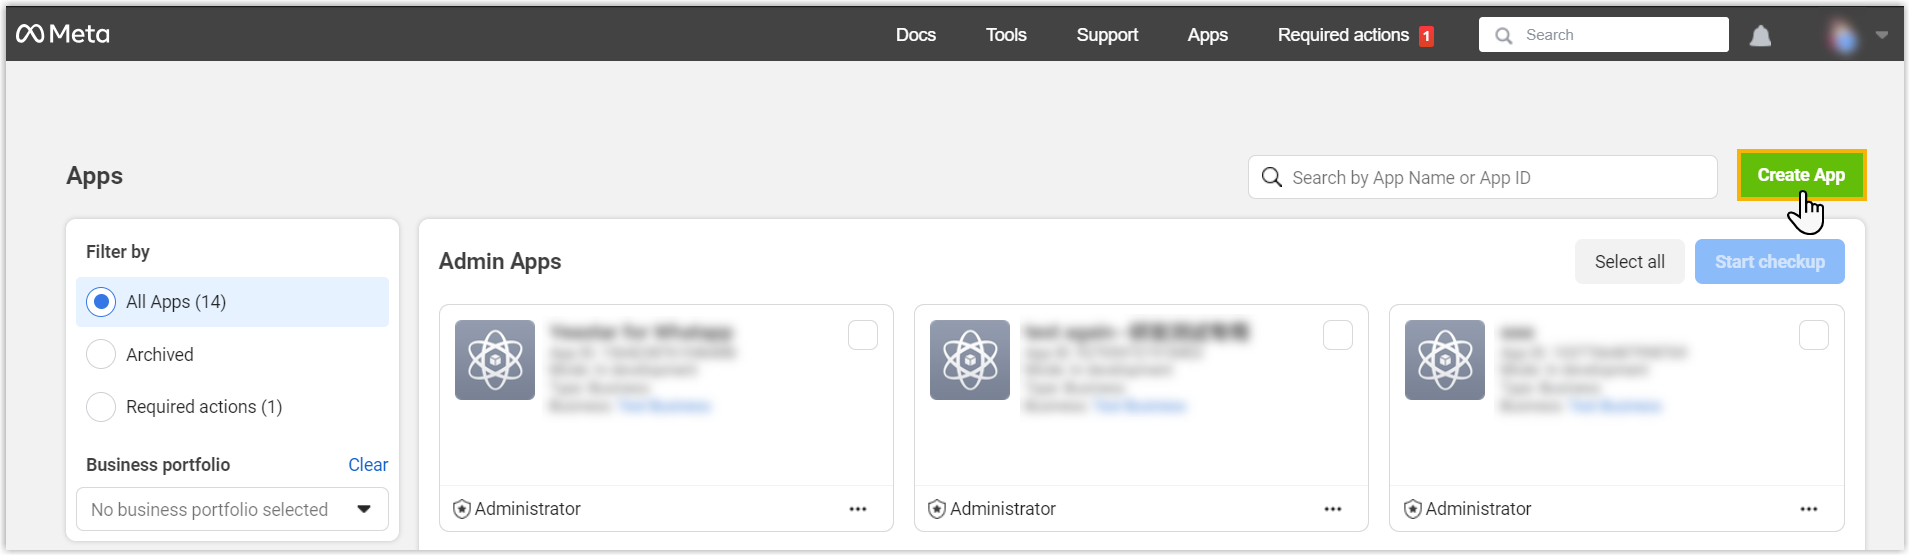
- At the top-right corner, click Create App.
- For App details, configure app name and contact email,
then click Next.
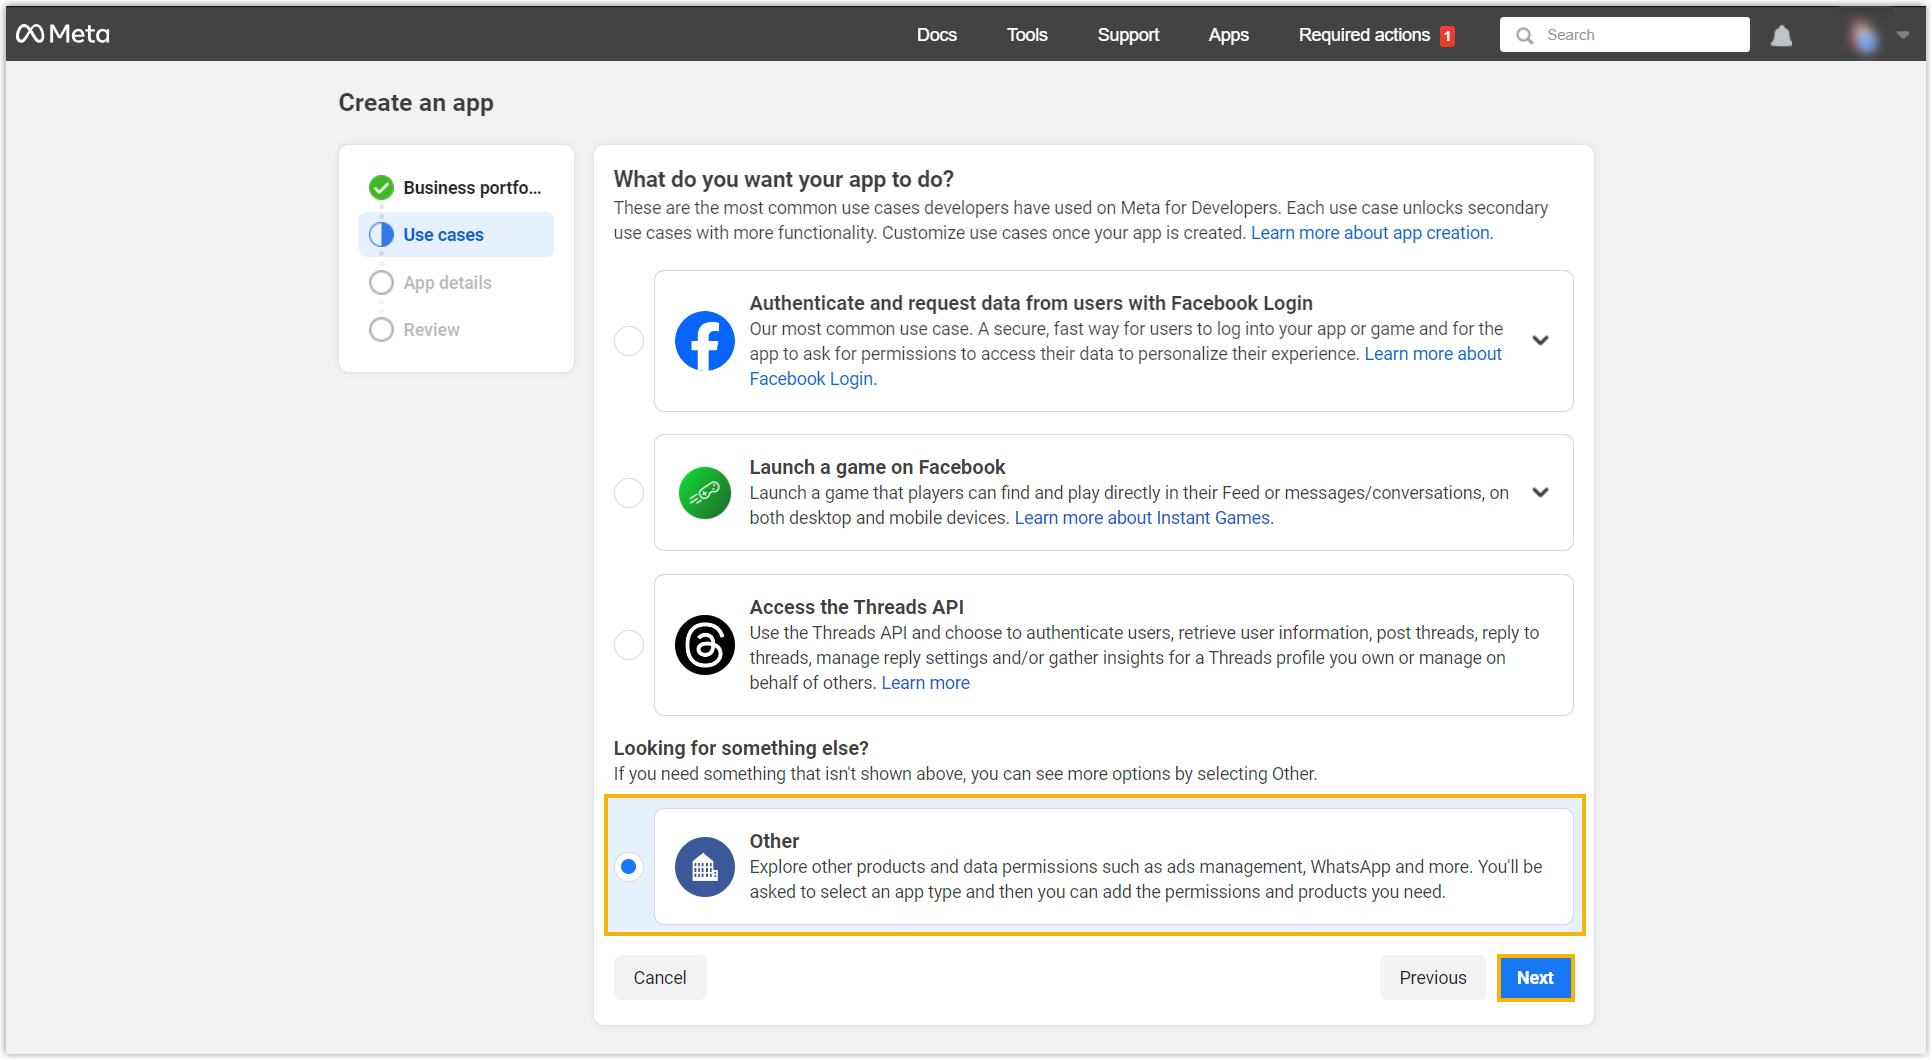
- For Use cases, select Other, then
click Next.
- For App type, select Business, then click
Next.
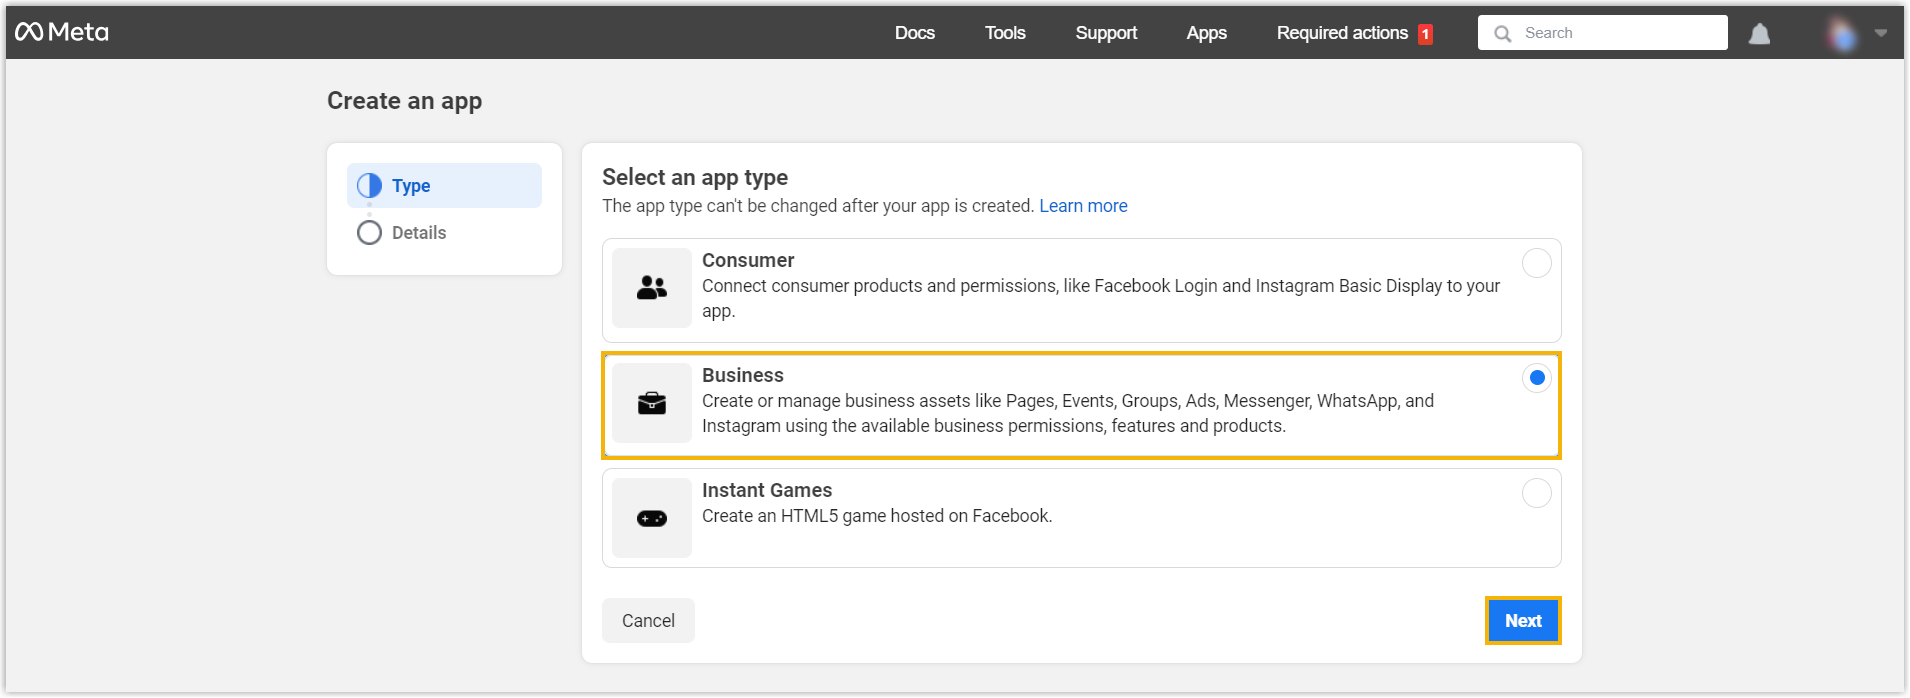
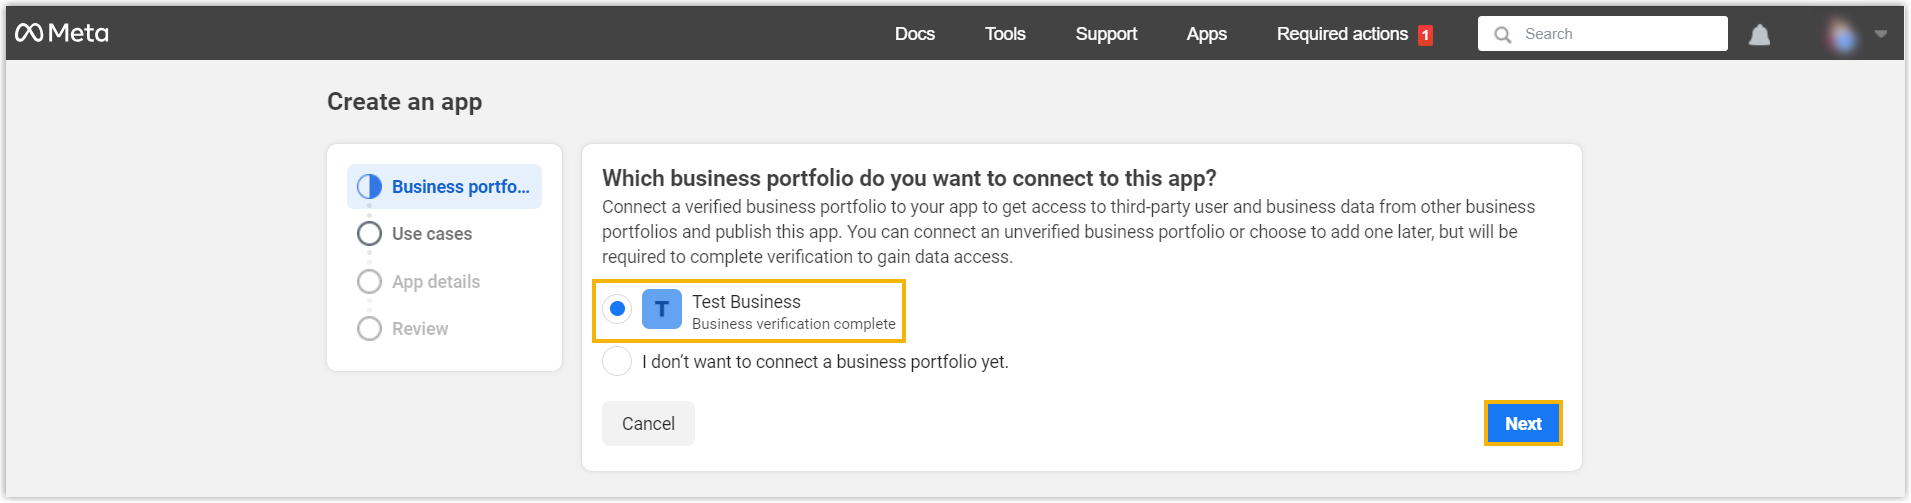
- For App details, select your Meta business portfolio.
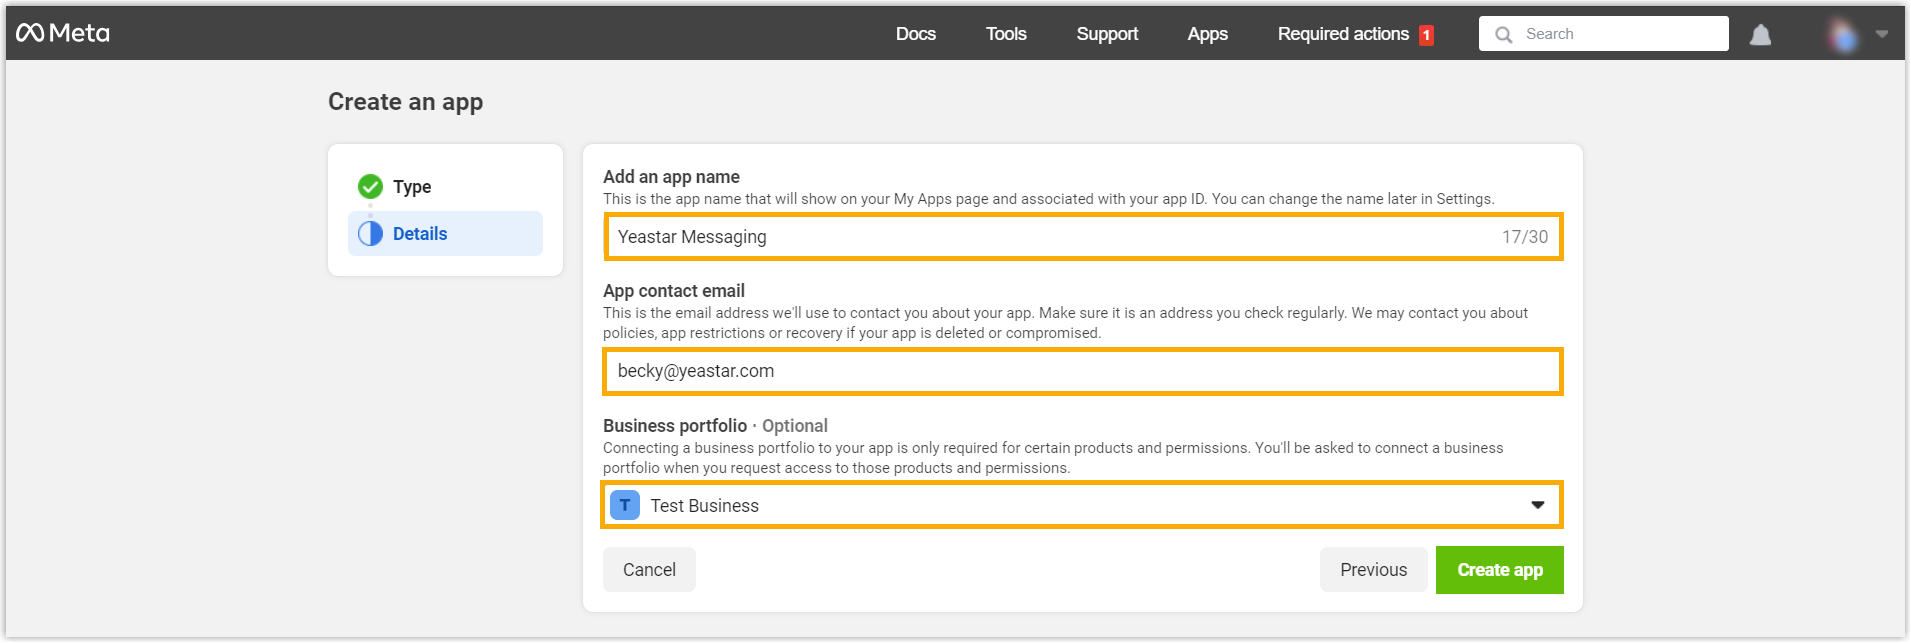
- Click Create app.
The Meta app is created; You are redirected to the App Dashboard page.
Step 2. Set up the Meta app
On 'Meta for Developers' portal, add Messenger Platform to your Meta app and set up the app to gather the required credentials for the integration.
- On the Add products to your app page, click
Set up on
Messenger.
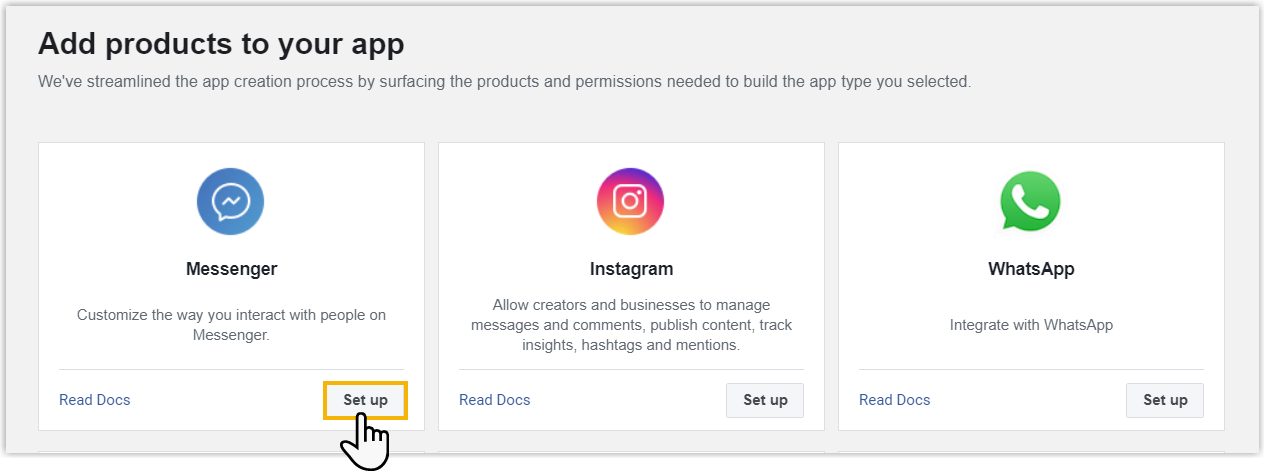
You are redirected to the Messenger API configuration page.
- Connect the Meta app to your Facebook Page to generate an access token, and
gather credentials of the Facebook Page.
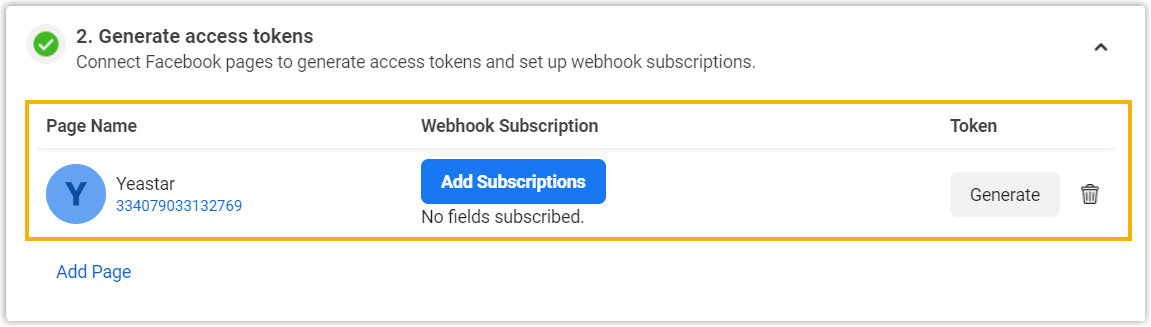
- Scroll down to the 2. Generate access
tokens section, click
Connect to add your Facebook
Page.
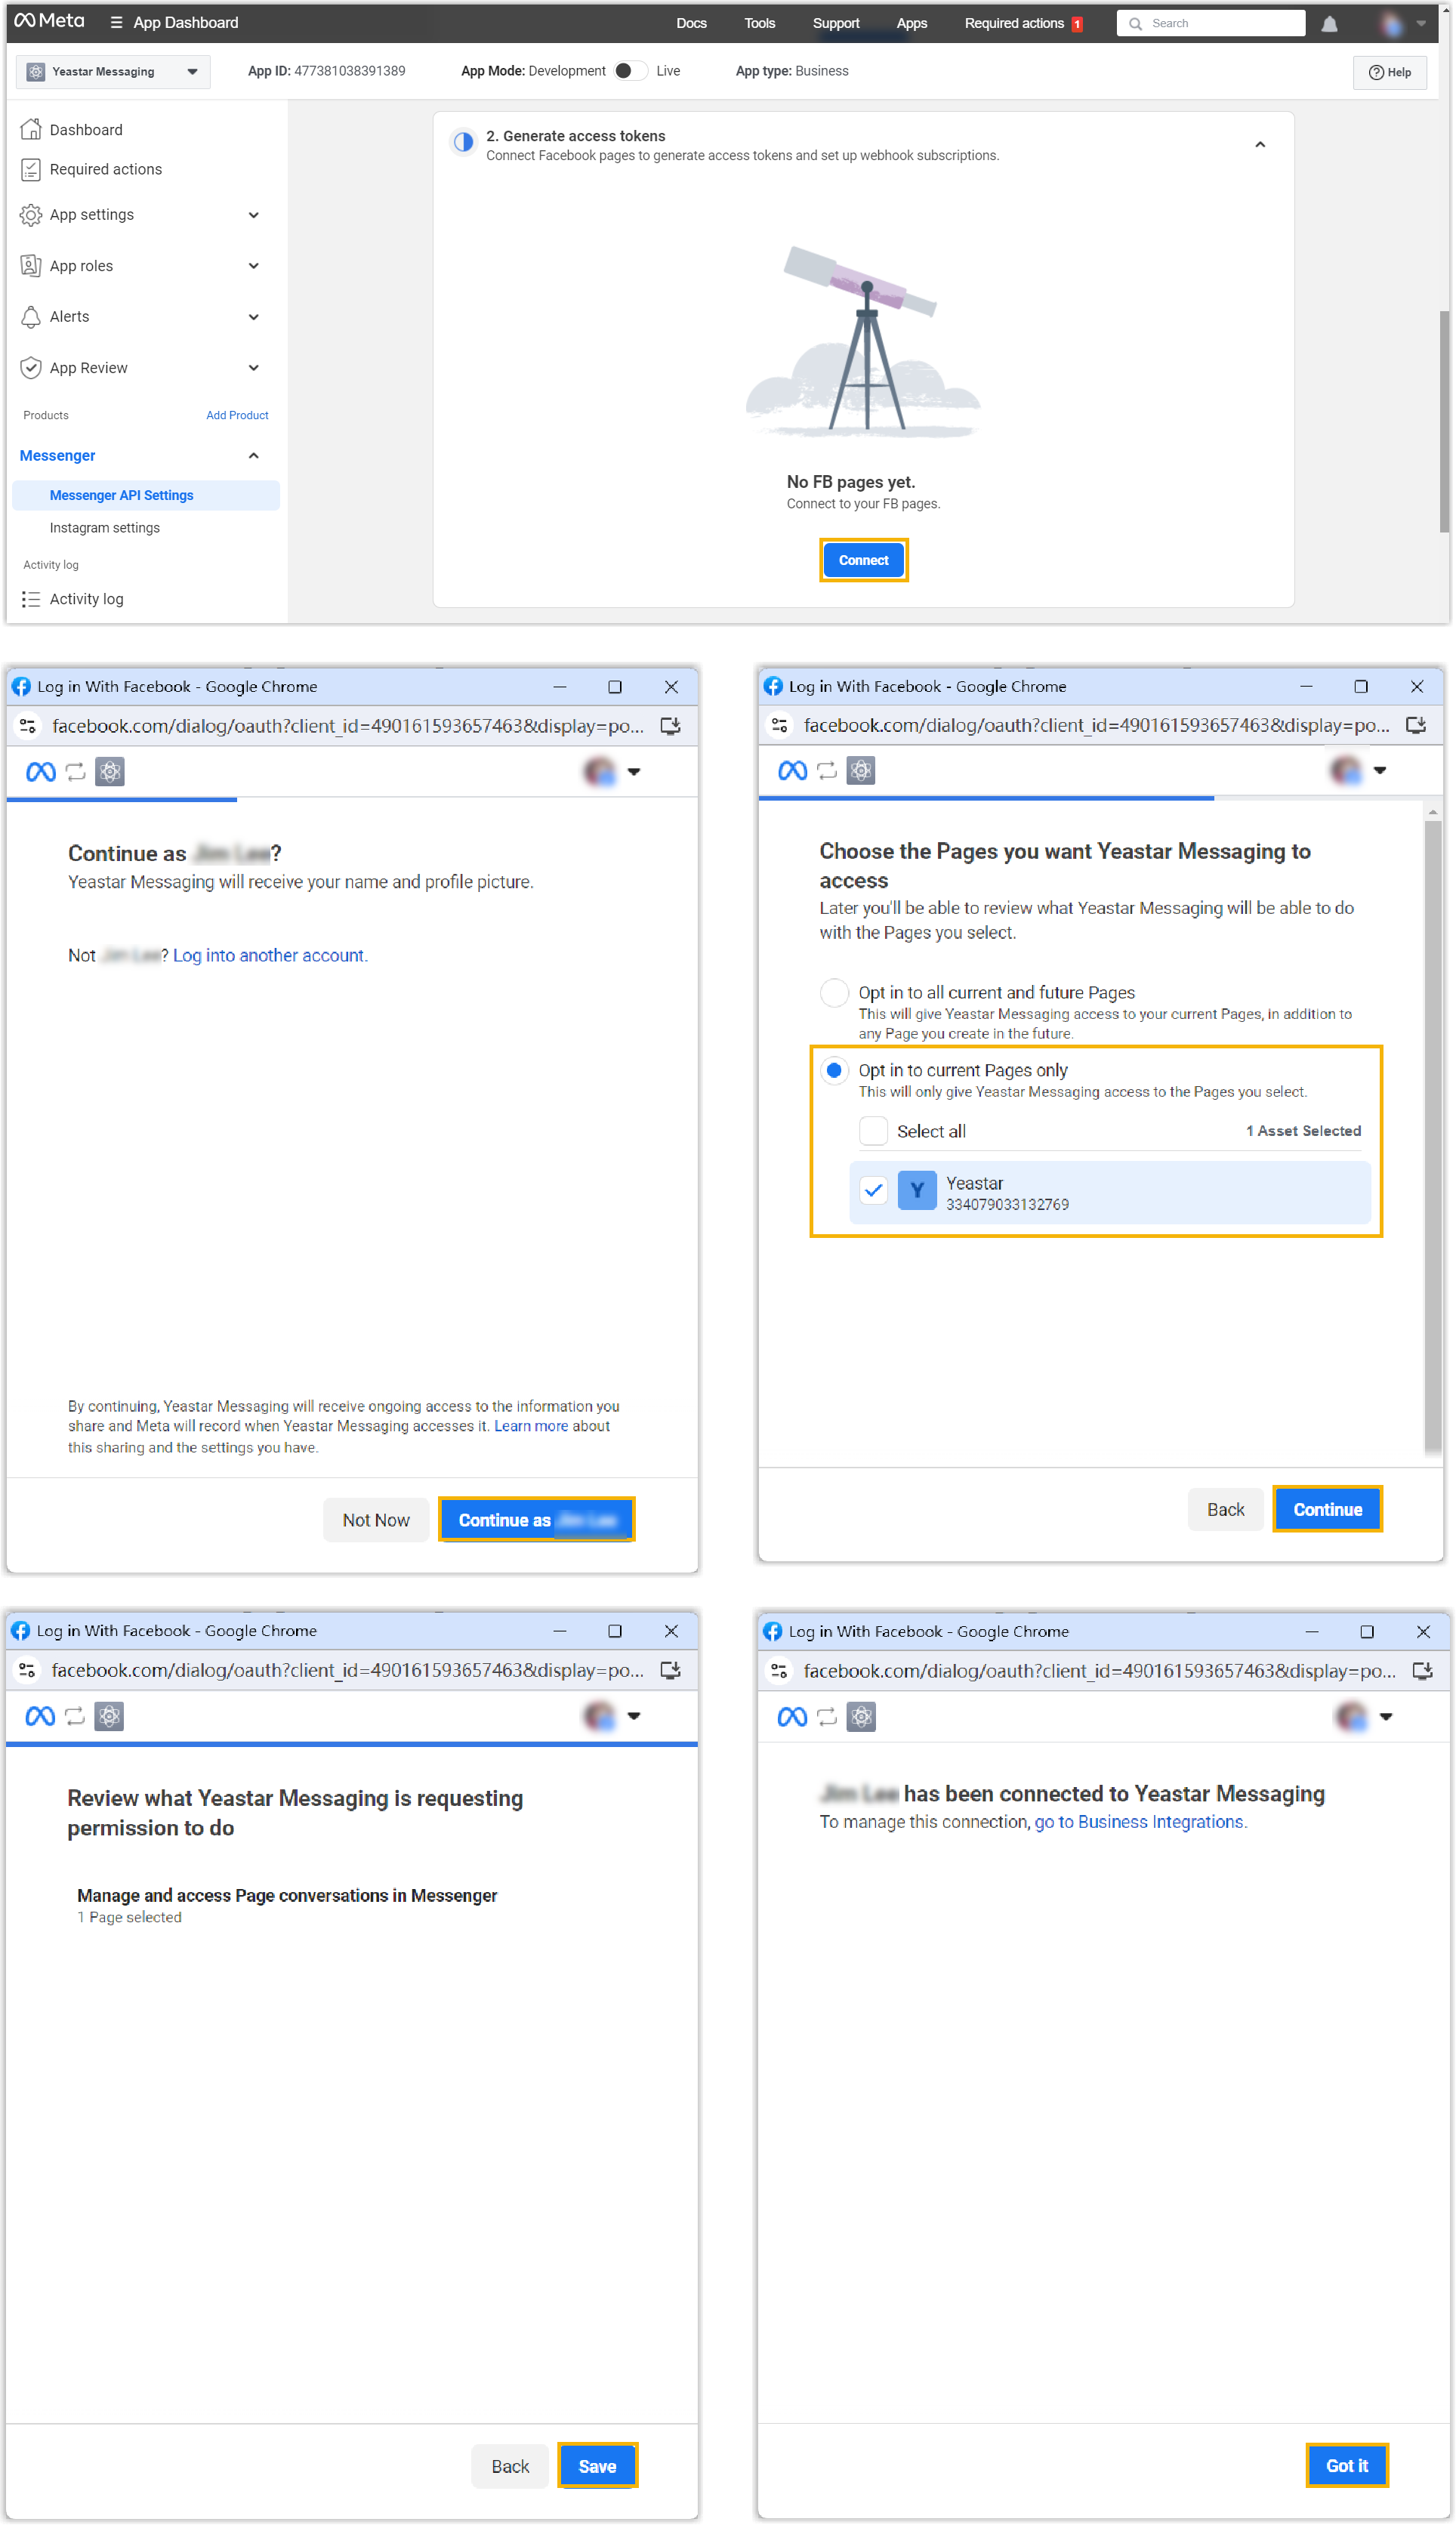
Refresh the webpage and you will see that the Facebook Page is added.
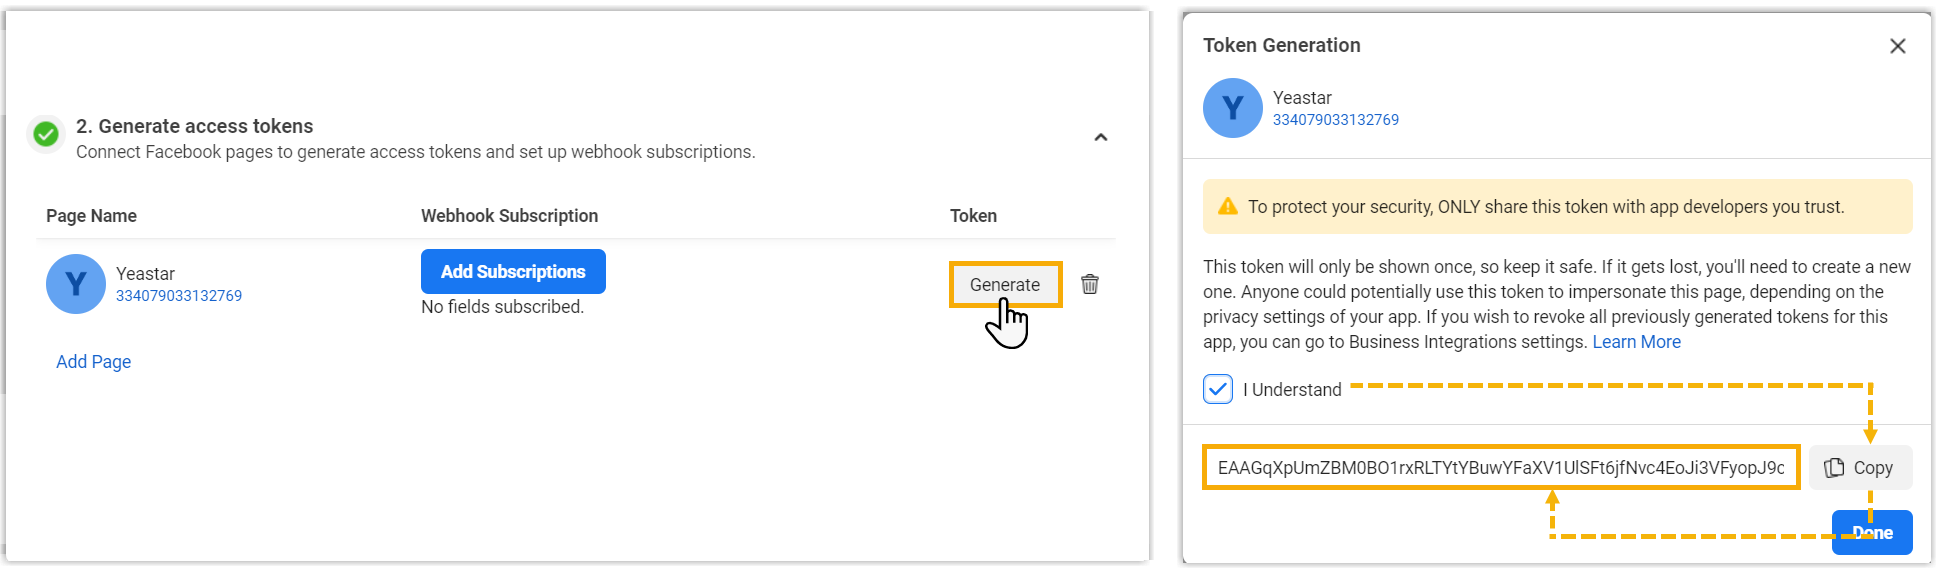
- Generate an access token to authenticate the
Meta app and allow it to perform actions on behalf of the
Facebook Page.Note: Copy and note down the access token, as you will need to add it on the PBX later.
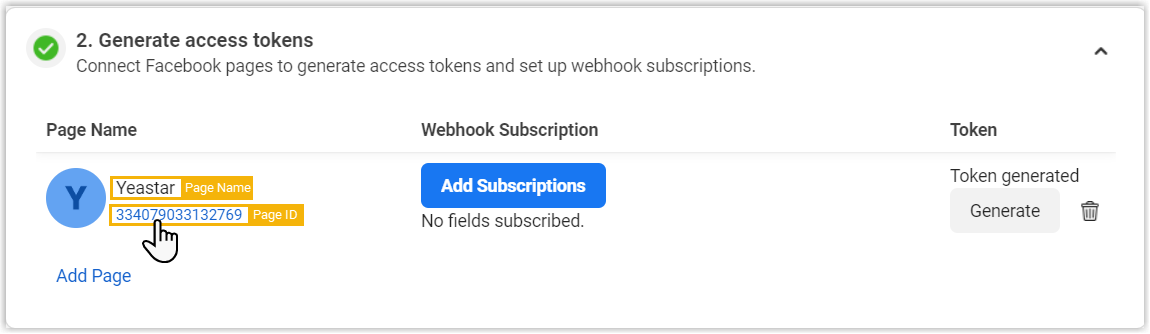
- Copy and note down the name and ID of your
Facebook Page, as you will need to add them on the PBX
later.
- Scroll down to the 2. Generate access
tokens section, click
Connect to add your Facebook
Page.
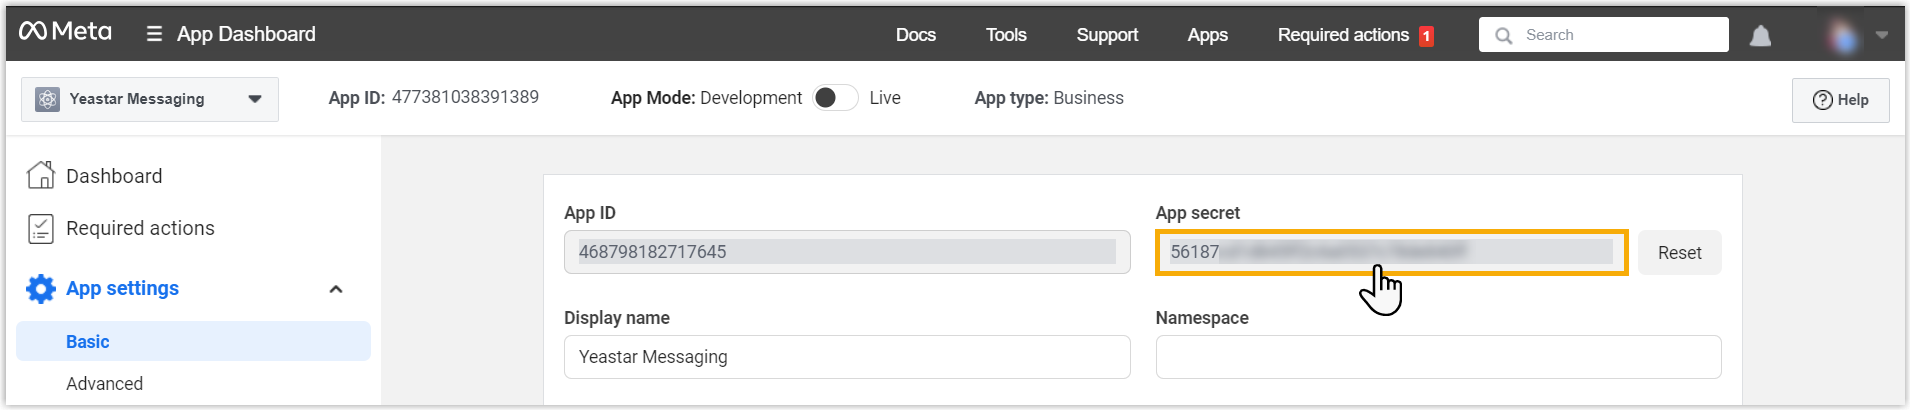
- Obtain secret key for the Meta app.
- On the left navigation bar, click .
- On the right of the App secret field, click
Show to show the secret key.
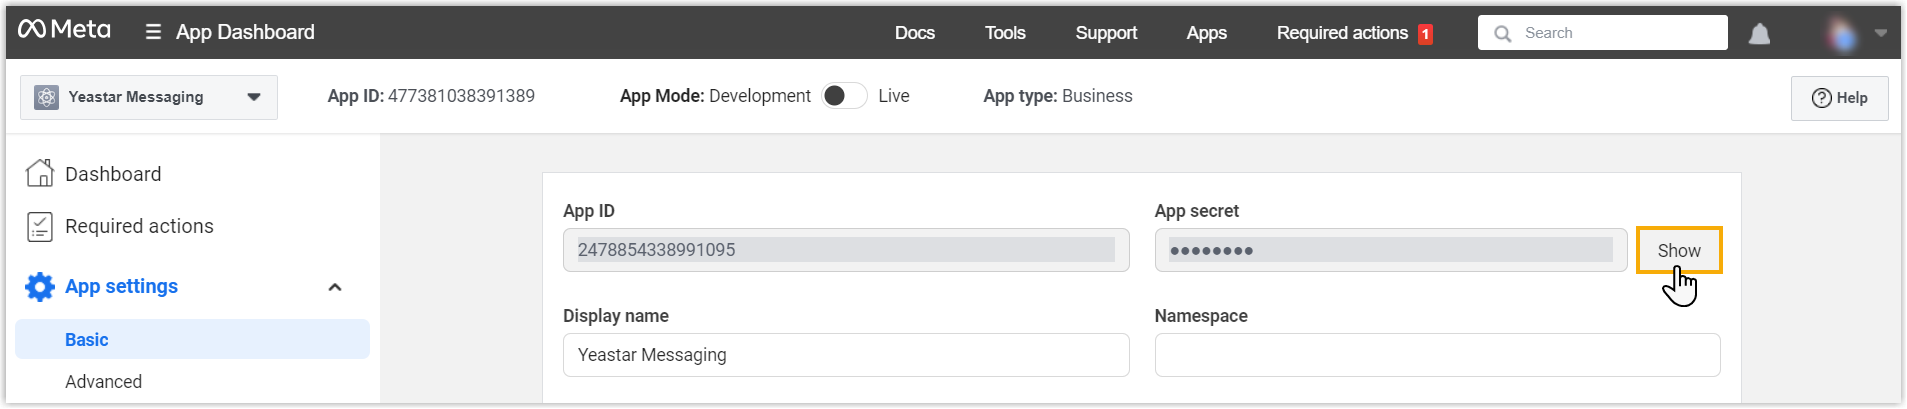
- Copy and note down the secret key, as you will need to add it on the
PBX later.
Step 3. Create a Facebook channel
On PBX web portal, create and configure a Facebook channel.
- Log in to PBX web portal, go to .
- Click Add, and select Facebook Messenger.
- In the Authentication tab, enter the authentication
information of Facebook.
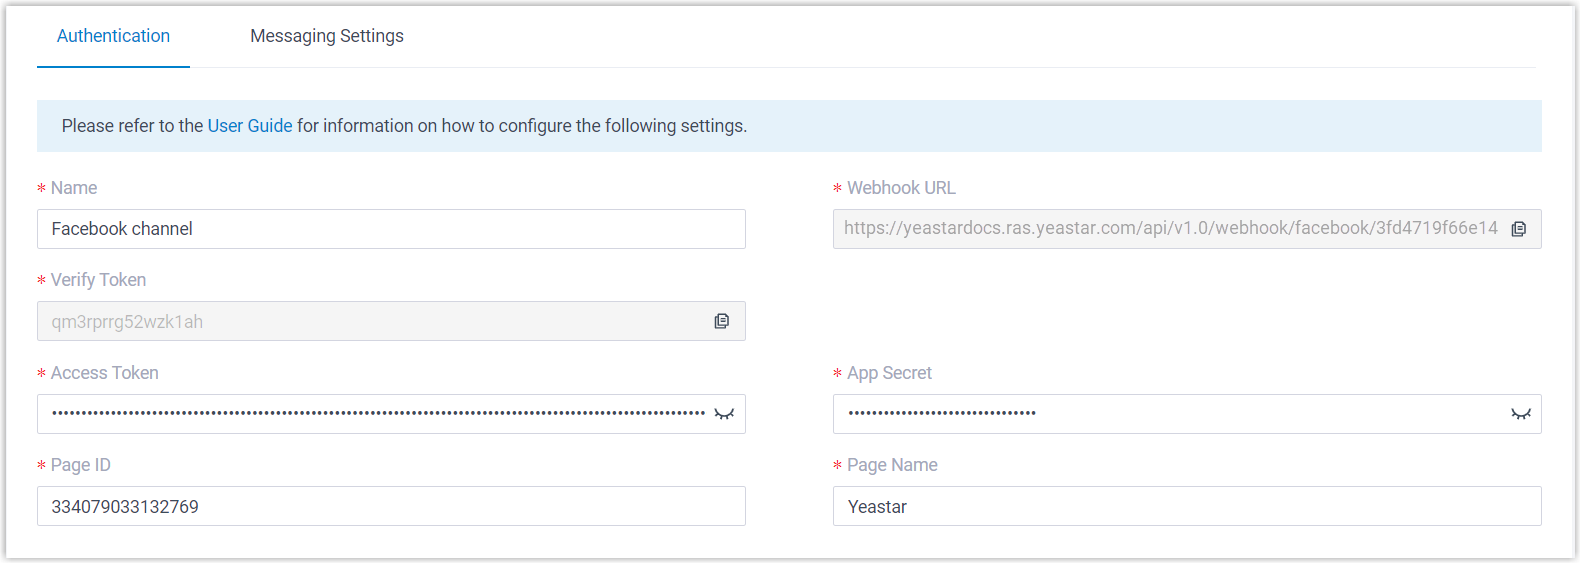
- Name: Enter a name to help you identify the channel.
- Webhook URL: Select and note down the Webhook URL, as you will need it later on 'Meta for Developers' portal.
- Verify Token: Note down the verify token, as you will need it later on 'Meta for Developers' portal.
- Access Token: Paste the Access Token obtained from 'Meta for Developers' portal.
- App Secret: Paste the App Secret obtained from 'Meta for Developers' portal.
- Page ID: Paste the Page ID obtained from 'Meta for Developers' portal.
- Page Name: Paste the Page Name obtained from 'Meta for Developers' portal.
- In the Messaging Settings tab, configure the
channel.
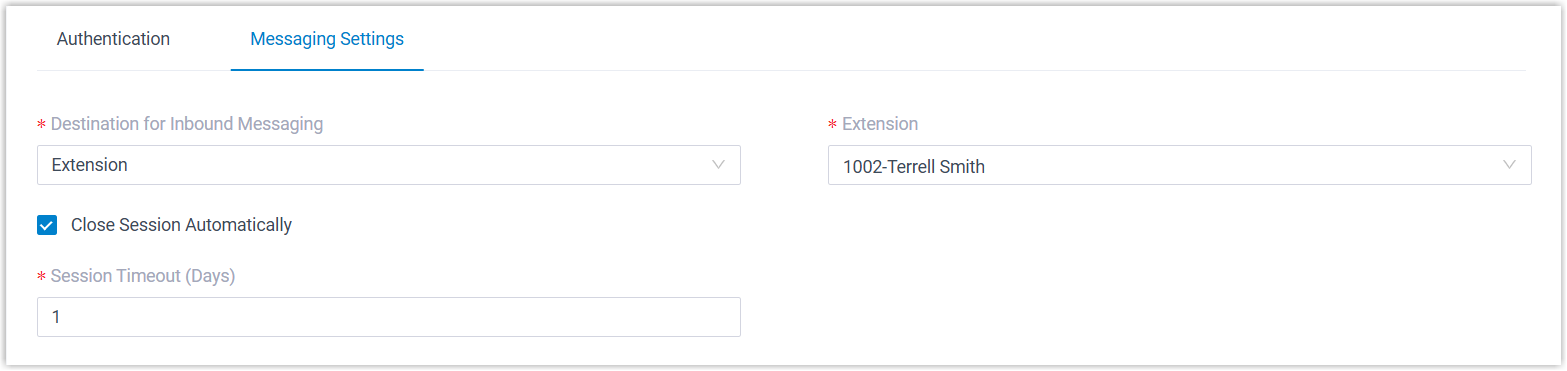
- Destination for Inbound Messaging:
Specify the destination of inbound messages from Facebook Page.
Option Description Extension If selected, choose an extension from the Extension drop-down list. Only the extension user can receive inbound messages from the Facebook Page.
Message Queue If selected, choose a queue from the Message Queue drop-down list. All the agents in the selected message queue can receive inbound message(s) of new sessions in the queue. However, only the user who picks up a session will be able to receive and respond to the follow-up inbound messages in the session.
Third-Party Message Analytics Platform (Transmitted via API) If selected, inbound messages will be automatically forwarded to a third-party message analytics platform via API for advanced processing. Note: To enable automatic forwarding of inbound messages to a third-party message analytics platform, ensure that your PBX server has been integrated with the third-party message analytics platform via API. Once this option is selected, the PBX system will automatically transmit inbound messages to the designated platform. You can get notified by monitoring the API event (30031) New Message Notification. Additionally, the PBX provides a comprehensive Message API suite for advanced message interaction with the integrated third-party message analytics platforms. - Close Session Automatically: Optional. If you want the system to automatically close the sessions that have been inactive for a specific period of time, select the checkbox of Close Session Automatically, then set the timeout in the Session Timeout (Days) field.
- Destination for Inbound Messaging:
Specify the destination of inbound messages from Facebook Page.
- Click Save.
Step 4. Set up Meta webhook
On 'Meta for Developers' portal, configure webhook for your Meta app and subscribe to the messages event, so that PBX can get notified upon receiving Facebook Page messages.
- On 'Meta for Developers' portal, go to the Messenger API configuration page of your Meta app.
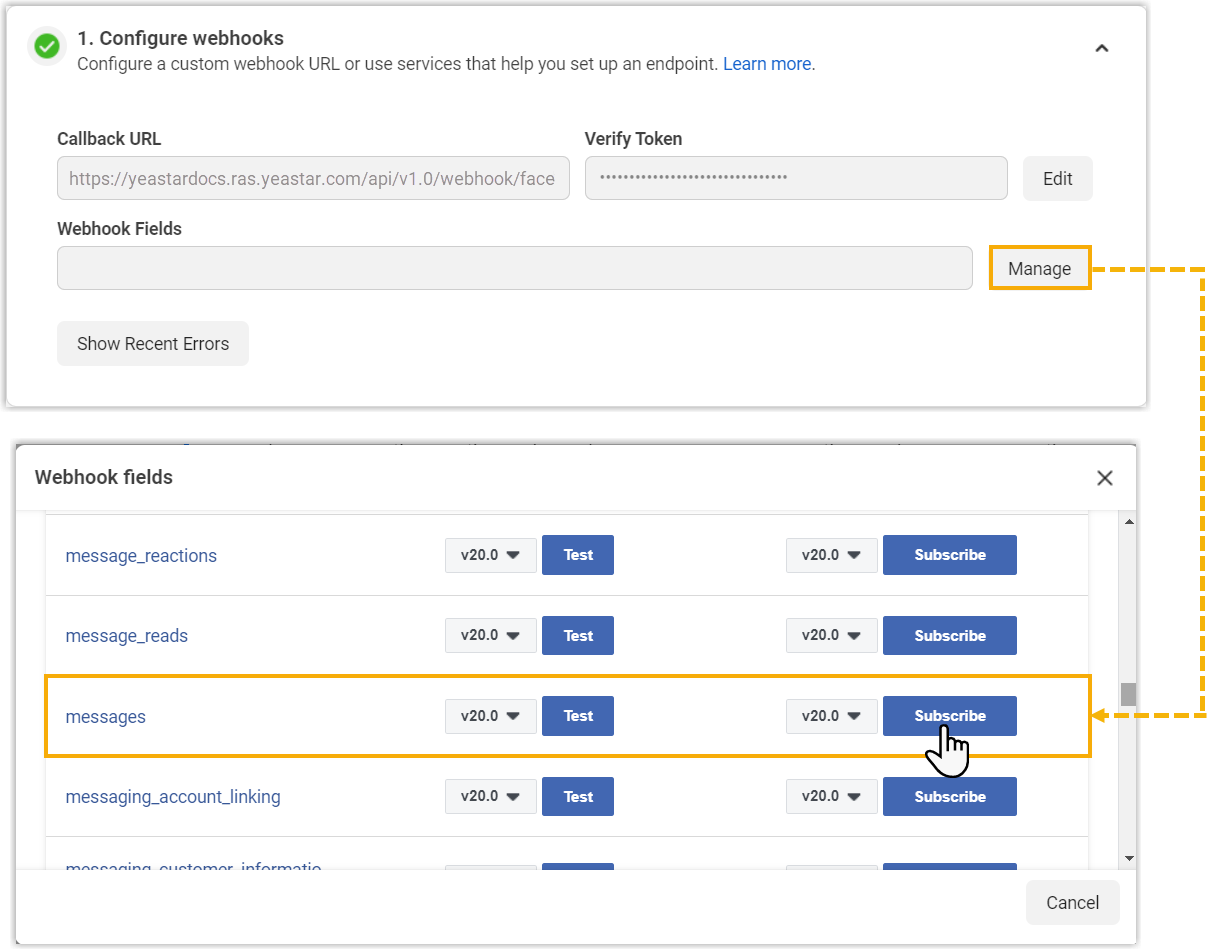
- In the 1. Configure webhooks section, configure a
webhook and subscribe to messages field for your
app.
-
Click Configure to add and configure a webhook.
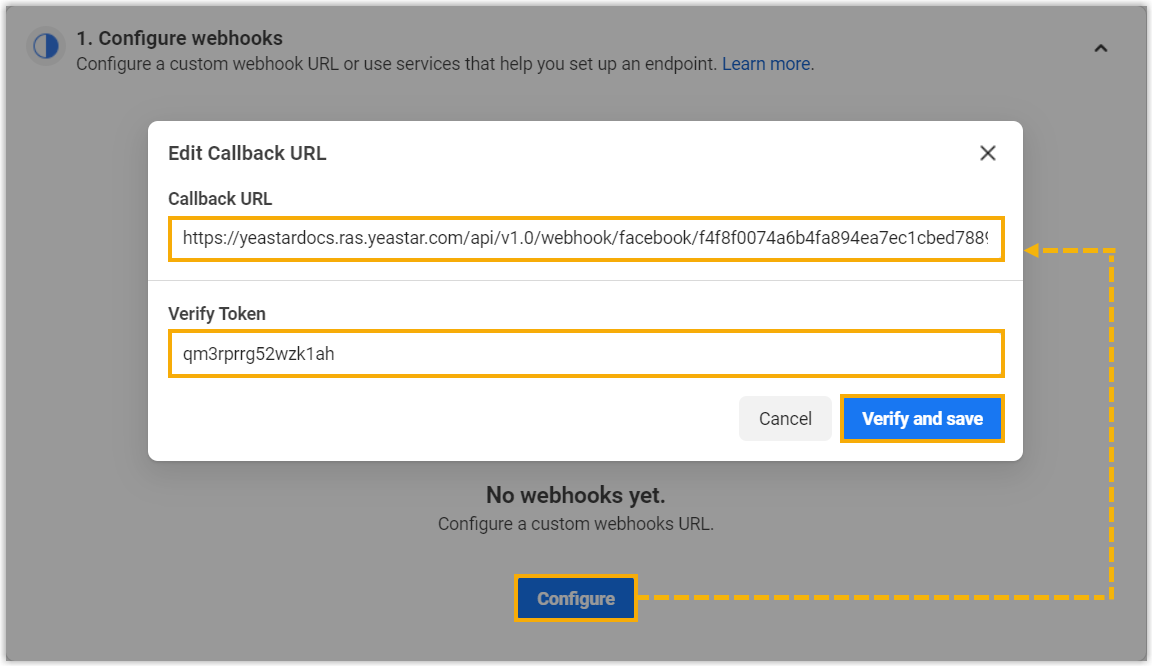
- Callback URL: Paste the Webhook URL obtained from PBX.
- Verify Token: Paste the verify token obtained from PBX.
- Click Manage to subscribe to
messages field.
-
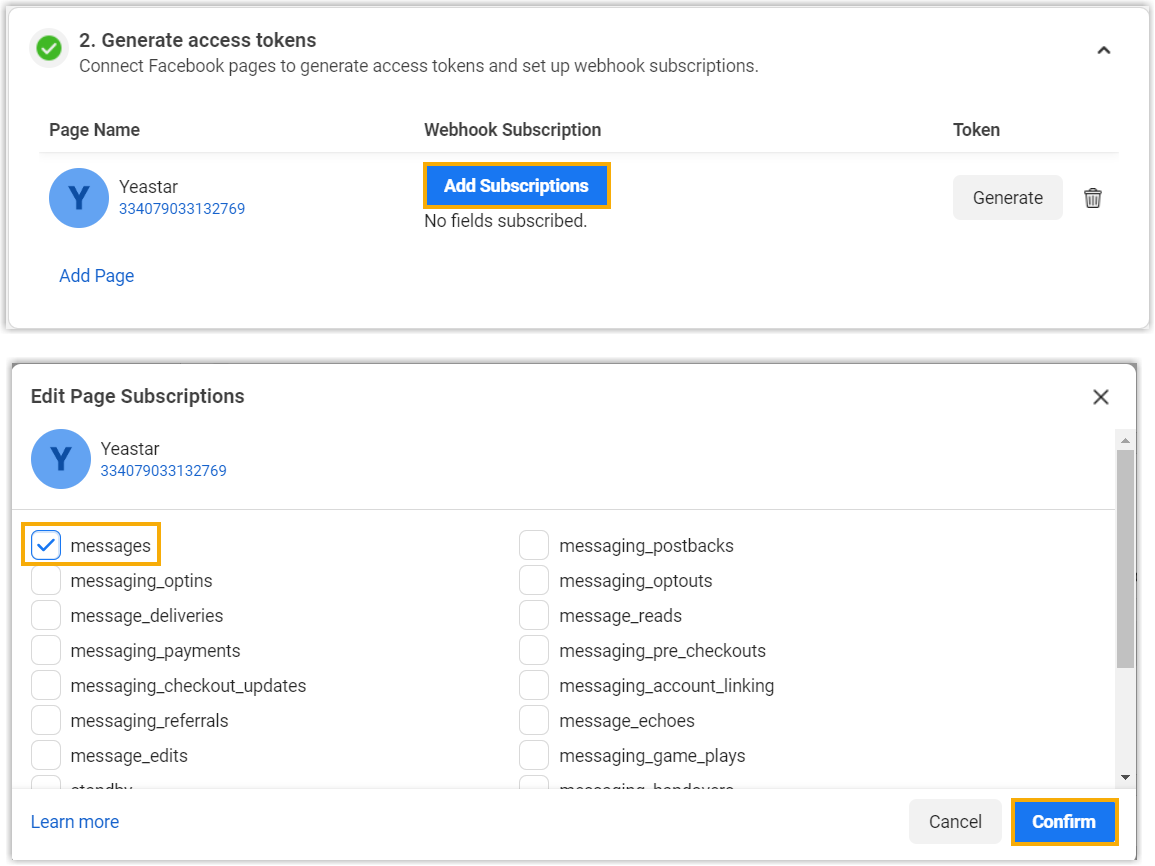
- In the 2. Generate access tokens section, click
Add Subscriptions to subscribe to
messages field for your Facebook Page.
Result
- On PBX web portal, the Status of the Facebook channel
shows
 ,
which indicates that you have successfully created a Facebook channel.
,
which indicates that you have successfully created a Facebook channel.
- PBX automatically tracks and records the number of messages sent and received on
the channel, where the Total column displays the total
amount of the sent messages, including both successfully sent messages and
failed ones.Tip: You can filter the statistics by a time period using the time filter.
