Configure Connection Information
If you want to connect the Onsite Proxy to Yeastar P-Series Cloud Edition for the first time after skipping the configuration wizard during installation, or if you need to establish a new connection, you can configure the connection information on the Onsite Proxy.
Prerequisites
You have added an
Onsite Proxy instance on Yeastar PBX and obtained the
connection credentials (connection address, UUID, secret key) (Path: ).
Note: To avoid the Secret
Key being used, it is recommended refresh it and copy
the new one.
Procedure
- Step 1. Configure Onsite Proxy
-
- Access the command line on the Onsite Proxy host.
- Run
sudo -ito switch to the root user.Note: If a password is required, enter your current user's password and pressEnter. - Run
onsite-proxy-configure.The Onsite Proxy Configuration Wizard prompt window pops up.
- In the pop-up prompt window, press
Enter.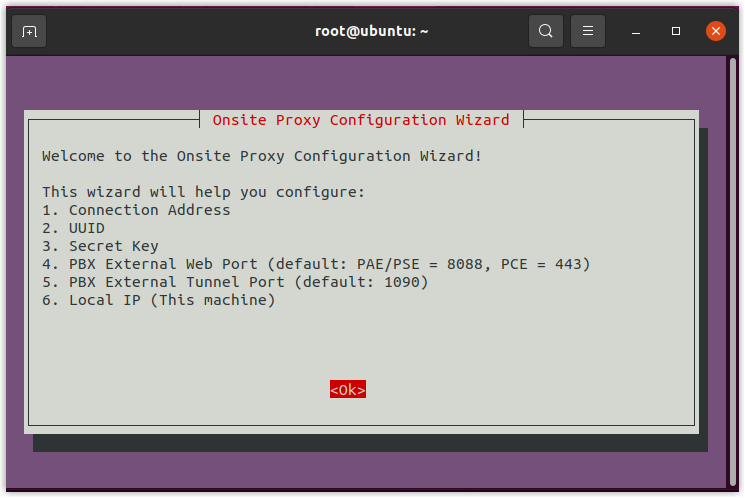
- Configure connection information as follows:
Action Instruction Configure PBX connection address - In the Configure PBX Connection Address
window, do as follows:
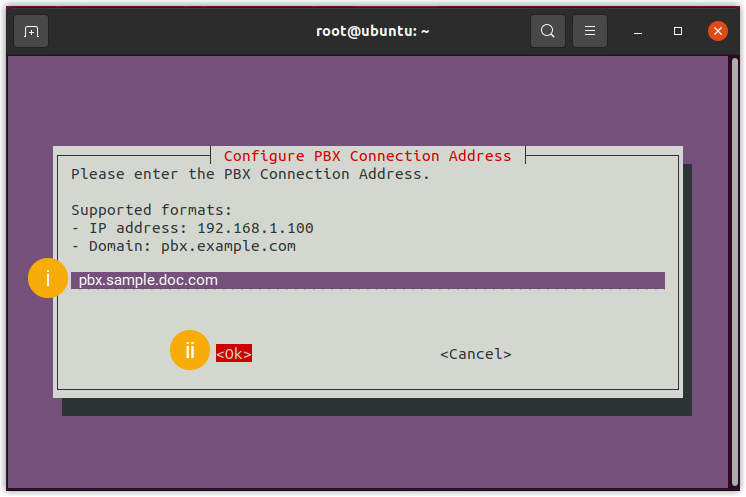
- Paste the PBX connection address obtained from PBX.
- Select <Ok> and
press
Enter.
- In the
Confirm Connection Address window, select
<Yes> and press
Enter.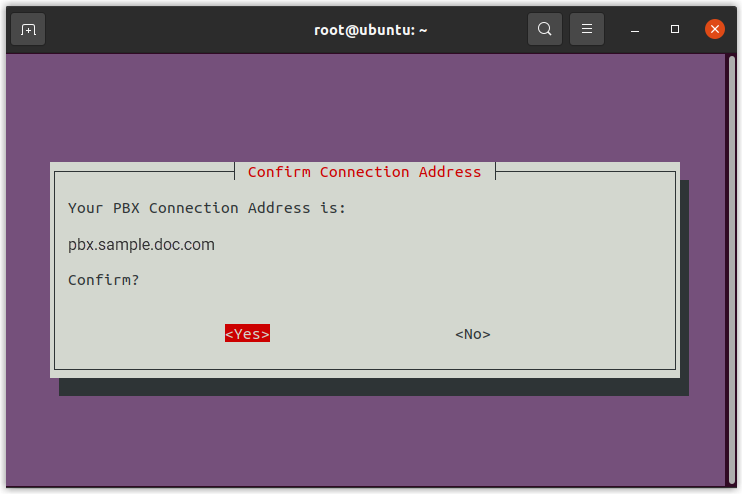
Configure UUID - In the Configure UUID
window, do as follows:
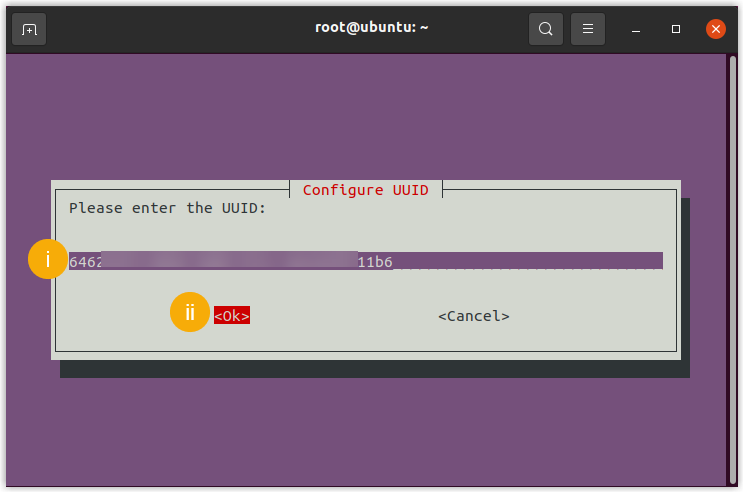
- Paste the UUID obtained from PBX.
- Select <Ok> and
press
Enter.
- In the Confirm
UUID window, select
<Yes> and press
Enter.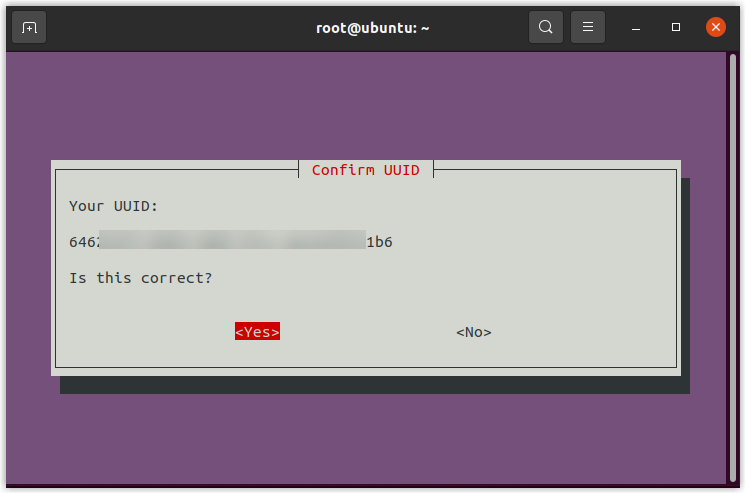
Configure secret key - In the Configure Secret
Key window, do as follows:

- Paste the secret key obtained from PBX.
- Select <Ok> and
press
Enter.
- In the
Confirm Secret Key window,
select <Yes> and press
Enter.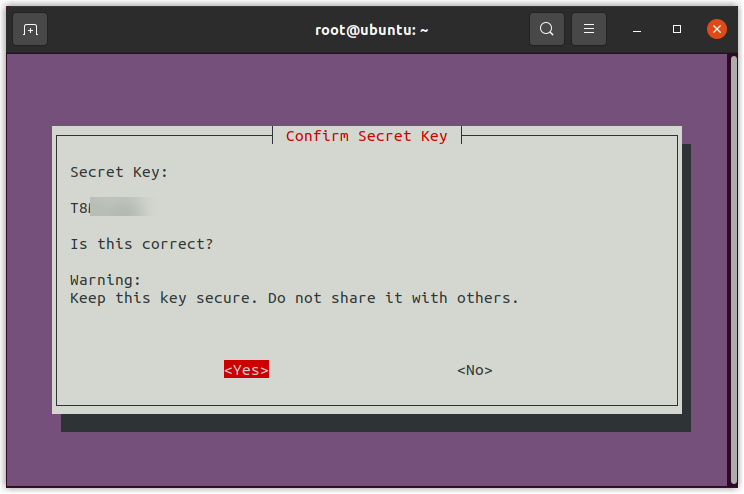
Configure PBX external web server port - In the
Configure PBX External Web Server
Port window, select
<Ok> and press
Enter.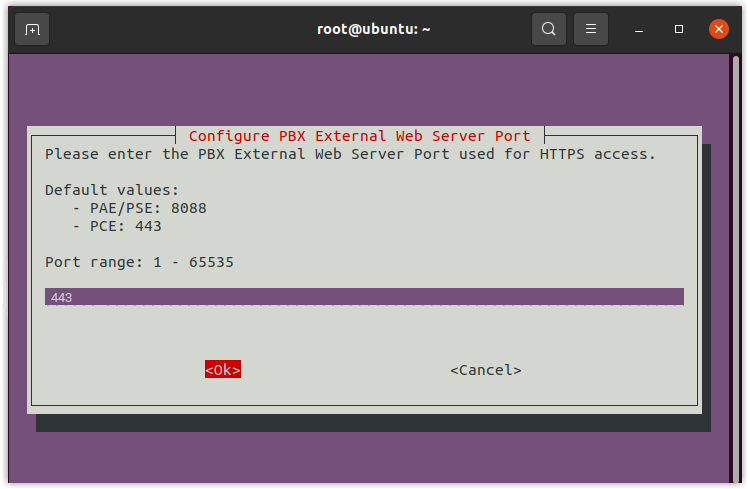
- In the
Confirm PBX External Web Server
Port window, select
<Yes> and press
Enter.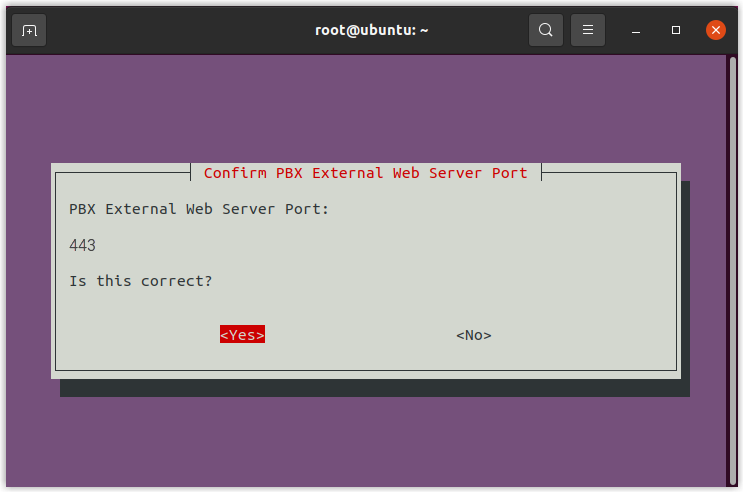
Configure PBX external tunnel port - In
the Configure PBX External Tunnel
Port window, select
<Ok> and press
Enter.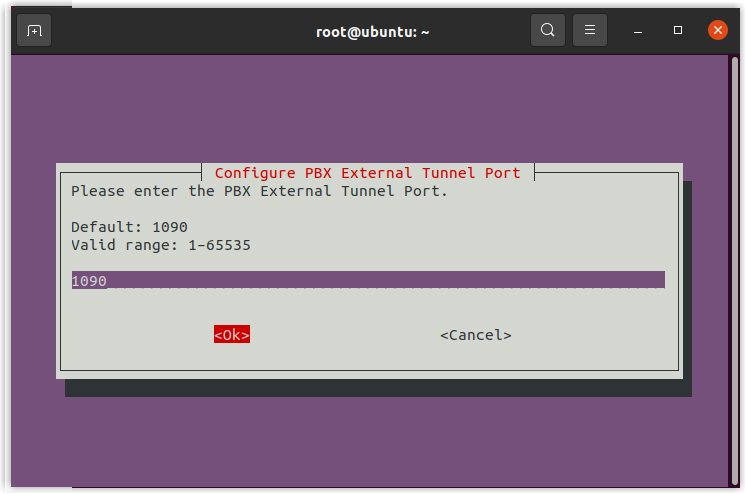
- In the
Confirm PBX External Tunnel
Port window, select
<Yes> and press
Enter.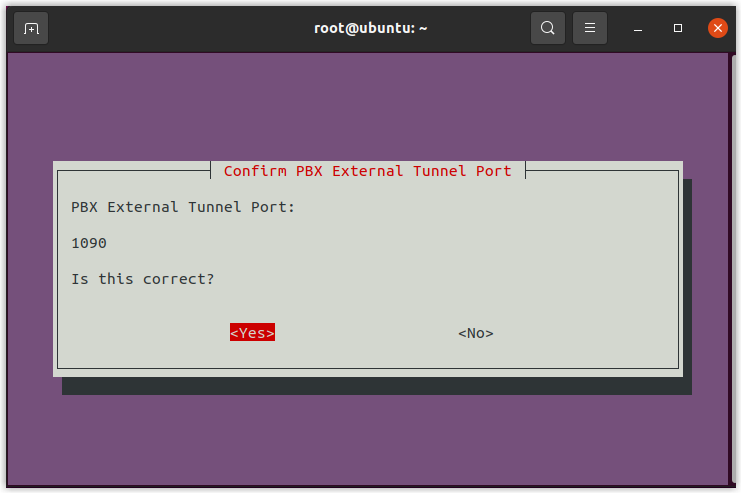
Select local IP - In the Select Local IP
window, do as follows:
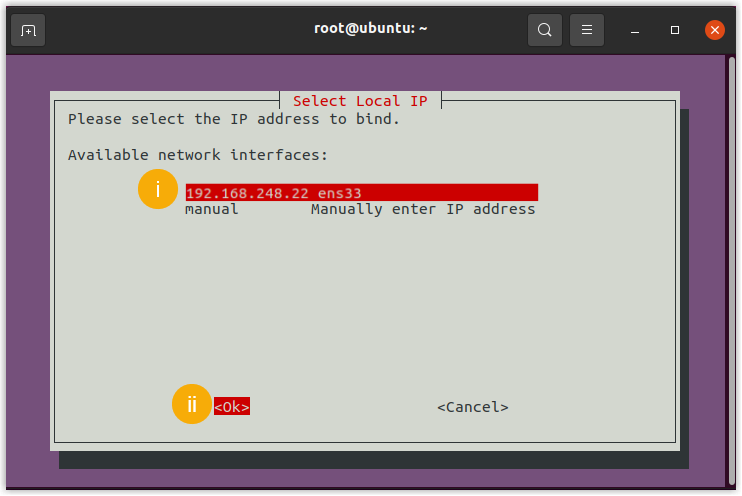
- Select the static IP address assigned to the
host.Note: If the desired IP address is not displayed in the Available network interfaces list, you need to select manual and press
Enterto manually enter the IP address.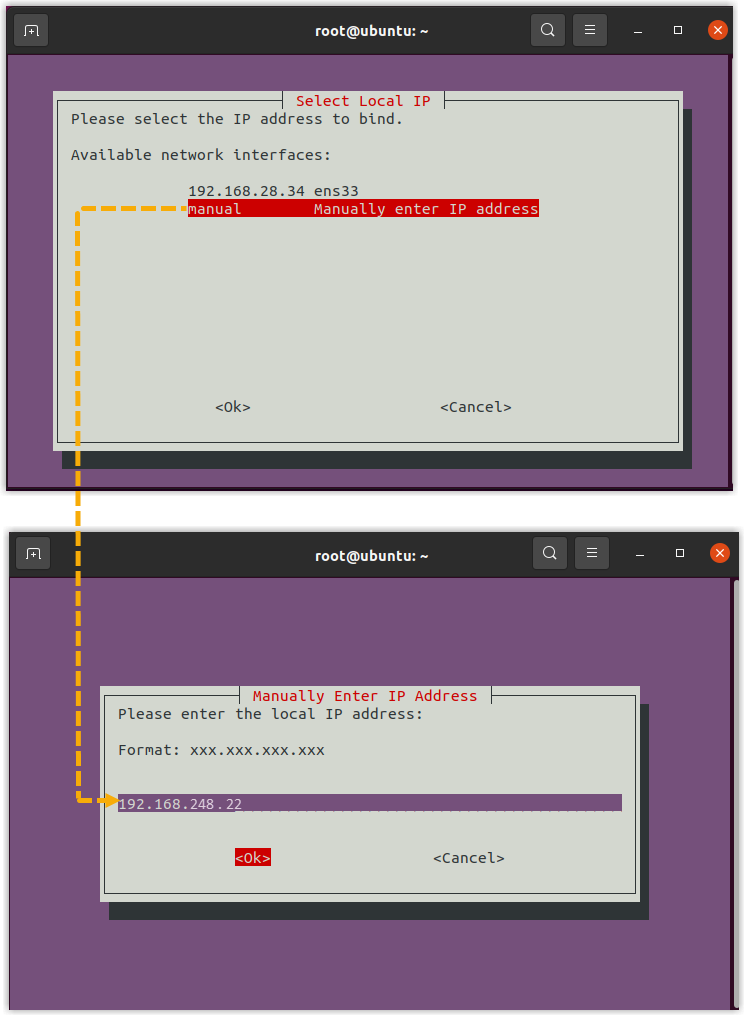
- Select <Ok> and
press
Enter.
- Select the static IP address assigned to the
host.
- In the Confirm Local IP
window, select <Yes> and
press
Enter.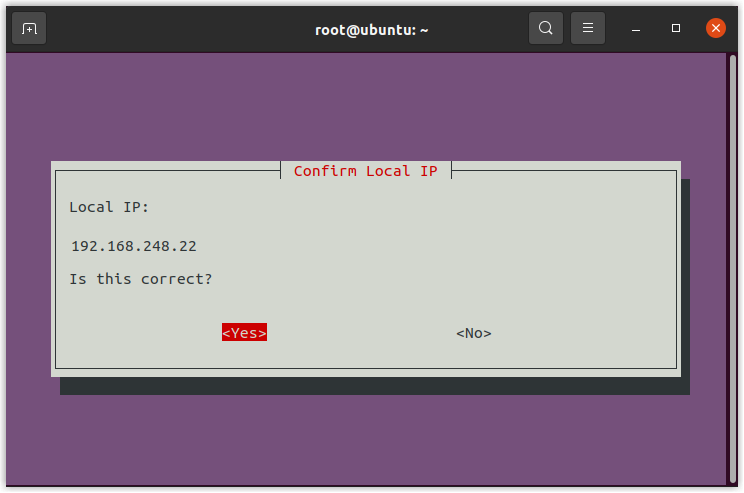
- In the Configure PBX Connection Address
window, do as follows:
- In the Configuration
Summary window, confirm the configuration details,
and then select <Yes> and press
Enter.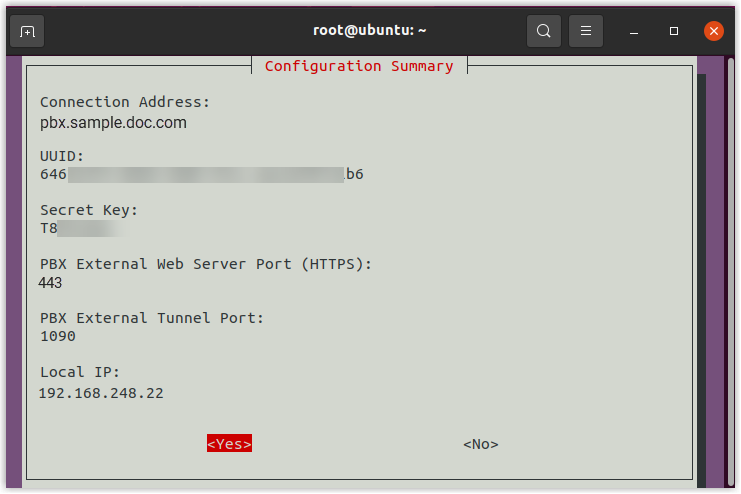
- In the Verification Successful prompt window,
press
Enter.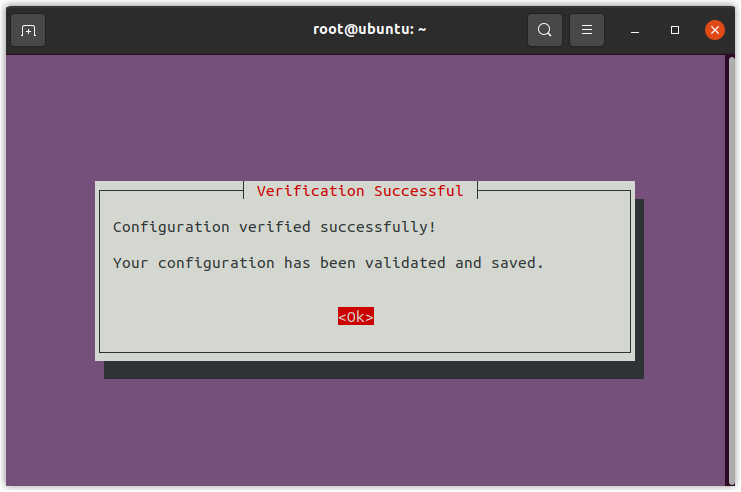
- In the Configuration Complete prompt window,
press
Enter.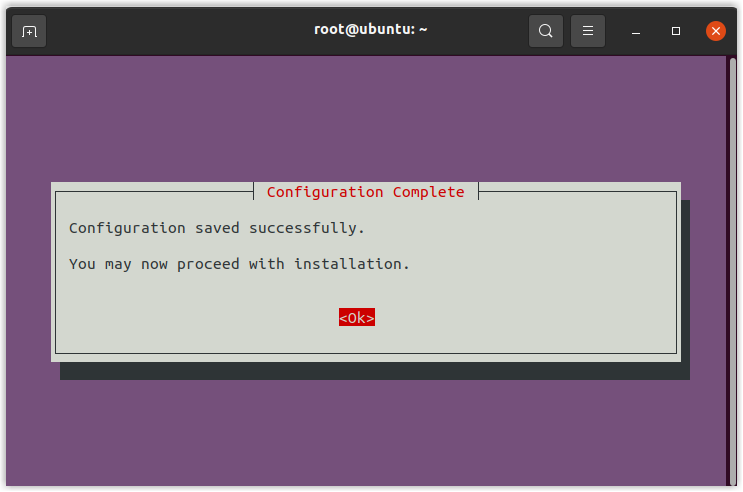
- Step 2. Restart proxy service
-
- Run
systemctl restart proxycore.serviceto restart tunnel forwarding service. - Run
systemctl restart proxycron.serviceto restart tunnel status reporting service.
- Run
Result
The Onsite Proxy is successfully connected to the PBX. You can check the connection
status using one of following methods:
- On Onsite Proxy host, run
onsiteproxy-cli status. For more information, see Query client status. - On the PBX web portal, check the connection status on .Note: Once the connection is interrupted, or when the system resource utilization for Onsite Proxy exceeds the any of following thresholds, the PBX sends a event notification Onsite Proxy to relevant contacts.
- The CPU utilization exceeds 85%.
- The memory utilization exceeds 85%.
- The disk utilization exceeds 95%.
