Manually Register Poly IP Phone with Yeastar P-Series Cloud Edition
This topic takes Poly VVX_450 (firmware: 6.4.6.2494) as an example to introduce how to manually register an extension on a Poly IP phone.
Supported devices
The Poly IP phones that are compatible with SIP (Session Initiation Protocol).
Procedure
Step 1. Gather registration information on Yeastar PBX
Log in to PBX web portal, gather the following information for extension registration.
| Information | Instruction |
|---|---|
| Extension information | Go to , note down the following information:
|
| Transport protocol | Go to , note down the transport protocol of the
extension. In this example, the extension use UDP transport protocol.
Note:
|
| PBX domain name | The domain name of the PBX. In this example, we use the
PBX domain name
|
| SIP registration port | The SIP registration port is 5060. |
Step 2. Register extension on Poly IP phone
- Enable the web server on the IP phone.
- Press
 on the phone to access the
Main Menu.
 - Go to .
- In the Enter Password field, enter the
administrator
password, then press Enter.
In this example, enter the default administrator password
456. - Go to , and complete the following settings.

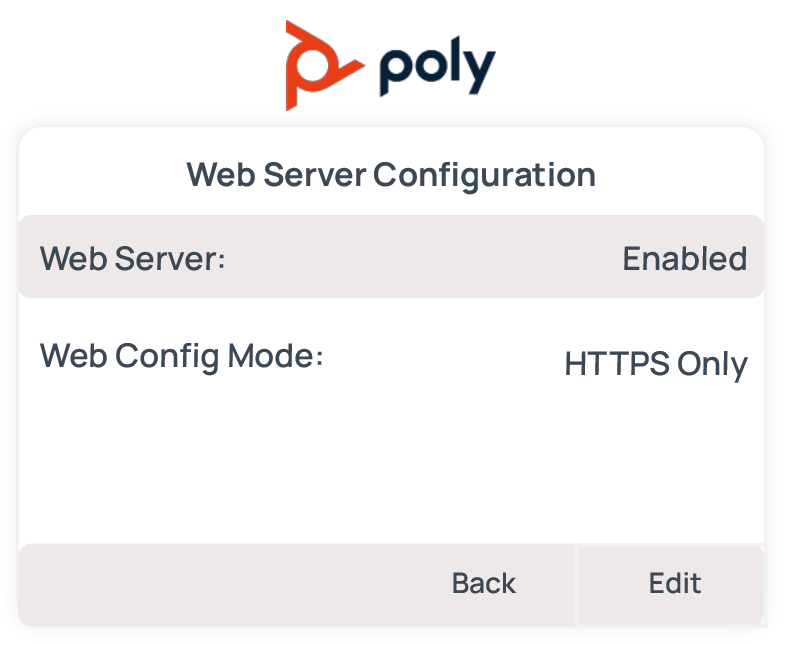
- Web Server: Select Enabled.
- Web Config Mode: Select the
protocol according to your network
requirements.Note: If you select HTTPS Only, you need to add a prefix
https://to the beginning of the IP address when accessing the phone's web interface.
- Press the Back button, and select
Save Config.
The phone reboots automatically. After that, you can access the web interface of the phone.
- Press
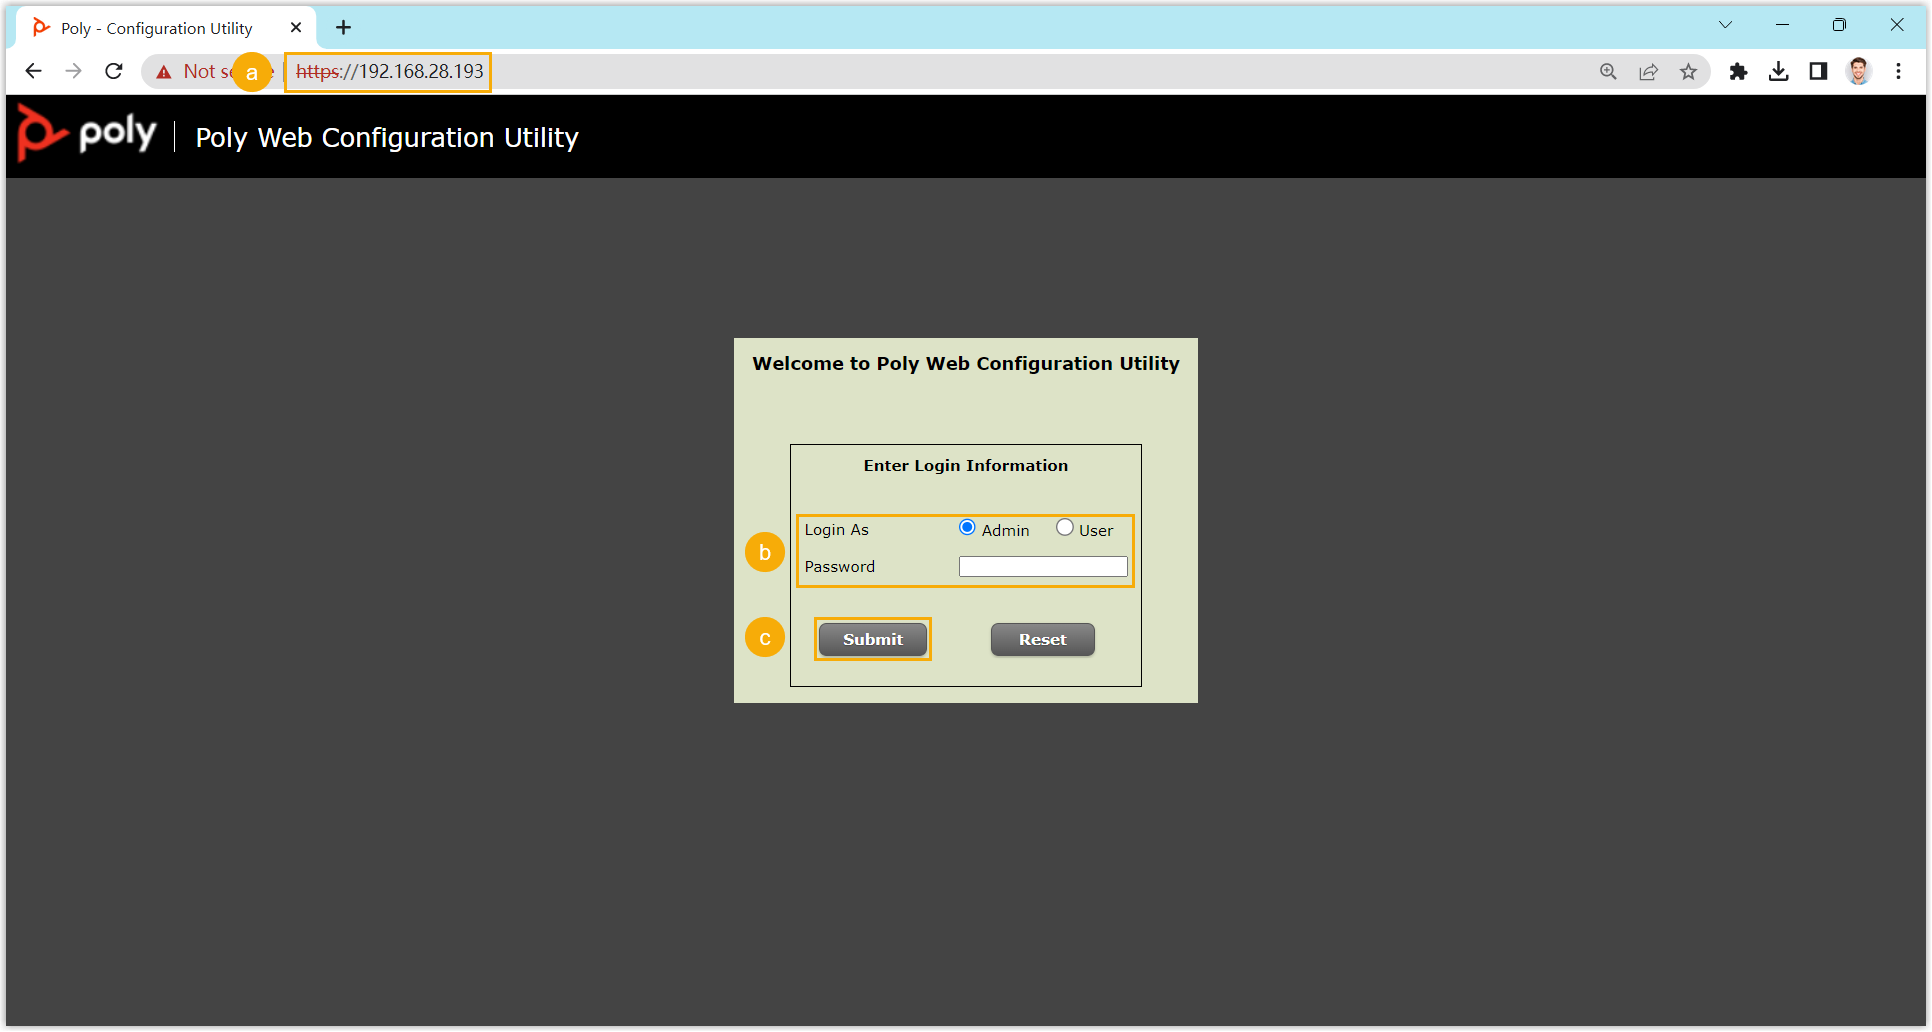
- Log in to the web interface of the Poly IP phone.

- In the browser's address bar, enter the IP address of the IP phone.
- Log in to your phone account.
In this example, select the Admin account and enter the default administrator password
456. - Click Submit.
- At the top navigation bar, go to .
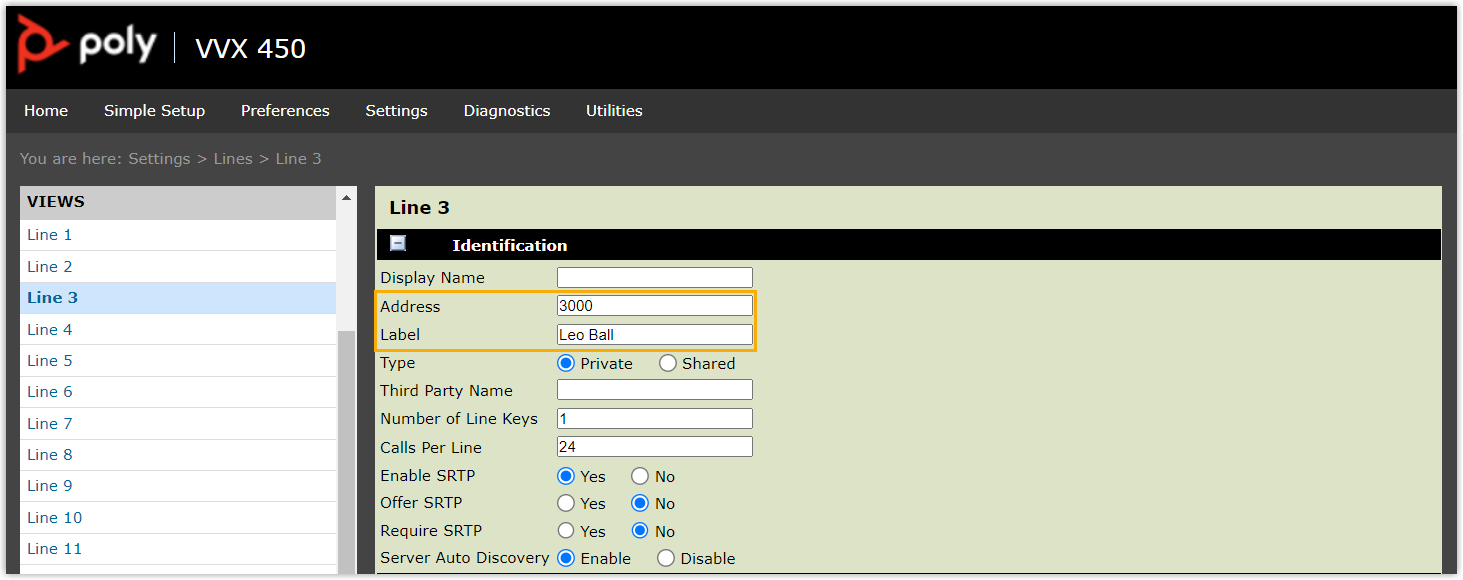
- Select a Line and complete the following settings.
- In the Identification section, enter the
basic information of the extension.

- Address: Enter the extension number.
- Label: Enter the name associated with the account, which will be displayed on the phone screen.
- In the Authentication section, enter the
registration information of the extension.

- User ID: Enter the registration name of the extension.
- Password: Enter the registration password of the extension.
- In the Server 1 section, enter the PBX
information.

- Special Interop: Select Standard.
- Address: Enter the domain name of the PBX.
- Port: Enter the SIP registration port of the PBX.
- Transport: Select the transport protocol of the extension.
- In the Identification section, enter the
basic information of the extension.
- At the bottom of the webpage, click Save.
Result
The extension is registered successfully. You can see ![]() displayed
at the extension account on the phone screen.
displayed
at the extension account on the phone screen.


