Auto Provision Yeastar TA FXS Gateway
Yeastar P-Series Cloud Edition supports provisioning Yeastar TA FXS gateways. By generating a provisioning link on the PBX and entering it on the gateway, remote provisioning can be completed effortlessly.
Supported gateway models
- TA100, TA200
- TA400, TA800
- TA1600, TA2400, TA3200
Prerequisites
- Upgrade PBX firmware to version 84.18.0.18 or later.
- Gather MAC address of TA FXS gateway.

Step 1. Generate configuration file for a gateway on the PBX
- Log in to PBX web portal, go to .
- Click Add to add a gateway.
- In the Gateway section, configure gateway information
as follows:

- Model: Select a gateway model.
- MAC Address: Enter MAC address of the gateway.
- Remark: Optional. Add a short description about the gateway.
- In the Options section, configure the following
settings to generate a configuration file for the gateway.
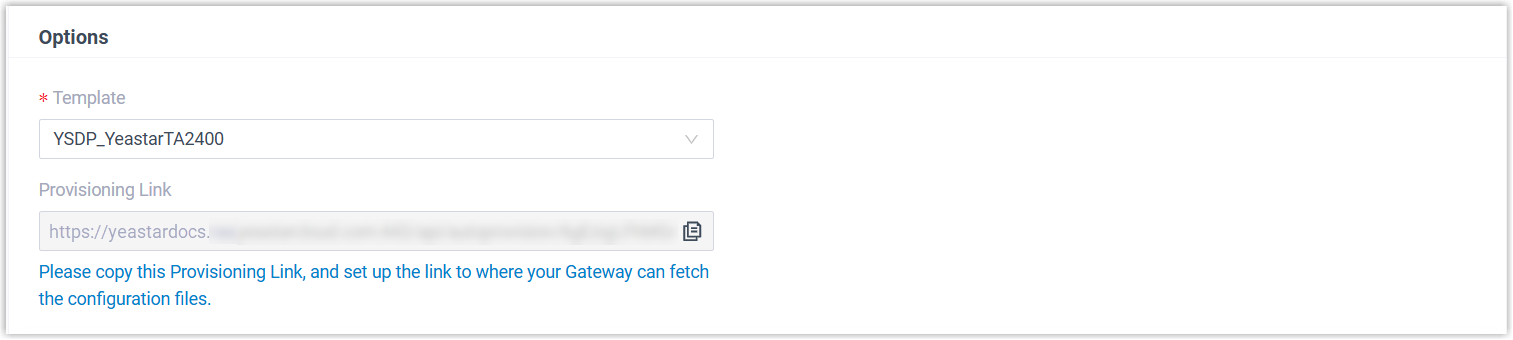
- Template: Select the corresponding template from the drop-down list.
- Provisioning Link:
Click
 to copy the provisioning link, as you will use it
later.
to copy the provisioning link, as you will use it
later.
- In the Assign Extension section, assign extension(s)
to the gateway port(s).
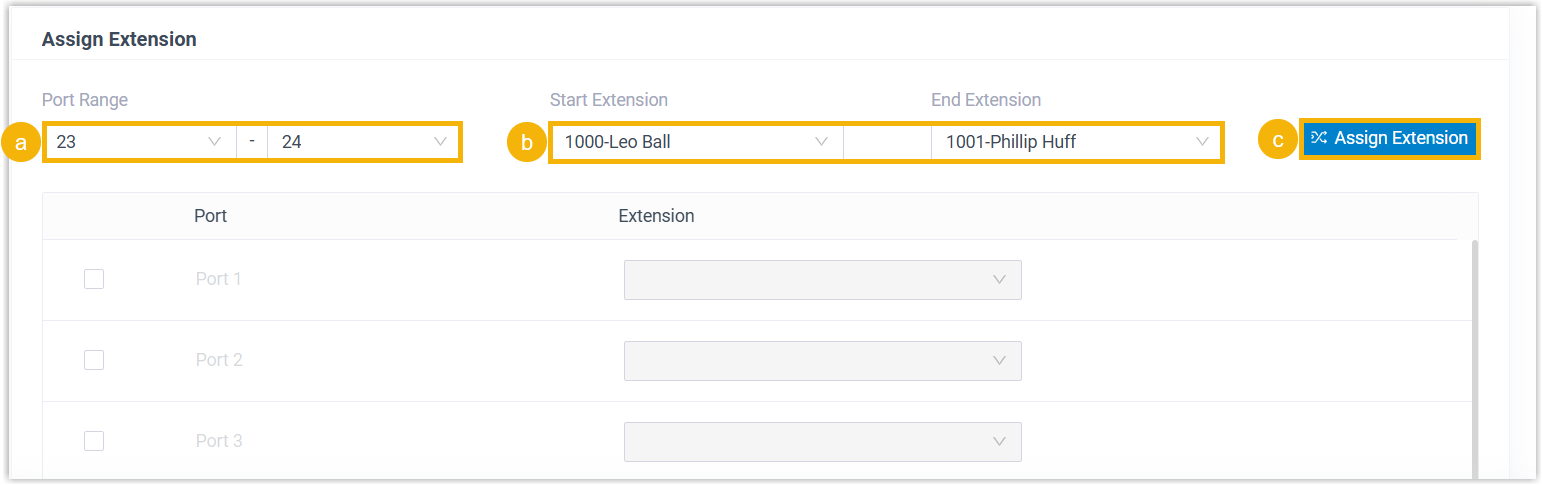
- In the Port Range field, select the port range to assign extension(s).
- In the Start Extension and End Extension field, select the extension range to assign the extensions to the specified ports.
- Click Assign Extension.
The ports with assigned extensions are displayed below.
Tip: If your desired extension is not listed in the drop-down list, you can check if the extension has been associated with other IP phone or gateway.- To release the previous phone or gateway, see Release an Extension from a Provisioned IP Phone/Gateway.
- To associate an extension with multiple IP phones, see Allow Multiple Registrations for One Extension Number.
- Optional: In the Preference section, configure
the settings as needed.

- Key as Send: Assign the pound key (“#”) or asterisk key (“*”) as the send key.
- SIP VoIPServer IDX: Select a VoIP server
template ID to be provisioned.Note: SIP VoIPServer IDX is not applicable for TA100 and TA200.
- Admin Password: Set the password for logging in to the gateway web interface.
- LAN Settings: Keep it as default.
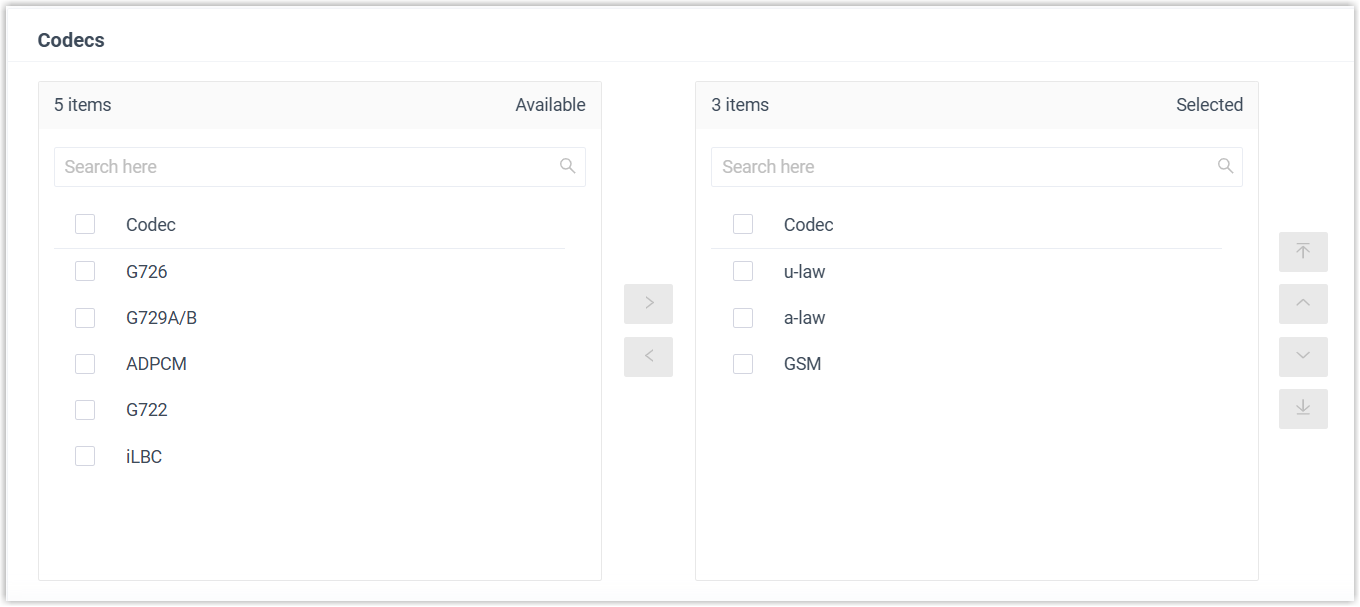
- Optional: In the Codecs section, select your
preferred codec list for the gateway.
- Click Save.
Step 2. Make the configuration file accessible to the gateway
- Log in to the gateway web interface, go to .
- In the Provision Method section, set
Server URL to
Yes.

- In the Server Address section, complete the following
settings:

- In the Server URL field, paste the provisioning link that you have obtained from PBX.
- Set the time to perform auto provisioning.
- Click Save and Apply Changes.
Result
After the specified time, the configurations are applied to the gateway, and the specified extension(s) are registered on the corresponding port(s) of TA gateway.
You can check extension registration status in the following ways:
- On gateway web interface, the port status is displayed as
OK (Path: ).

- On PBX web portal, the extension status is displayed as
 (Path: ).