Set up Hot Standby Pair
This topic describes how to set up Hot Standby on the Primary Server and Secondary Server. When the Primary Server fails, the Secondary Server becomes active and takes over the entire phone system, thus minimizing downtime and data loss.
Requirements and restrictions
- Requirements
- Two identical Yeastar P-Series PBX Systems are required to set up a Hot Standby pair, and the servers in the Hot Standby pair must meet the following requirements.
- Restrictions
-
- Yeastar P-Series PBX System supports to set up Hot Standby pair that are located in the same LAN subnet.
- Hot Standby only works for LAN port.Note: If the Ethernet mode of the PBX is Dual, set the default interface to LAN port (Path: ).
- When setting up a Hot Standby pair, DO NOT connect the FXS module with a splitter, as it may cause a short circuit and damage the PBX during failover.
Scenarios
A company has set up a failover pair in the local network environment for high availability performance, the IP addresses are listed below:
- Primary Server: 192.168.5.151
- Secondary Server: 192.168.5.152
- Virtual IP address: 192.168.5.150
Procedure
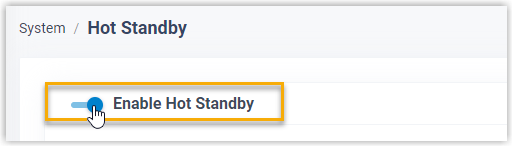
- Log in to PBX web portal, go to .
- On the top of the page, turn on the Enable Hot
Standby switch.
- In the Server Information section, enter the
information of the Primary Server and Secondary Server respectively.
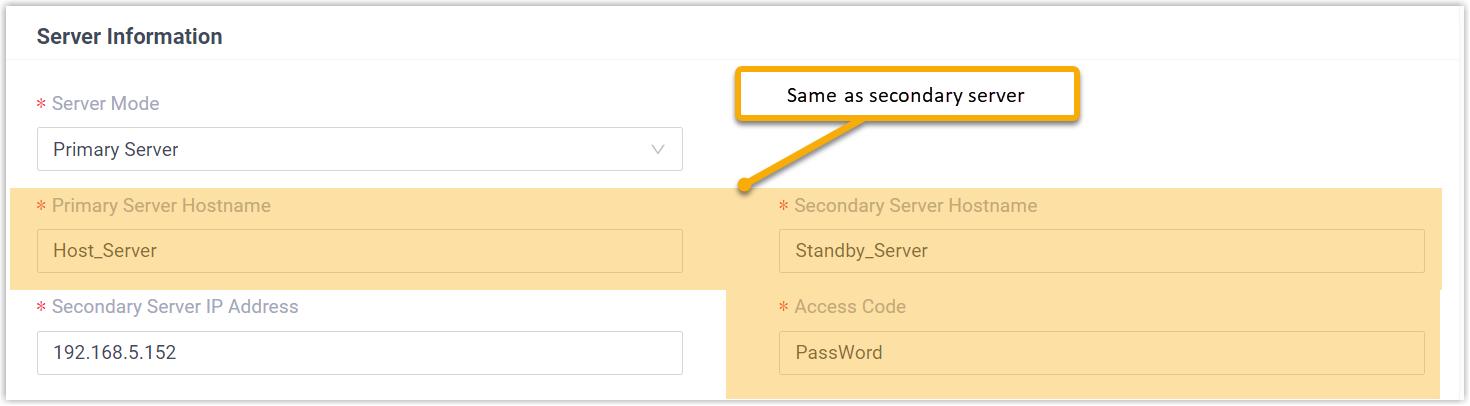
- Set up Primary Server
- In the Hot Standby configuration page of the Primary Server, complete the following settings.
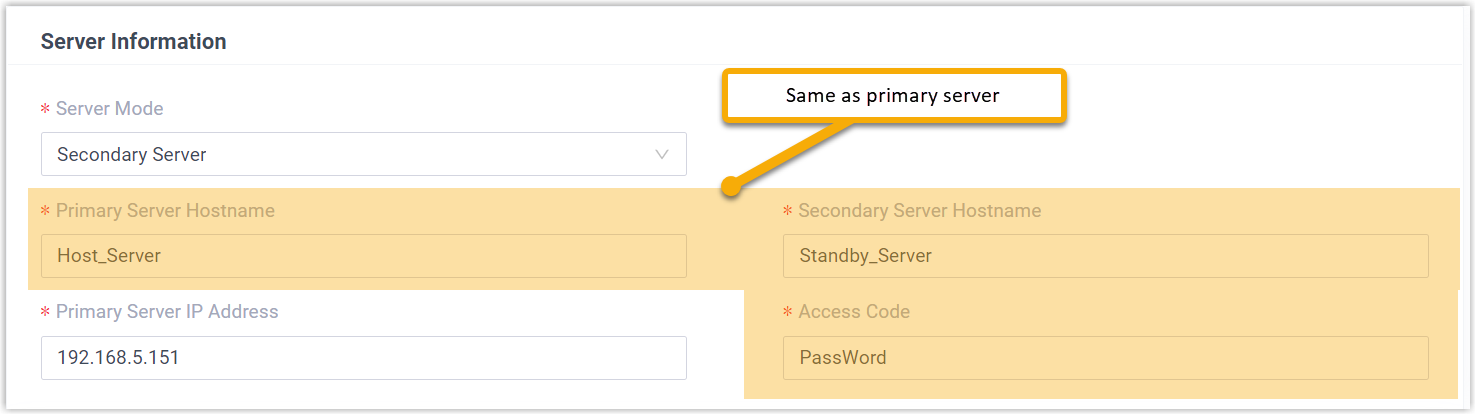
- Set up Secondary Server
- In the Hot Standby configuration page of the Secondary Server, complete the following settings.
- Settings
- The detailed description of the settings are listed in the
following table.
Setting Description Server Mode In the drop-down list, select a server mode. Primary Server Hostname Enter a name to help you identify the Primary Server. In this example, enter Host_Server. Note: The Primary Server Hostname set in the Primary Server and Secondary Server should be the same to avoid confusion in the event notification.Secondary Server Hostname Enter a name to help you identify the Secondary Server. In this example, enter Standby_Server. Note: The Secondary Server Hostname set in the Primary Server and Secondary Server should be the same to avoid confusion in the event notification.Primary Server IP Address Enter the IP address of the Primary Server. In this example, enter 192.168.5.151. Secondary Server IP Address Enter the IP address of the Secondary Server. In this example, enter 192.168.5.152. Access Code Set an access code. Note: The two PBXs must have the same access code to authenticate connection.
- In the Virtual IP Address section, set up the network
connection for the Hot Standby pair.
 Note: When you enter a virtual IP address, the corresponding information of Subnet Mask, Virtual Gateway and Network Connection Detection is automatically filled in.
Setting Description Virtual IP Address Virtual IP address is an IP address that has not been assigned to other devices and will be the shared IP address for the two PBXs. The virtual IP always points to the active PBX server. Note:- Set the same virtual IP address on the Primary Server and Secondary Server.
- After Hot Standby is enabled, you can access and operate the PBX system via the virtual IP. For example, use the virtual IP address as server IP address when registering extensions in the local network.
Subnet Mask A valid subnet mask can ensure the interactions between the PBX server and the virtual IP network. Virtual Gateway A valid gateway can ensure the interactions between the PBX server and the virtual IP network. Network Connection Detection If all nodes failed to be detected by the Secondary Server, it means that Internet outage(s) has occurred; both the Primary Server and the Secondary Server of your PBX system have abnormal internet connection. In this case, the PBX failover would not work. - In the Advanced section, complete the following
settings.
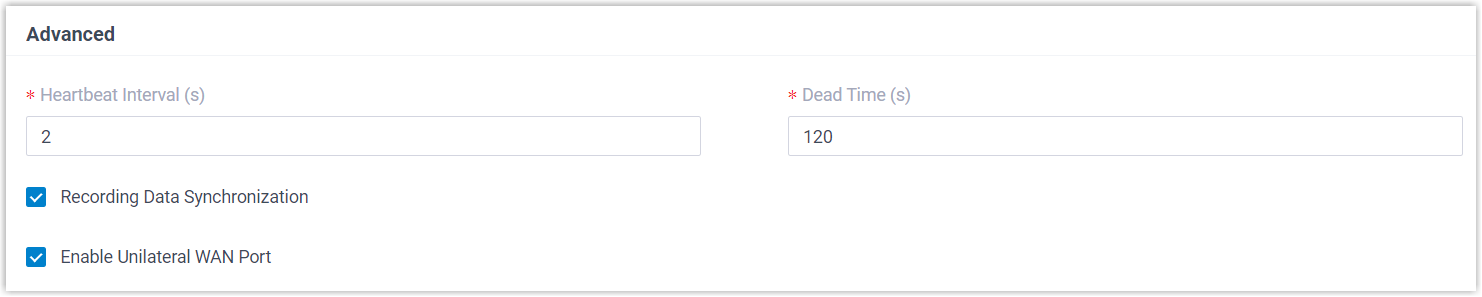
Setting Description Heartbeat Interval (s) Define the frequency to send heartbeat keep-alive packets. The default value is 2 seconds, which means that the Secondary Server sends packet every 2 seconds to detect whether the Primary Server is alive or not.
Dead Time (s) Define the maximum time interval before the Primary Server responds to the Secondary Server. The default value is 120 seconds. If the Secondary Server receives no response after timeout, it will take over the PBX system automatically.Note: Set the Dead Time longer than the server rebooting time (about 2 minutes), or the Secondary Server will take over when the Primary Server is rebooting.Recording Data Synchronization If enabled, the Secondary Server will synchronize the call recording files in real-time. External Chat Files Synchronization If enabled, the secondary server will synchronize the external chat files in real time. Enable Unilateral WAN Port If enabled, only one WAN port of the Primary Server and Secondary Server will be enabled. When PBX Hot Standby failover occurs, the WAN IP address will remain unchanged and will be switched to the active PBX server. - Click Save.
The system prompts that you need to reboot the server to make Hot Standby take effect.
Result
- Primary Server
-
- After the PBX is rebooted, the Status
displays Running.
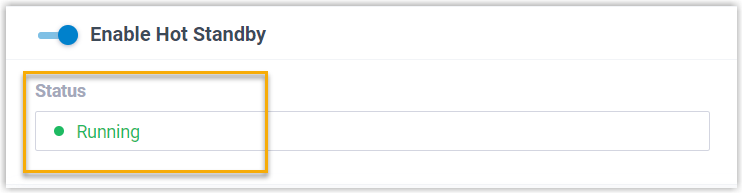
- When you configure the Primary Server, the configuration will be synchronized to the Secondary Server.
- After the PBX is rebooted, the Status
displays Running.
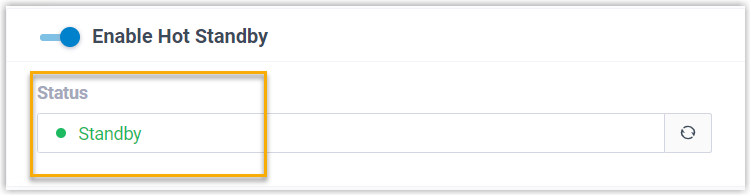
- Secondary Server
-
- After the PBX is rebooted, the Status of
the Secondary Server displays
Standby.
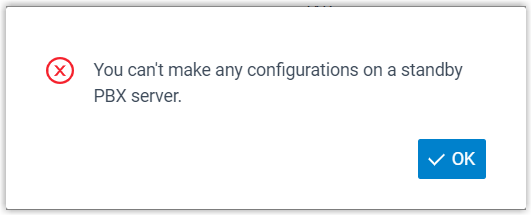
- When you try to make configuration on the Secondary Server, the
system prompts "You can't make any configurations on a standby
server".
- After the PBX is rebooted, the Status of
the Secondary Server displays
Standby.
What to do next
Test if Hot Standby works.
- On Primary Server, create an extension, save and apply the changes.
- On Secondary Server, check if the Hot Standby configurations are
correct.
You can see the same extension is added automatically in the Secondary Server.