Archive Files to Microsoft SharePoint
Yeastar P-Series PBX System supports archiving the system's call recordings and backup files to Microsoft SharePoint, either on a regular interval or at any time you want. This topic describes how to add Microsoft SharePoint as an archive server and schedule tasks to archive the desired files.
Step 1. Register an application in Microsoft Entra tenant
- Log in to Microsoft Azure Portal with the Microsoft Global Administrator account.
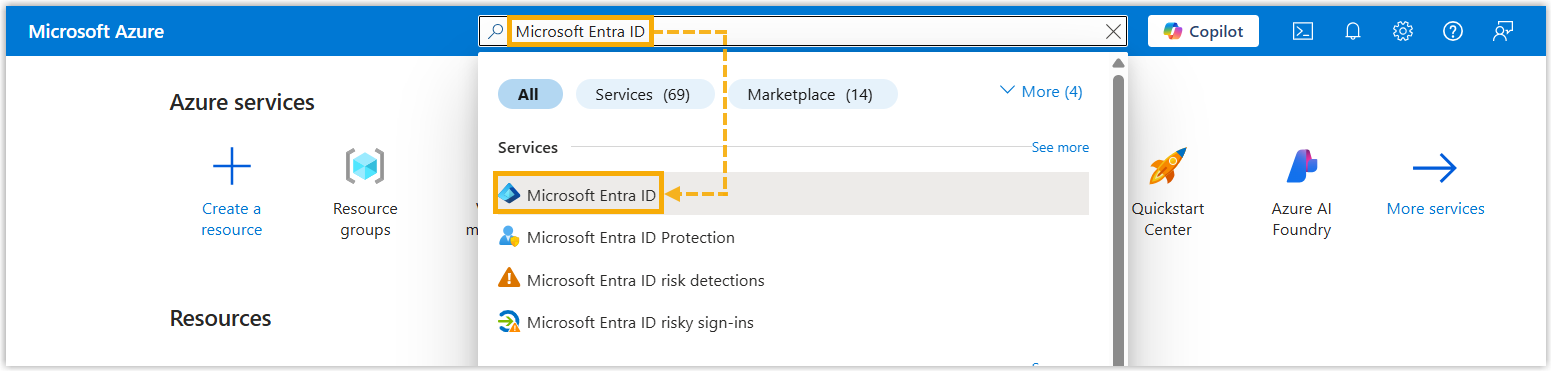
- In the search bar, search and select Microsoft Entra
ID service to enter your organization's directory.
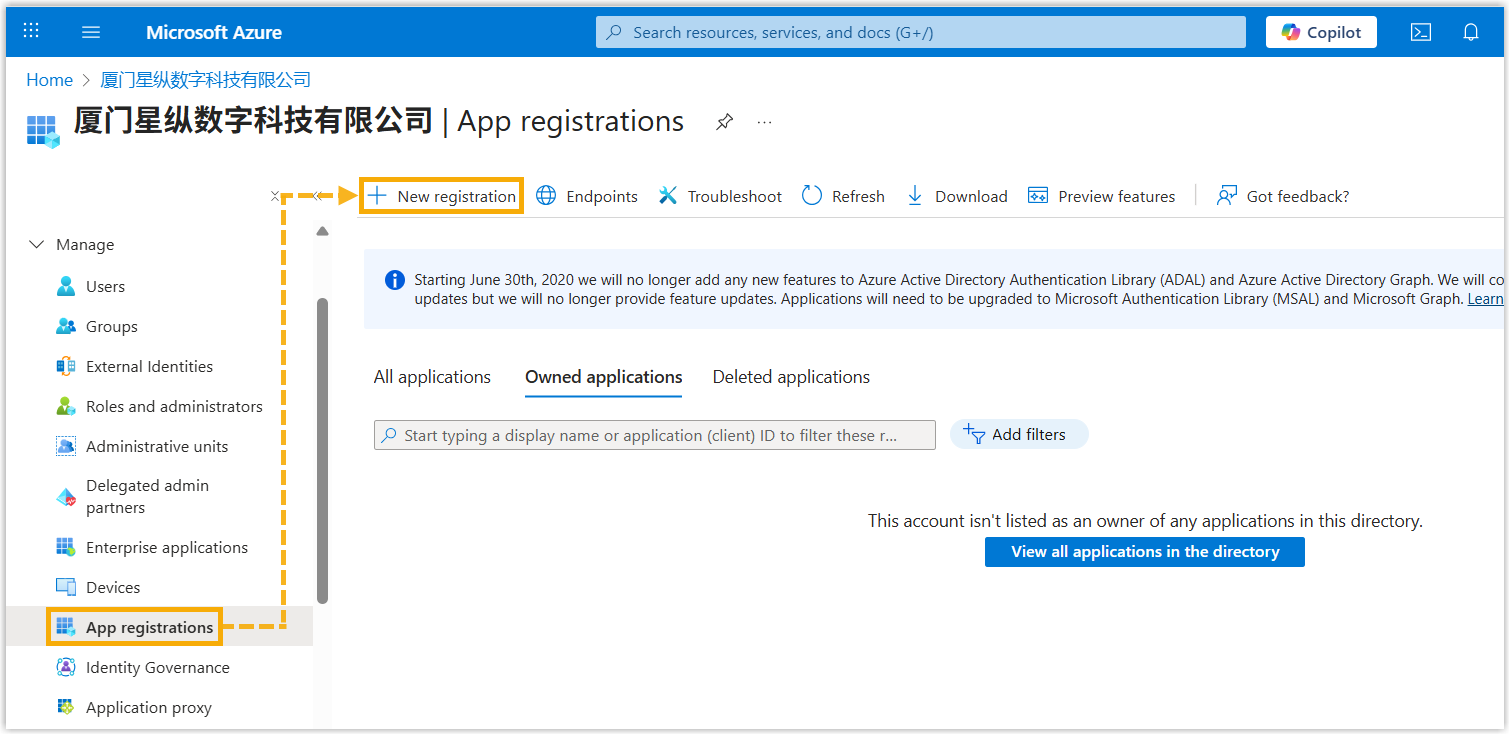
- Register an application.
- On the left navigation bar of organization's directory, go to , then click New
registration.
- In the Register an application page, enter a
name to help you identify the application, then click
Register.

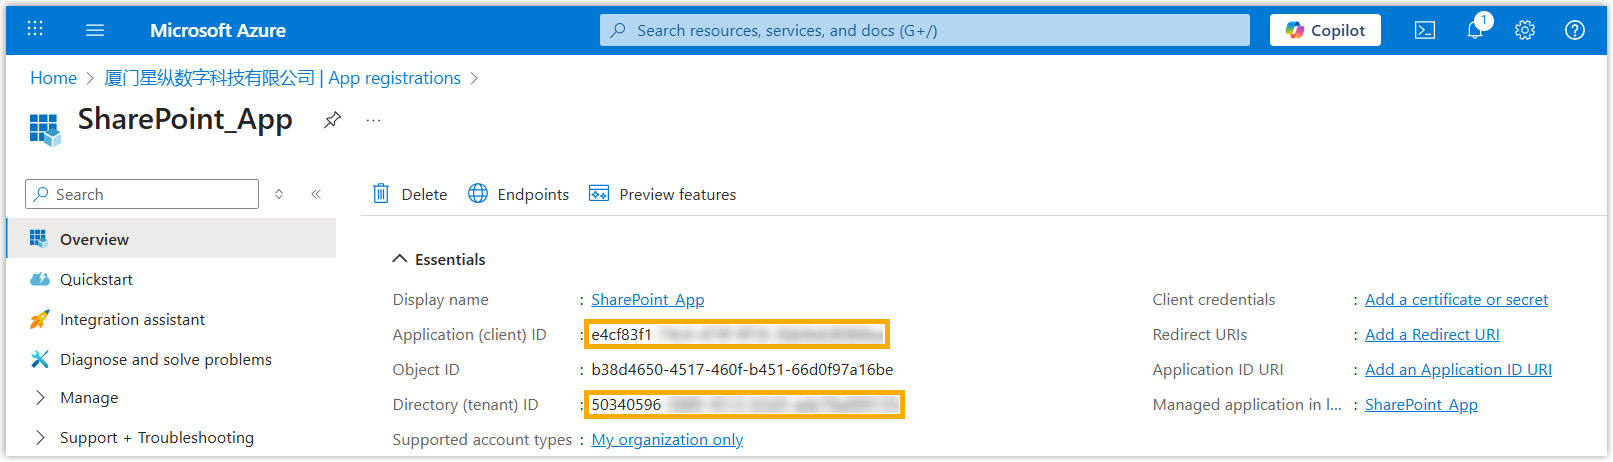
- Note down the Application(client) ID and Directory(tenant)
ID.
- On the left navigation bar of organization's directory, go to , then click New
registration.
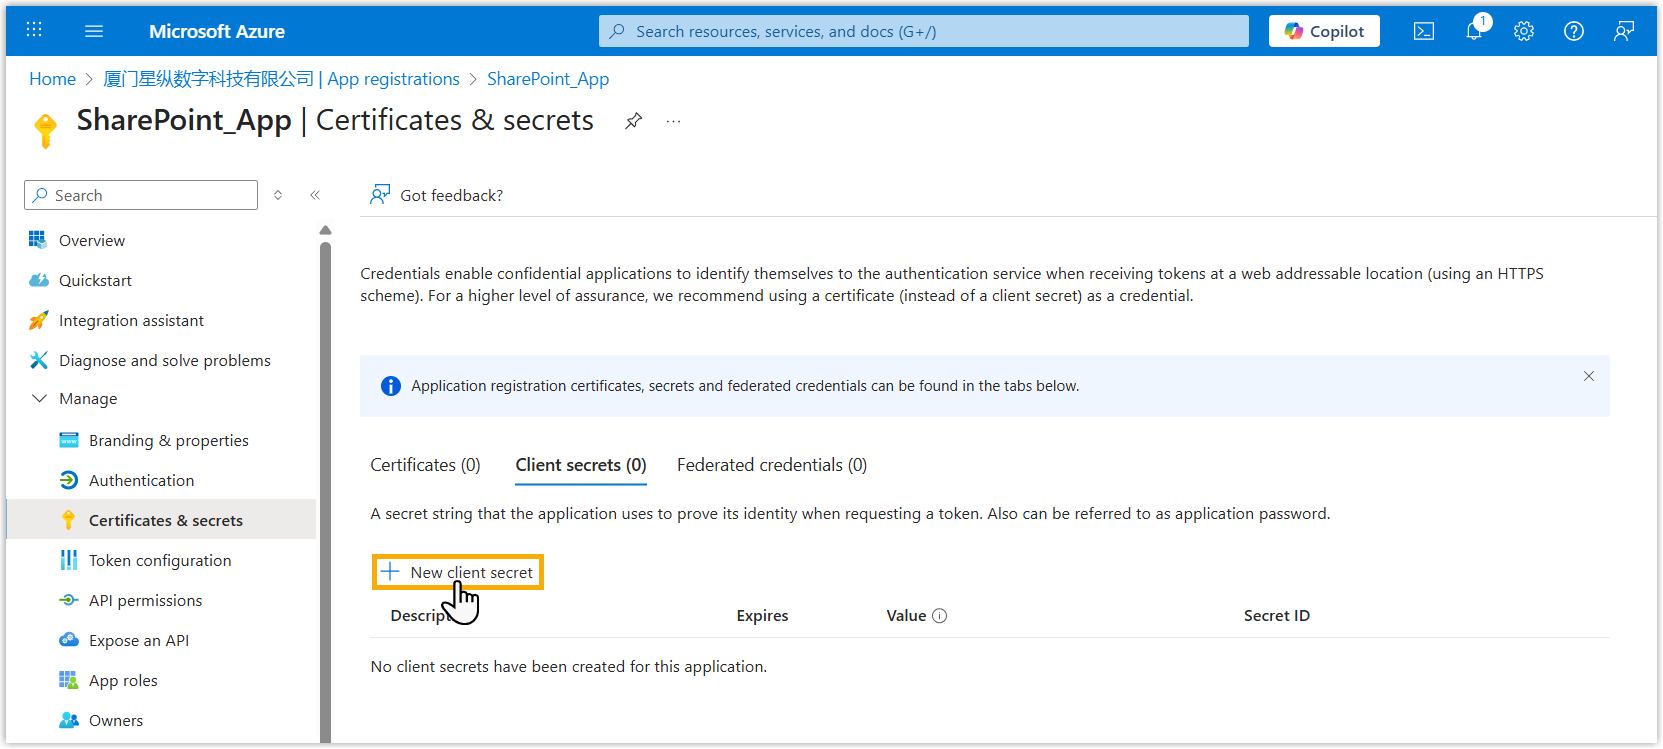
- Generate a client secret.
- On the left navigation bar of the Microsoft Entra application, go to , then click New client
secret.
- Configure the client secret, then click
Add.
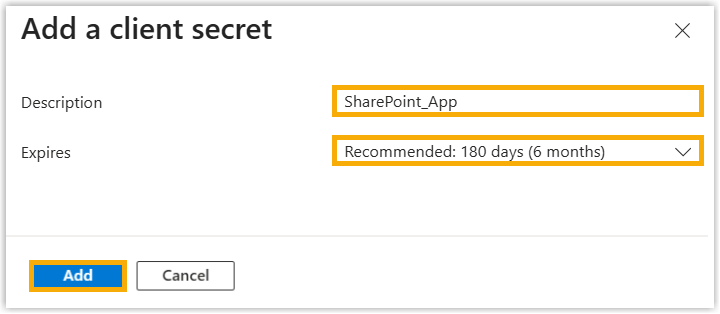
- Note down the client secret's
Value.

- On the left navigation bar of the Microsoft Entra application, go to , then click New client
secret.
Step 2. Grant permission to the Microsoft Entra application
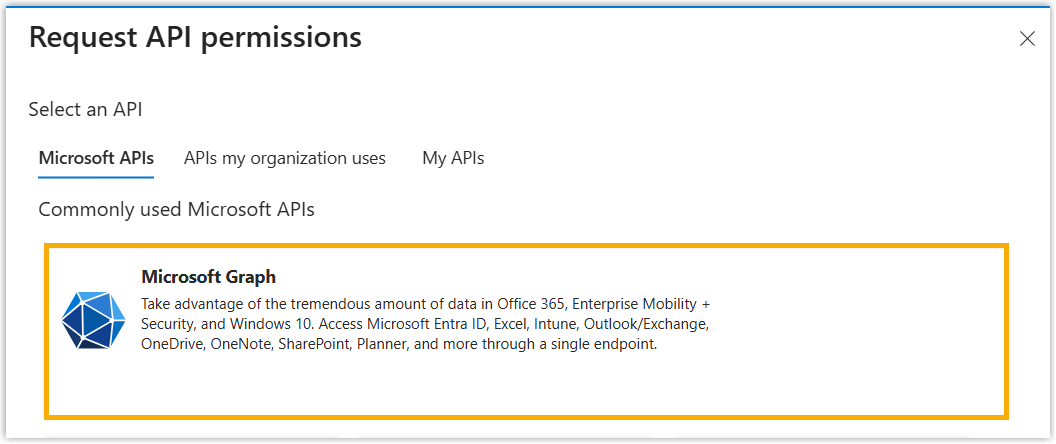
- On the left navigation bar of the Microsoft Entra application, go to API
permissions, then click Add a permission.

- In the Select an API page, go to .
- Add the required permission to allow the application to read and write items in
all site collections.
- Click Application permissions, search and select
Sites.ReadWrite.All permission, then click
Add permissions.

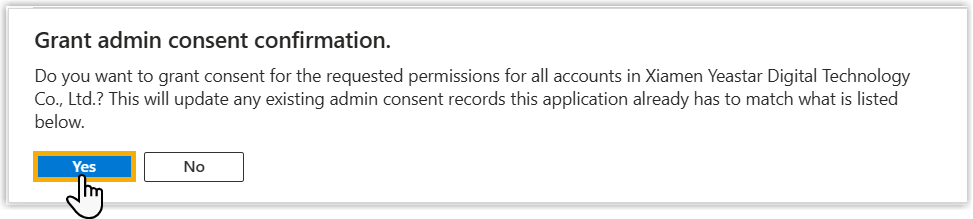
- Click Grant admin consent for... to grant the
permission to the application.
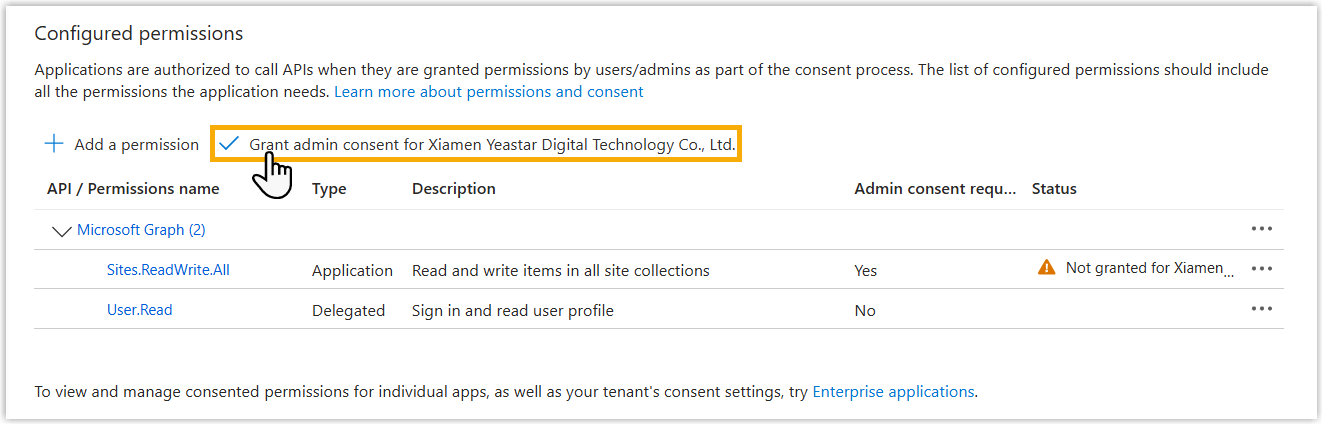
- In the pop-up dialog box, select Yes.
The Status of the permission changes to
 , indicating that the API permission has been
granted to the application successfully.
, indicating that the API permission has been
granted to the application successfully.
- Click Application permissions, search and select
Sites.ReadWrite.All permission, then click
Add permissions.
Step 3. Create a folder in Microsoft SharePoint
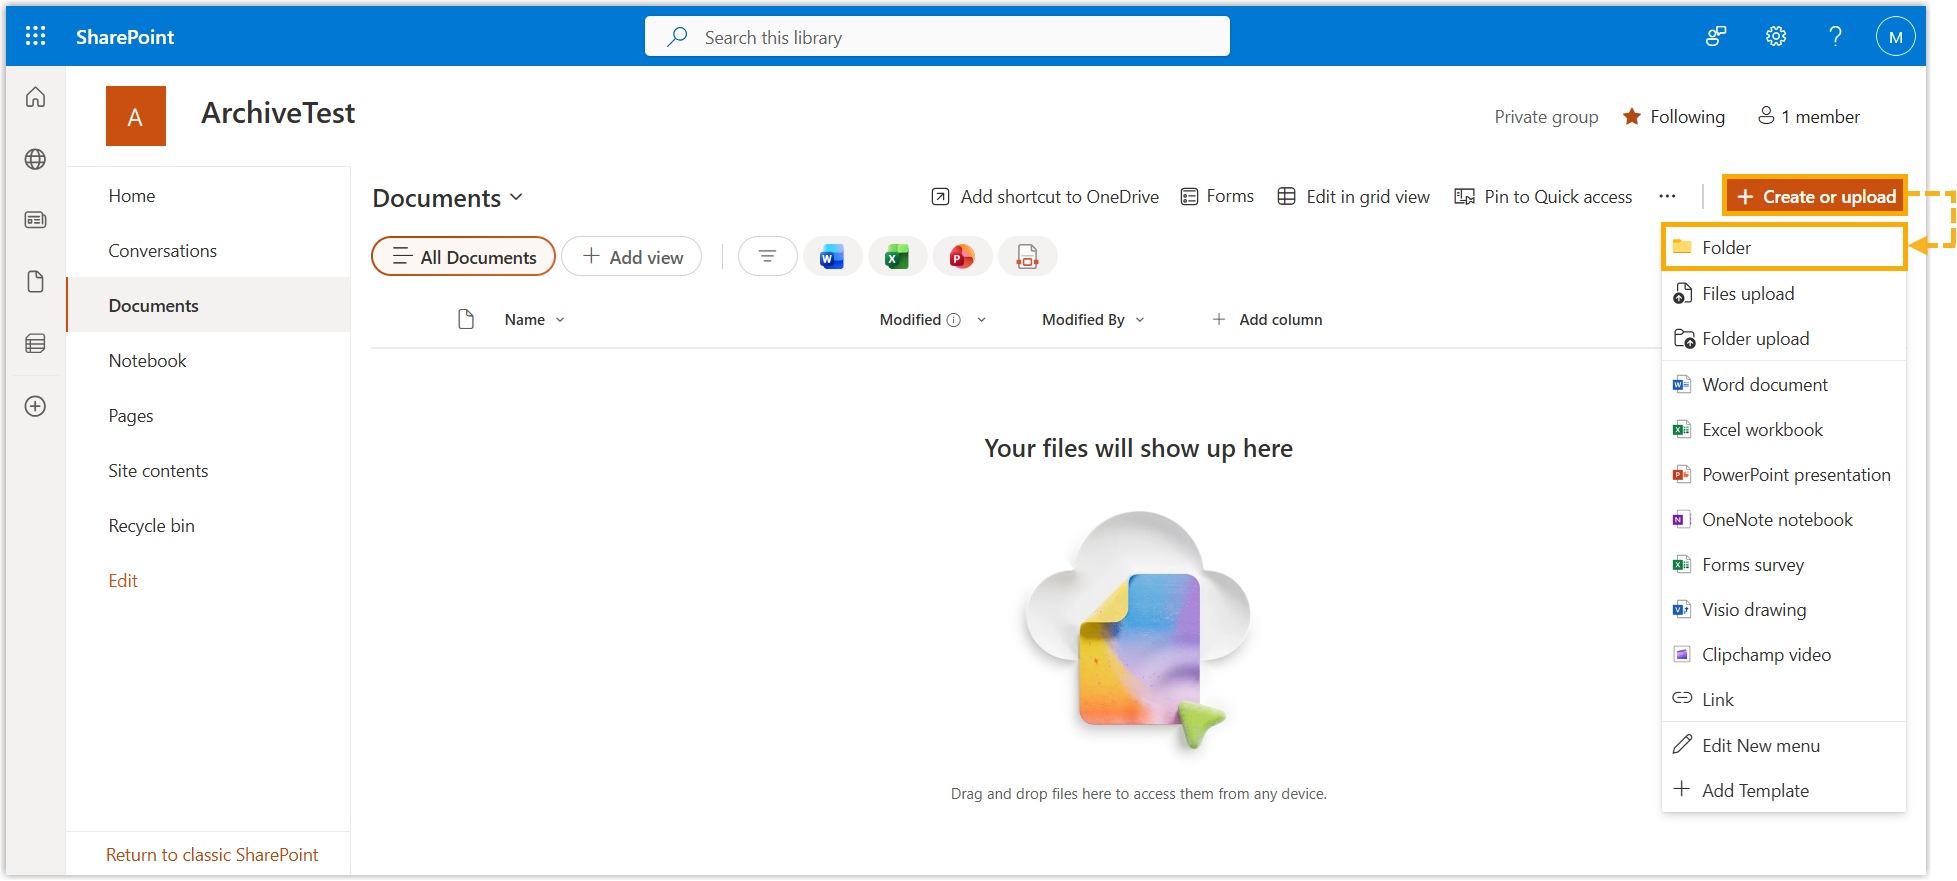
- Go to the SharePoint site where you want to create a new folder, then open the SharePoint document library.
- At the top-right corner, click Create or Upload, then
select Folder from the drop-down list.
- In the Name field, enter a name to help you identify
the folder, then click Create.
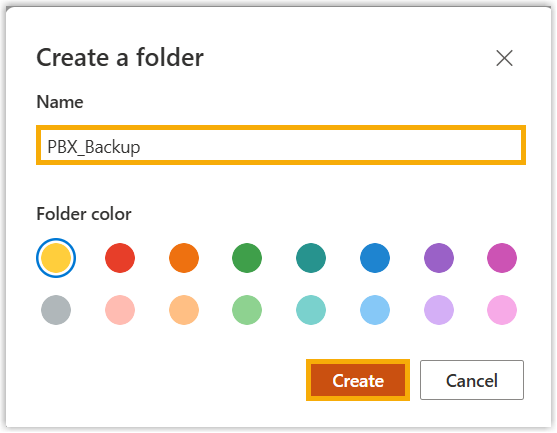
The folder is created and displayed on the list.

Step 4. Add Microsoft SharePoint as archive server on PBX
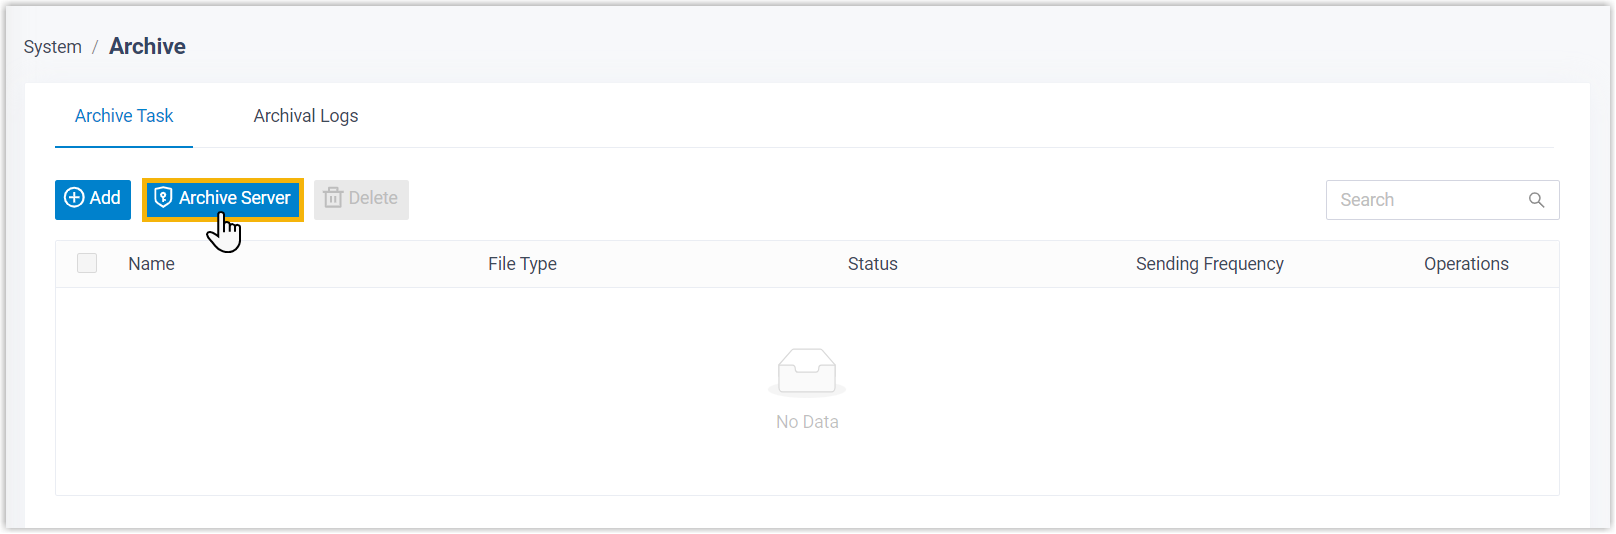
- Log in to PBX web portal, go to .
- Under the Archive Task tab, click
Archive Server.
- Set up Microsoft SharePoint as an archive server.
- Click Add.
- In the pop-up window, complete the following settings.
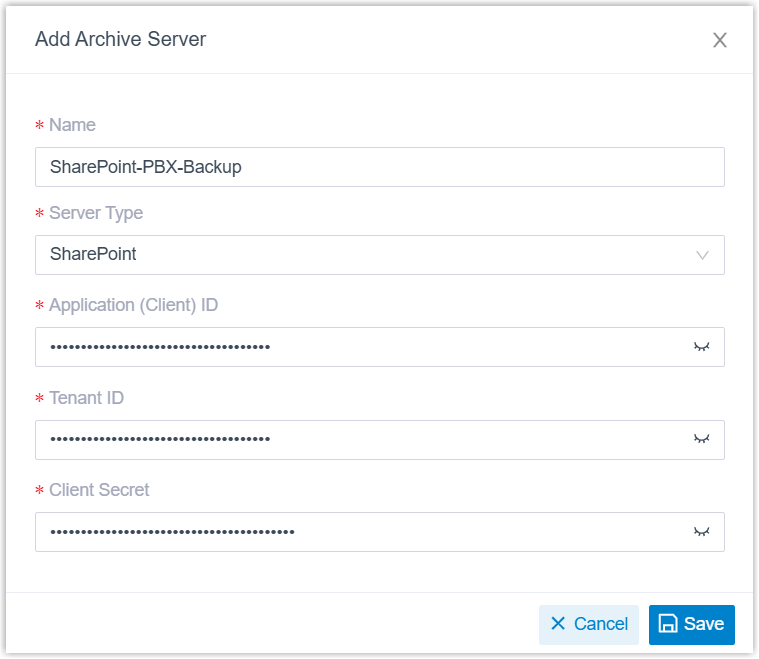
Setting Description Name Enter a name to help you identify the server. Server Type Select SharePoint. Application (Client) ID Enter the Application(client) ID that you have obtained from Microsoft Entra Tenant. Tenant ID Enter the Directory(tenant) ID that you have obtained from Microsoft Entra Tenant. Client Secret Enter the client secret that you have obtained from Microsoft Entra Tenant. - Click Save.
The Microsoft SharePoint is added as an archive server and displayed on the archive server list.
- Click
 to close the window.
Step 5. Create a task to archive files to Microsoft SharePoint on PBX
- Under Archive Task tab, click Add.
- In the Task Configuration section, complete the basic
settings for the archive task.
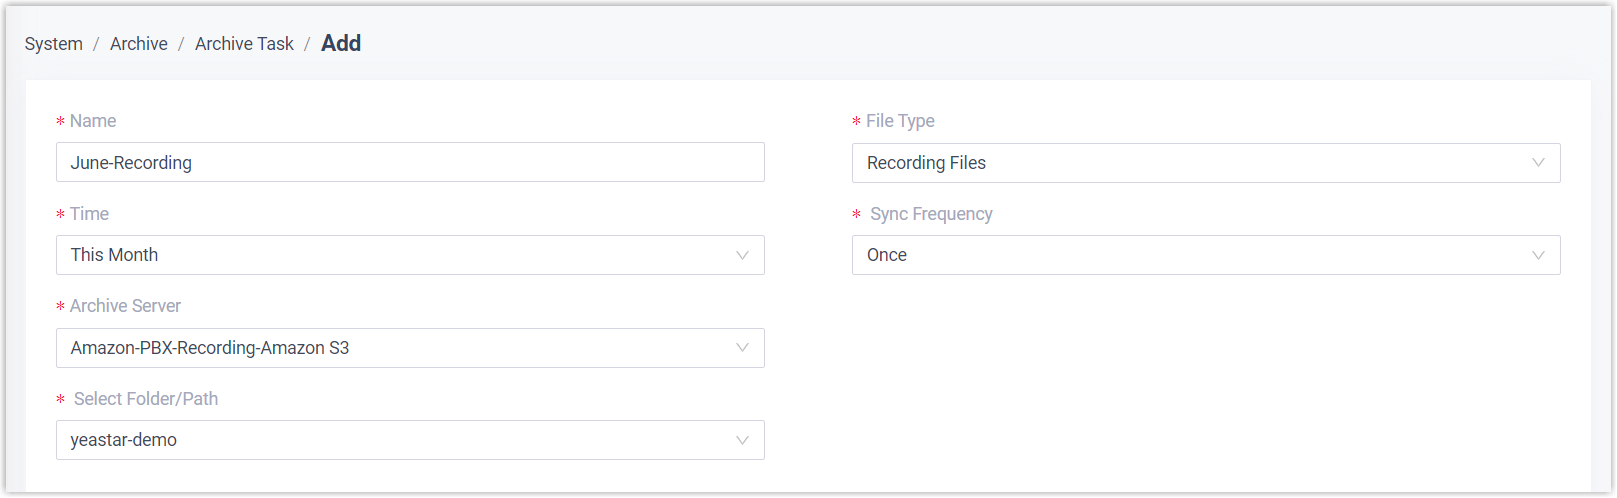
Setting Description Name Enter a name to help you identify the task. File Type Select Recording Files or Backup Files as needed. Data Range Specify a time range of the files to be archived. Sync Frequency Set how often to archive files to Microsoft SharePoint. Recording File Format Select the download format for recording files. - In the Storage Configuration section, select the archive
server and complete the related settings.
Setting Description Archive Server Select the Microsoft SharePoint server that you have added. Select Folder/Path Select folder in which you want to store archived files. Storage Method Specify the storage method for archived files based on the archive task's execution frequency.
Skip archived files Optional. Specify whether to skip files that have already been archived. Delete local files after archiving Optional. Specify whether to delete local files after archiving. Organize Files by Date Optional. Specify whether to organize archived files by date. - Optional: Set retention policy for archived files.

Setting Description Retention Type Specify how archived files are retained.
Retention Limit Specify the maximum number of files/folders or the maximum retention days, depending on the selected retention type. Retention Unit Select the retention unit.
Result
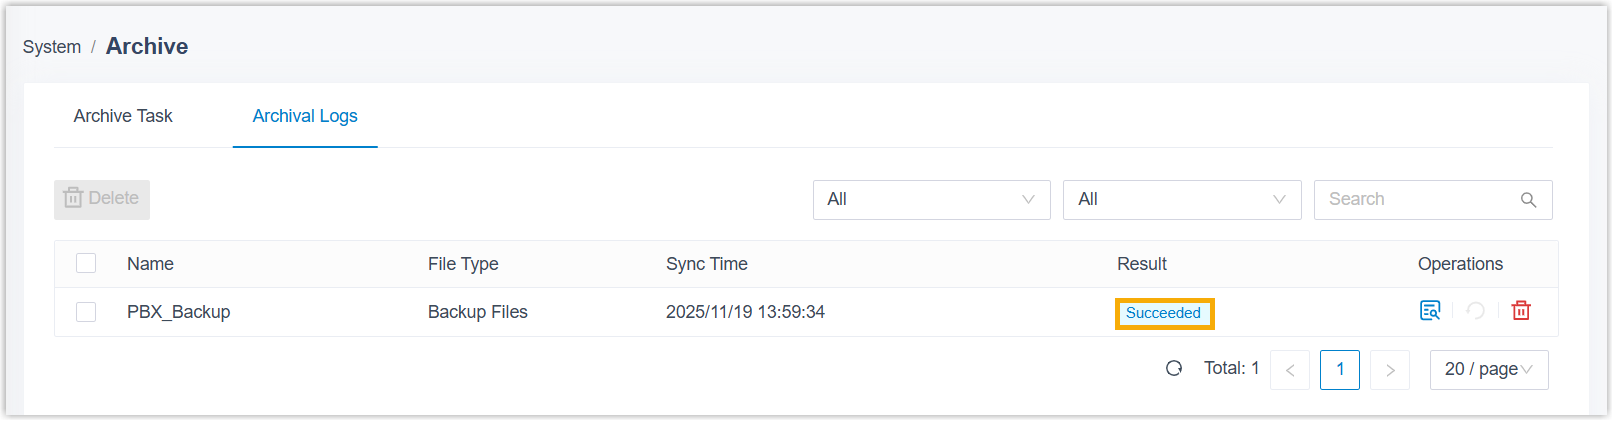
- Check the archive result on PBX
- On PBX web portal, go to . If the Result column of the task shows Succeeded, it indicates that the specified files have been successfully archived to Microsoft SharePoint.
-
 Note: If the task is failed, the Failed to Archive File(s) event will be triggered; You can click
 to retry the
task.
to retry the
task.
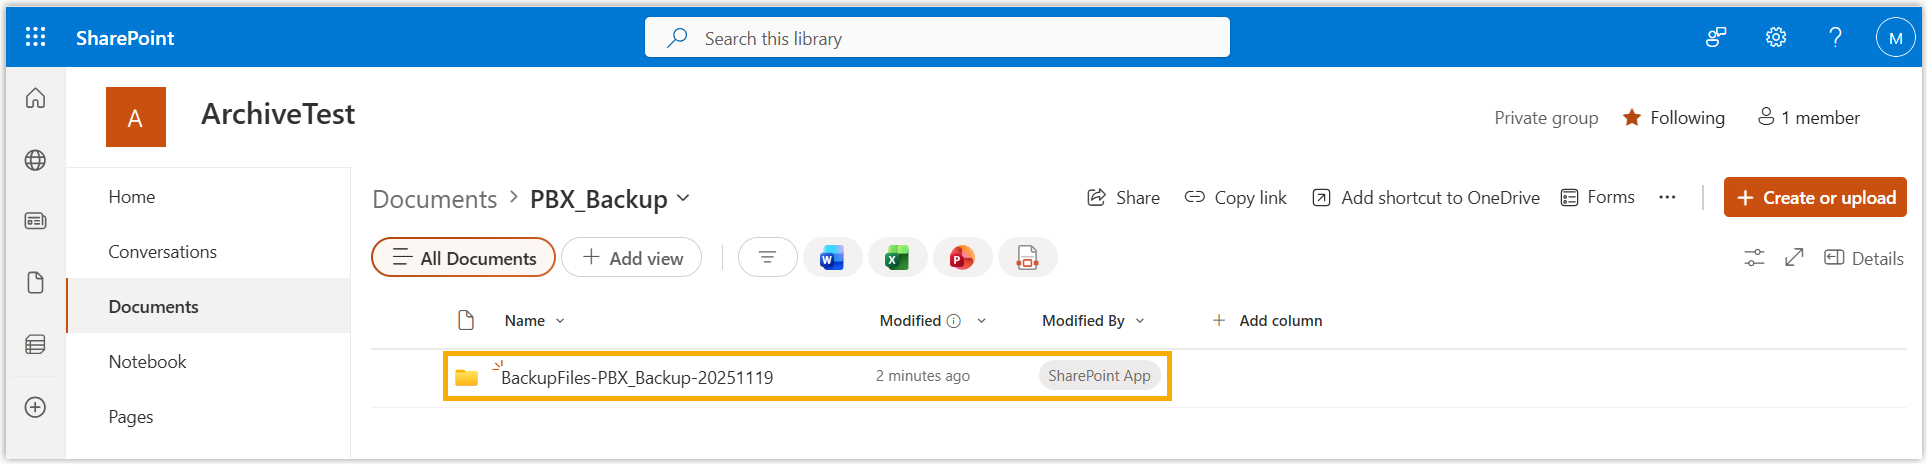
- Check the archive result on Microsoft SharePoint
- On Microsoft SharePoint, go to the created folder. If the specified files appear in the list, it indicates that the archive is successful.