Integrate Yeastar P-Series Software Edition with Salesforce CRM
This topic describes how to integrate Yeastar P-Series Software Edition with Salesforce CRM.
Prerequisites
- Make sure that the PBX can
be remotely accessed via domain name.For more information about the configuration, see the following topics:
- Only a system administrator of a Salesforce CRM account can enable the Salesforce CRM integration.
Procedure
Step 1. Get PBX authentication information
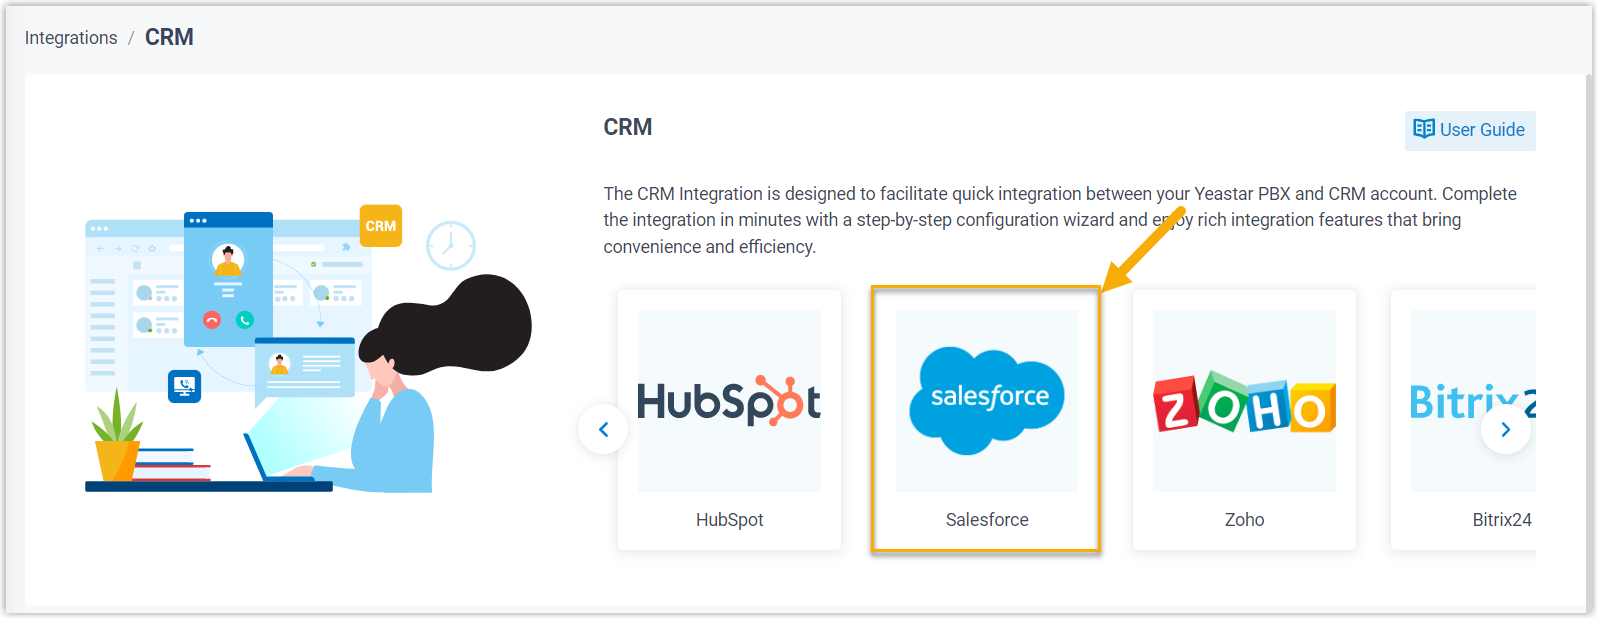
- Log in to PBX web portal, go to .
- Click Salesforce.
- In the Network section, select the desired
Homepage URL and note down the
Authorized Redirect URI as you will use it later
on Salesforce CRM.

Step 2. Create and configure an application on Salesforce CRM
- Log in to Salesforce CRM.
- On the top-right corner of the Salesforce page, click
 , then click Setup to enter the
Setup Home page.
, then click Setup to enter the
Setup Home page.
- On the left navigation bar, go to .
- On the top-right corner of the App Manager page, click
New External Client App to create a new application
for integration.

- In the Basic Information section, enter the
required information, then complete the rest as needed.
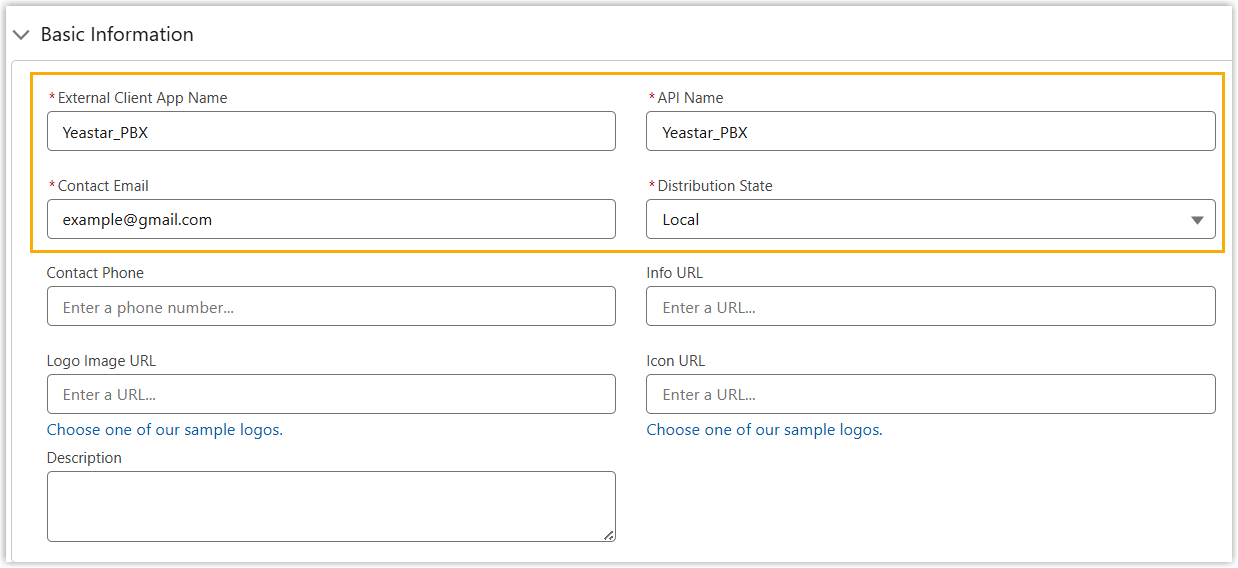
- External Client App Name: Enter a
name to help you identify the application.Note: The API Name is synchronized with the application name automatically.
- Contact Email: Enter a contact email address.
- Distribution State: Retain the default setting.
- External Client App Name: Enter a
name to help you identify the application.
- In the API (Enable OAuth Settings) section,
select the checkbox of Enable OAuth, and
complete the API configuration.

Setting Description App Settings section Callback URL Paste the authorized redirect URI obtained from the PBX web portal. OAuth Scopes select the following permission options from Available OAuth Scopes box to Selected OAuth Scopes box. - Full access (full)
- Manage user data via APIs (api)
- Manage user data via Web browsers (web)
- Access unique user identifiers (openid)
- Access the identity URL service (id, profile, email, address, phone)
- Perform requests at any time (refresh_token, offline_access)
Security section Require Proof Key for Code Exchange (PKCE) extension for Supported Authorization Flows Unselect the checkbox of this setting. - At the bottom of the page, click Save.
The webpage indicates that the application has been successfully created.
- In the Basic Information section, enter the
required information, then complete the rest as needed.
- Modify the application's access permissions.
By default, the permission of newly created applications are set to All users can self-authorize, granting access to all associated Salesforce users in the organization. If the current settings displayed in the application list differ from this, do as follows to modify the permission.
- Go to , click
 beside the new application, then
click Edit Policies.
beside the new application, then
click Edit Policies.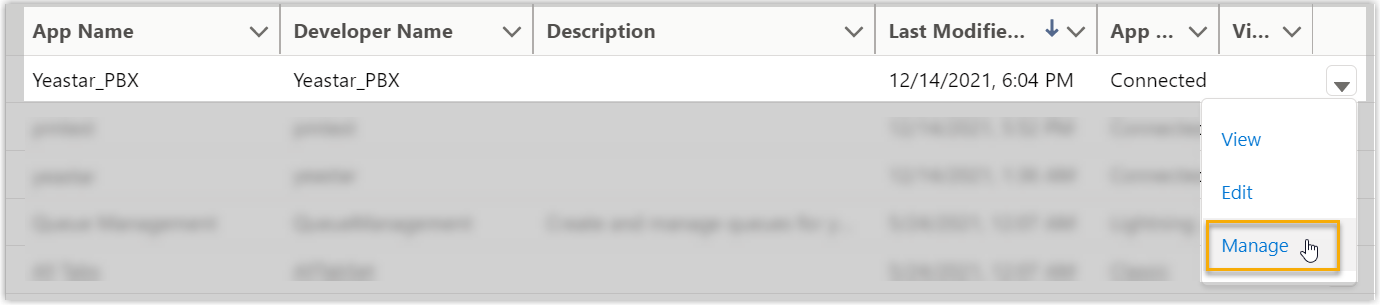
- Scroll down to the OAuth Policies, select
All users may self-authorize from the
drop-down list of Permitted Users.
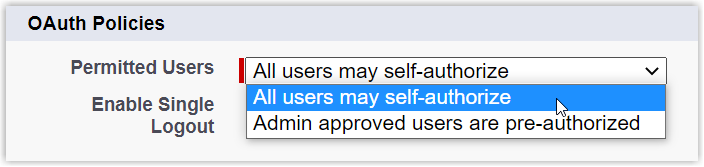
- Click Save.
- Go to , click
- Obtain the Authorization information of Salesforce CRM as you will use it later
on PBX.
- Go to , click beside the new application, then
click Edit Settings.
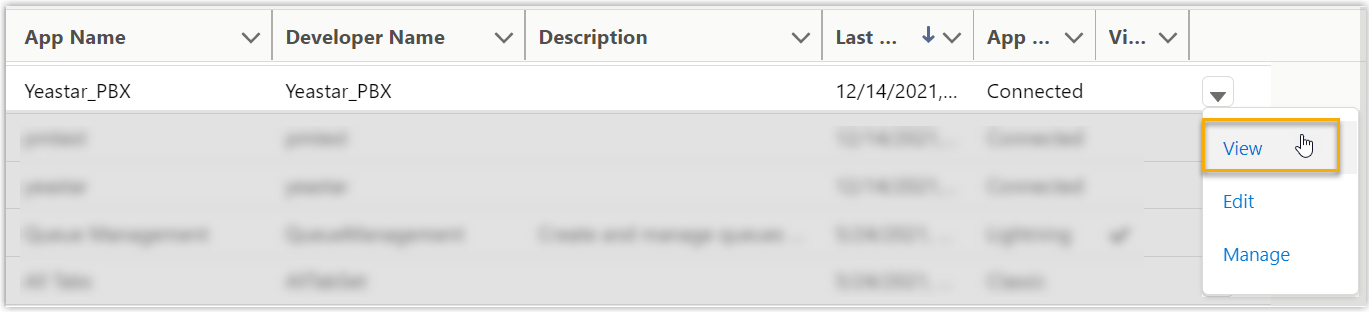
- In the OAuth Settings section, obtain the API
Authorization information.
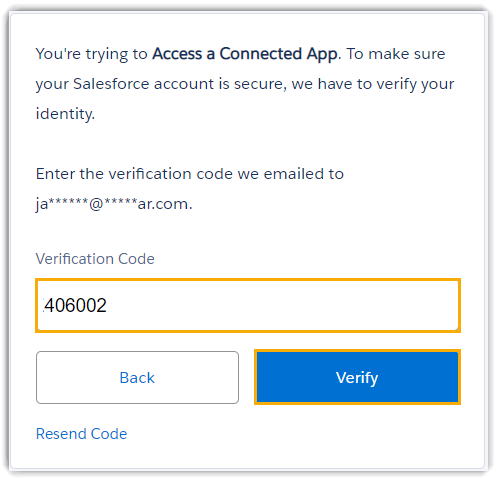
- Click Consumer Key and Secret.

A verification code is sent to your mailbox.
- Enter the verification code, then click
Verify.
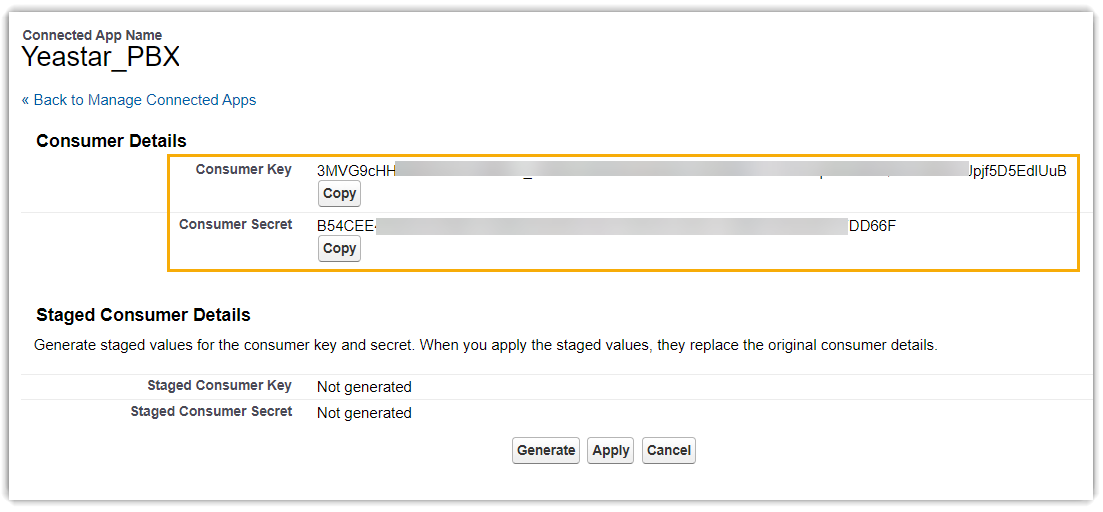
- In the Consumer Details
section, note down the Consumer Key and
Consumer Secret.
- Click Consumer Key and Secret.
- Go to , click
Step 3. Make Authorization Request to Salesforce CRM
- Log in to PBX web portal, go to .
- Click Salesforce.
- In the Authorization section, enter the API
authorization information.

- Consumer Key: Paste the Salesforce API Consumer Key.
- Consumer Secret: Paste the Salesforce API Consumer Secret.
- Click Save.
A new browser page will be launched to request for Salesforce CRM data access permission.

- Click Allow to allow the PBX to access data in your CRM account.
You are redirected to the PBX configuration page, a pop-up window displays the authentication result.
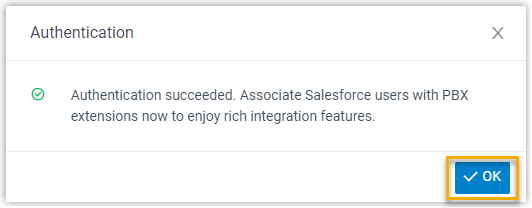
- Click OK to confirm.
The Status field displays Connected, indicating that the Salesforce CRM integration is successfully set up.
Step 4. Associate Salesforce CRM users with PBX extensions
- On the CRM integration page, click
 beside the
Salesforce User to synchronize the latest list of
Salesforce CRM users.
beside the
Salesforce User to synchronize the latest list of
Salesforce CRM users.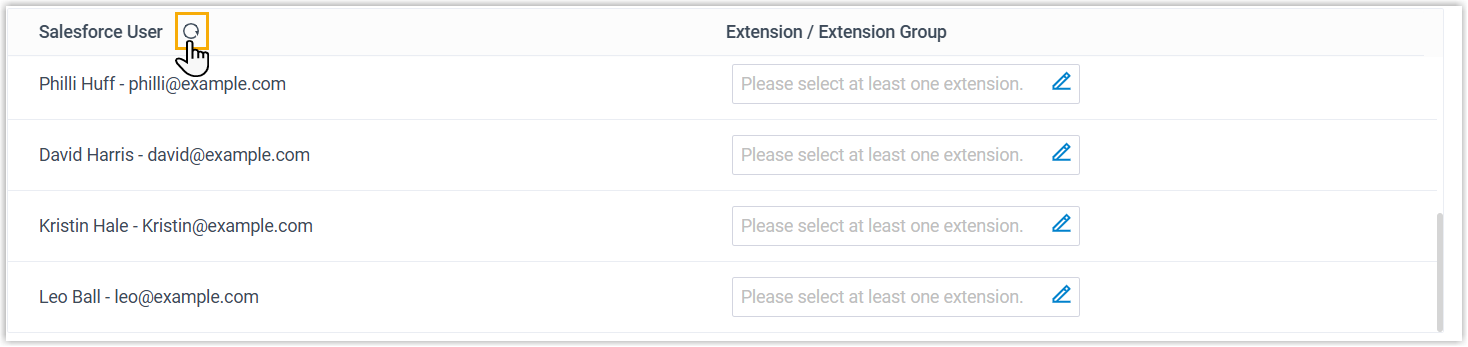
- Associate the Salesforce users with PBX extensions.
- Associate automatically
- If users bind the same email address to their Salesforce
accounts and PBX extensions, you can implement automatic
association of their Salesforce accounts and PBX extensions as
follows:
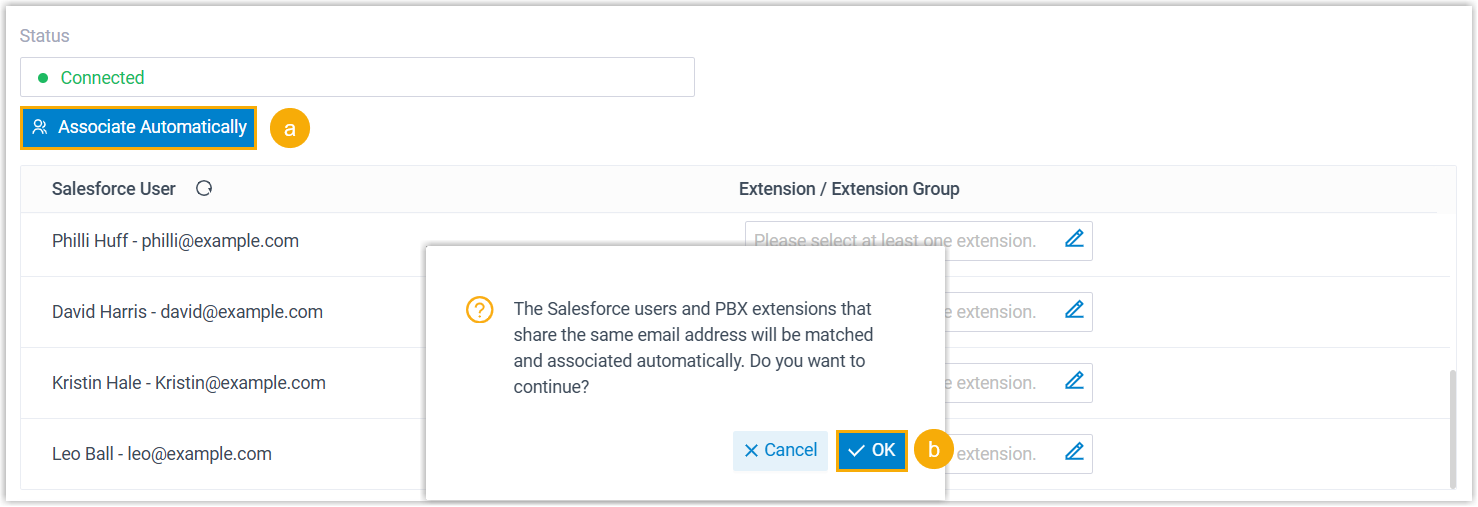
- Click the Associate Automatically button.
- On the pop-up window, click OK.
- Associate manually
- If the user binds different email addresses to their Salesforce
account and PBX extension, you need to manually associate the
user's Salesforce user account and PBX extension.
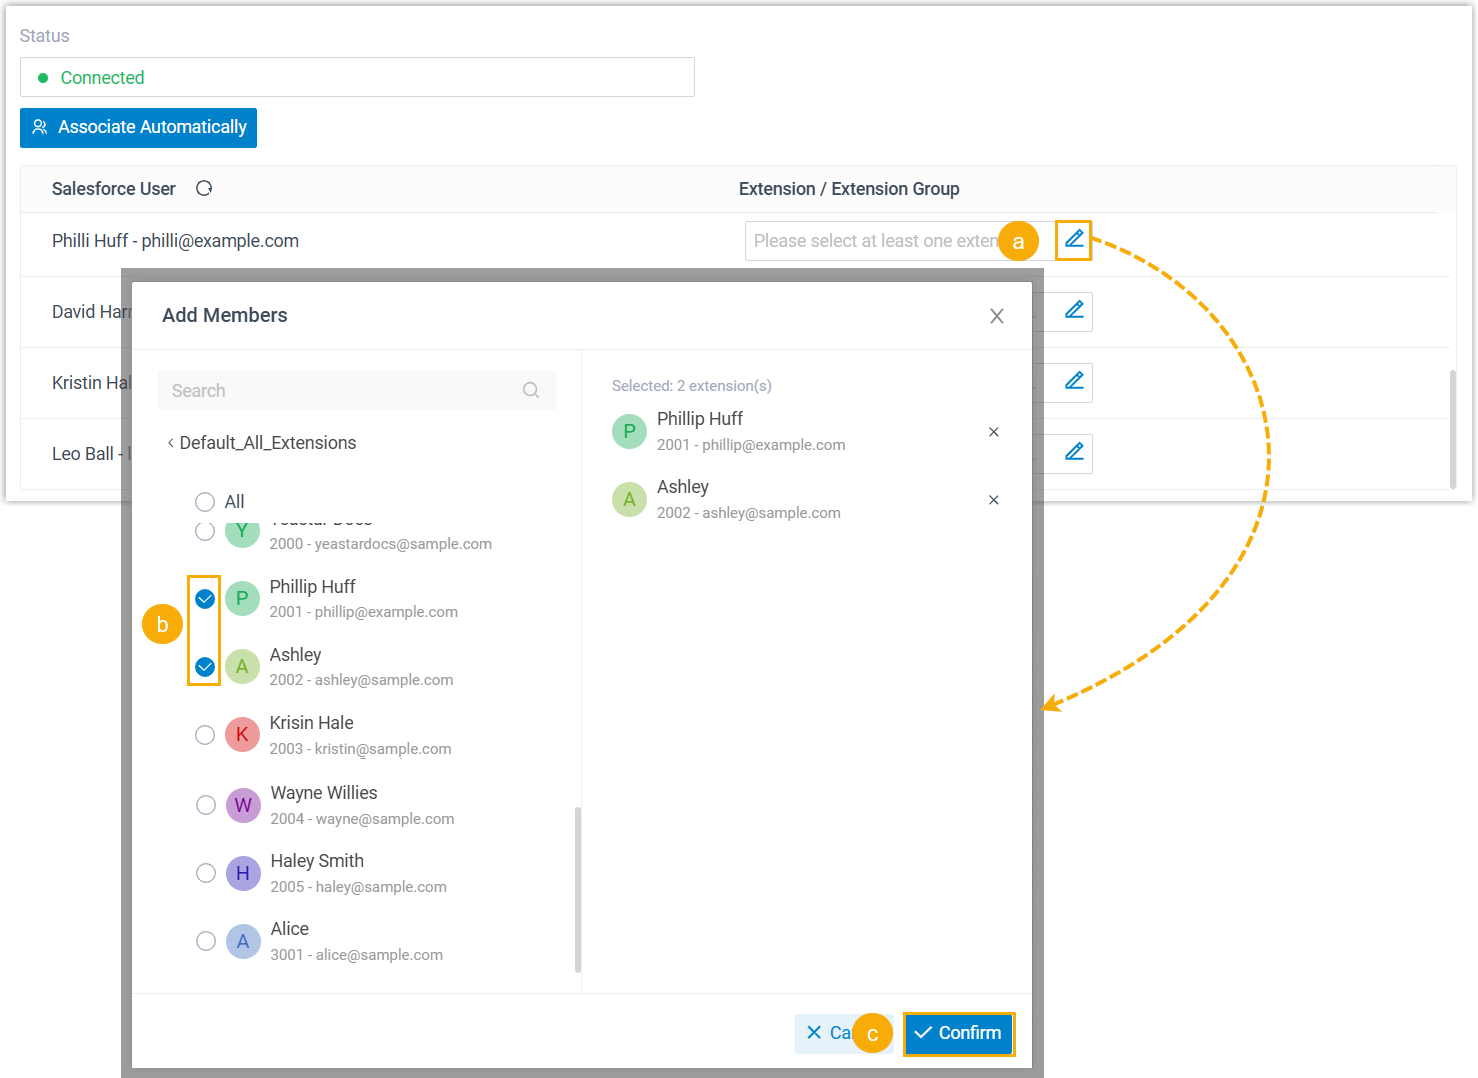
- In the Extension / Extension
Group field beside the Salesforce user,
click
 .
. - In the pop-up window, select the desired user's extension(s).
- Click Confirm.
- In the Extension / Extension
Group field beside the Salesforce user,
click
- Click Save.
Result
- The integration of Yeastar P-Series Software Edition and Salesforce CRM is set up.
- Salesforce users can make or receive calls with their PBX extensions.