Integrate Yeastar P-Series Software Edition with Google Workspace
This topic describes how to integrate Yeastar P-Series Software Edition with Google Workspace.
Requirements
| Platform | Requirement |
|---|---|
| Google Workspace |
|
| Yeastar PBX |
|
Step 1. Obtain Redirect URIs from Yeastar PBX
Obtain redirect URIs from Yeastar P-Series Software Edition, which are required for the subsequent configuration in Google Workspace.
- Access the configuration page of Google Workspace
integration.
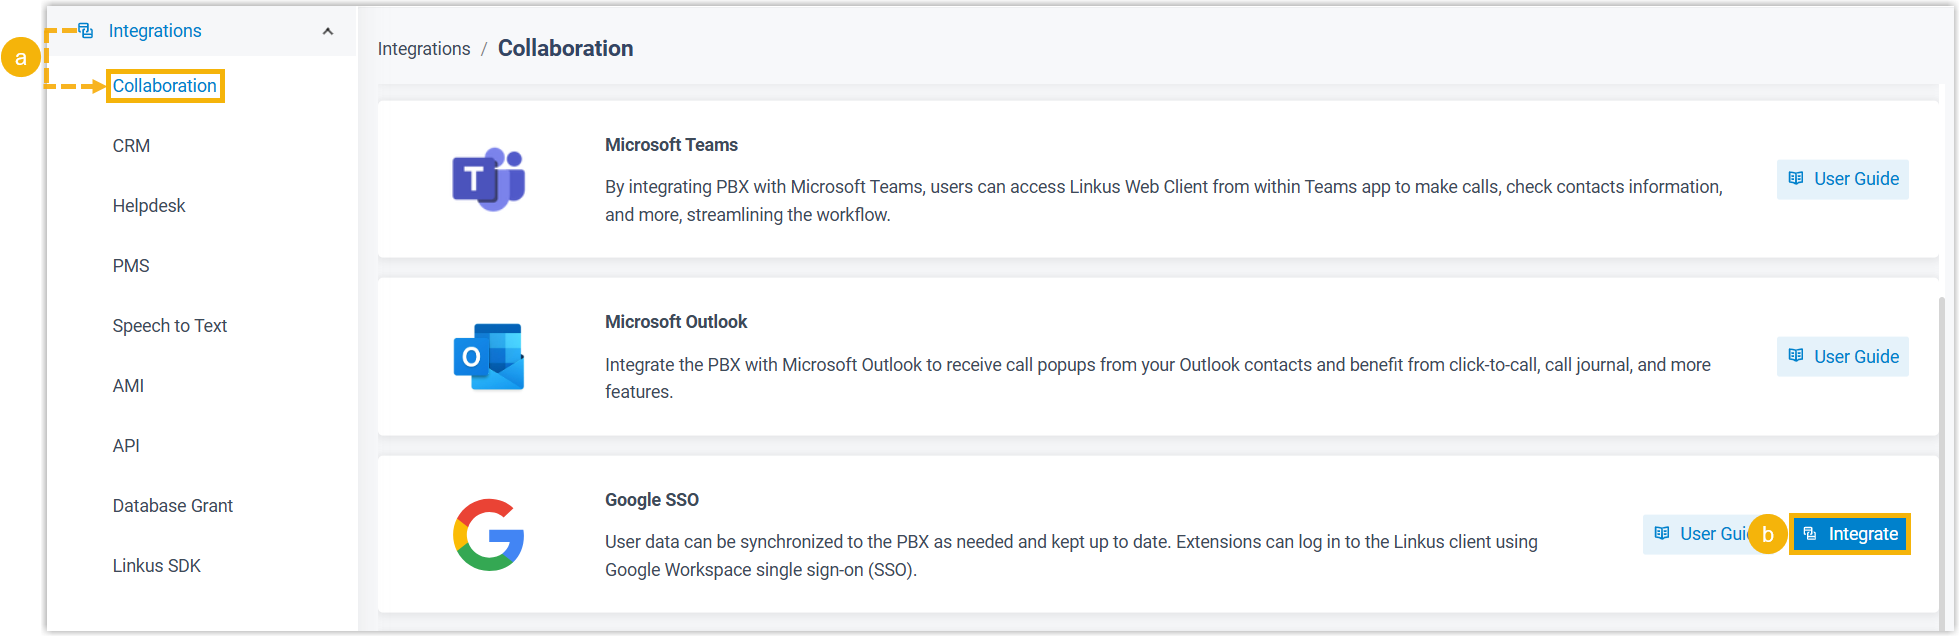
- Log in to PBX web portal, go to .
- On the right of Google SSO, click Integrate.
- In the App Registration section, select
and note down the following redirect URIs.

- Redirect URI: The URL to which you are redirected after the integration authentication is completed.
- Client SSO Redirect URI: The URL via
which users can sign in to Linkus UC Clients using their Google credentials.Important: Do NOT select the public IP, as IP address can't be used as the SSO redirect URI due to Google restriction.
Step 2. Create resources and credentials in Google Workspace
Create a Cloud project for the integration and configure the required API settings using a super admin account.
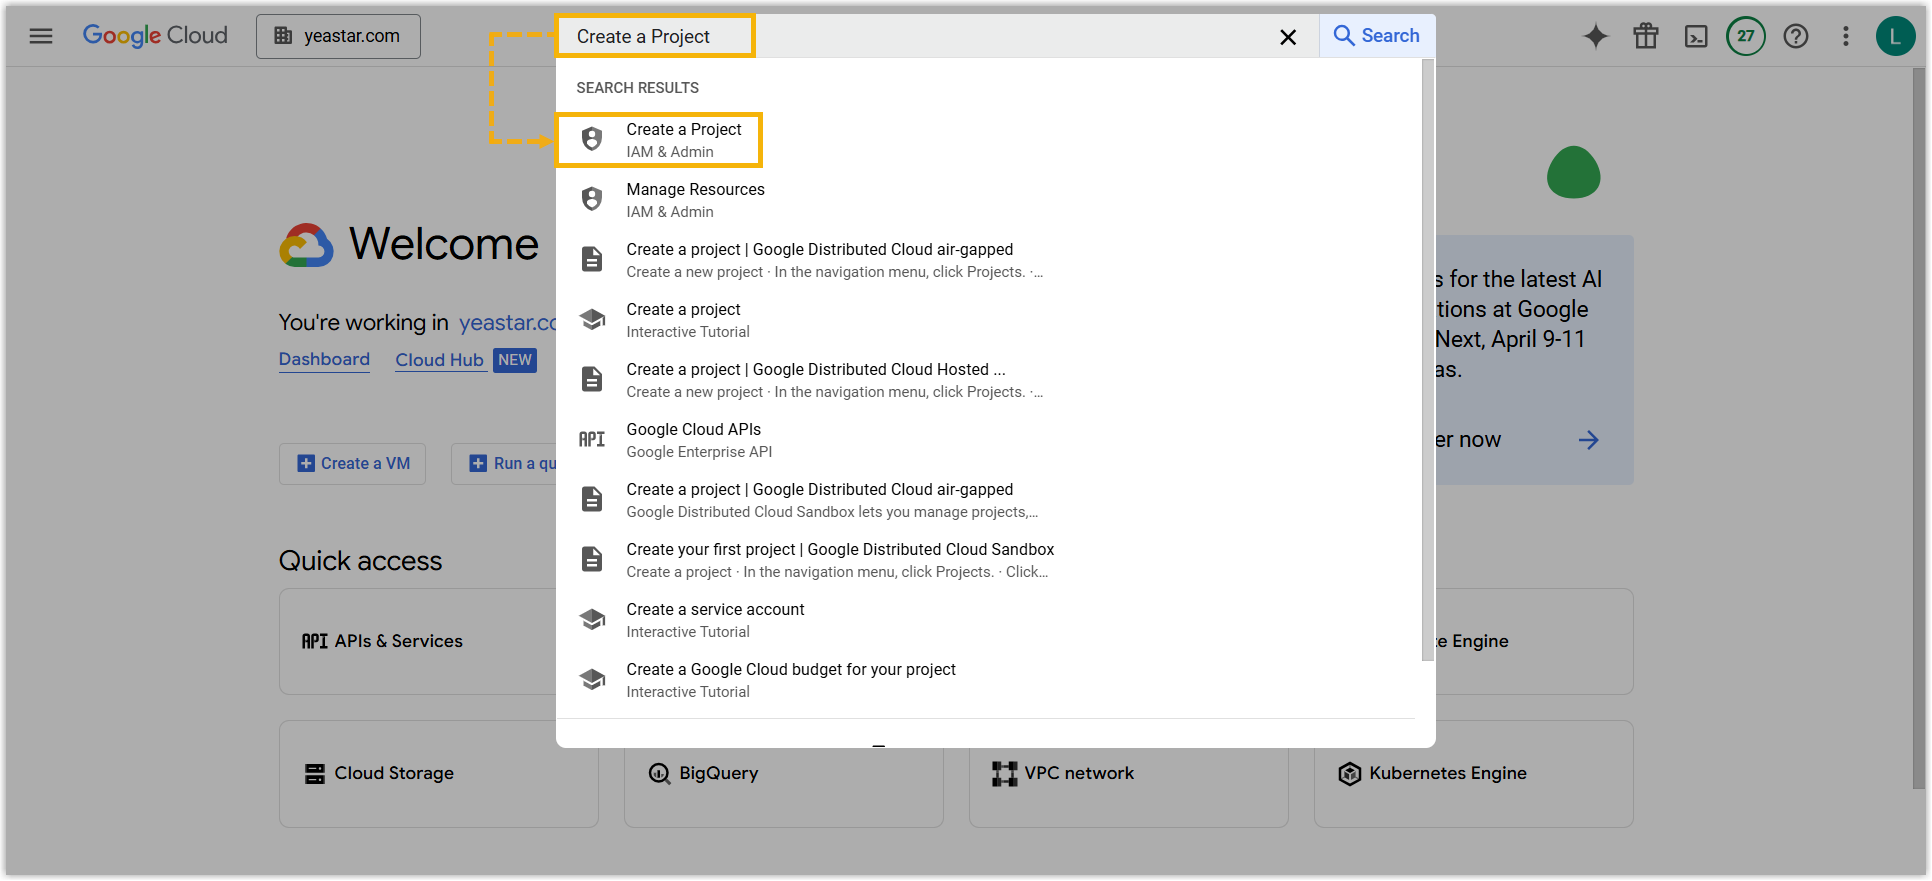
- Create a dedicated Cloud project under your organization.
- Log in to Google Cloud console,
search Create a Project and select it from
the search results.
- Set up the project, then click
Create.
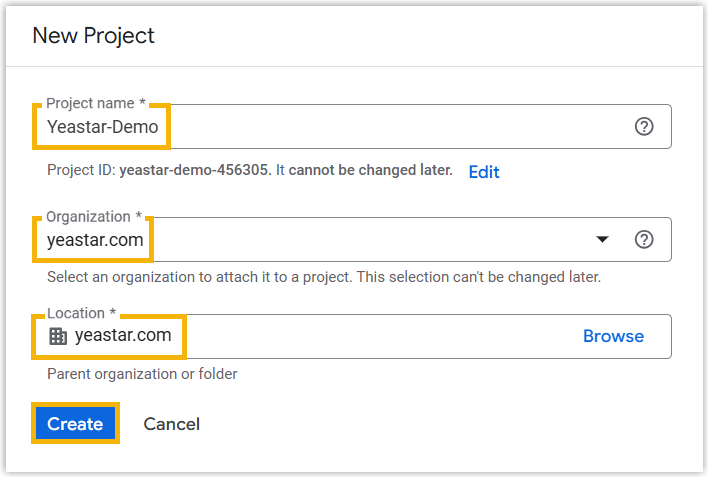
- Project name: Enter a name to help you identify the project.
- Organization: Select an organization to associate with the project.
- Location: Select an organization to associate with the project.
- Log in to Google Cloud console,
search Create a Project and select it from
the search results.
- Enable Admin SDK API in the Cloud project to allow access to user data
within the organization via API.
- In the search bar, search Admin SDK API and
select it from the search results.
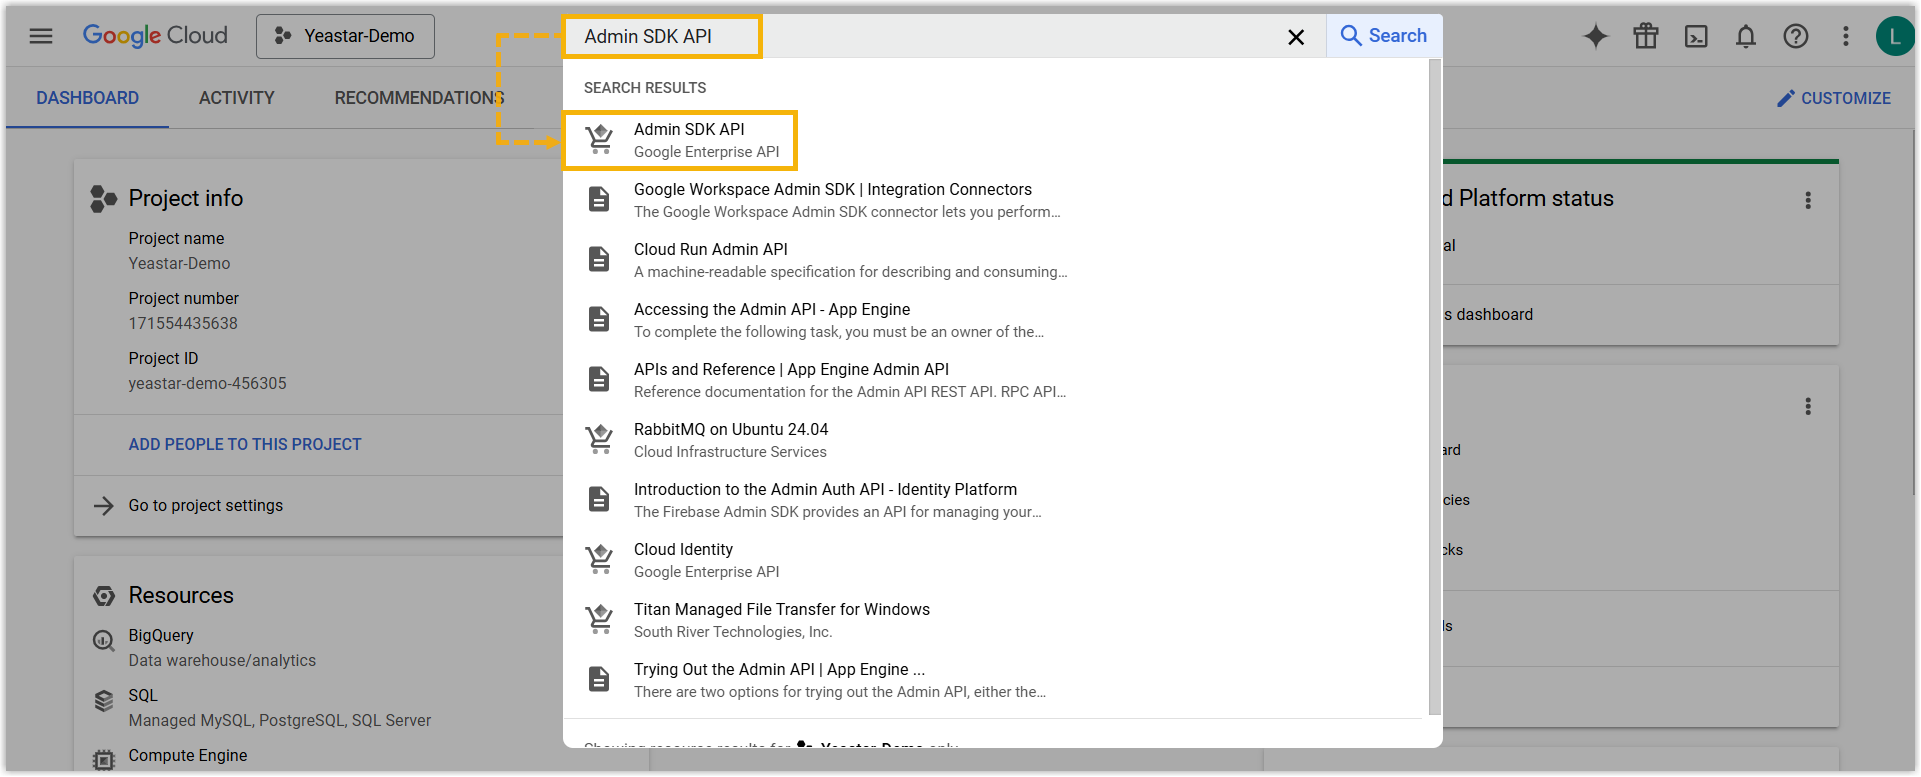
- Click ENABLE.

- In the search bar, search Admin SDK API and
select it from the search results.
- Configure OAuth consent screen to customize branding information, which will
be displayed when you authorize access to an application (which will be
created later).
- In the search bar, search Branding and select
it from the search results.
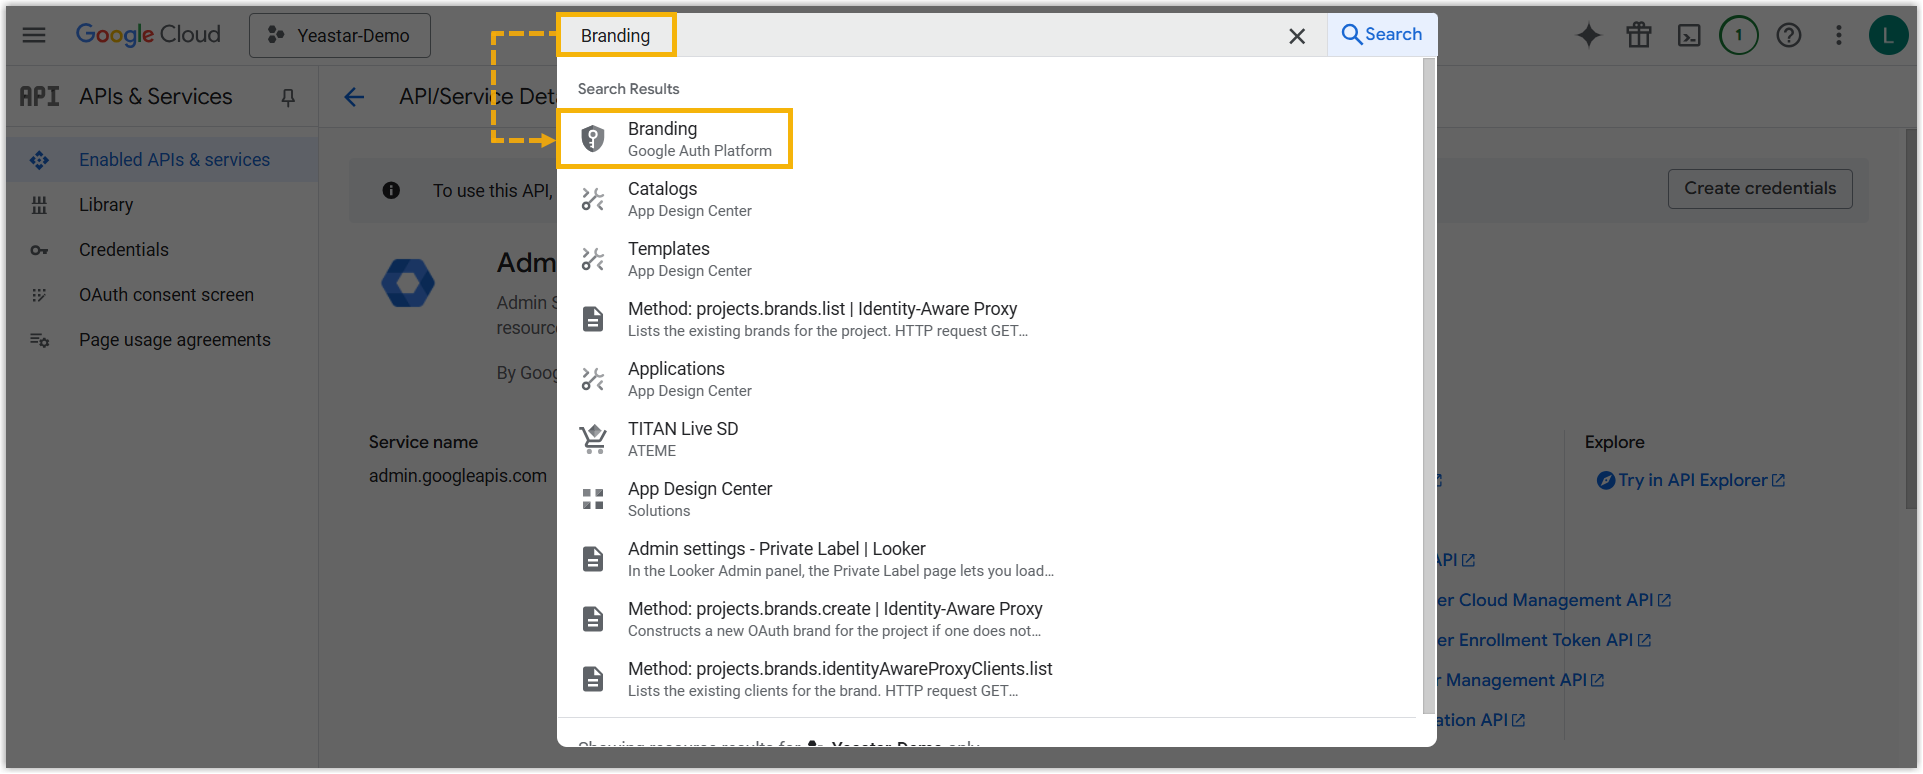
- Click Get Started.
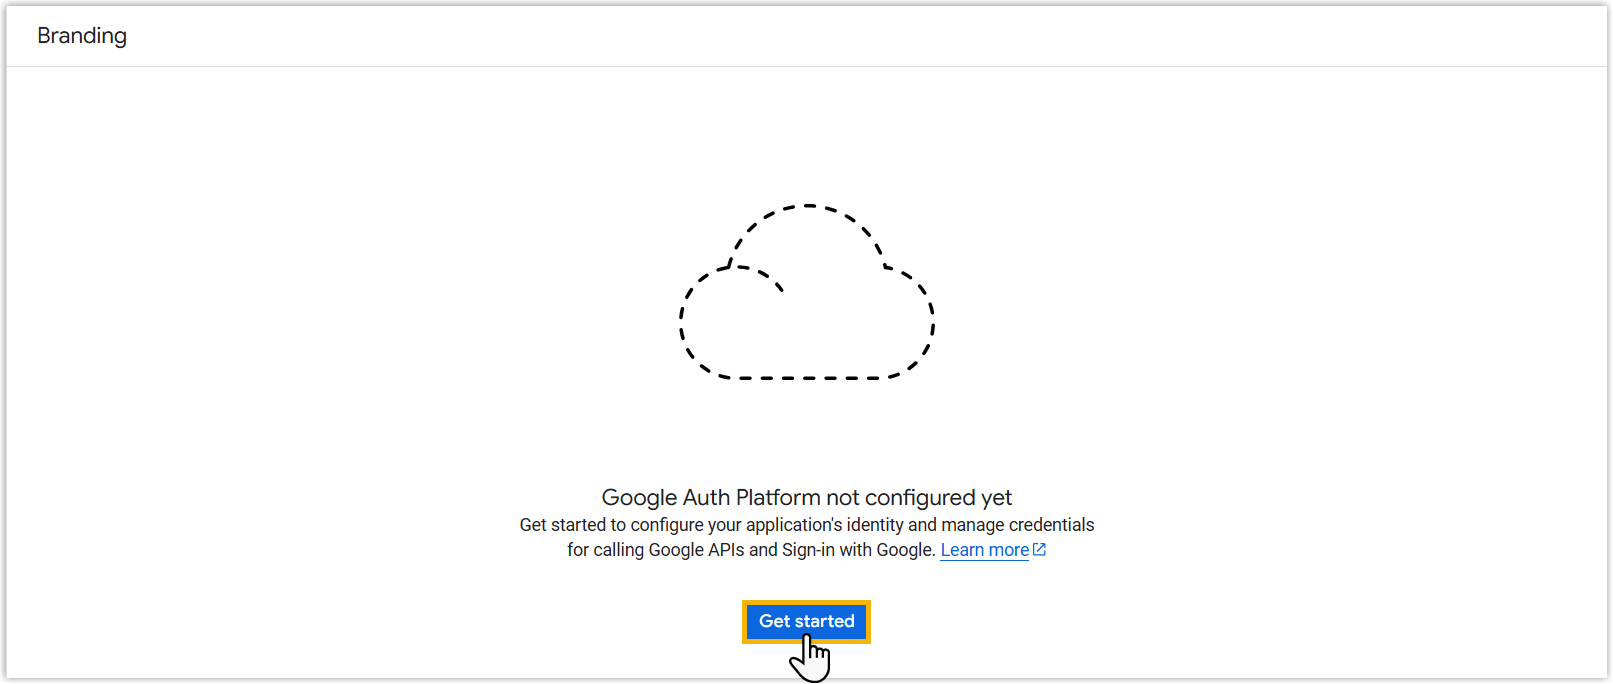
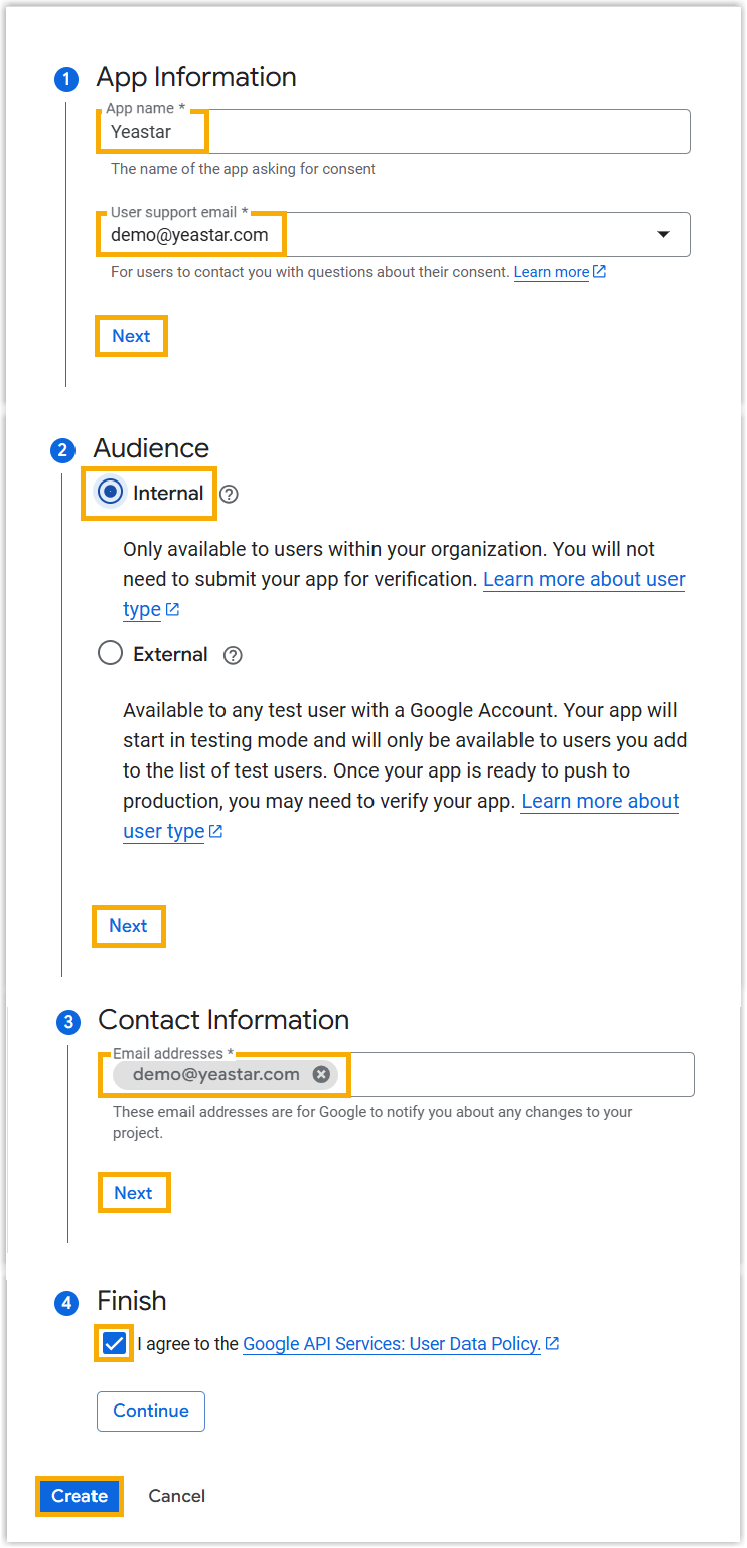
-
Follow the wizard to complete the settings below.
- In the search bar, search Branding and select
it from the search results.
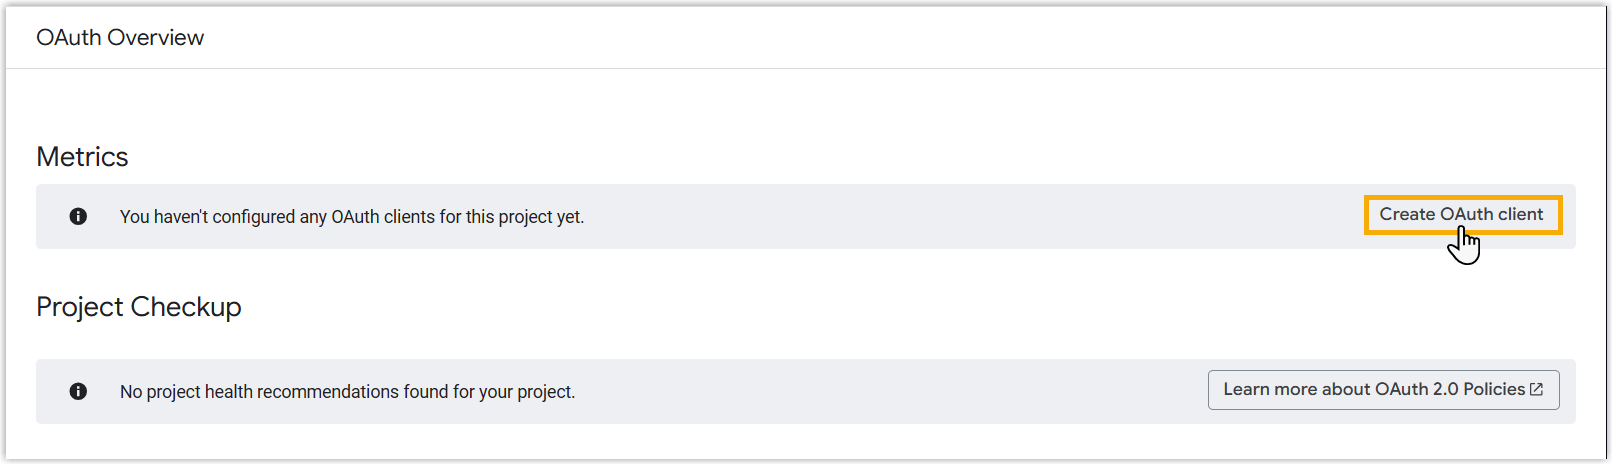
- Create a web application and obtain access credentials to authenticate
Yeastar PBX to access user data within the organization.
- Click Create OAuth client.
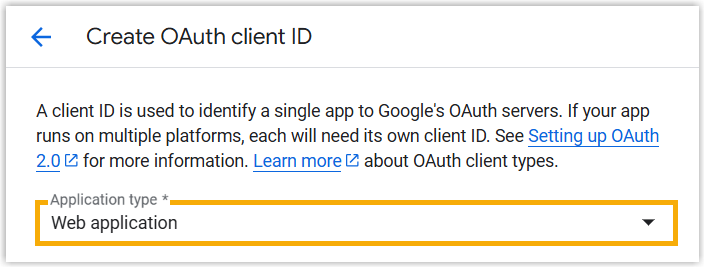
- In the Application type drop-down list,
select Web application.
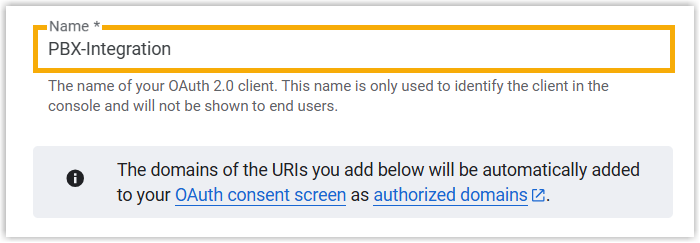
-
In the Name field, enter a name to help you identify the application.
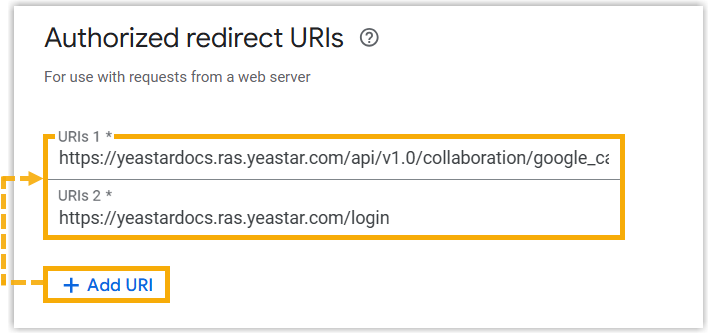
- In the Authorized redirect
URIs section, add the redirect URIs that you have obtained from
Yeastar P-Series Software Edition.Important: Do NOT add the public IP, as IP address can't be used as the SSO redirect URI due to Google restriction.
- Click Create.
Access credentials are created and displayed in the pop-up window.
- Copy and note down the client ID and client secret,
which are required for the subsequent configuration in Yeastar
PBX.
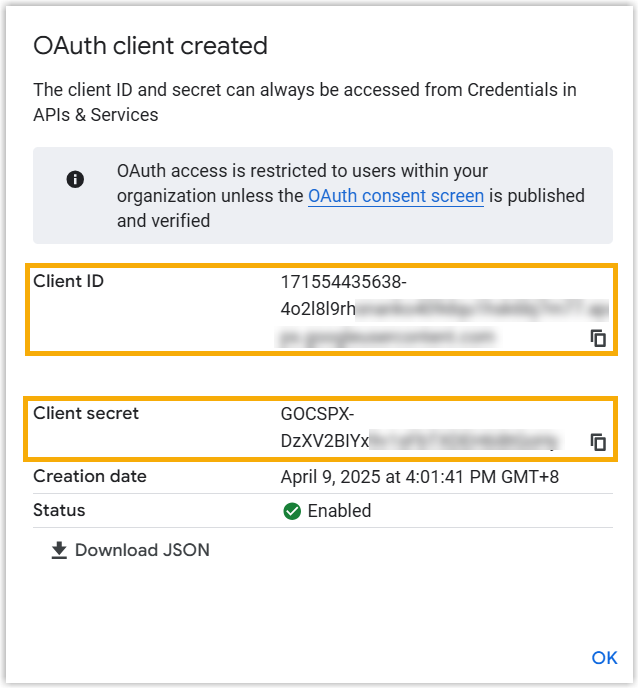 Note: If you don't see the client secret, click Download JSON to get the credentials, or refer to the instructions below.
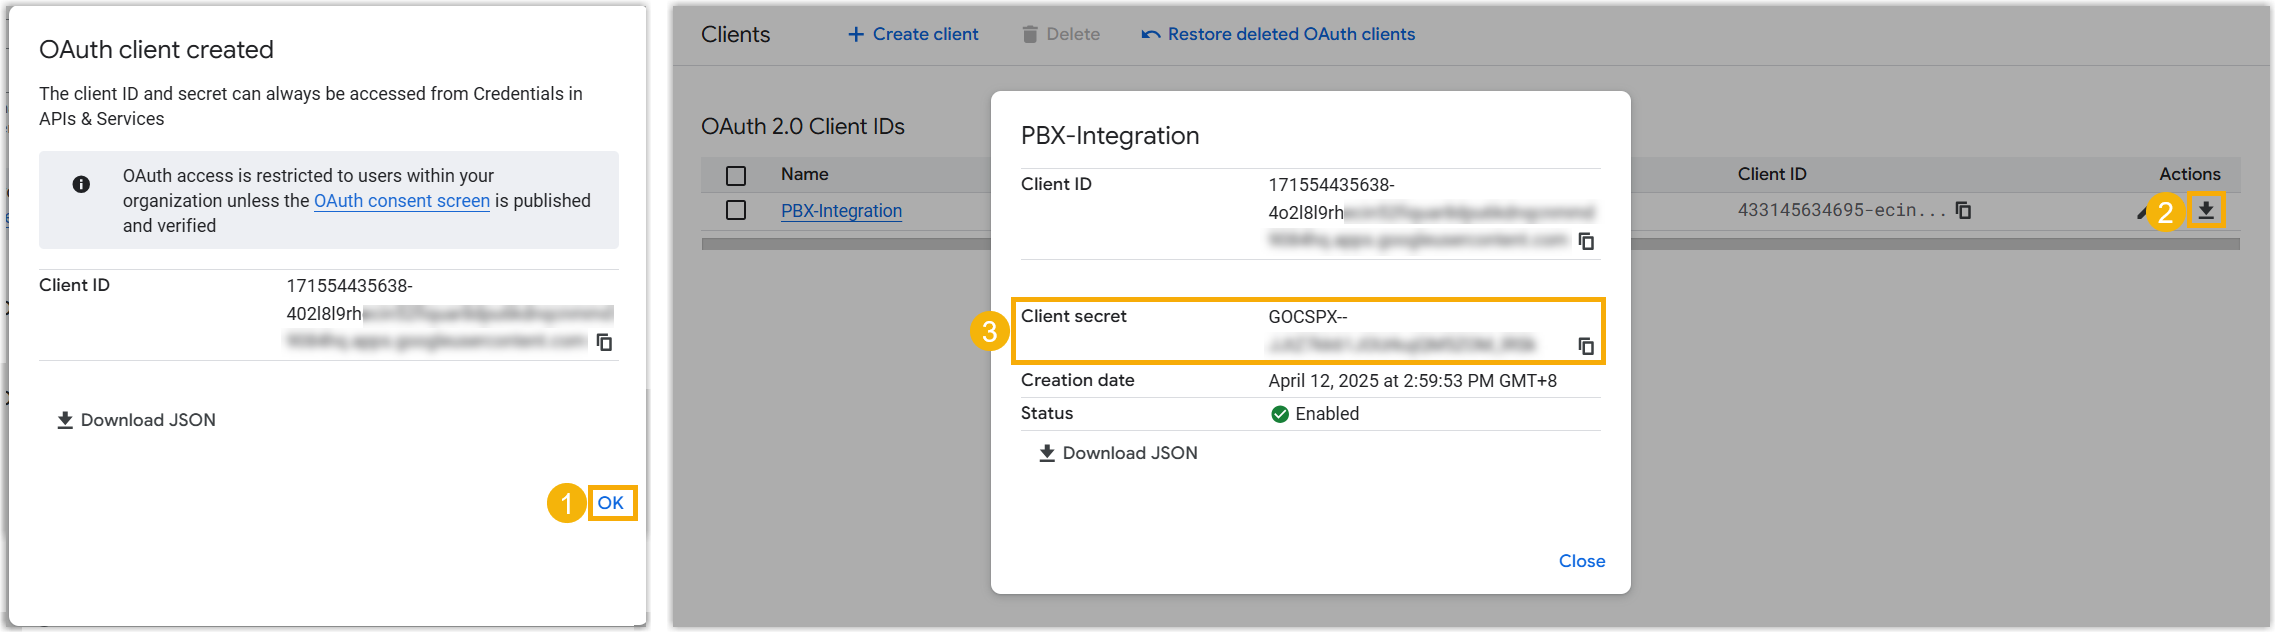
- Click Create OAuth client.
Step 3. Connect Yeastar PBX and Google Workspace
Enter the obtained client ID and client secret into Yeastar PBX to implement the integration.
- Access the configuration page of Google Workspace
integration.
- Log in to PBX web portal, go to .
- On the right of Google SSO, click Integrate.
- In the Certificates & Secrets section, paste the
credentials that you have obtained from Google
Workspace.

- Click Save.
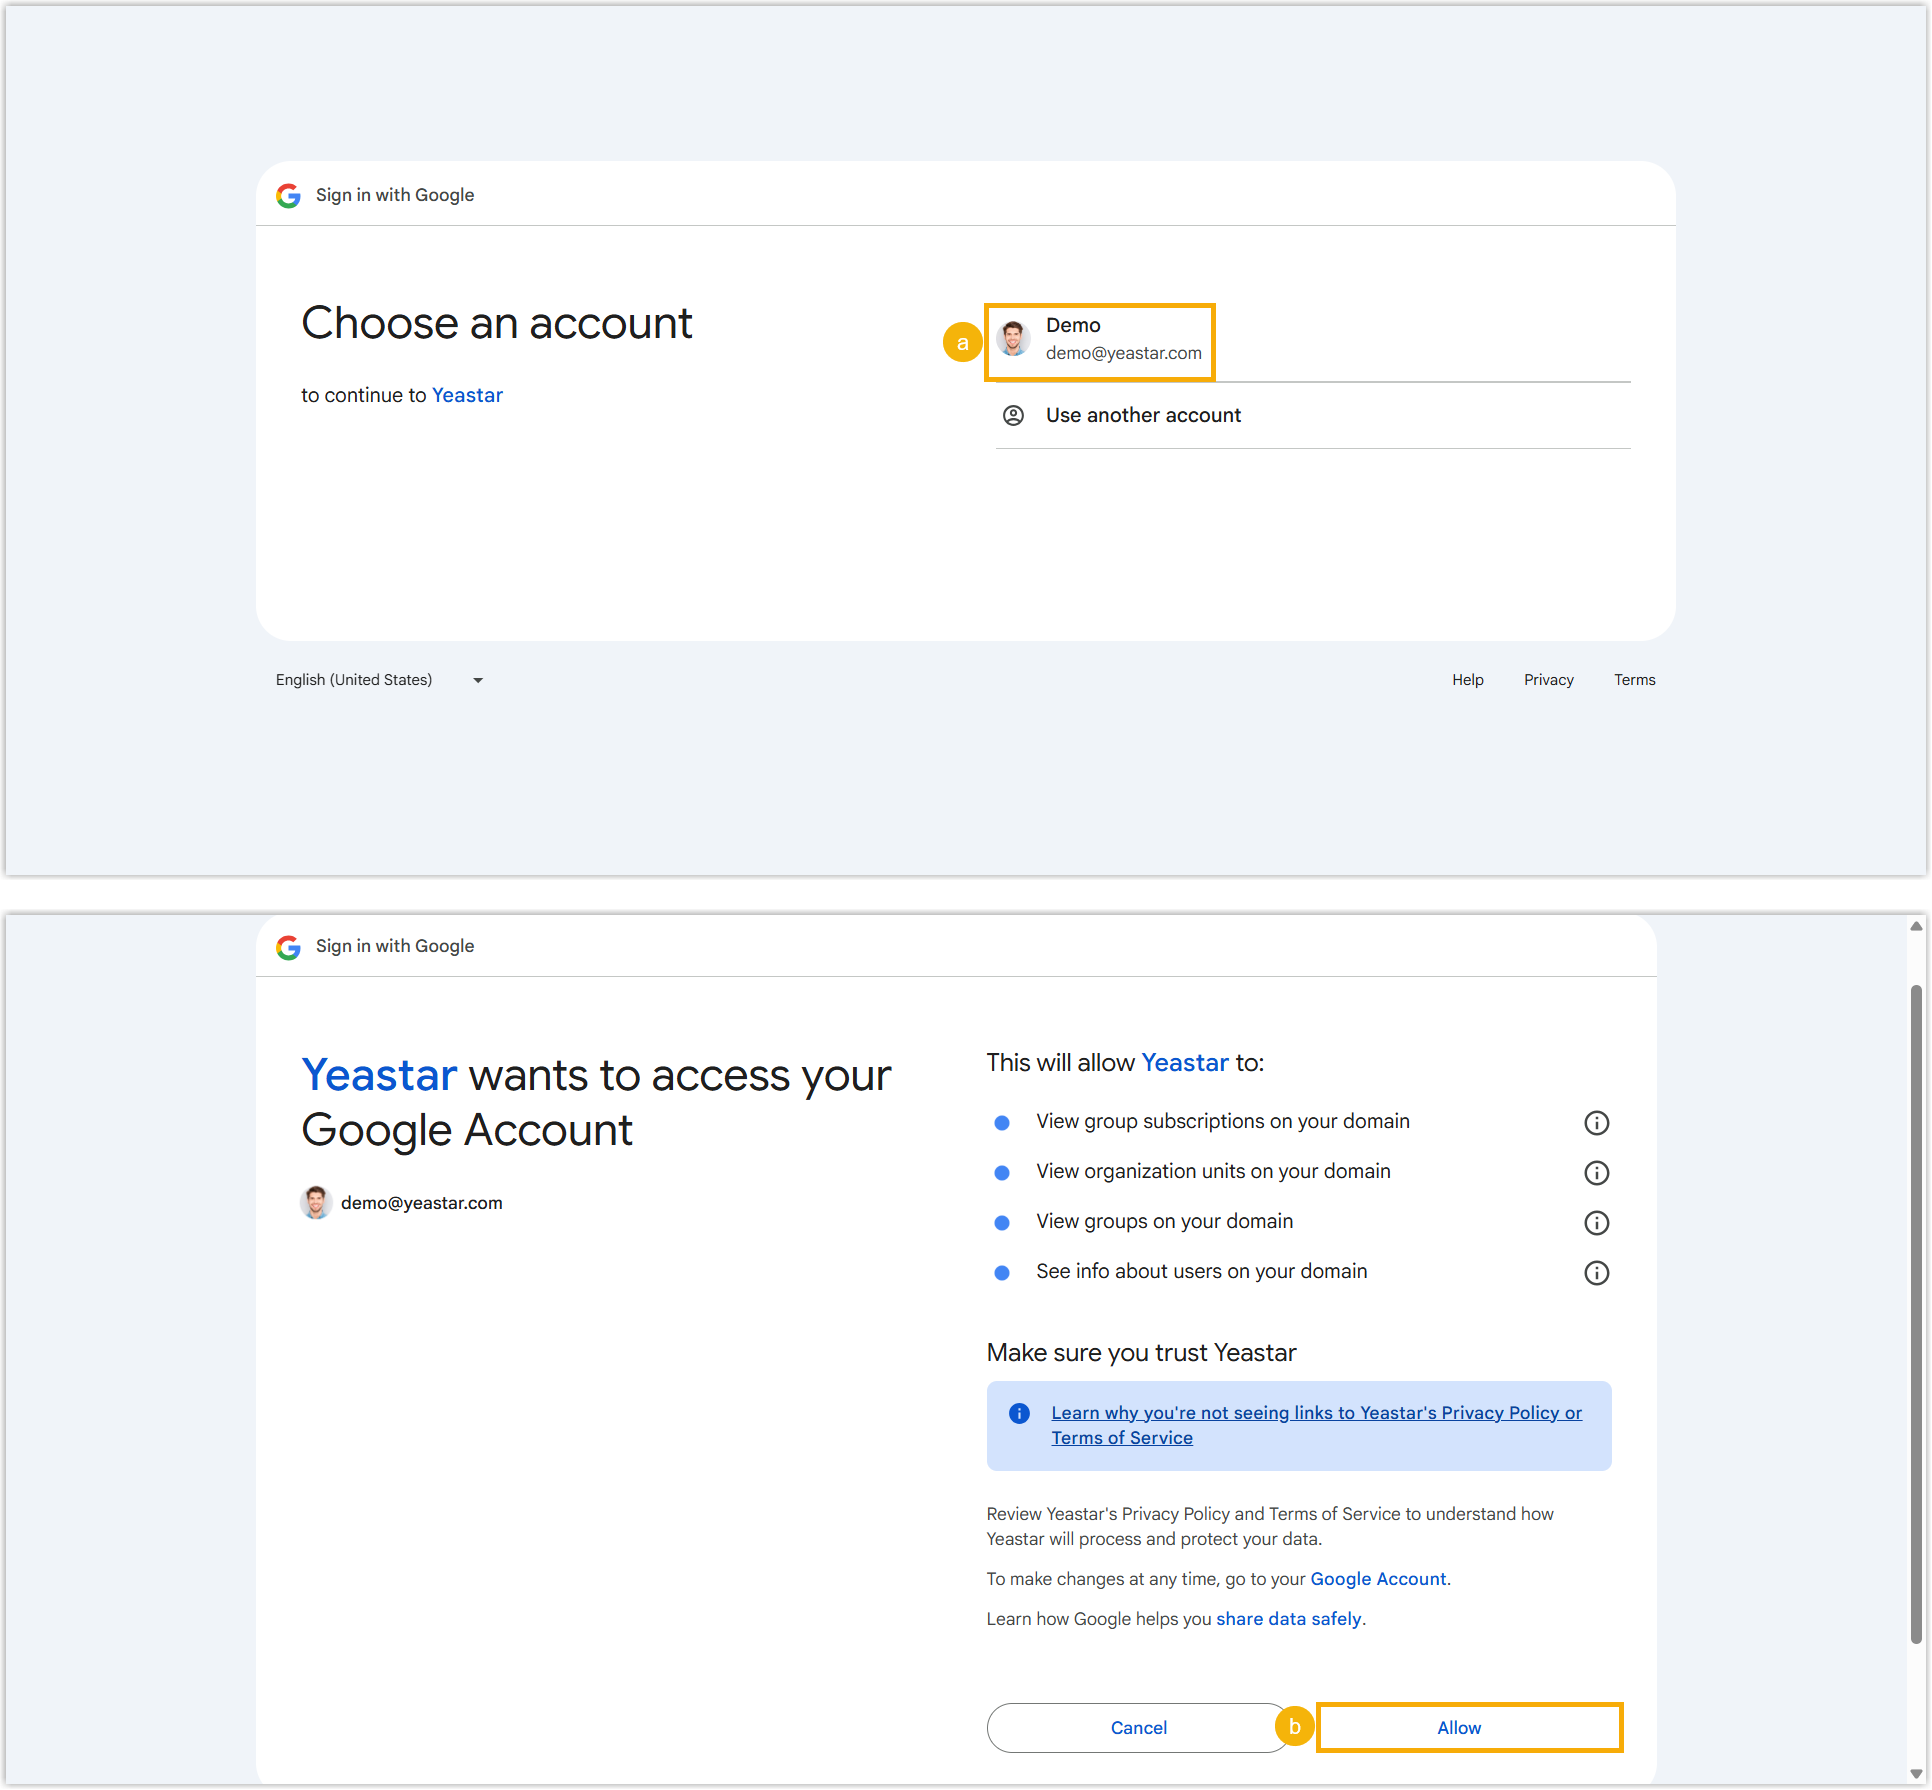
You are redirected to the Google sign-in page.
- Sign in to your Google Workspace super admin account and authorize the web
application to access user data within your organization.
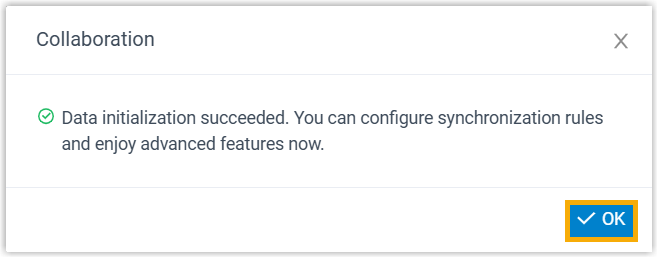
- On PBX web portal, click OK to close the dialog
box.
Result
The status of the integration displays Connected, indicating that the PBX is successfully connected to your Google Workspace.

What to do next
Synchronize Users from Google Workspace to Yeastar P-Series Software Edition.