Add and Manage Company Contacts
This topic describes how to add, edit, and delete company contacts on PBX management portal.
Background information
By default, only the super administrator and extension users assigned Administrator role can add and manage company contacts. Other extension users can not view or manage company contacts.
This topic introduces how administrators can add and manage company contacts on PBX web portal. For ordinary extension users, you can grant the view or management permission of company contacts to desired extension users, allowing them to access and manage company contacts from their own Linkus UC Clients and IP phones.
For more information, see Grant Company Contacts Permission, View and Manage Company Contacts from Linkus Mobile Client / Desktop Client / Web Client, and View Company Contacts from IP Phones.
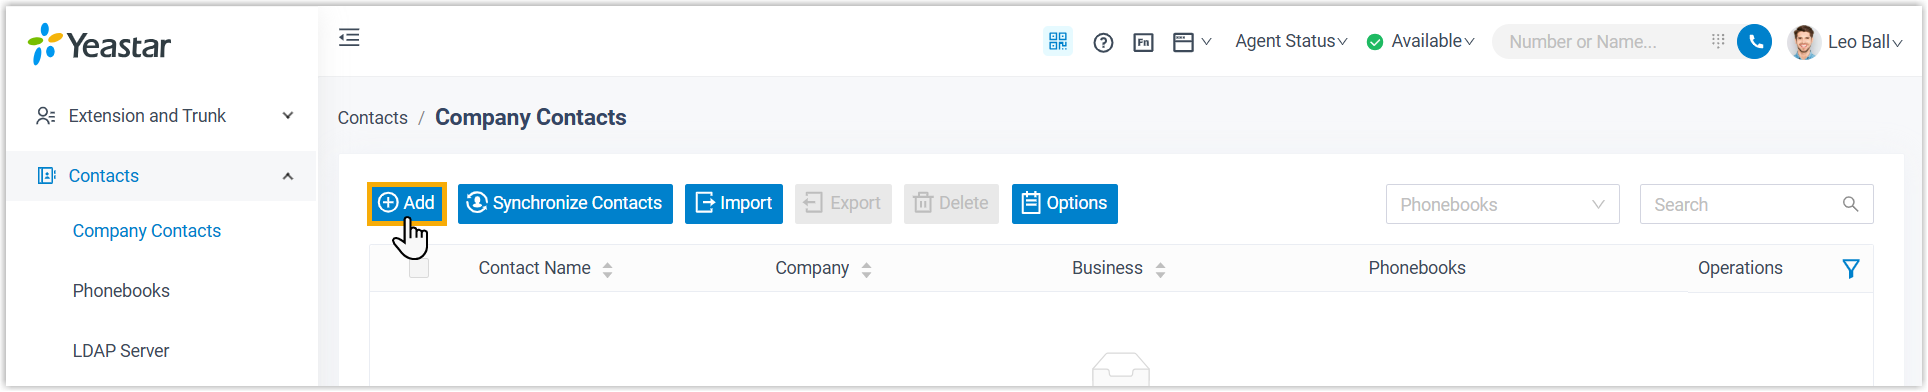
Add a company contact
- Log in to PBX web portal, go to .
- Click Add.
- Enter contact information.Note: The contact will be automatically added to the default All Company Contacts_Phonebook. You can group the contact into other organized phonebook(s) by selecting existing phonebook(s) from the drop-down list of Phonebook List.
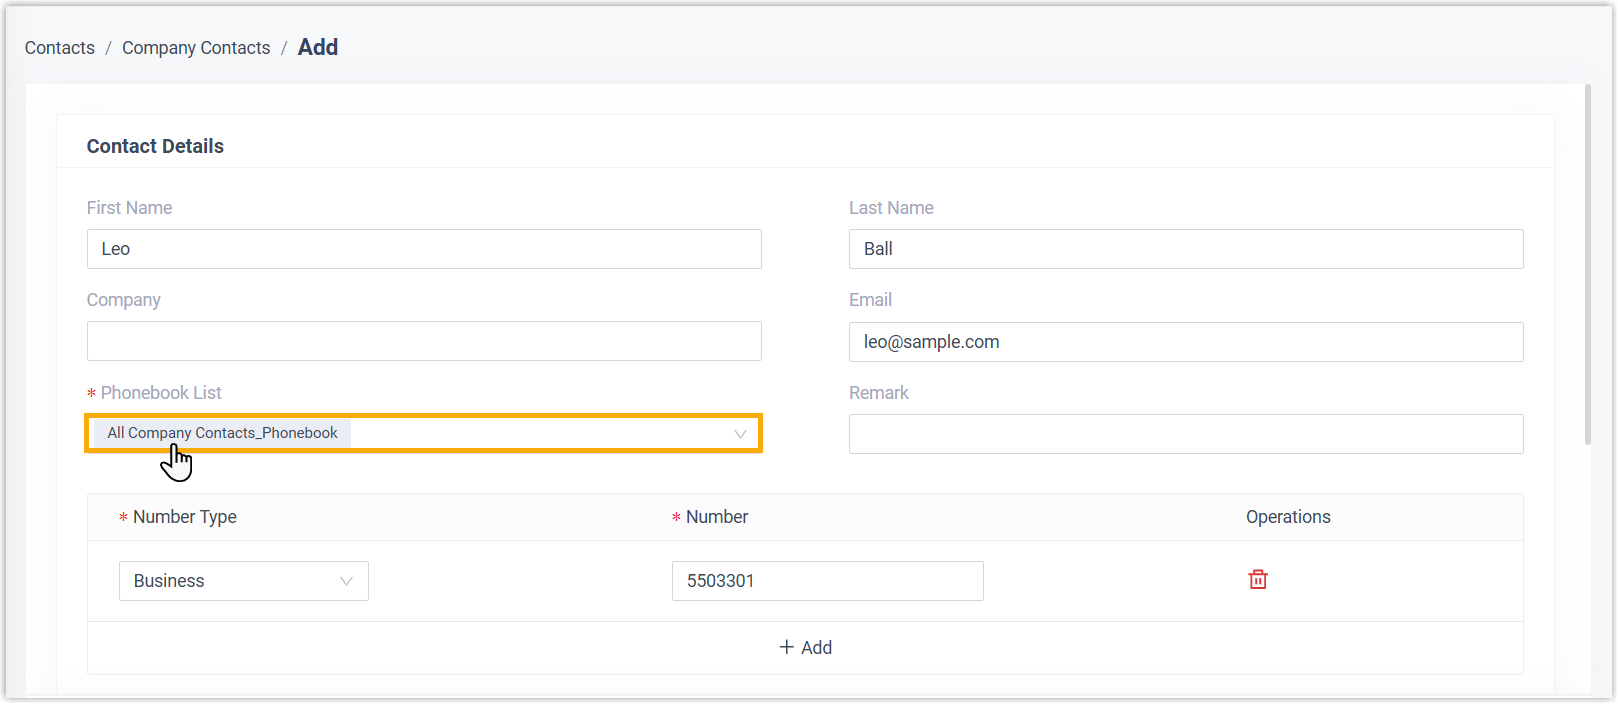
- Click Save.
The contact is stored as a company contact and shared among the authorized users from their Linkus UC Clients and IP phones.
Edit a company contact
- Log in to PBX web portal, go to .
- Click
 beside the desired contact.
 - Edit contact information as needed.
- Click Save.
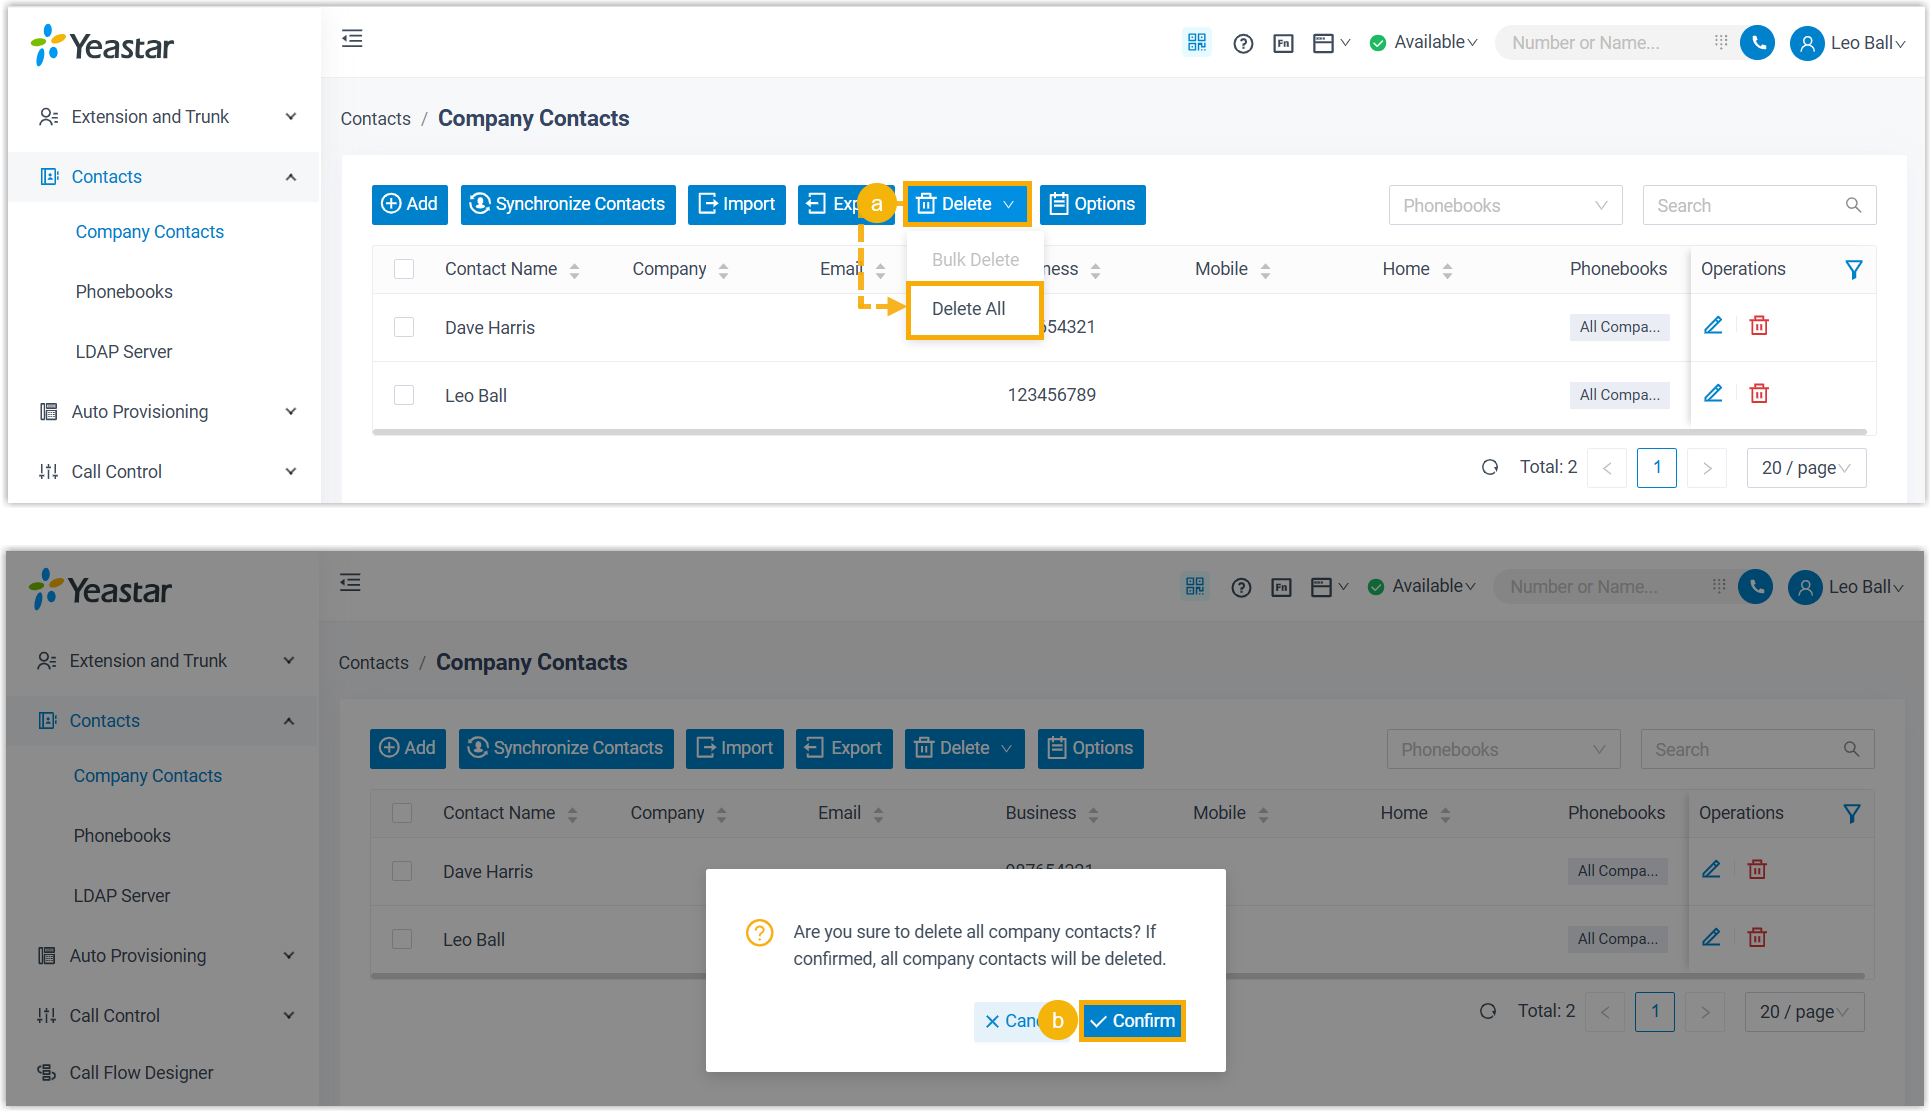
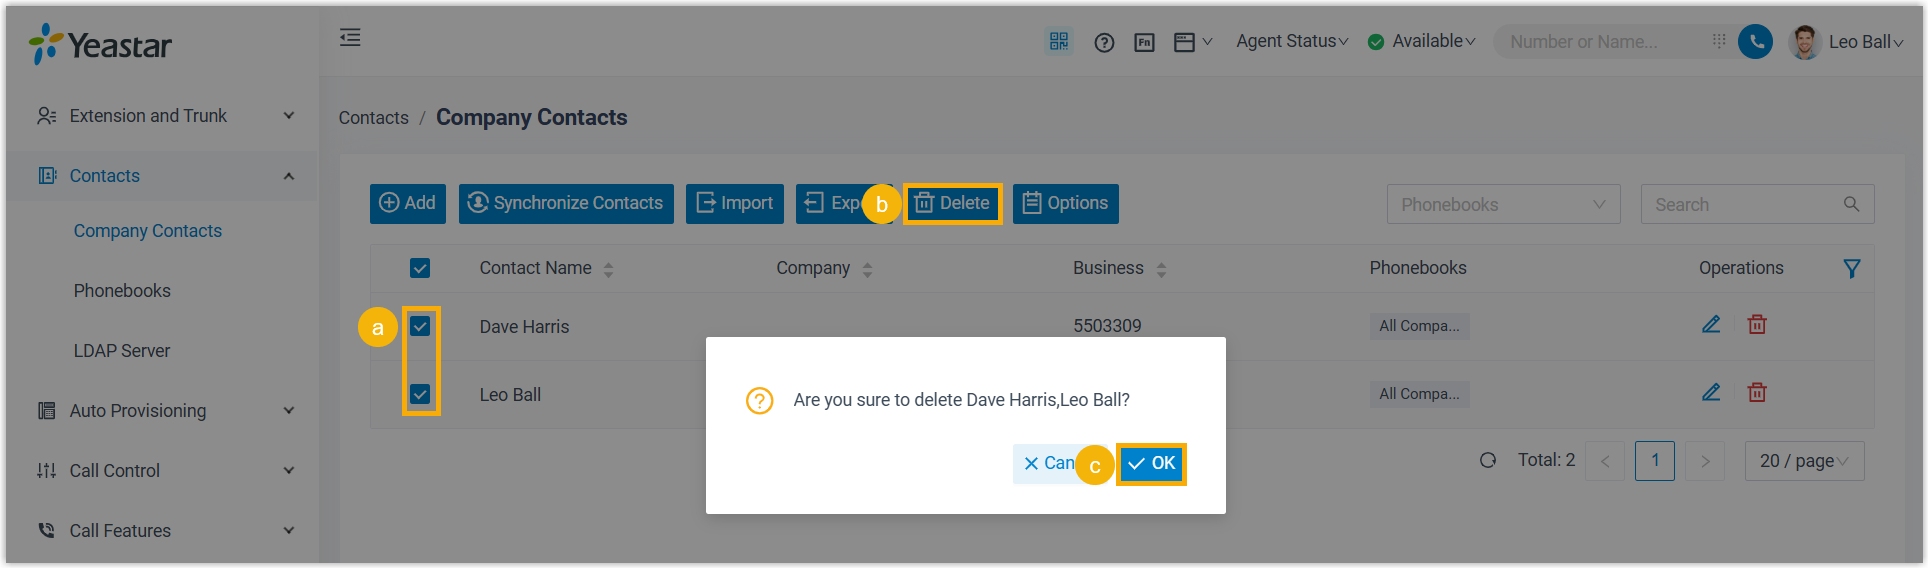
Delete company contacts
- Log in to PBX web portal, go to .
- To delete a company contact, click
 beside the desired contact, then
click OK.
beside the desired contact, then
click OK.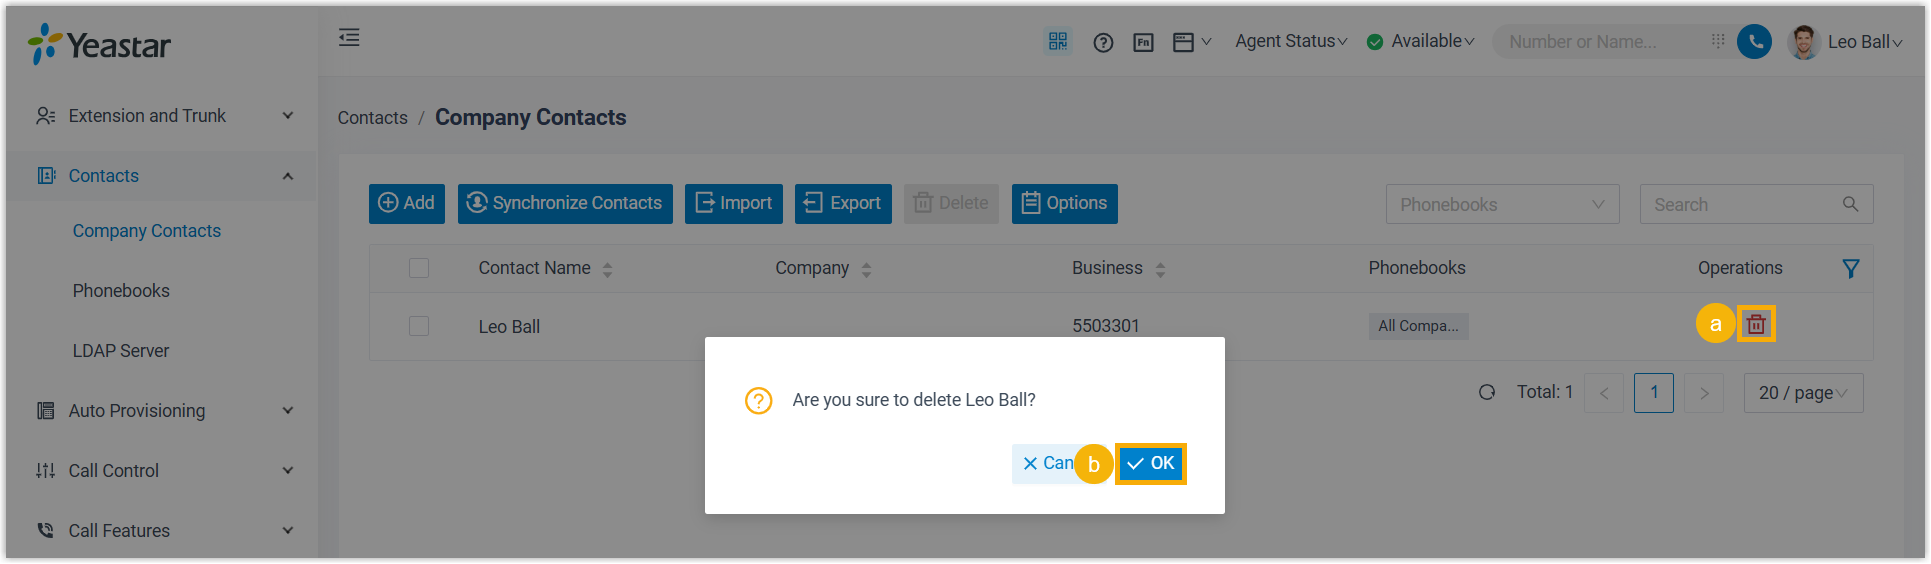
- To bulk delete multiple company contacts, select the checkboxes of the
desired contacts, click Delete and select
Bulk Delete, then click
OK.
- To delete all company contacts, click Delete and
select Delete All, then click
Confirm.