Create a Custom Call Report
Yeastar P-Series Cloud Edition provides a set of built-in call reports with detailed records and analytics of call activities, as well as custom reports that allow tailored report criteria. You can create a custom report by customizing built-in reports or configuring available call center reports to meet your business needs.
Limitations
Up to 2000 custom reports are supported.
Requirements
The firmware version of Yeastar P-Series Cloud Edition is 84.22.0.138 or later.
Procedure
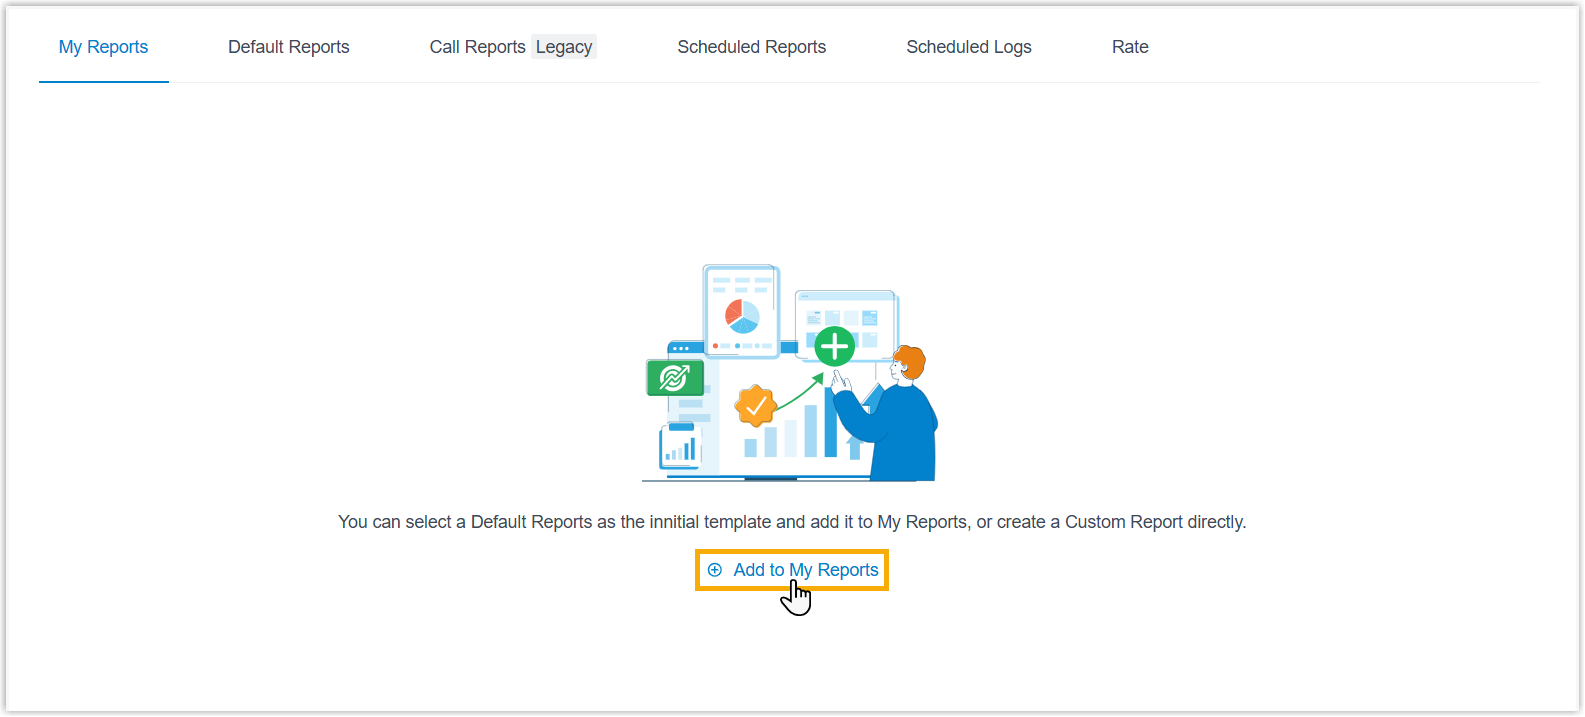
- Log in to PBX web portal, go to .
- Under My Reports tab, click Add to My
Reports.
- Fill in the following information.
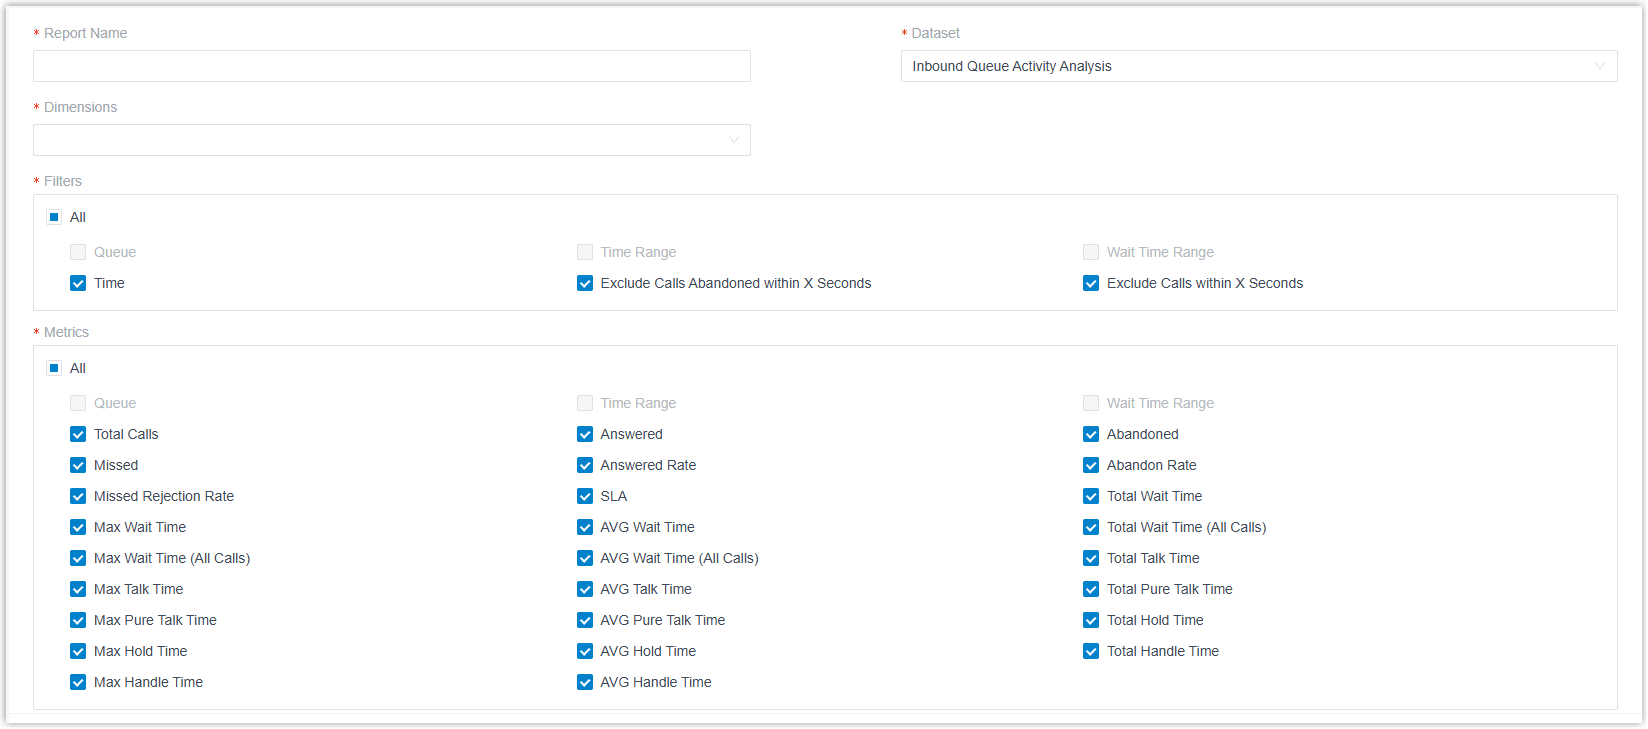
Item Description Report Name Enter a name to help you identify the report. Dataset Select a call report to customize. Note: Reports with data dynamically generated from active calls don't support customization, such as DID/Outbound Caller ID Activity report and Satisfaction Survey report.Dimensions Select dimension(s) to segment the call report data. Note:- For default reports, the dimensions are fixed and cannot be modified.
- The selected dimensions are automatically added to the report's filters and metrics, and cannot be removed.
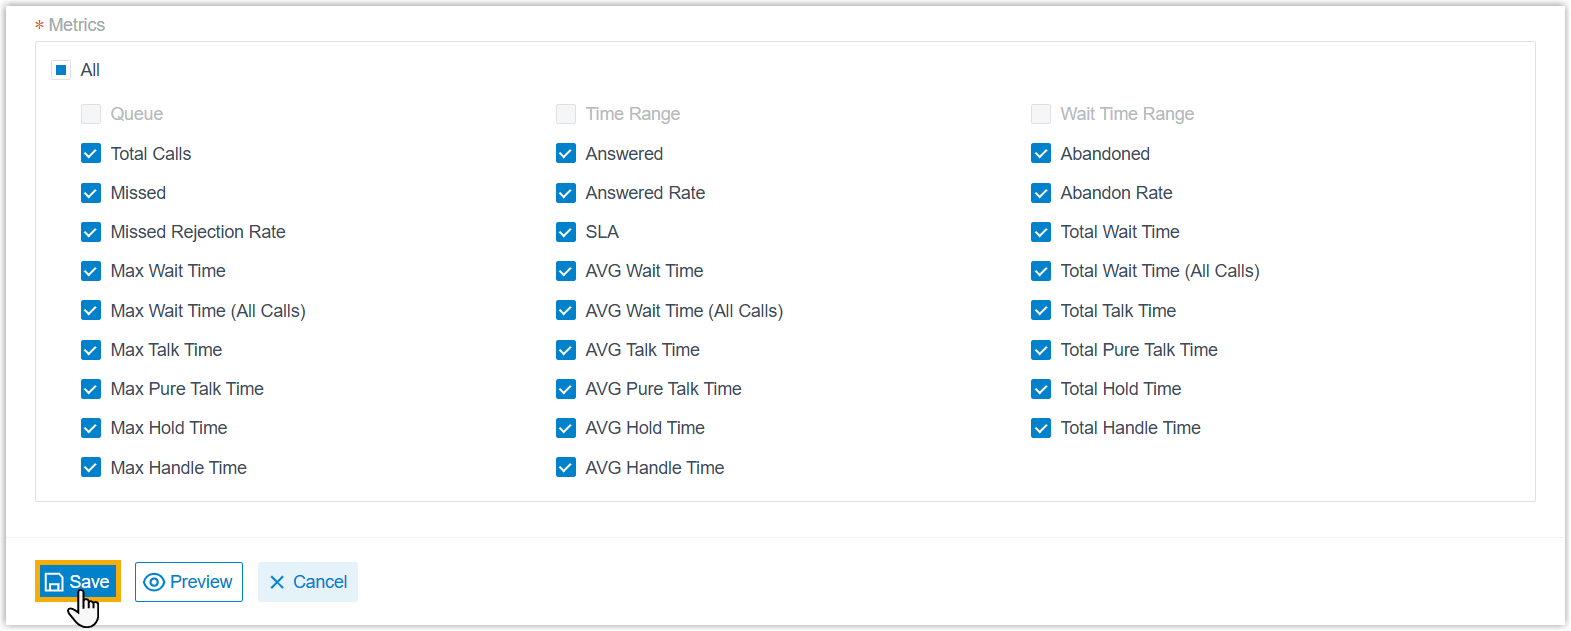
Filters Select filter(s) to filter report data. Metrics Select metric(s) to show the key information that you want to focus. - Save the custom report directly, or preview this report and make
modifications as needed.
- To save the custom report directly, click
Save.
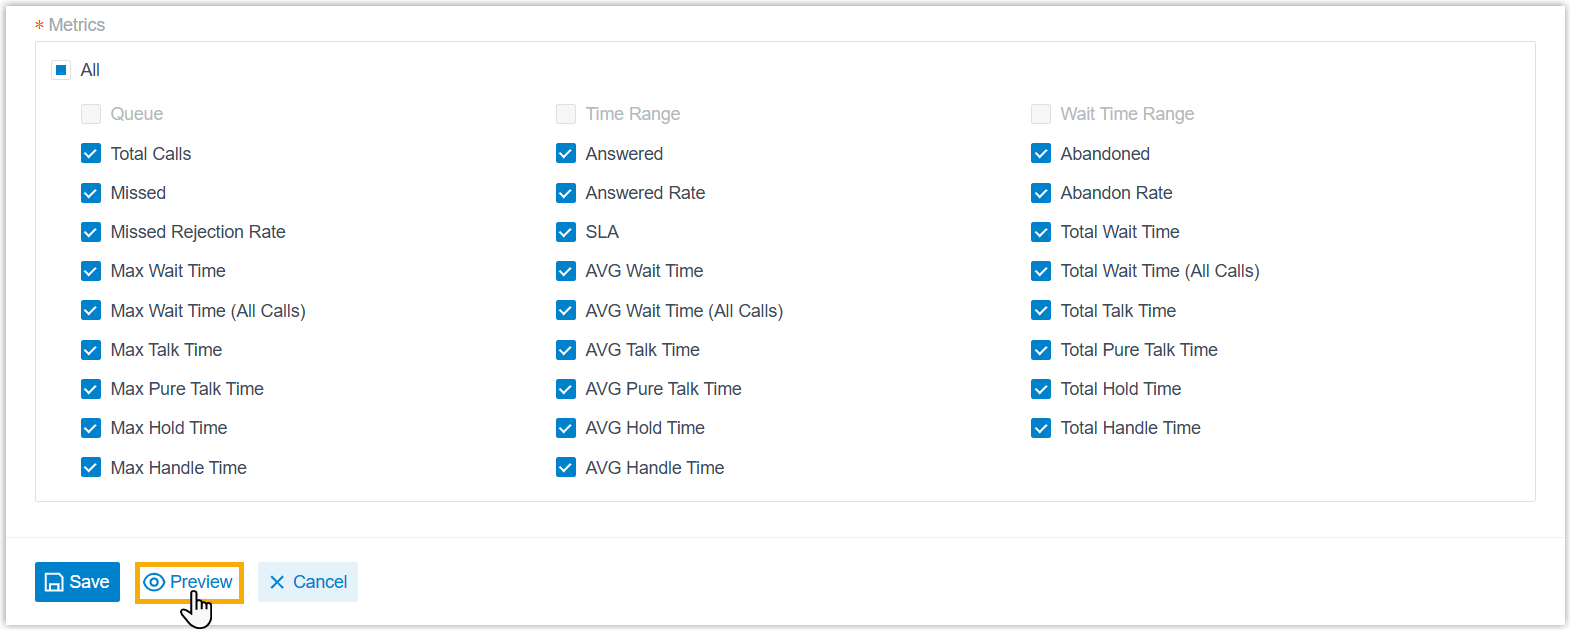
- To preview the report and make modifications, perform the
following operations:
- Click Preview.
- Set filter criteria as the report's initial default
values.
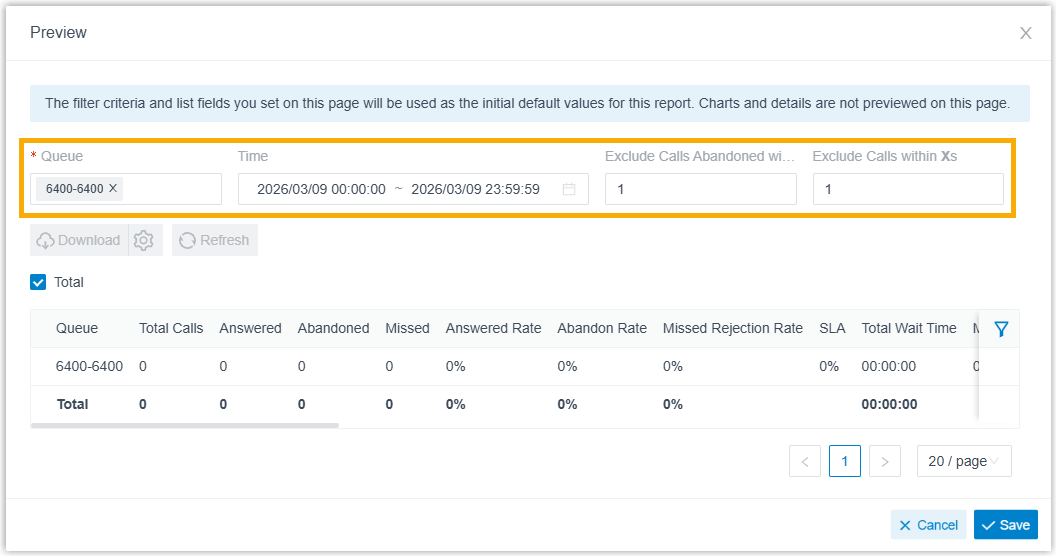 Note: This preview page doesn't provide charts, call details, and real-time report data. You can view them later after saving the configuration.
 - Optional: To sum up metrics data, select the
checkbox of Total.
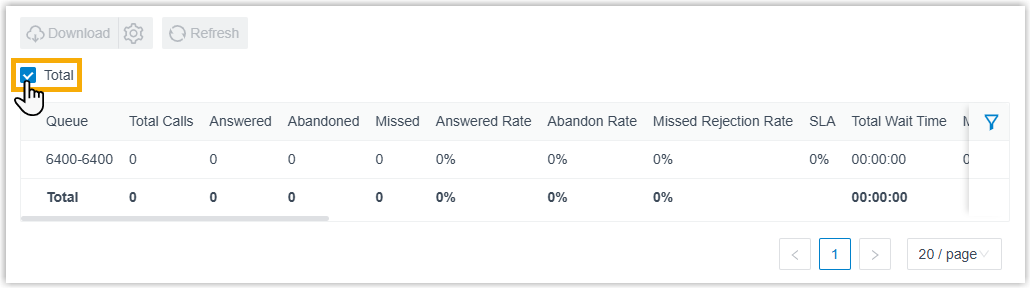 Note: Reports that are created from default ones don't support modifying the option, and will follow the built-in setting.
 - Click Save.
- Click Preview.
- To save the custom report directly, click
Save.
Result
- The custom report is created and displayed in the list.
- To view the report data, click
 or double click the report.