Modify and Delete Trunk Access Permission
This topic describes how to modify or delete the trunk access permissions assigned to users on Yeastar Central Management.
Prerequisites
You have assigned trunk access permission to subordinate users.
Modify trunk access permission
You can modify a specific user's access permission to your trunk resources by adding new trunk resources or remove existing ones.
- Procedure
-
- Log in to Yeastar Central Management, go to .
- Click
 beside the desired user.
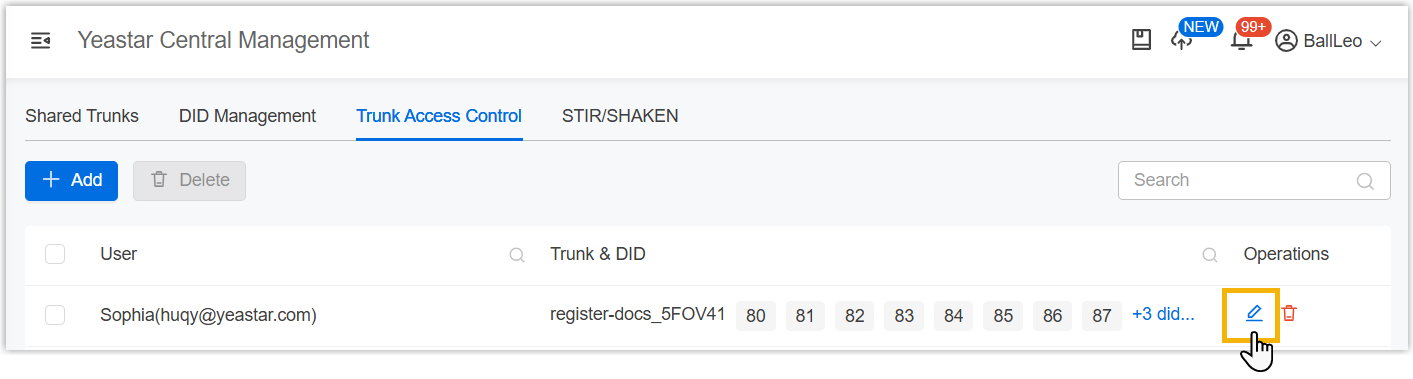
- In the pop-up window, manage the resources as needed.
- To add shared trunks and DID numbers to the user, do as
follows:
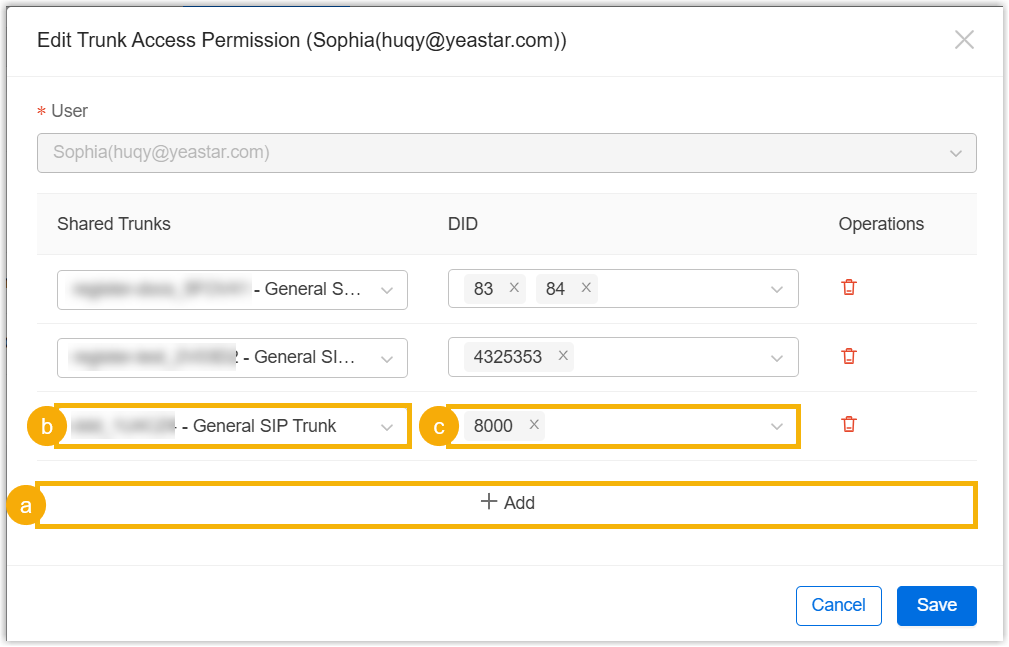
- Click Add.
- Assign trunk resources (shared trunk, DID numbers, and concurrent call capacity) as needed.
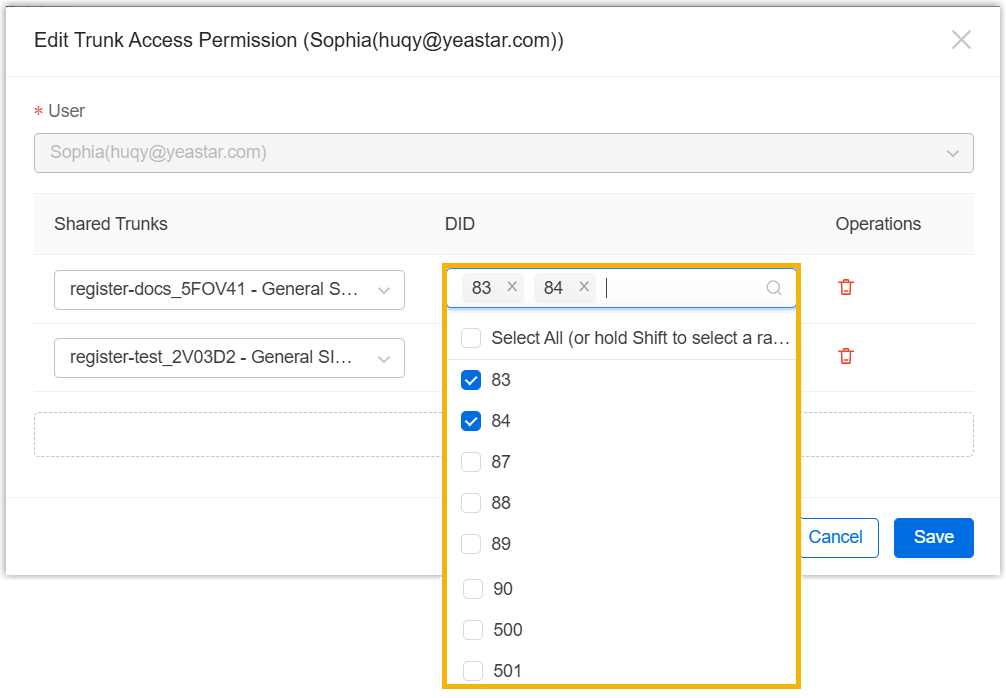
- To modify DID numbers of assigned shared trunks, select or
unselect DID numbers in the corresponding
DID drop-down lists.
- To remove an existing trunk from the user's permission,
click
 in the
Operations column for the
trunk.
in the
Operations column for the
trunk.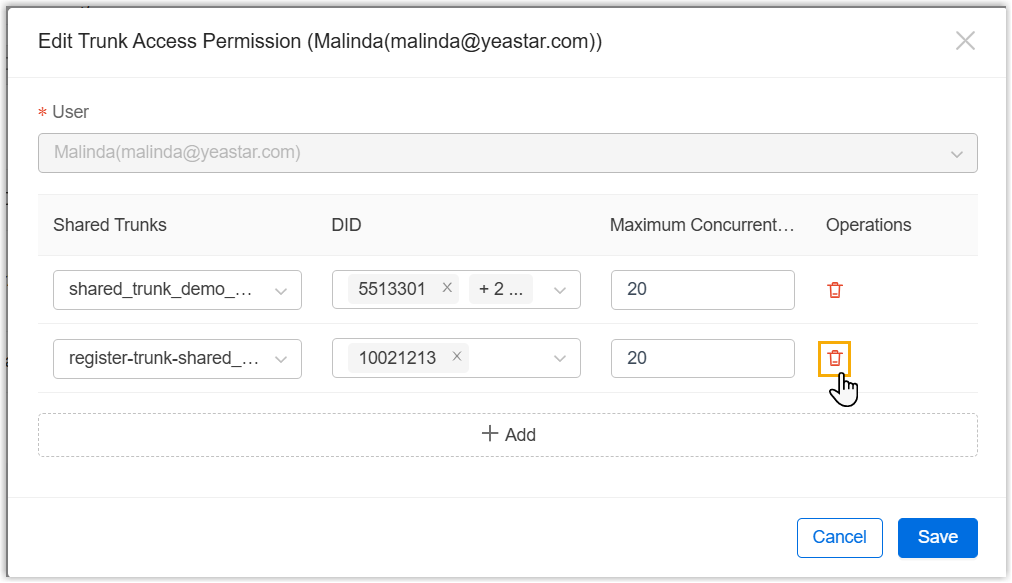
- To add shared trunks and DID numbers to the user, do as
follows:
- Click Save. Note: If you removed an existing trunk from the user's permission or DID numbers that have been assigned to PBXs, a confirmation prompt will appear. Click Confirm on the pop-up window to proceed.
- Result
- If the permission corresponding to the resources that have been assigned to cloud PBXs are removed, the resources will be automatically released from the PBXs.
Delete trunk access permission entry
You can completely removes a user's trunk access permission by deleting their permission entry, which also releases any resources (trunks and DIDs) they had in use.
- Procedure
-
- Log in to Yeastar Central Management, go to .
- To delete the trunk access permission for a single user, do as
follows:
- Click beside the desired user's trunk
access permission entry.
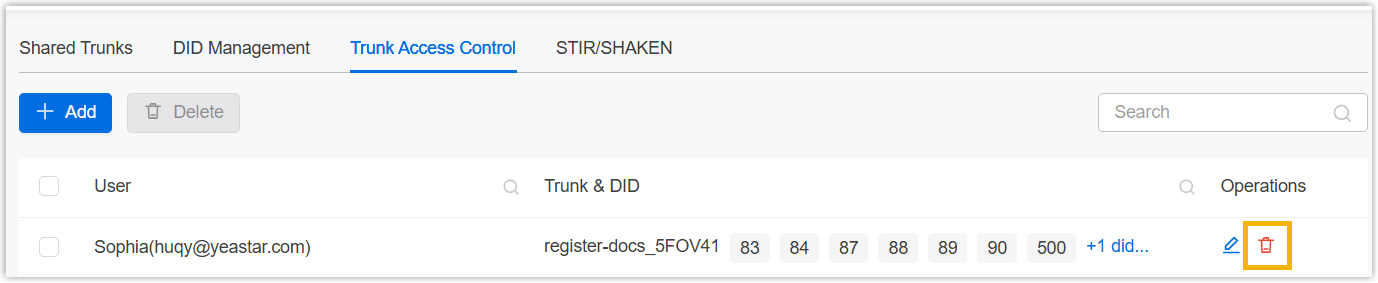
- In the pop-up window, click Confirm.
- Click
- To delete trunk access permissions for multiple users in bulk, do as
follows:
- Select the checkboxes of desired users' trunk access
permission entries, then click
Delete.
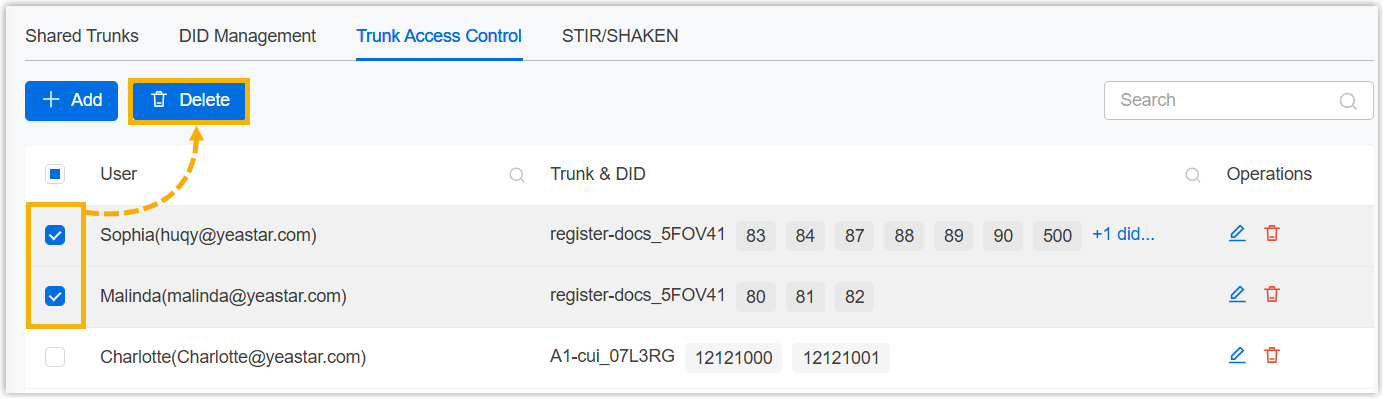
- In the pop-up window, click Confirm.
- Select the checkboxes of desired users' trunk access
permission entries, then click
Delete.
- Result
- The permissions are removed. The resources (trunks or DID numbers) that have been authorized to users and assigned to Cloud PBXs will be automatically released.