Create a Yeastar Central Management Account for a Reseller
If your partners want to sell Yeastar P-Series Cloud PBXs or need to remotely access and manage Yeastar PBXs and gateways, you can create reseller accounts for them on Yeastar Central Management.
Procedure
- Log in to Yeastar Central Management, go to .
- Under Reseller tab, click Add.
- In the User Information section, enter reseller's
basic information.Note:
- Email is the username for logging in to Yeastar Central Management.
- Password is not editable as the initial password is required to be set by the reseller when he or she activates the YCM account. You can change the password here for the reseller in case he or she forgets password.
- In the Reseller Package section, specify the capacity
of P-Series Cloud PBX package to be assigned to the reseller.Important: The capacity is subject to your subscription.
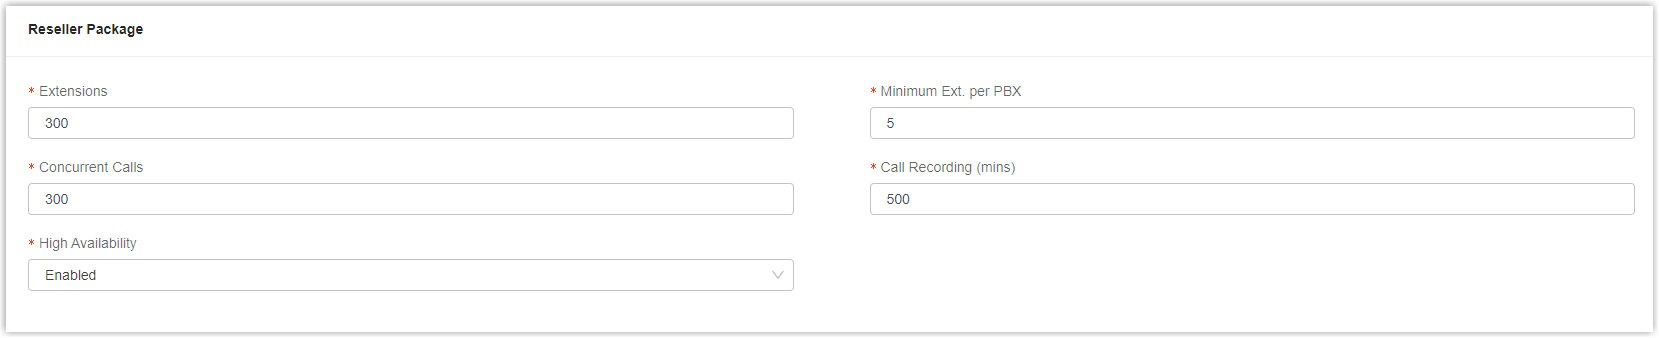
Item Description Extensions Set the number of extensions. The reseller can assign these extensions to different Cloud PBXs (either Enterprise Plan or Ultimate Plan) as needed. Minimum Ext. per PBX Set the minimum number of extensions for each Cloud PBX. For example, if you set the value to 5, at least 5 extensions need to be assigned when the reseller creates a Cloud PBX.
Note: The maximum number of extensions for each Cloud PBX is 500 and is unchangeable.Concurrent Calls Set the number of concurrent calls. The reseller can assign these concurrent calls to different Cloud PBXs as needed. Call Recording (mins) Set the number of recording minutes. The reseller can assign these recording minutes to different Cloud PBXs as need. Note: Each Cloud PBX has 500 recording minutes for free.Ultimate Plan Set the number of extensions that can be created for Cloud PBX (Ultimate Plan). Note: This setting is available only when you have subscribed to Ultimate Plan service.High Availability Set whether to enable the feature or not. If enabled, Cloud PBXs created by the reseller could work as normal even if a specific server is failed or in heavy traffic.
Note: This setting is available only when you have subscribed to High Availability service.Custom Domain Set the number of custom domains that the reseller can add in each region. Note: This setting is available only when you have subscribed to Custom Domain service.PBX Creation Limit Set the maximum number of Cloud PBXs the reseller can own, including both PBXs created by the user and those created for the user by you. Note:- If no limit is desired, leave this field empty.
- If set, the value must be greater than or
equal to the number of Cloud PBXs already owned by
the reseller, and cannot be
0.
AI Transcription (One-Time Capacity)(mins) Set the number of AI transcription minutes, excluding the one-time free minutes included in the PBX plan. The reseller can assign these transcription minutes to different Cloud PBXs as needed.
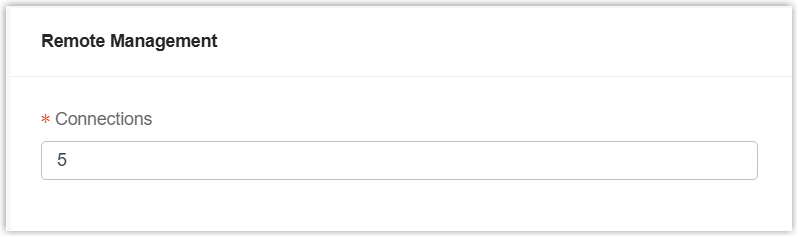
Note: The setting is available only when you have subscribed to AI Transcription (On-Demand Minute Pack) service.AI Receptionist (One-Time Capacity)(mins) Set the number of AI receptionist minutes, excluding the one-time free minutes included in the PBX plan. The reseller can assign these AI receptionist minutes to different Cloud PBXs as needed.Note: This setting is available only when you have subscribed to AI Receptionist (On-Demand Minute Pack) service.AI Transcription (Monthly Quota Pack) Set the number of AI transcription monthly quota packs. Note: This setting is available only when your AI Transcription (Monthly Rolling Plan) subscription has remaining capacity.AI Receptionist (Monthly Quota Pack) Set the number of AI receptionist monthly quota packs. Note: This setting is available only when your AI Receptionist (Monthly Rolling Plan) subscription has remaining capacity. - In the Remote Management section, specify the number
of remote management connections to be assigned to the reseller.Note: This setting is available only when you have subscribed to Remote Management or Remote Management Premium service.
- In the User Permission section, decide what features
of Yeastar Central Management are accessible to the reseller.
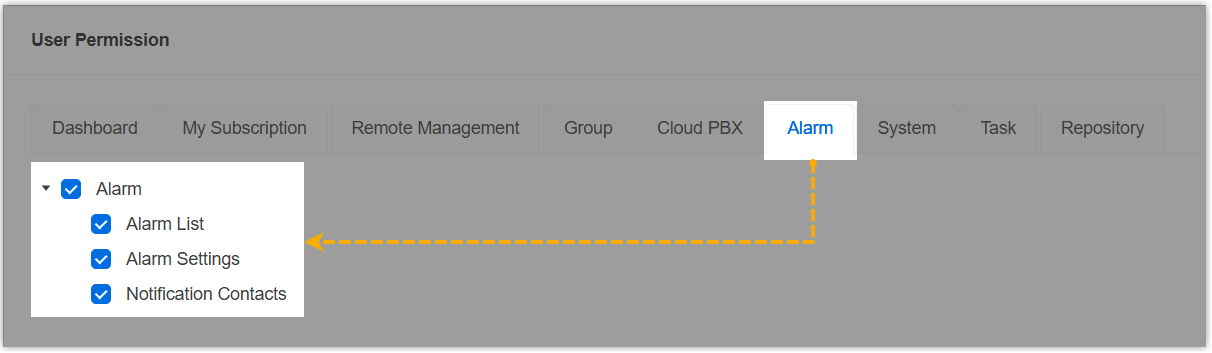
- Click a desired tab.
- Select or unselect the checkboxes of desired features.
The reseller can only access and manage the selected features when he or she logs in to Yeastar Central Management.
- Click Save.
Result
- The reseller account is created and displayed on Reseller list.
- The capacity that you have assigned to the reseller is deducted from your total subscription capacity.
What to do next
Click ![]() to
send an account activation email to the reseller.
to
send an account activation email to the reseller.

For more information, see Send an Account Activation Email to a Reseller.