Expand Capacity or Subscribe to New Services for NovoOne
Expand capacity or subscribe to additional services for your NovoOne service as needed.
Introduction
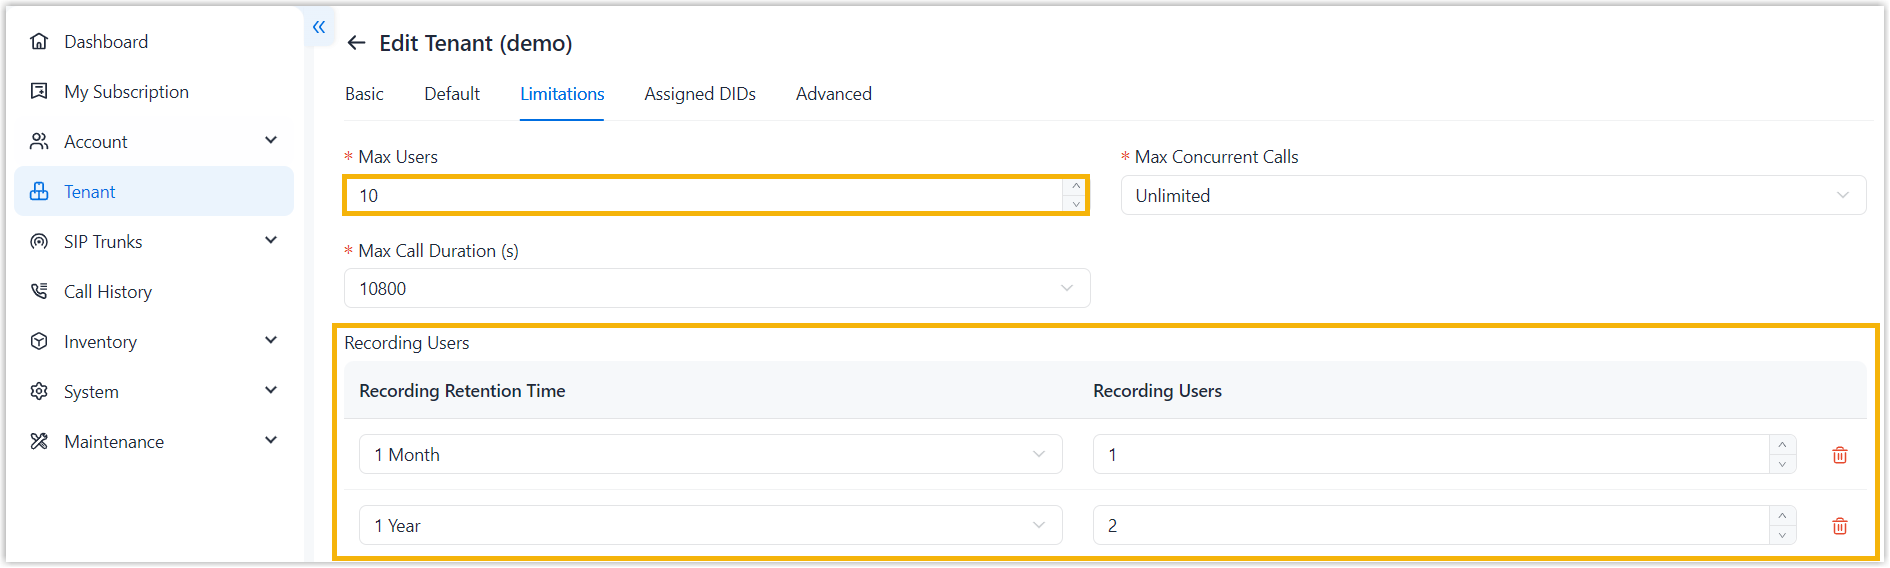
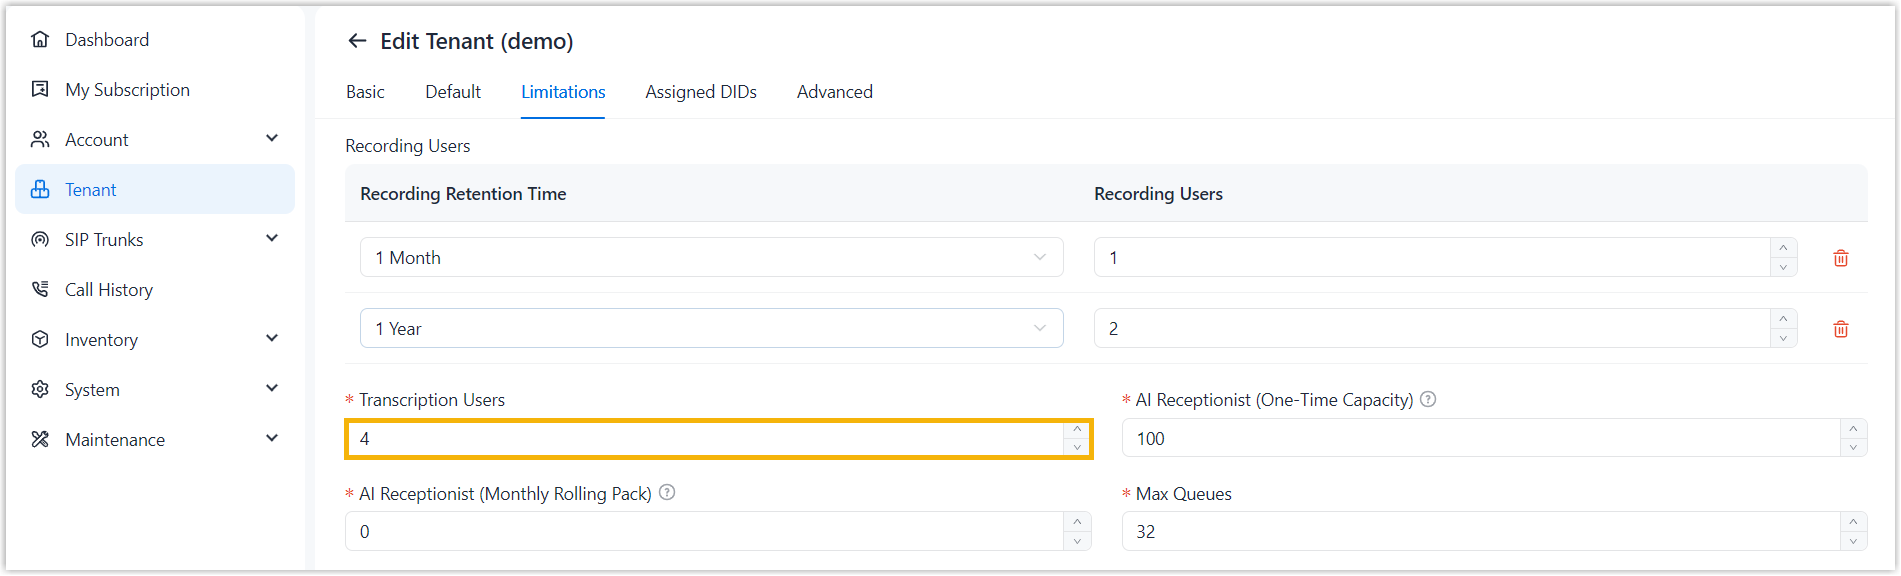
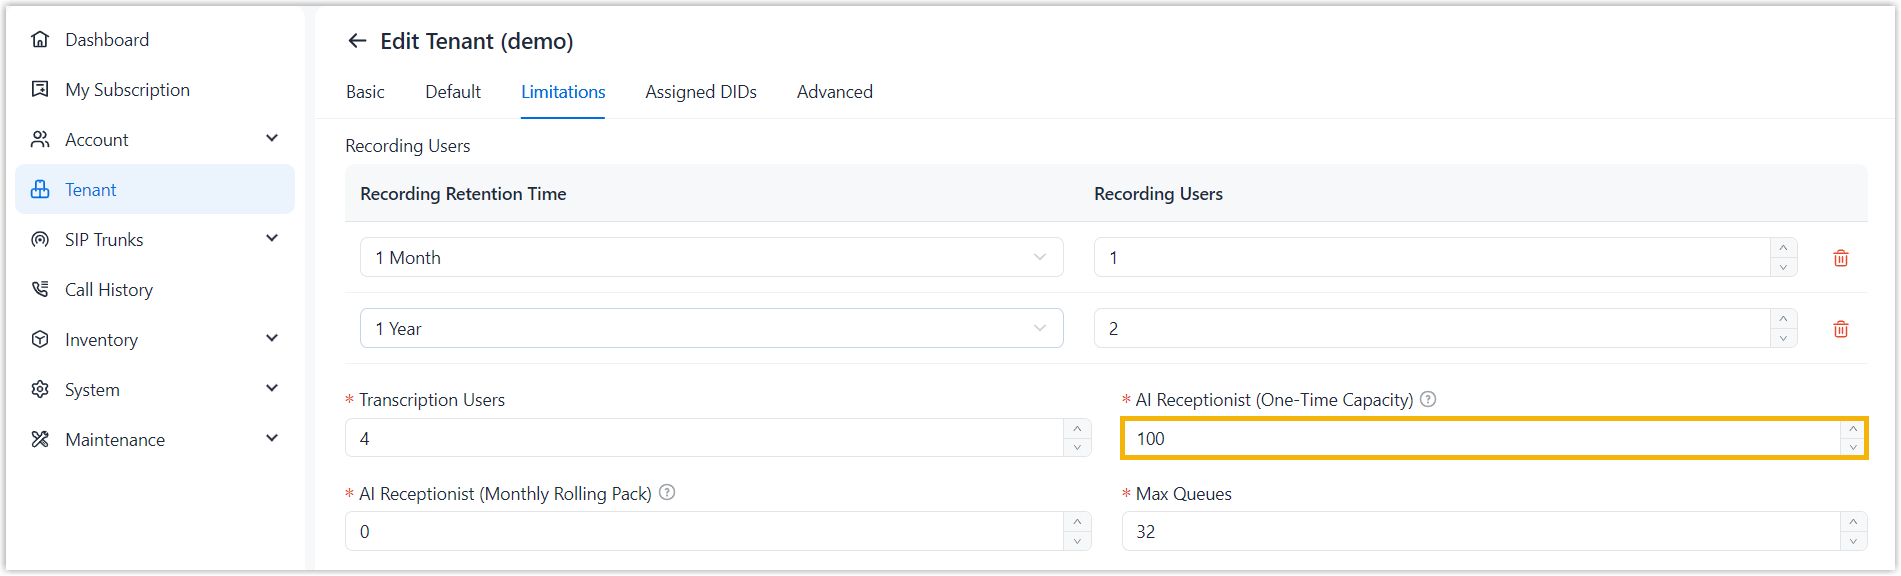
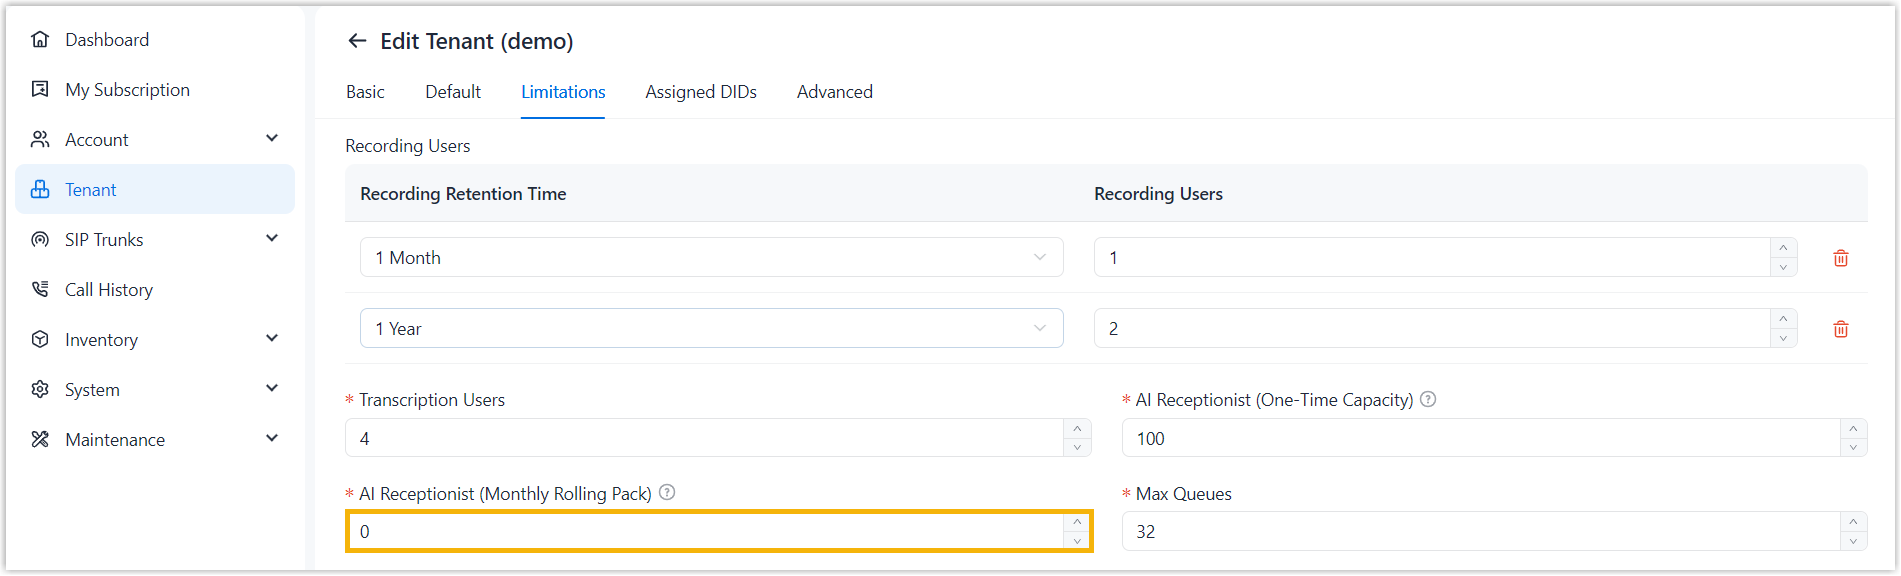
Before you begin, read the table below to understand each service's pricing model and how to onboard the services.
| Service | Description | Guideline |
|---|---|---|
| User Expansion | Quantity-based subscription per Yeastar Partner Portal account. |
|
| Call Recording | Quantity-based subscription per Yeastar Partner Portal account. | |
| White Label | Quantity-based subscription per Yeastar Partner Portal account. |
|
| Transcription | Quantity-based subscription per Yeastar Partner Portal account. |
|
| AI Receptionist (On-Demand Minute Pack) |
Usage-based billing per Yeastar Partner Portal account. |
|
| AI Receptionist (Monthly Rolling Plan) | Pack-based subscription per Yeastar Partner Portal account. |
|

Step 1. Go to product purchase page
- Log in to Yeastar Partner Portal, go to Products & Purchase.
- On the product list, click Purchase
on NovoOne.
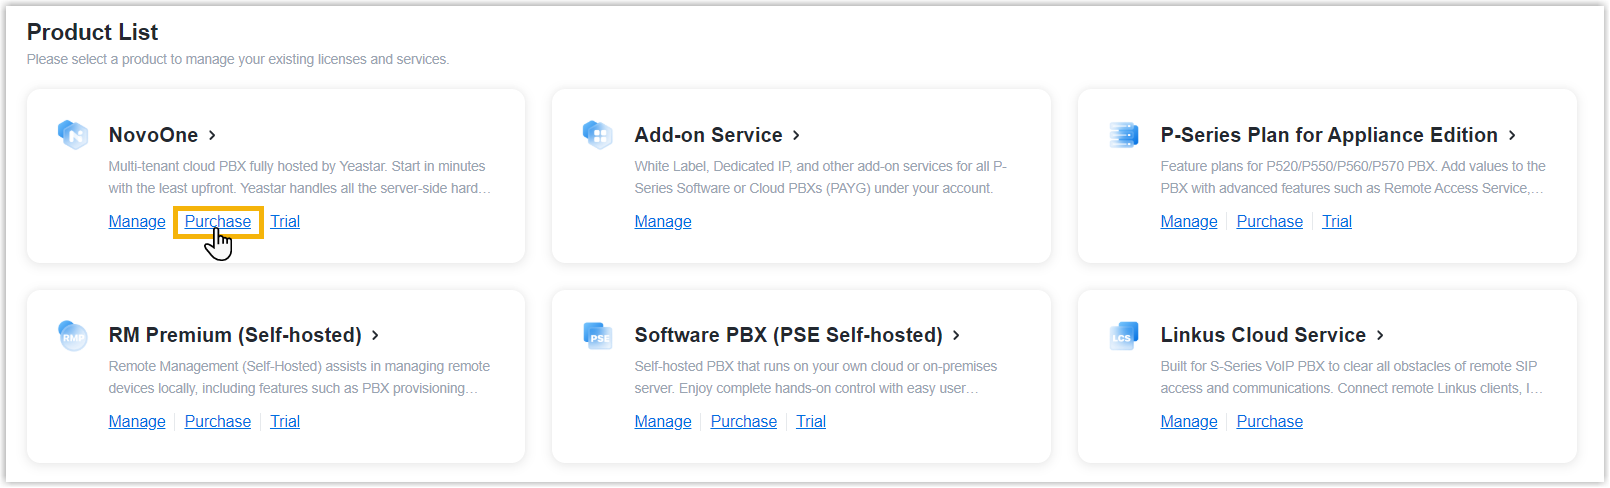
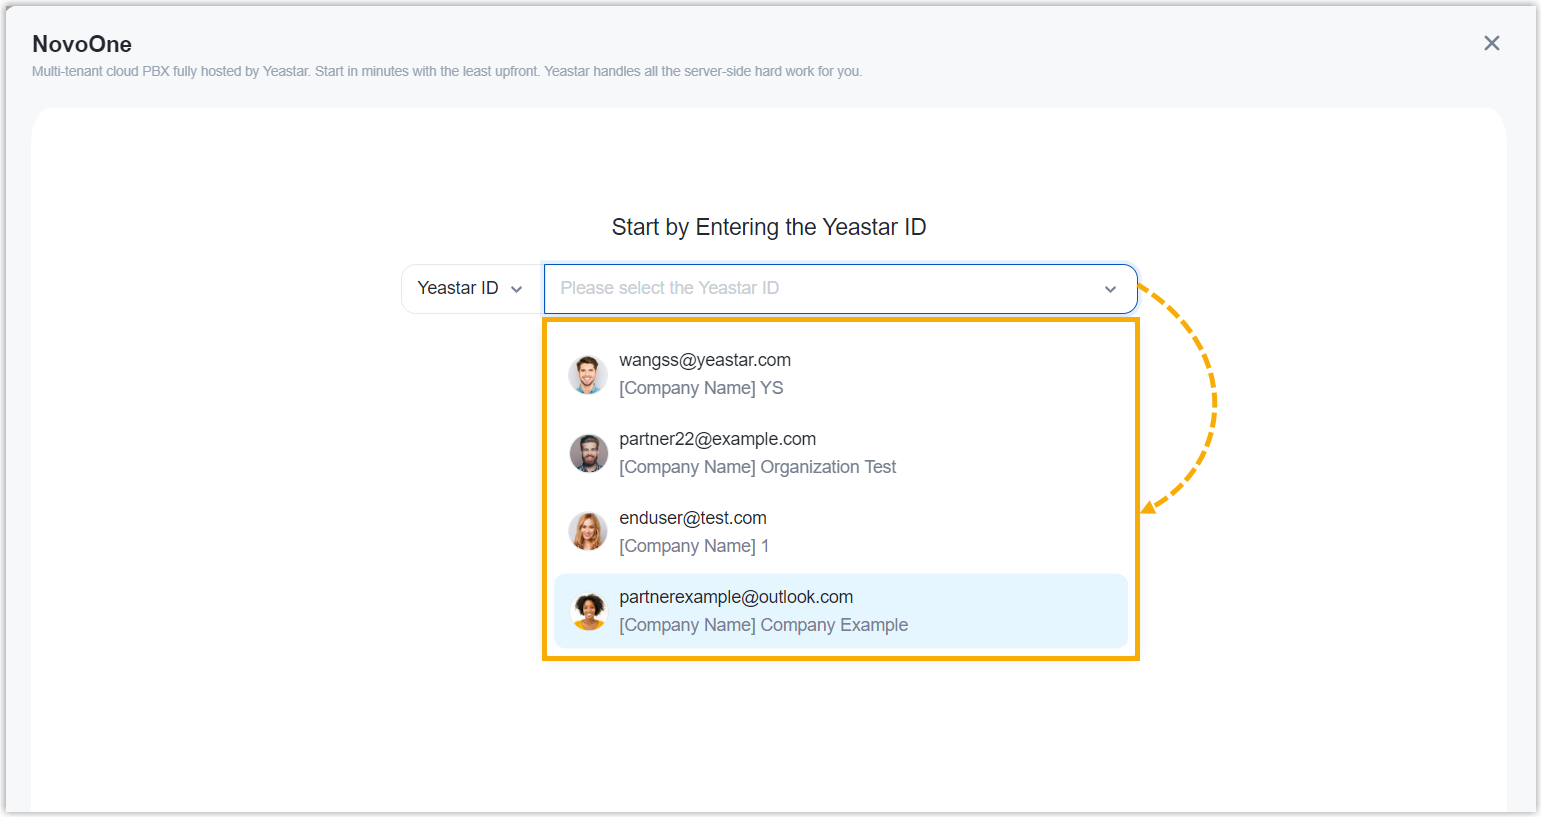
A side panel slides in from the right of the page.
- Specify a user for whom you want to expand capacity or subscribe
services.
Step 2. Expand capacity or subscribe to service
- Expand the capacity or subscribe to additional service as needed.
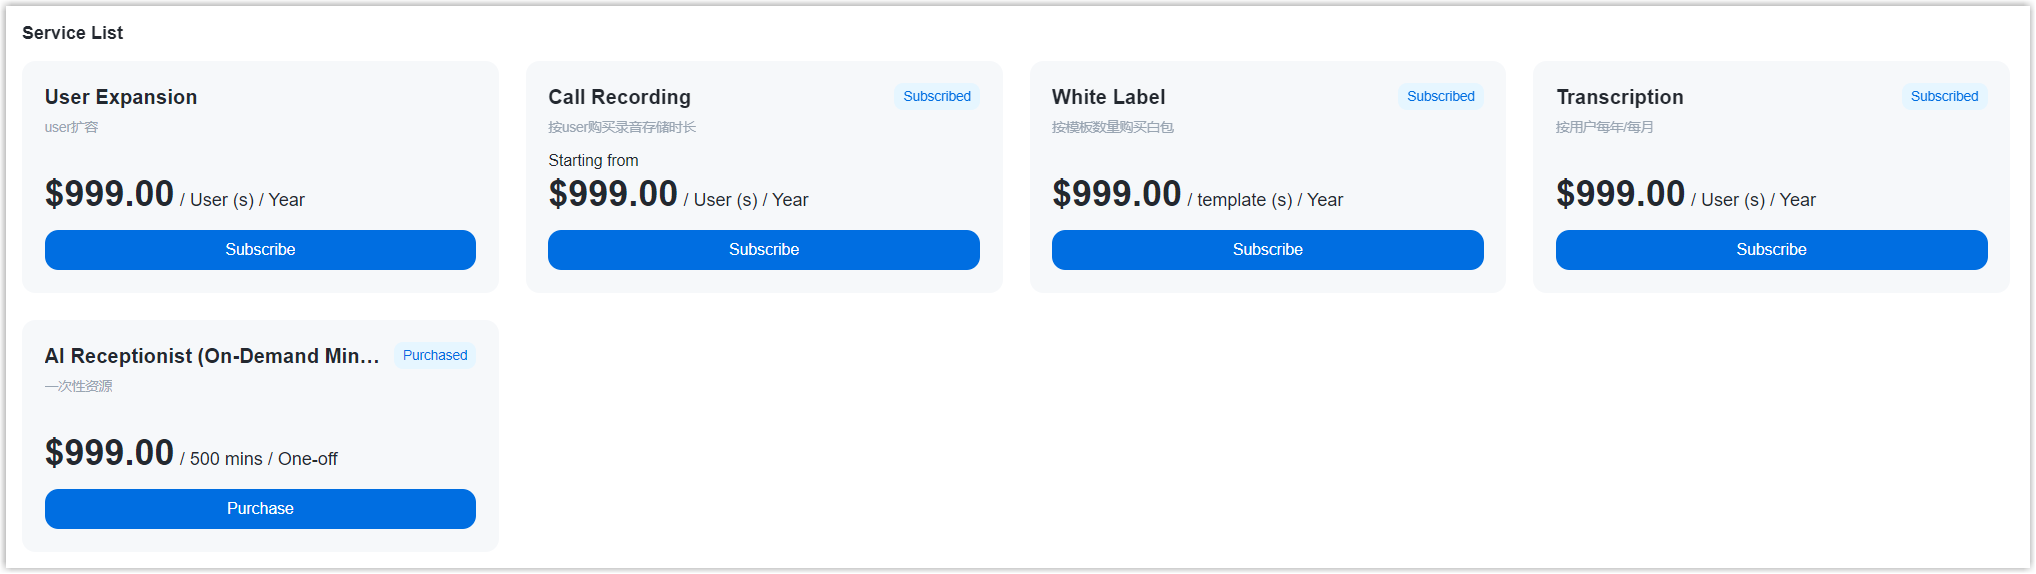
- On the right Order Summary section, click Checkout.
Step 3. Review the order and check out
- On the left Service Information section, review the service information.
- On the left Billing Information section, review and
edit the billing information as needed.Note:
- The billing information will be displayed on an invoice, which will be generated and sent to the selected billing contact's email address after you complete payment.
- By default, your information is automatically filled in. You can
change to another billing contact, either by selecting an
existing one from the drop-down list, or by clicking
Add New to add a contact. The billing
contacts are synchronized with the ones that you have set on
Billing
Receiver.

- On the right
Checkout section, choose either of the following
ways to check out.
- Pay by PayPal
-
- In the Payment Method section, click PayPal.
- Click PayPal and log in to your PayPal account to complete payment.
- Pay by debit card or credit card
-
- In the Payment Method section, click Debit or Credit Card.
- Click Debit or Credit Card and enter the information required to complete payment.
- Pay offline
-
- In the Payment Method section, click Offline.
- Optional: In the PI Number field, enter the PI number that is provided by Yeastar Sales.
- Click Place Order.
After you submit the order, your account manager or local distributor will contact you actively for the payment.
Result
After you complete payment, the billing contact will receive an email, which contains the order summary and an invoice. He or she can click on the attached link to view or download the invoice.
- The attached link is valid in 24 hours and can be used ONCE only.
- You can also view the invoice on Yeastar Partner Portal: Orders and Billing > Orders >
 .
.