Integrate Yeastar P-Series PBX System with Zoho CRM via PhoneBridge
This topic describes how to integrate Yeastar P-Series PBX System with Zoho CRM via PhoneBridge.
Requirements
- PBX Server
-
- Plan: Yeastar P-Series Enterprise Plan (EP) or Ultimate Plan (UP)
- Firmware: Version 37.18.0.102or later
- Zoho CRM
-
- CRM Edition: Standard, Professional, Enterprise, or Ultimate edition
- CRM Plus
Prerequisites
- Make sure that the PBX can be
remotely accessed via domain name.For more information about the configuration, see the following topics:
- Make sure that your Zoho account has administrative privilege.
- Make sure that your Zoho account is registered with one of the following Zoho
data centers:
- US: https://accounts.zoho.com/
- Europe: https://accounts.zoho.eu/
- India: https://accounts.zoho.in/
- Australia: https://accounts.zoho.com.au/
- China: https://accounts.zoho.com.cn
Note:- To confirm your data center location, please visit Zoho: Know Your Datacenter.
- If your account is registered with a different data center, you can opt for Zoho CRM integration via API instead.
Procedure
Step 1. Install Yeastar App from Zoho Telephony Marketplace
- Log in to your Zoho account with administrative privilege, go to .
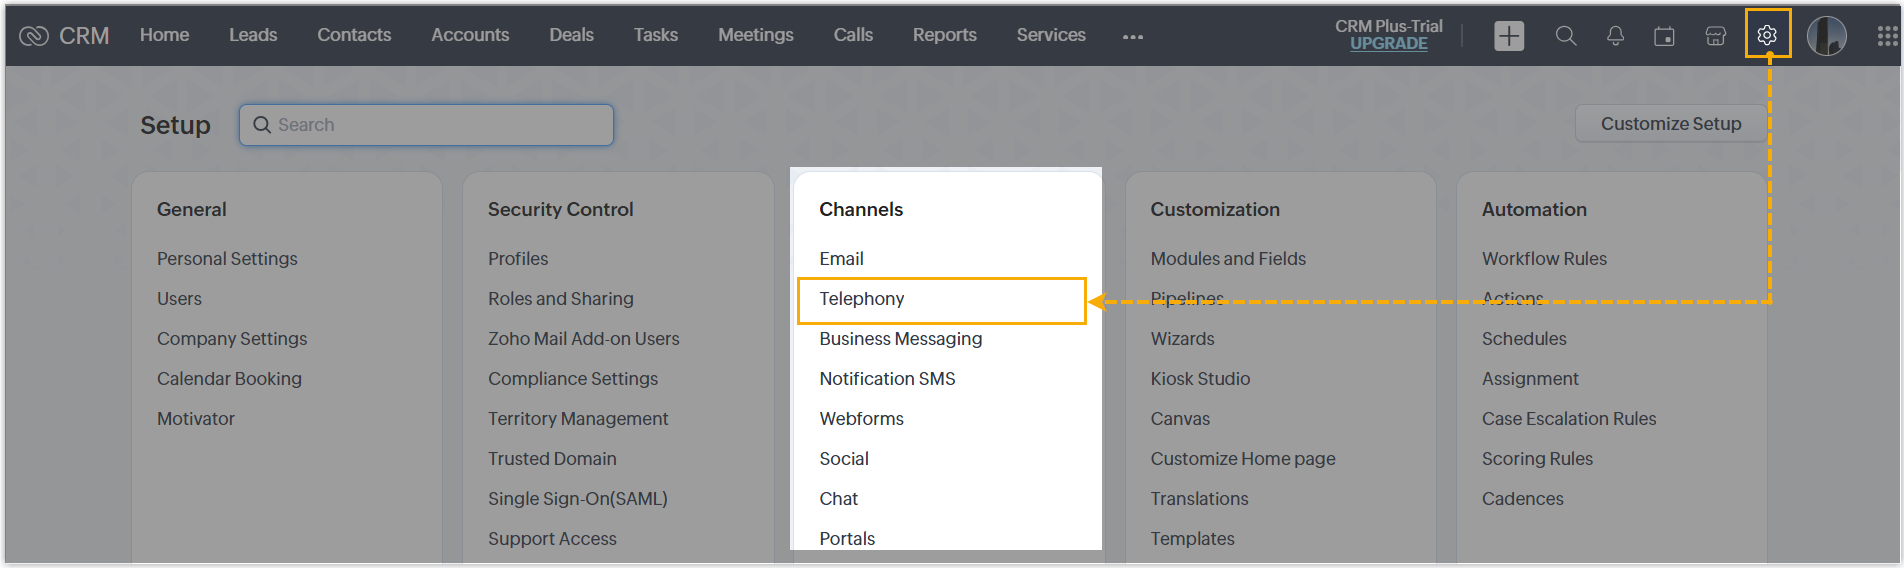
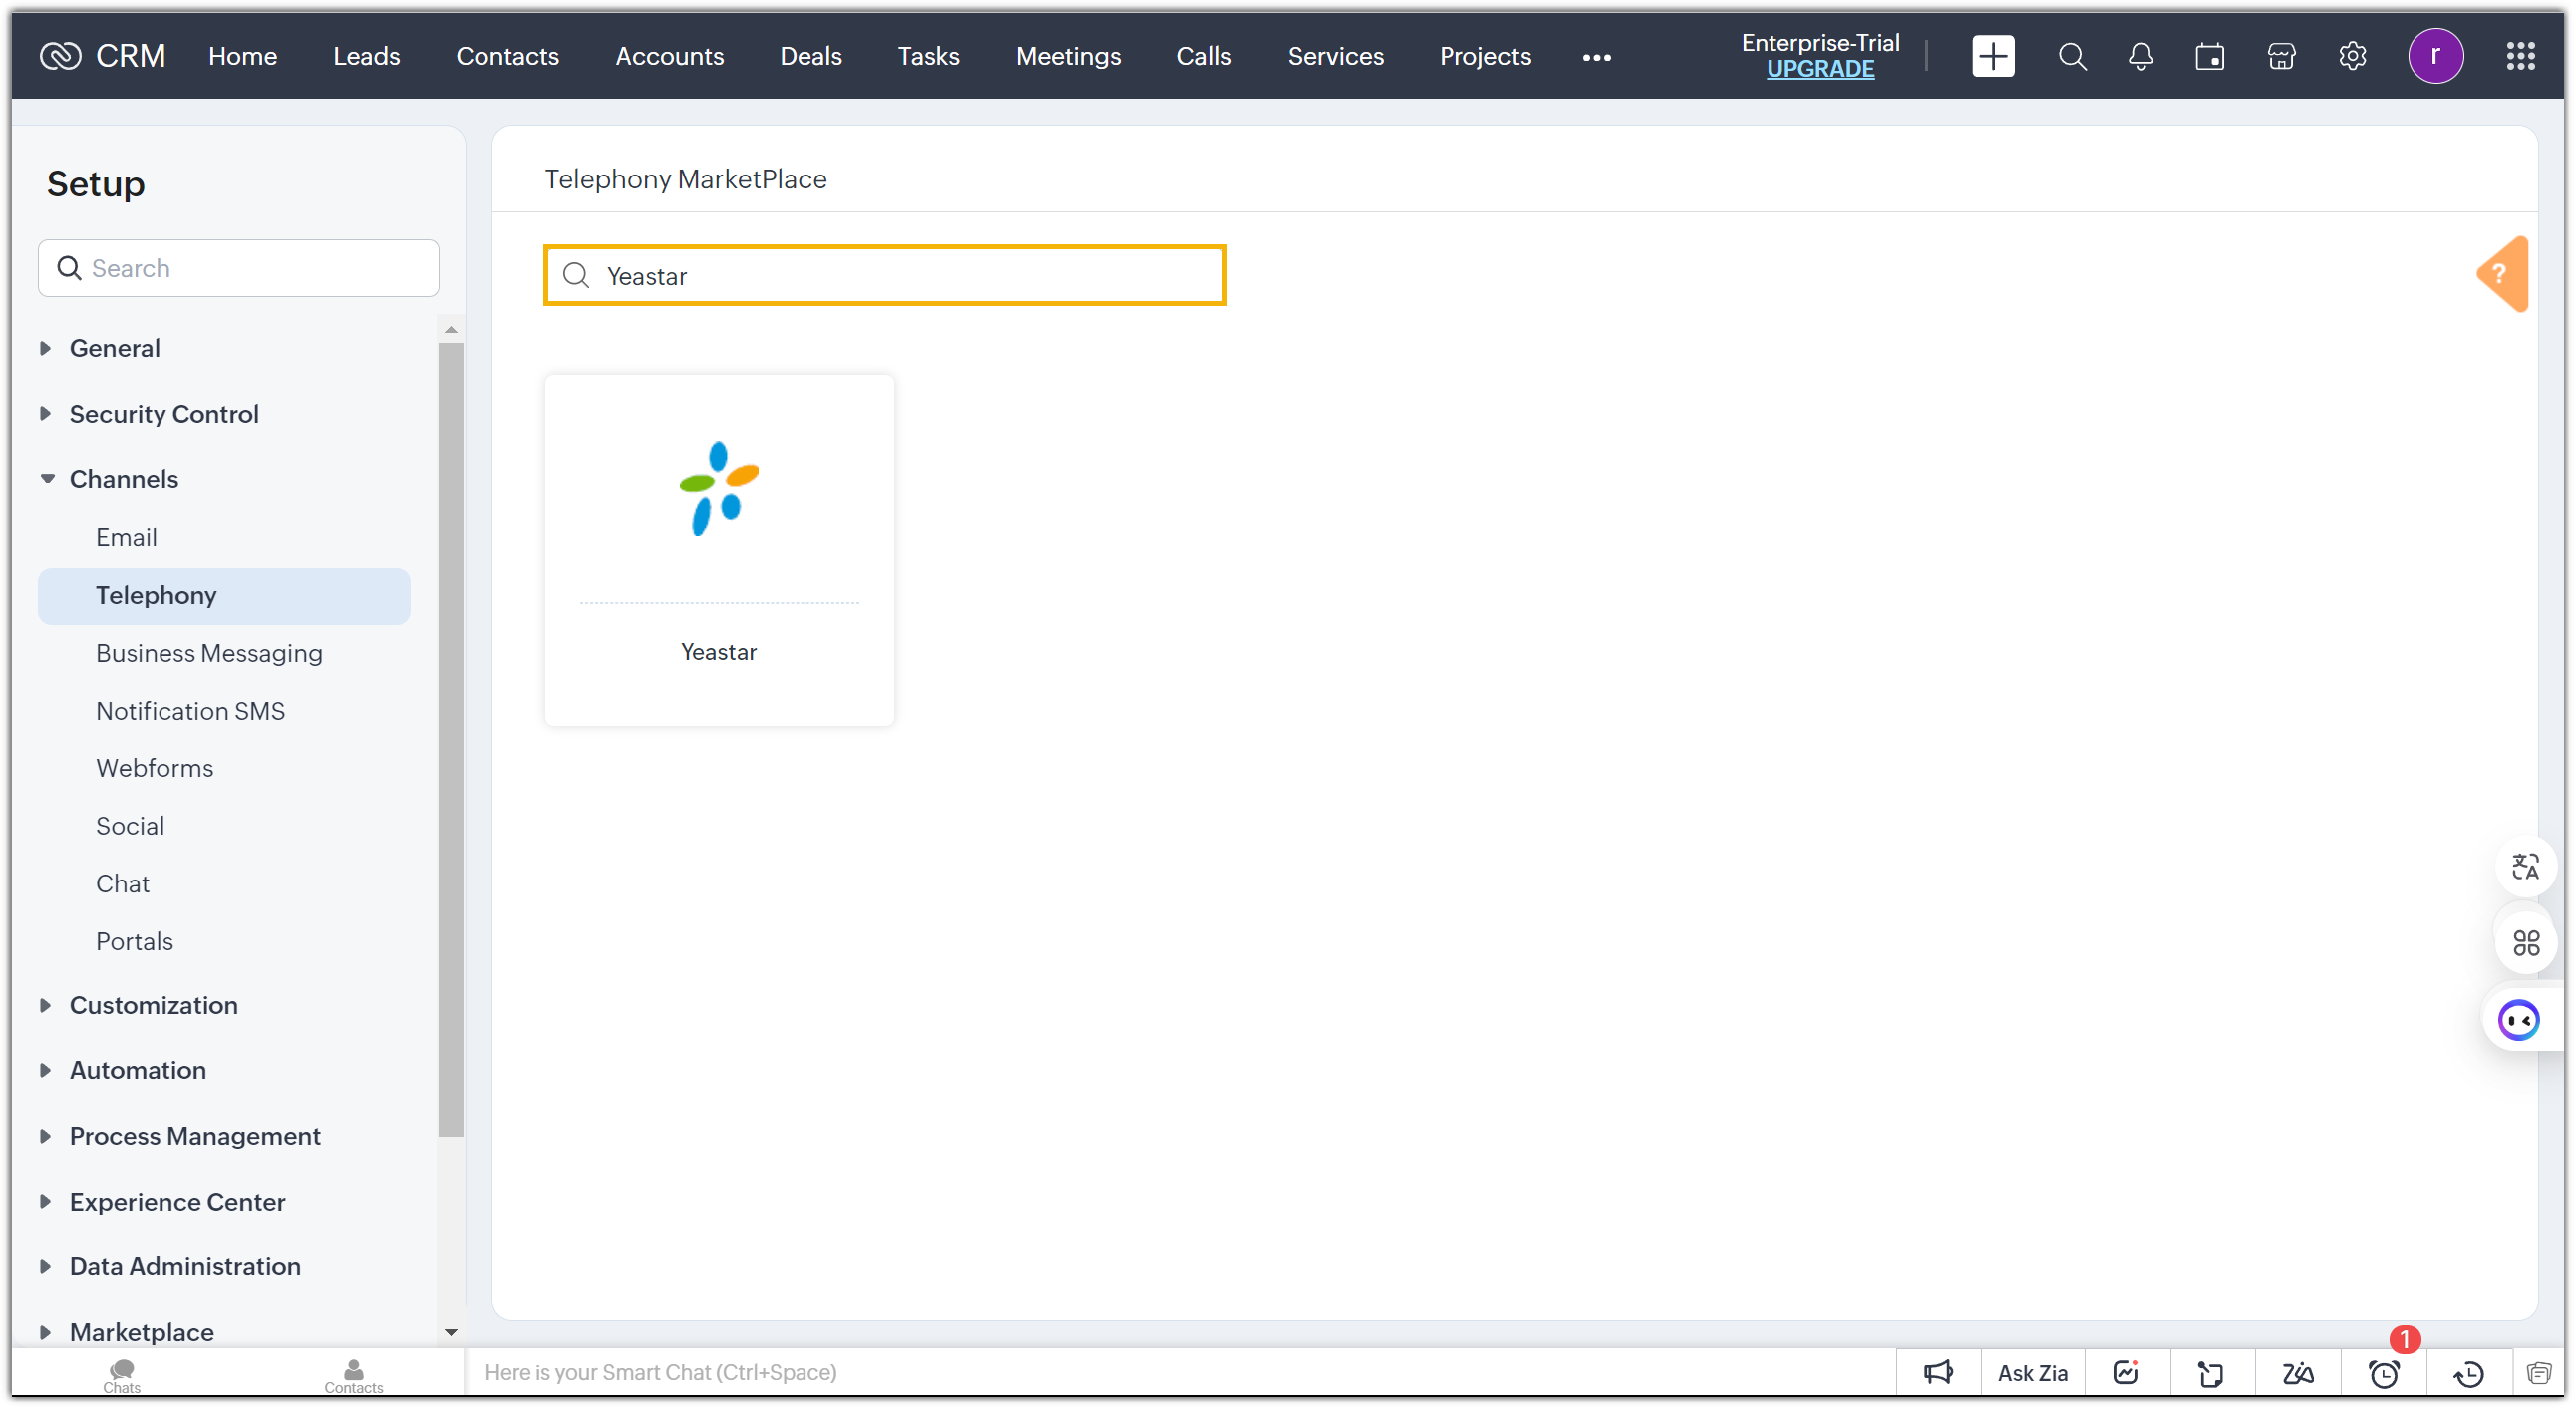
- On the Telephony MarketPlace page, search for
Yeastar.
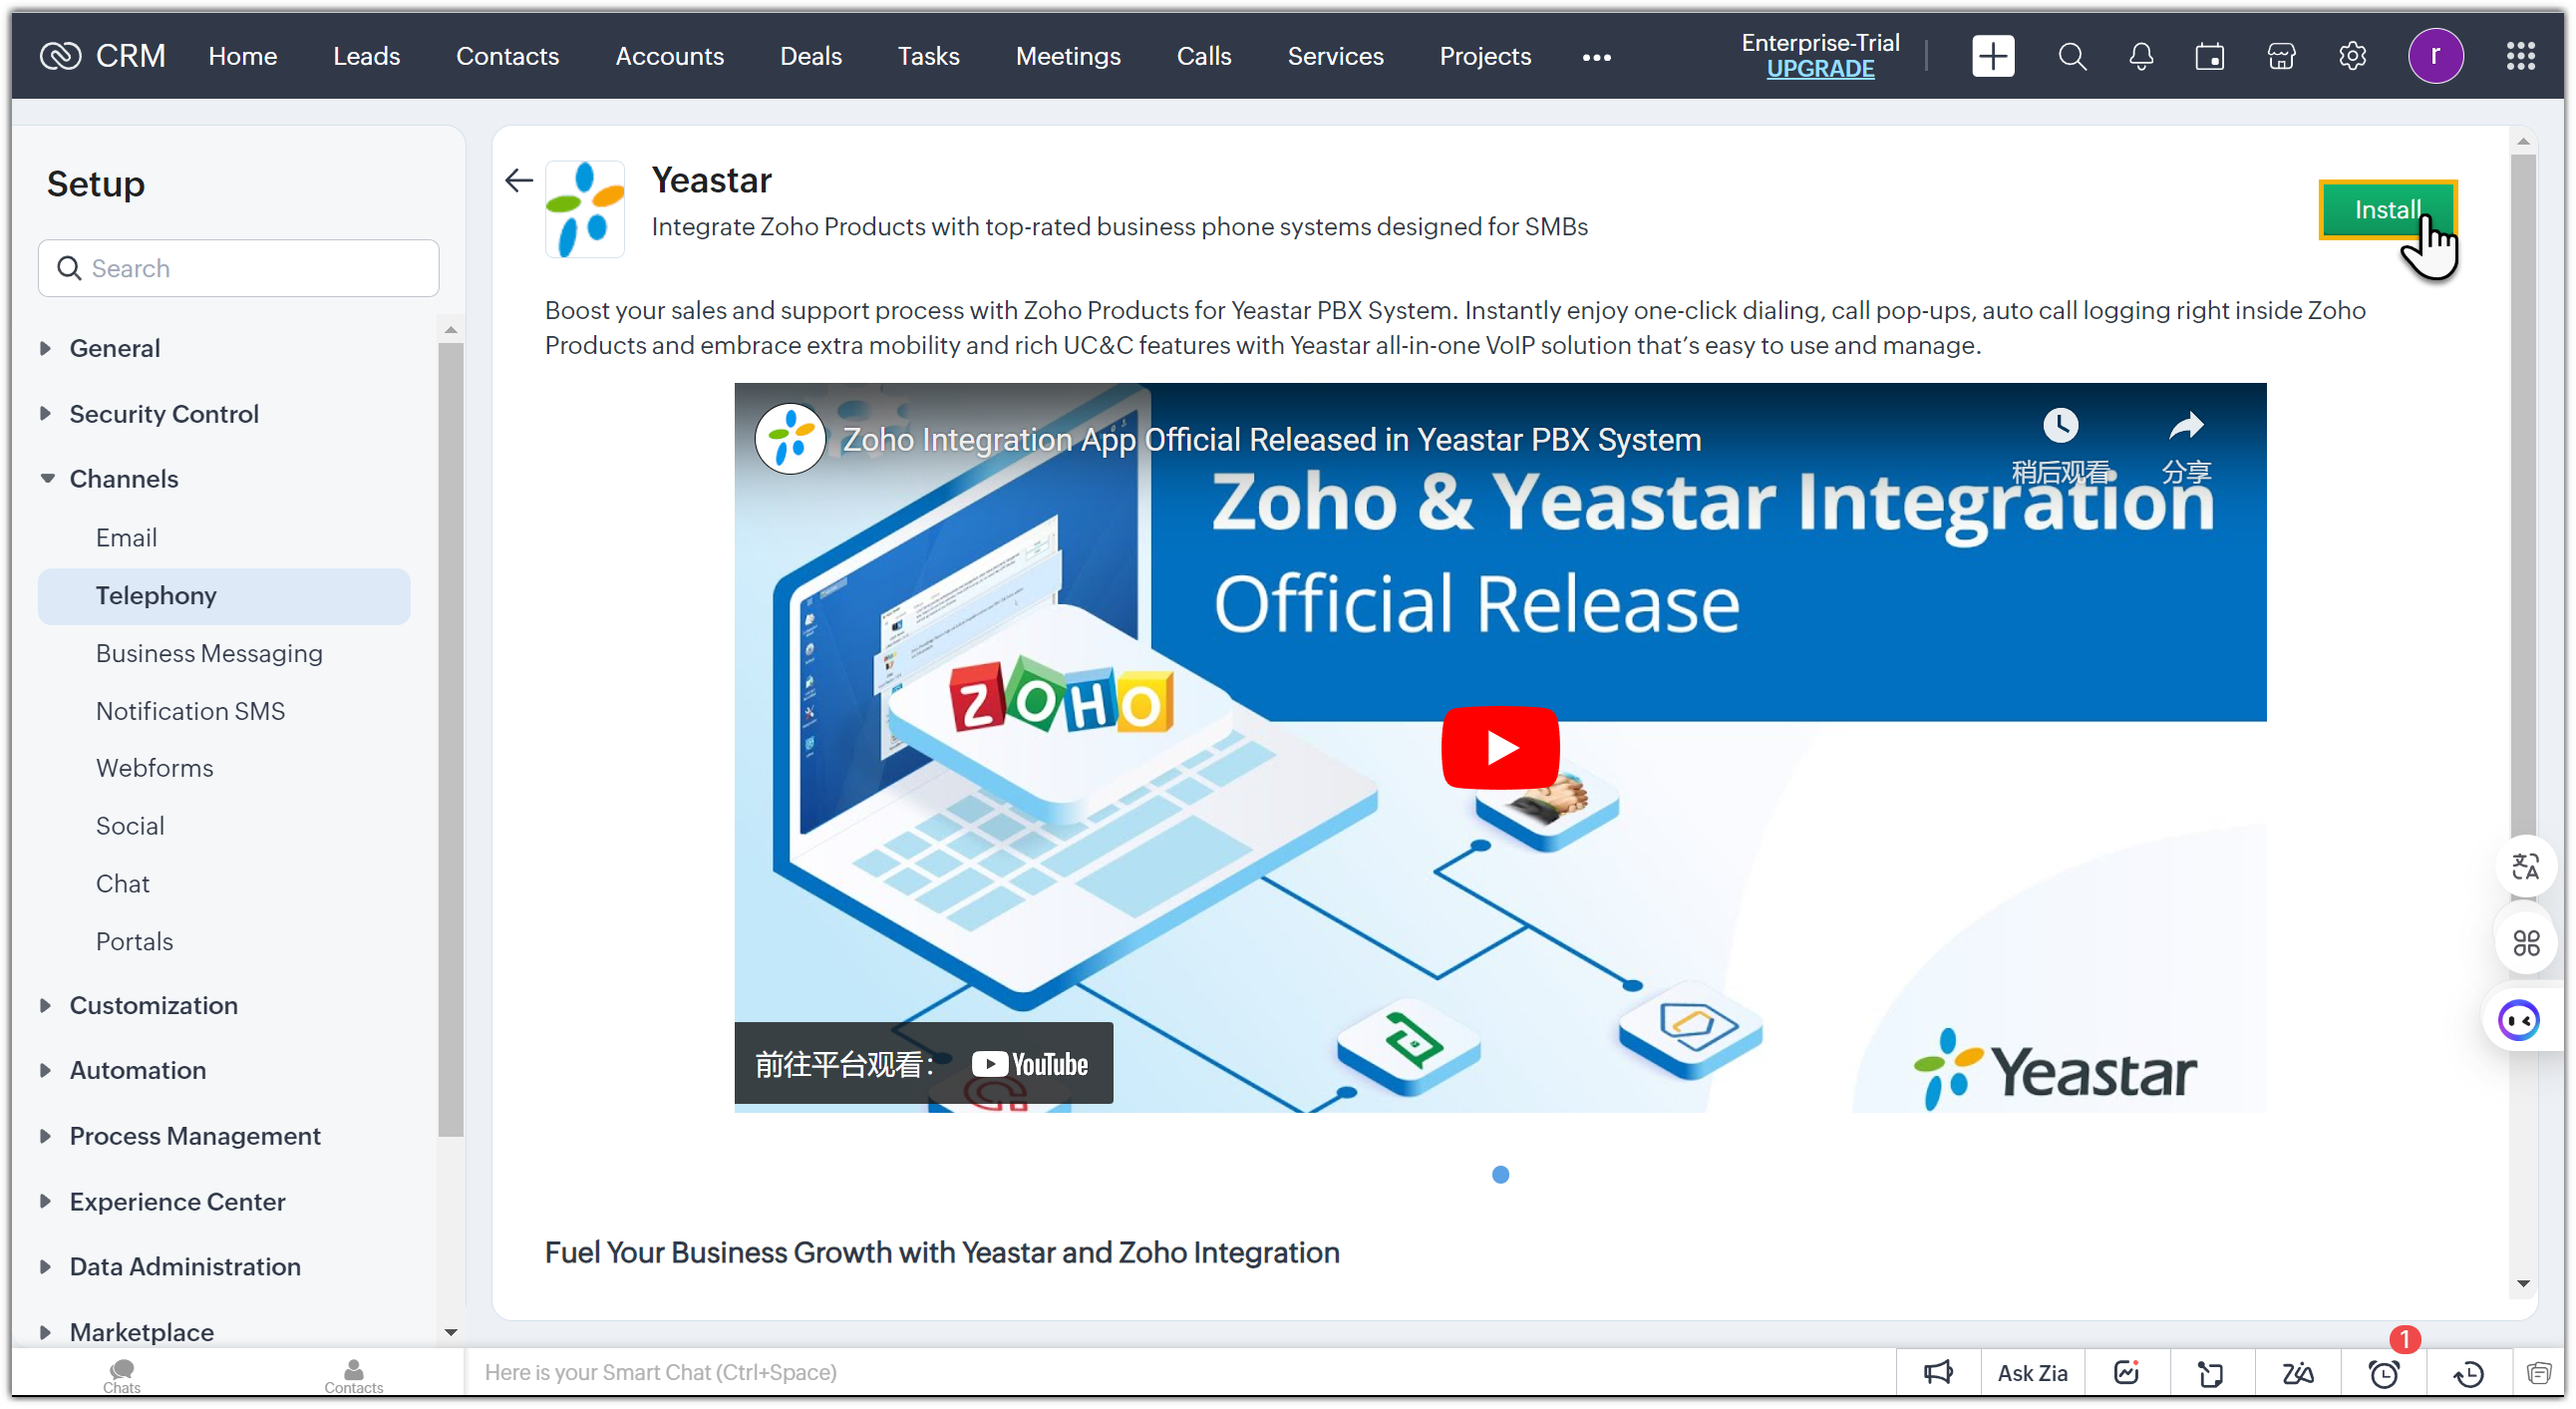
-
Select the app, then click Install.
-
In the pop-up window, choose Zoho users to associate with PBX extensions, then click Install.
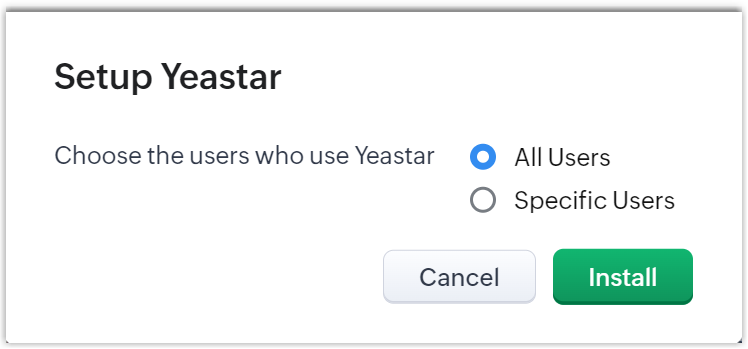
- All Users: Grant all Zoho users to access integration features.
- Specific Users: Manually choose which Zoho users are allowed to access integration features.
Note: Only activated users with permission for Zoho PhoneBridge can be associated with PBX. You can go to to view or edit profile permissions as needed.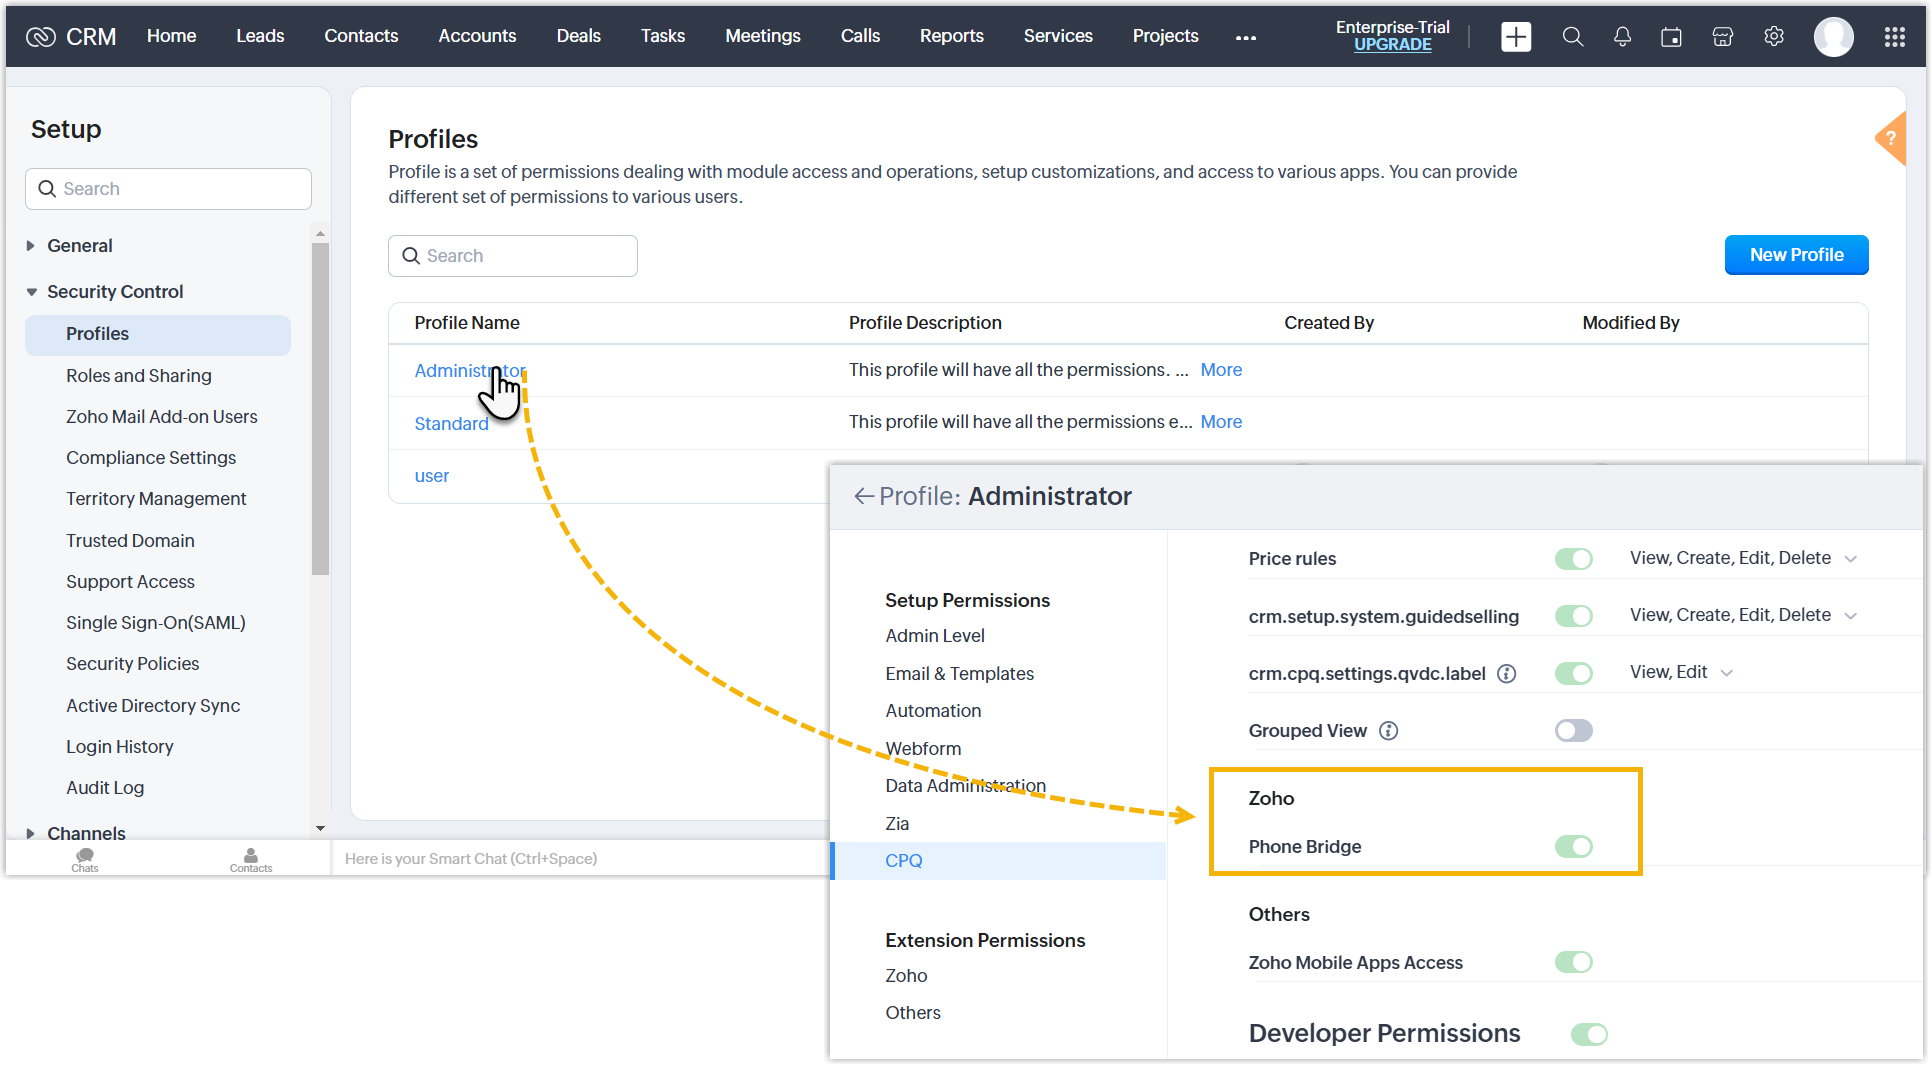 The Yeastar App is successfully installed.Note: If you want to change the Zoho users allowed for accessing integration features, go to the Yeastar App and clicking on Modify.
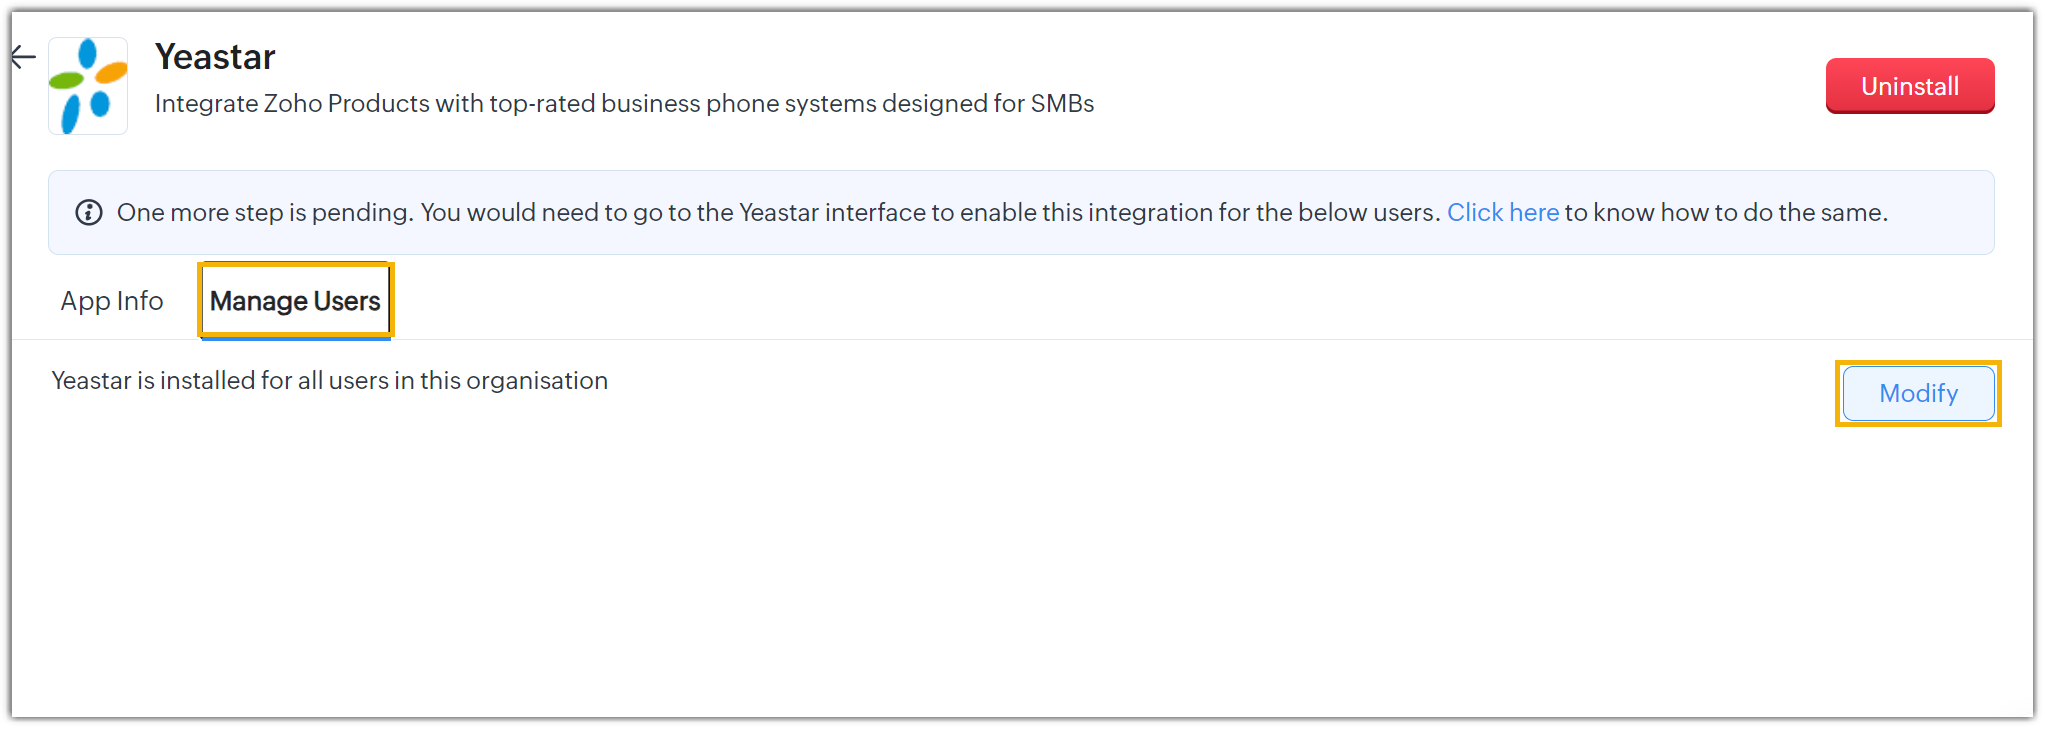
Step 2. Authenticate the integration on Yeastar PBX
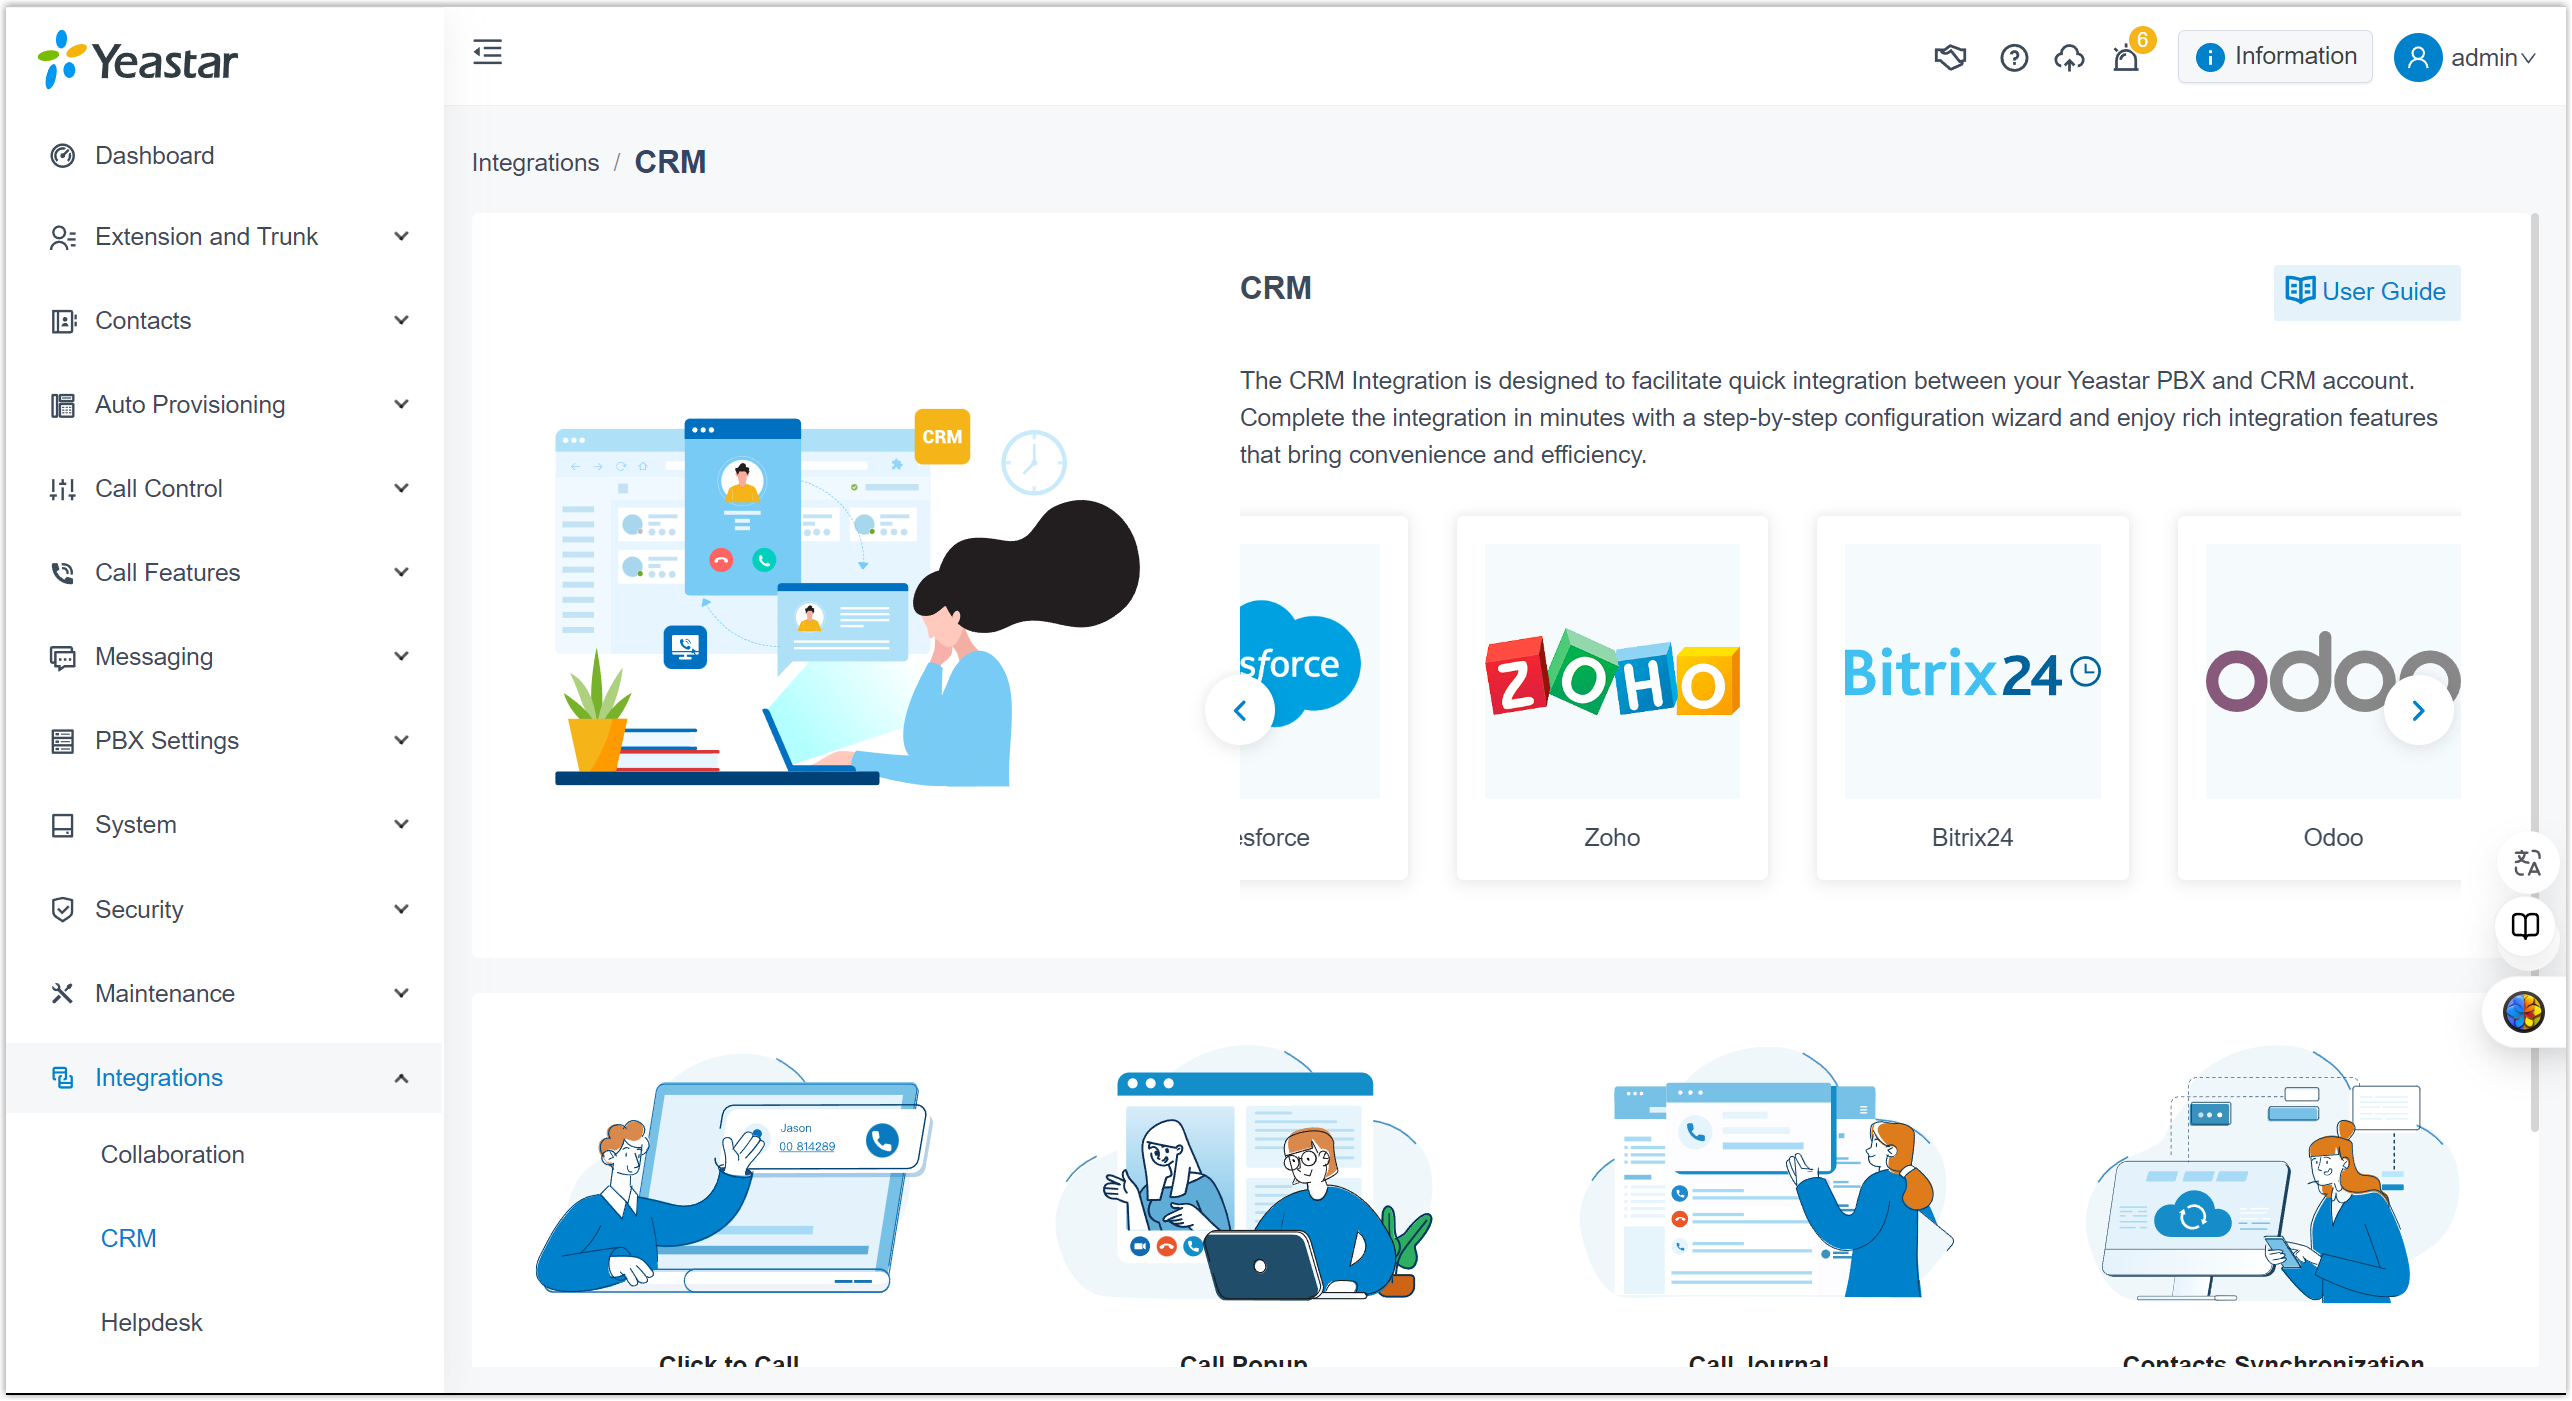
-
Log in to PBX web portal, go to , then select Zoho Paid Edition.
-
On Zoho integration page, complete the following settings.
- In the Settings section, do as follows:
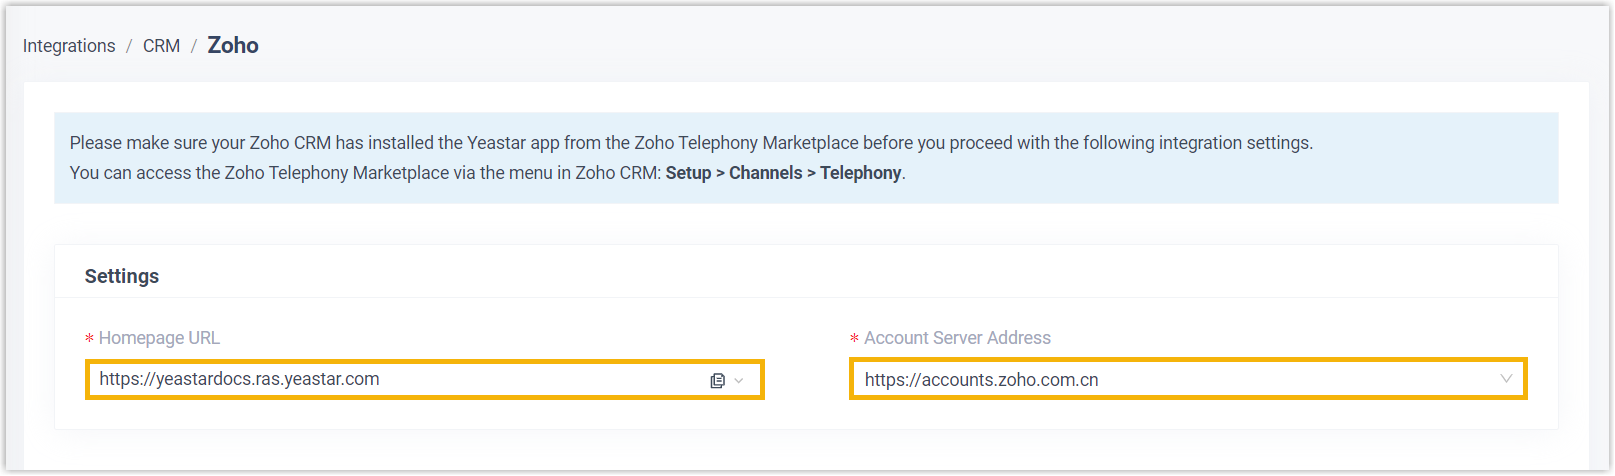
- Homepage URL: Confirm the FQDN of your PBX.
- Account Server Address: Select the Zoho Data Center URL corresponding to the region where your account is registered.
- Click Save.
- In the Settings section, do as follows:
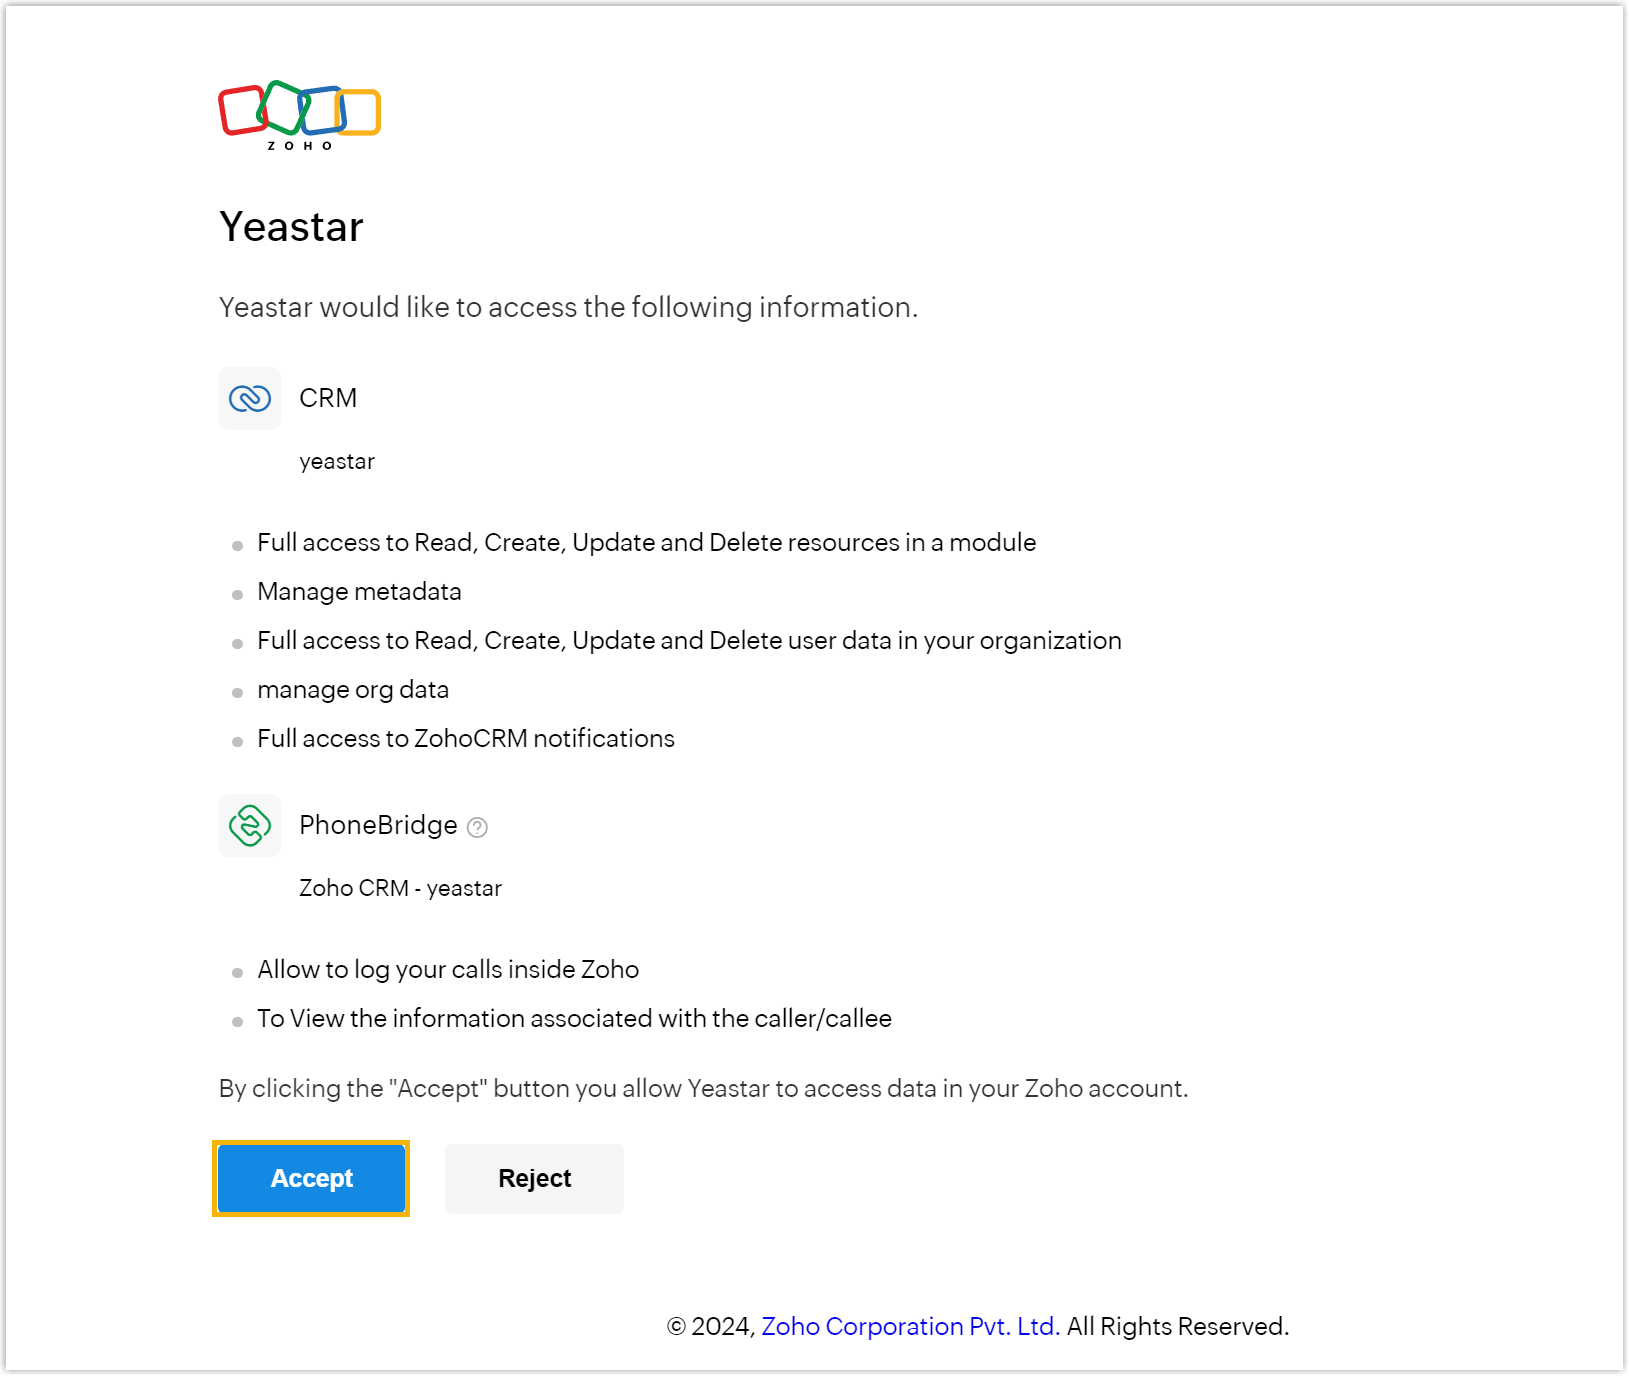
-
On the authorization page, review the access to be granted to the App, select the checkbox of the disclaimer, then click Accept.
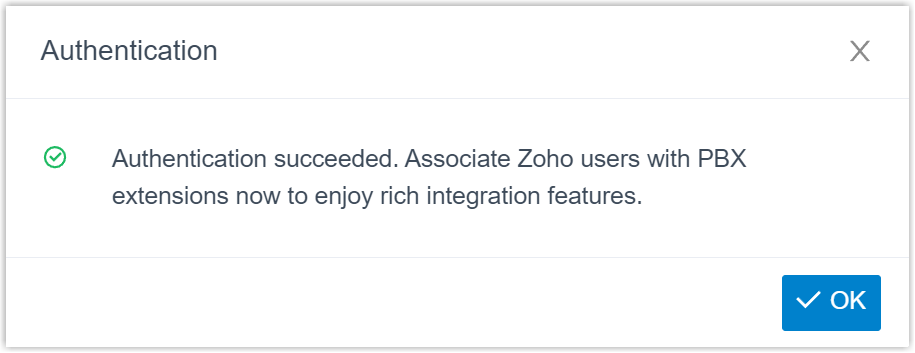
The system will automatically complete the authentication process. Once finished, a window pops up to indicate the authentication result, as shown below.
Step 3. Associate extensions with Zoho Users
- On the CRM integration page, click
 beside Zoho User
to obtain the latest Zoho CRM user list.
beside Zoho User
to obtain the latest Zoho CRM user list.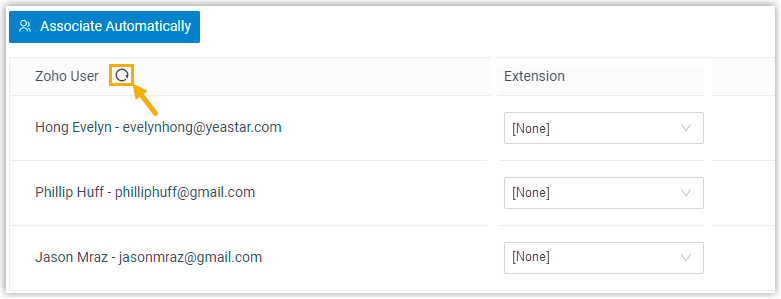
- Associate Zoho users with PBX extensions.
- Associate automatically
- If users bind the same email address to their Zoho accounts
and PBX extensions, you can implement automatic association
of their Zoho accounts and PBX extensions.
- Click Associate Automatically.
- In the pop-up window, click OK.
- Click Save.
- Associate manually
- If users bind different email addresses to their Zoho account and PBX extension, you need to manually associate users' Zoho account and PBX extension.
Result
- The integration of Yeastar P-Series PBX System and Zoho CRM is set up.
- The associated Zoho users can make or receive calls with their PBX extensions.