Manually Upgrade PBX Firmware
This topic describes how to manually upgrade PBX firmware.
Manually upgrade PBX via Internet
- Prerequisites
- We recommend that you create a backup file of PBX configuration before starting the upgrade.
- Procedure
-
- Log in to PBX web portal, go to .
- Click Check for the New Firmware to see if a
new firmware version is available.
If a new firmware version is detected, a table appears showing the available firmware version, as shown below.

You can click the link under Release Notes to view the updates in the new version.
- Click Upgrade Now and confirm the operation.Important:
- Ensure the connection to Internet and power supply when the PBX is upgrading.
- Make sure there aren't ongoing calls, otherwise the calls would be disconnected.
- Result
- The PBX starts upgrading the firmware.Important: Do NOT turn off the power during the upgrade, otherwise the system may be damaged.
Manually upgrade PBX via a local firmware file
- Prerequisites
-
- Go to Yeastar Firmware Download Center to check and download the new firmware.
- We recommend that you create a backup file of PBX configuration before starting the upgrade.
- Procedure
-
- Log in to PBX web portal, go to .
- Click Browse to select a firmware
file.Note: The firmware file format must be
.bin, and the file name should not contain special characters. - Optional: To reset system configurations to factory
defaults, select the checkbox of Reset Configuration
to Factory Defaults.Important: Enabling this option will erase all PBX configurations.
- Click Upgrade.
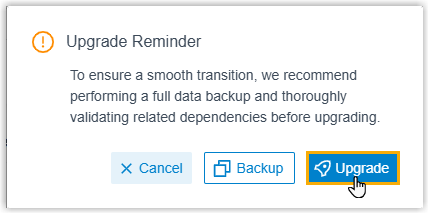
The PBX uploads and parses the firmware. After parsing is complete, the system displays a pop-up upgrade reminder, prompting you to back up data and verify related dependencies.
-
In the pop-up window, click Upgrade.
- Result
- The PBX starts upgrading the firmware.Important: Do NOT turn off the power during the upgrade, otherwise the system may be damaged.