Integrate Yeastar P-Series Software Edition with Red Hat SSO
This topic describes how to integrate Yeastar P-Series Software Edition with Red Hat SSO.
Requirements
| Platform | Requirement |
|---|---|
| Red Hat SSO | Recommended version: 7.6 or later |
| Yeastar PBX |
|
Step 1. Create resources and obtain credentials from Red Hat SSO
Create the necessary resources and obtain the required credentials from Red Hat SSO, so as to authenticate and authorize interactions between Yeastar PBX and Red Hat SSO.
You need to perform the following operations in the Red Hat SSO portal.
- Create a realm and configure realm key(s) for centralized management and authentication of user identities and SSO.
- Add users who need to sign in to Linkus clients with their Red Hat credentials.
- Create an OpenID Connect(OIDC) Client to enable user synchronization to Yeastar PBX.
- Obtain metadata from Red Hat SSO for subsequent import into Yeastar PBX.
- 1. Create a realm and configure realm key(s)
-
- Log in to the Red Hat SSO admin console using the administrator account.
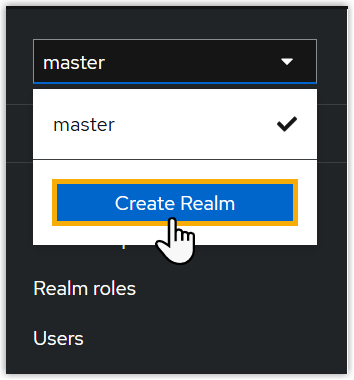
- Create a realm.
- On the top of the left pane, click
master, then select
Create Realm.
- In the Realm name field, enter a
name, then click Create.
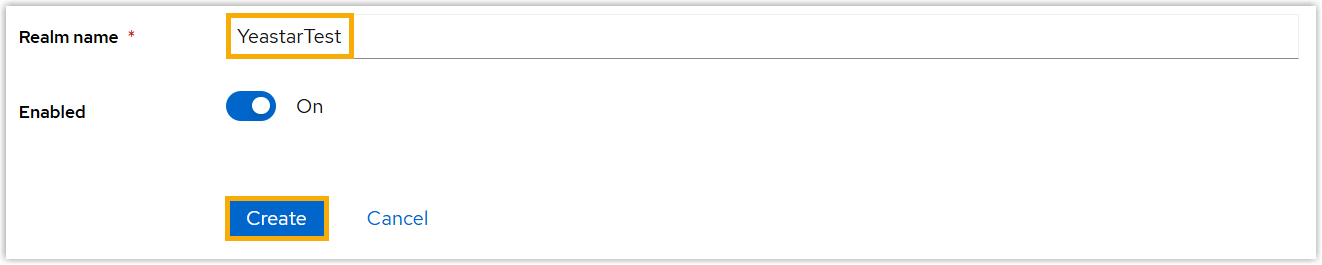
The current realm is now set to the realm you just created.
- On the top of the left pane, click
master, then select
Create Realm.
- Configure realm keys for cryptographic signatures and
encryption.
- On the left navigation bar, click Realm settings.
- Under Keys tab, click Providers.
- Click Add provider, then select
rsa-generated provider to
generate a key pair with a self-signed
certificate.
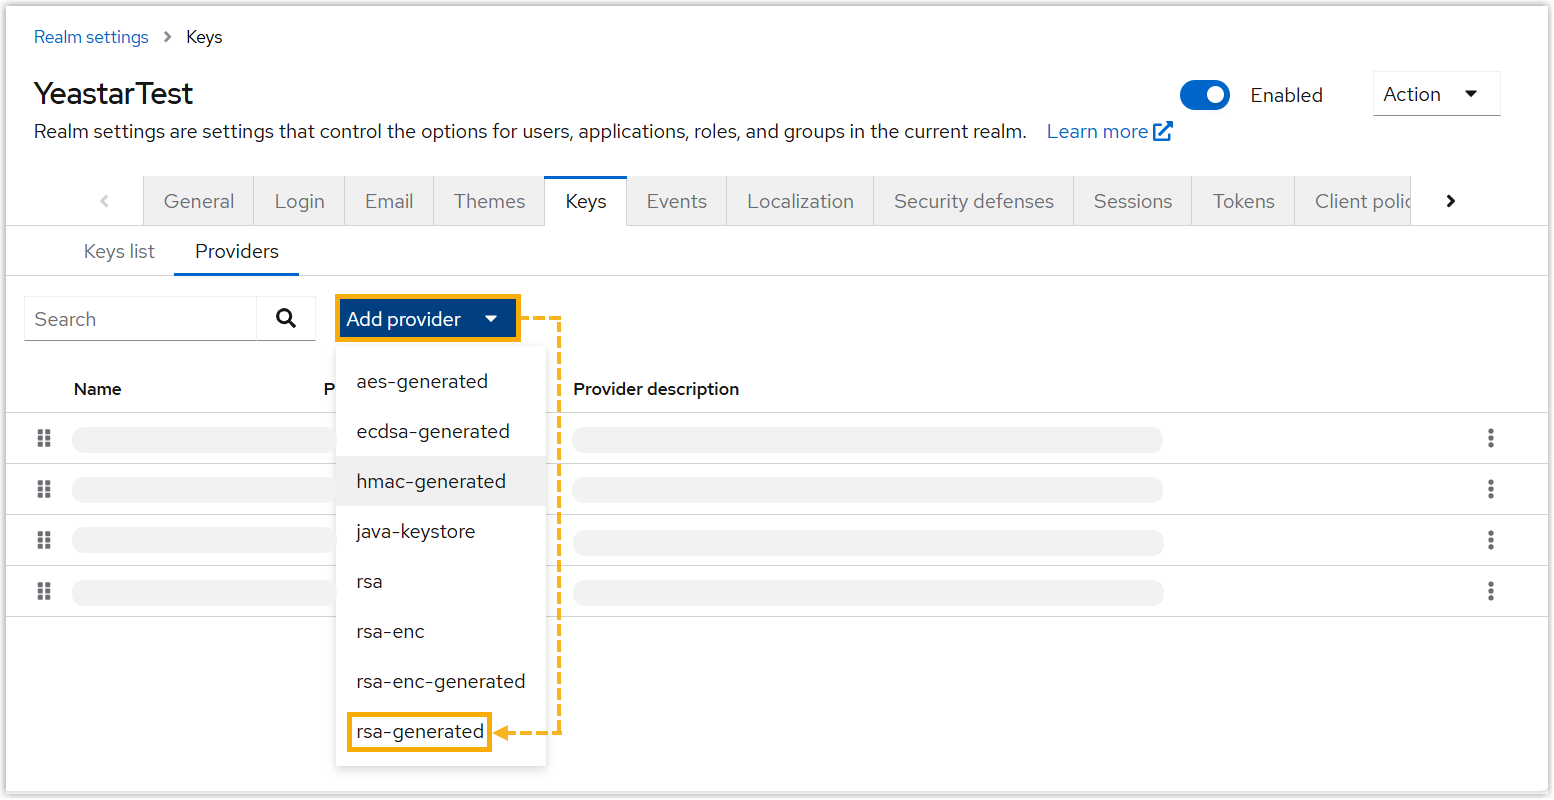 Note: Yeastar PBX supports a maximum of 5 certificates. Metadata with more than 5 certificates can NOT be imported into Yeastar PBX.
- 2. Add users
-
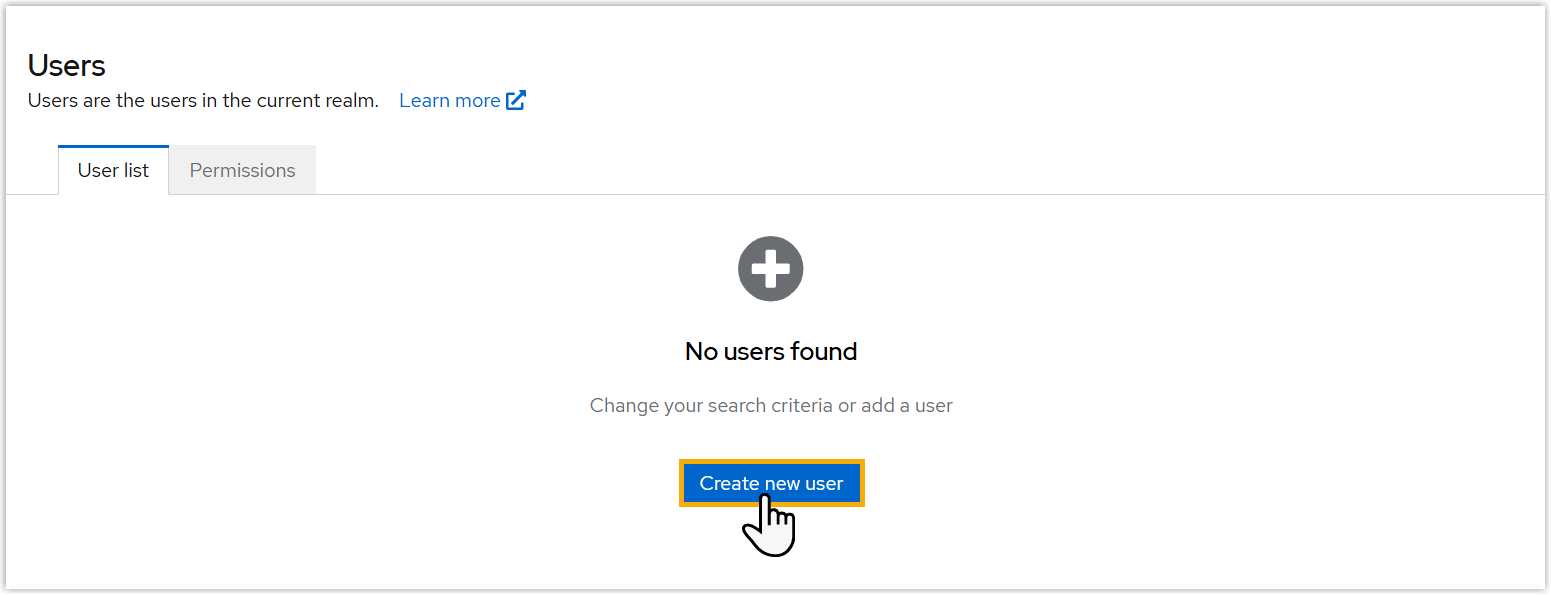
- On the left navigation bar, click Users.
- Under the User list tab, click
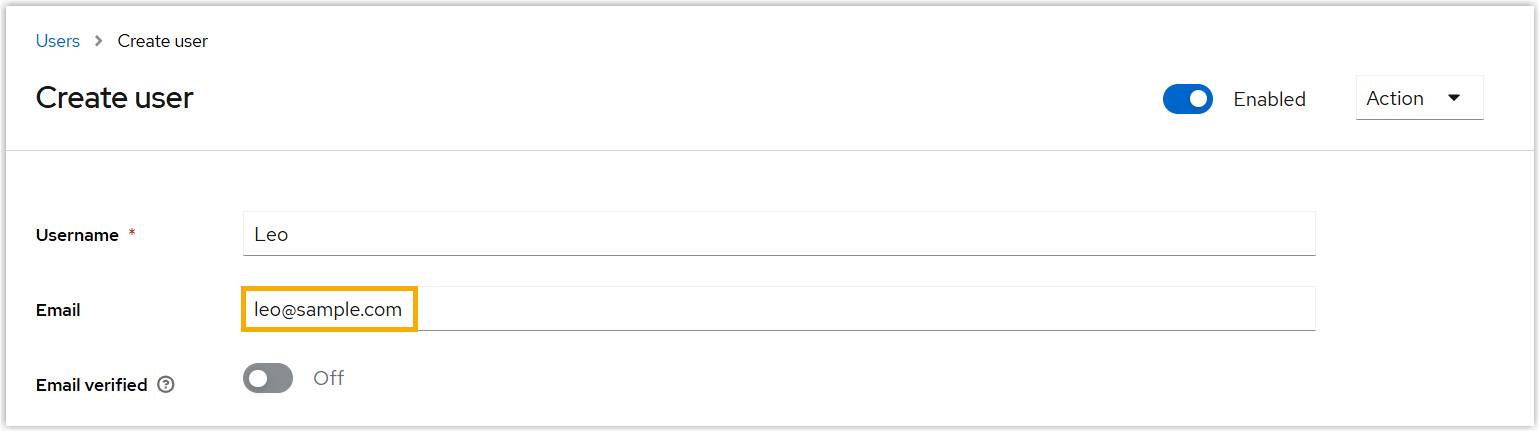
Create new user.
- Enter the details for the new user.Important: Since user's email address is used as the unique identifier to determine user's eligibility for Red Hat SSO, make sure the email address is properly configured.
- If you use the built-in Email
field as the unique identifier for SSO, enter the
user's email address in the
Email field.
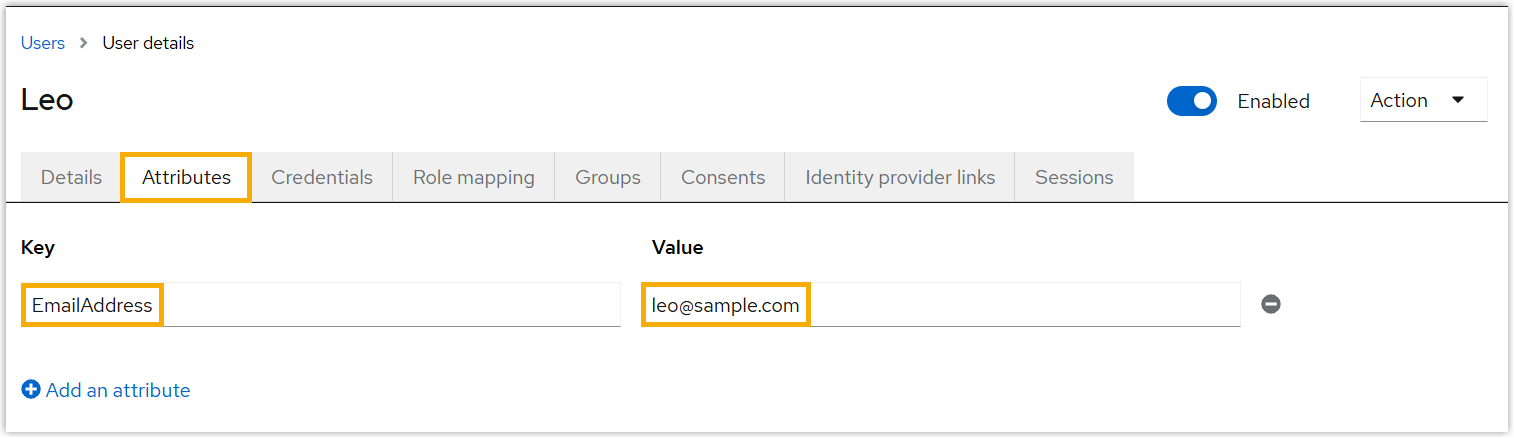
- If you use a custom email-related attribute as the
unique identifier for SSO, add the attribute and
specify the key and value.
- If you use the built-in Email
field as the unique identifier for SSO, enter the
user's email address in the
Email field.
- Click Save.
- 3. Create an OpenID Connect(OIDC) Client
-
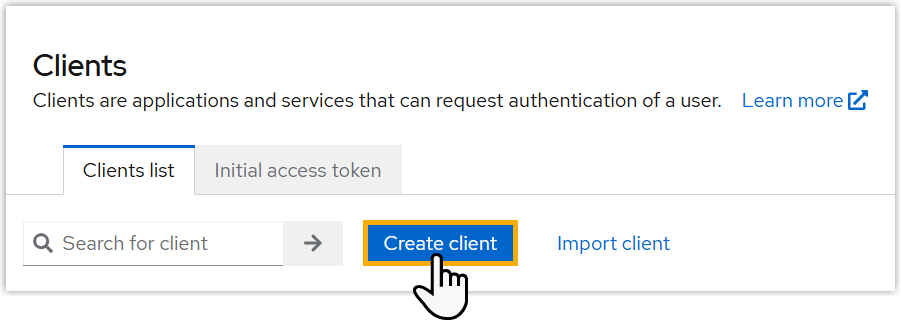
- On the left navigation bar, click Clients.
- Create an OIDC Client.
- Under Clients list tab, click
Create client.
- Set the client, then click
Save.
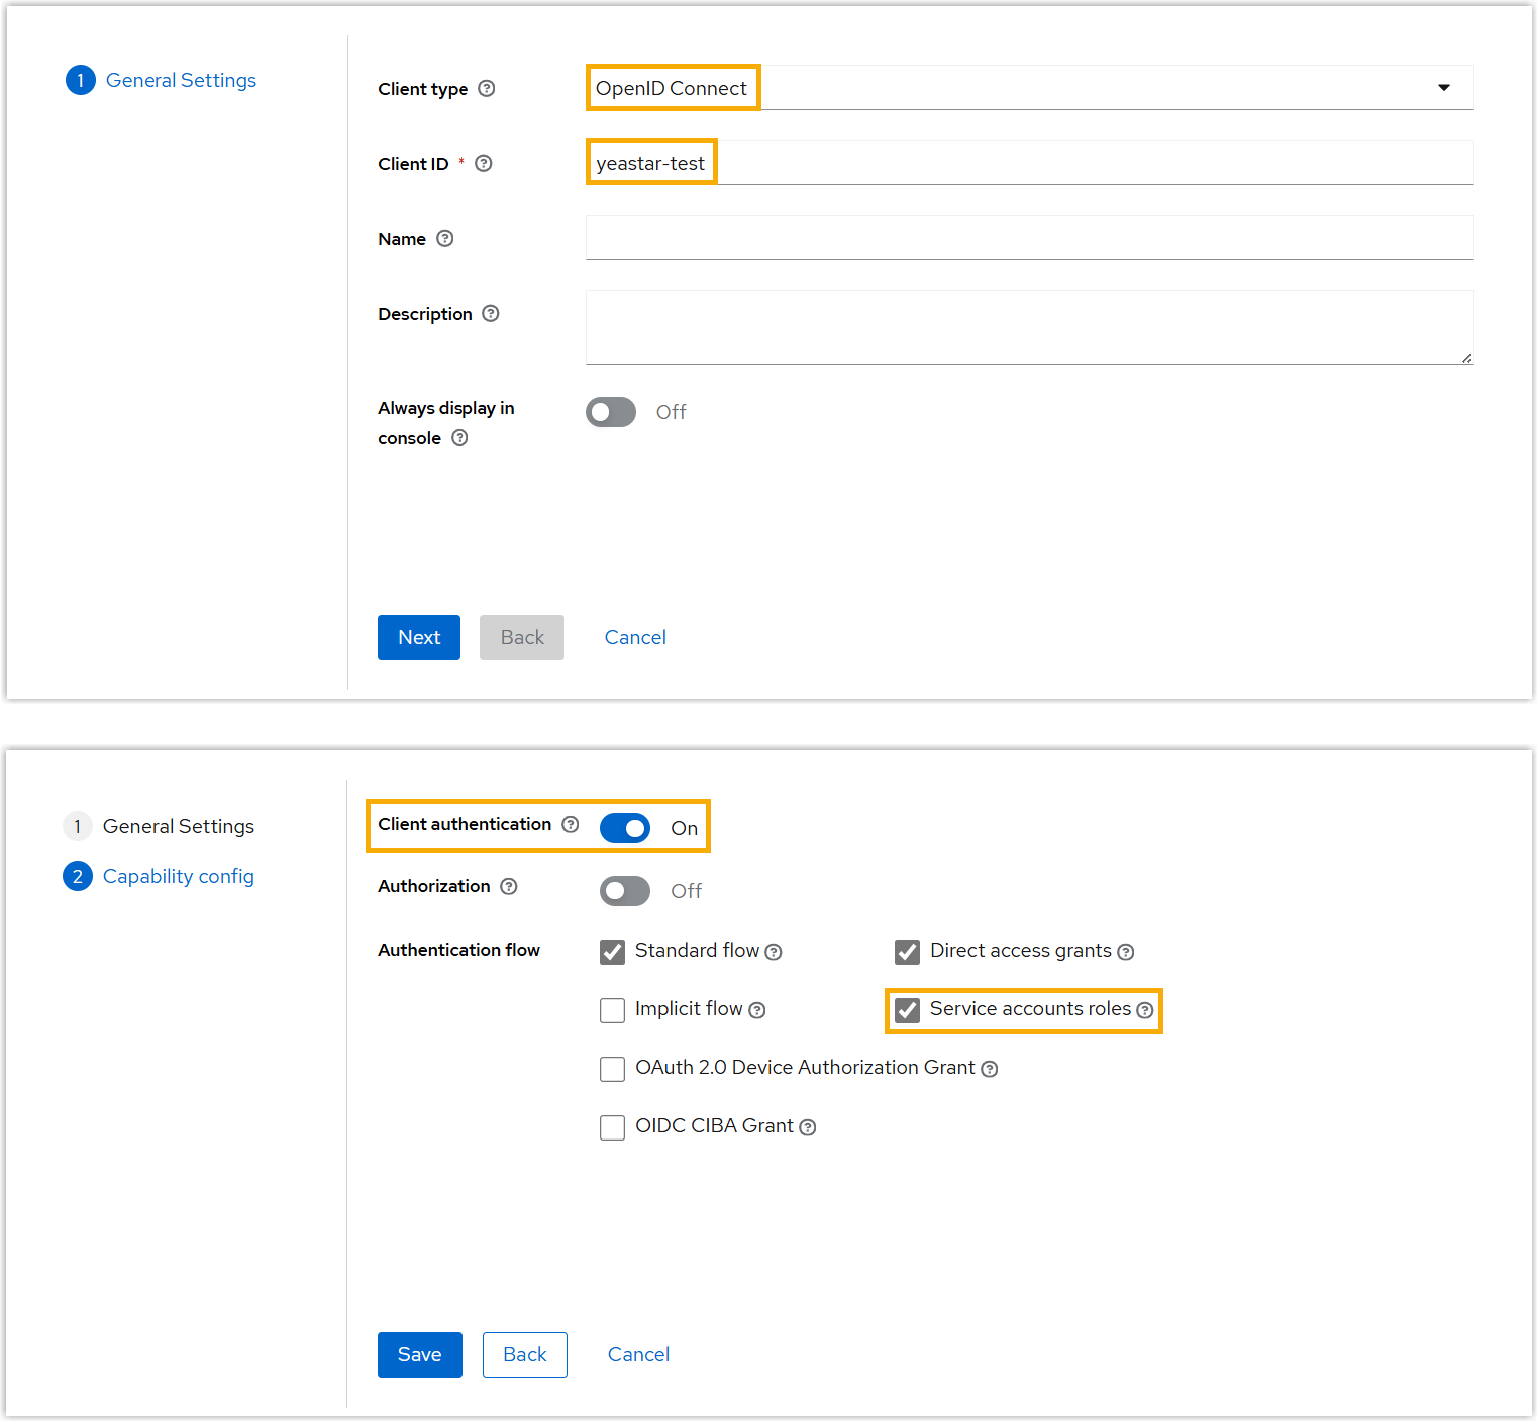
Item Description Client type Select OpenID Connect. Client ID Enter a name to help you identify the client. Client authentication Enable this option. Authentication flow Select the checkbox of Service accounts roles to authorize the client to obtain an access token.
- Under Clients list tab, click
Create client.
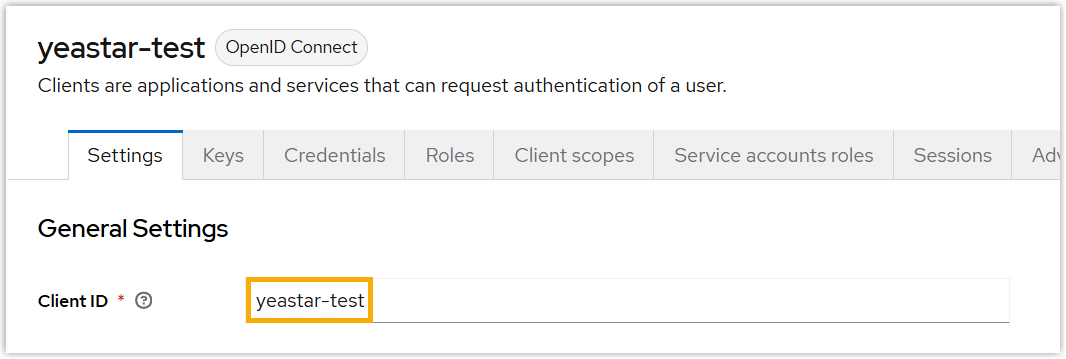
- Check and note down client credentials.
- Client ID: Under Settings
tab, copy the client ID.
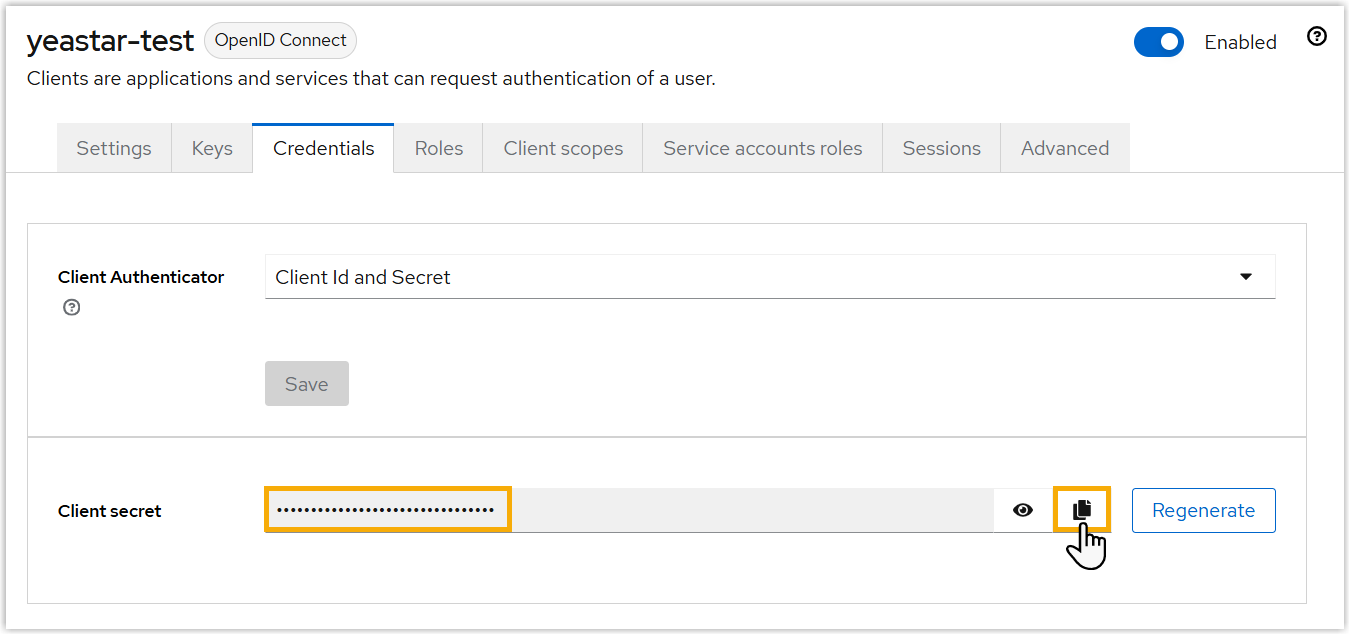
- Client Secret: Under
Credentials tab, copy the
client secret.
- Client ID: Under Settings
tab, copy the client ID.
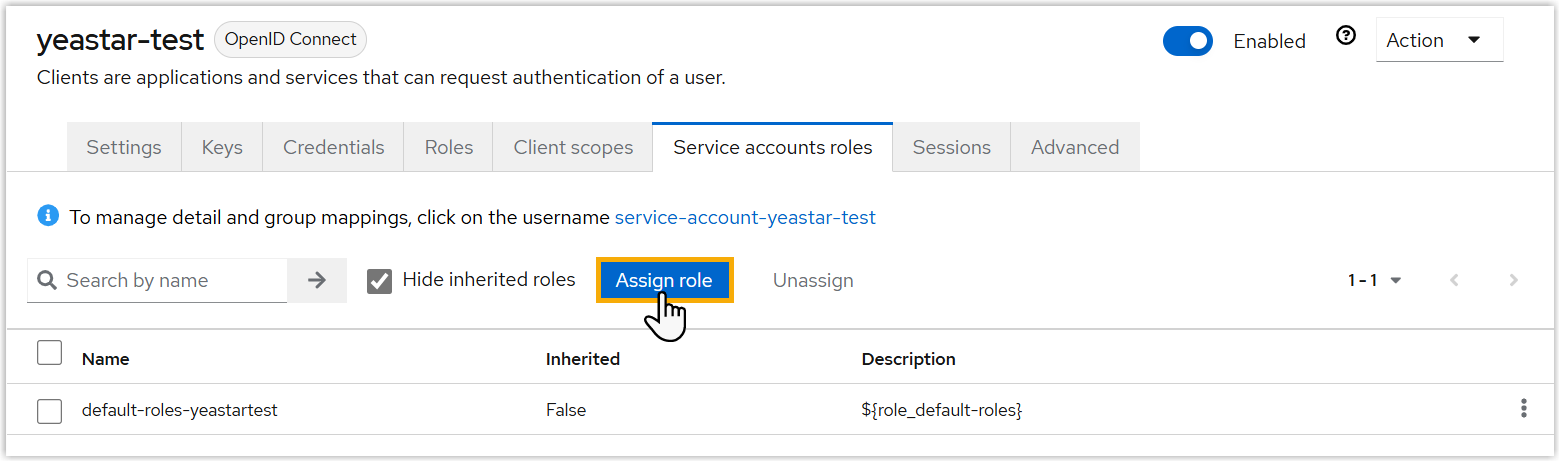
- Assign permissions to the service account.
- Under Service accounts roles tab,
click Assign role.
- On the top-left corner, select Filter by
clients from the drop-down
list.
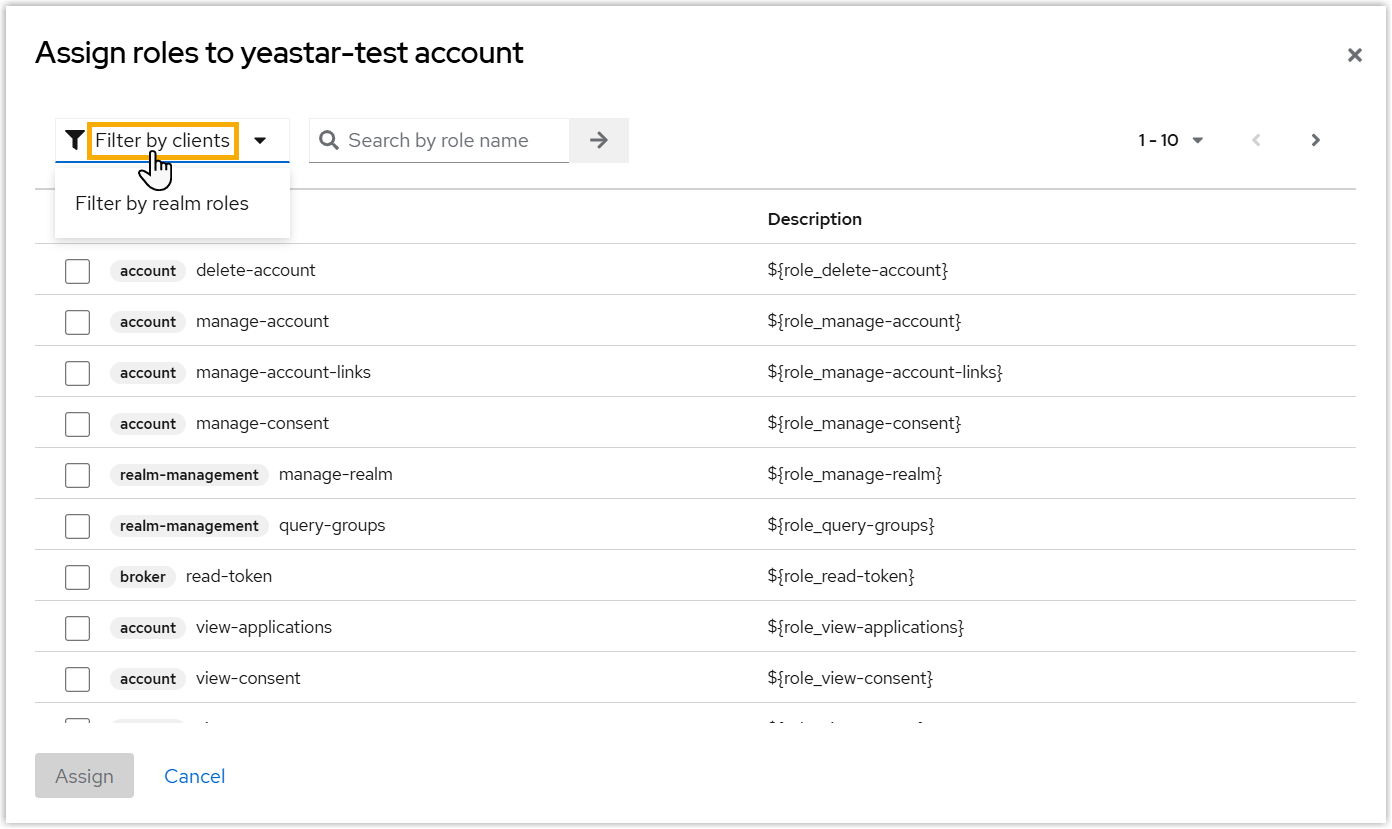
- Search for and assign the following permissions.
Illustration Permission 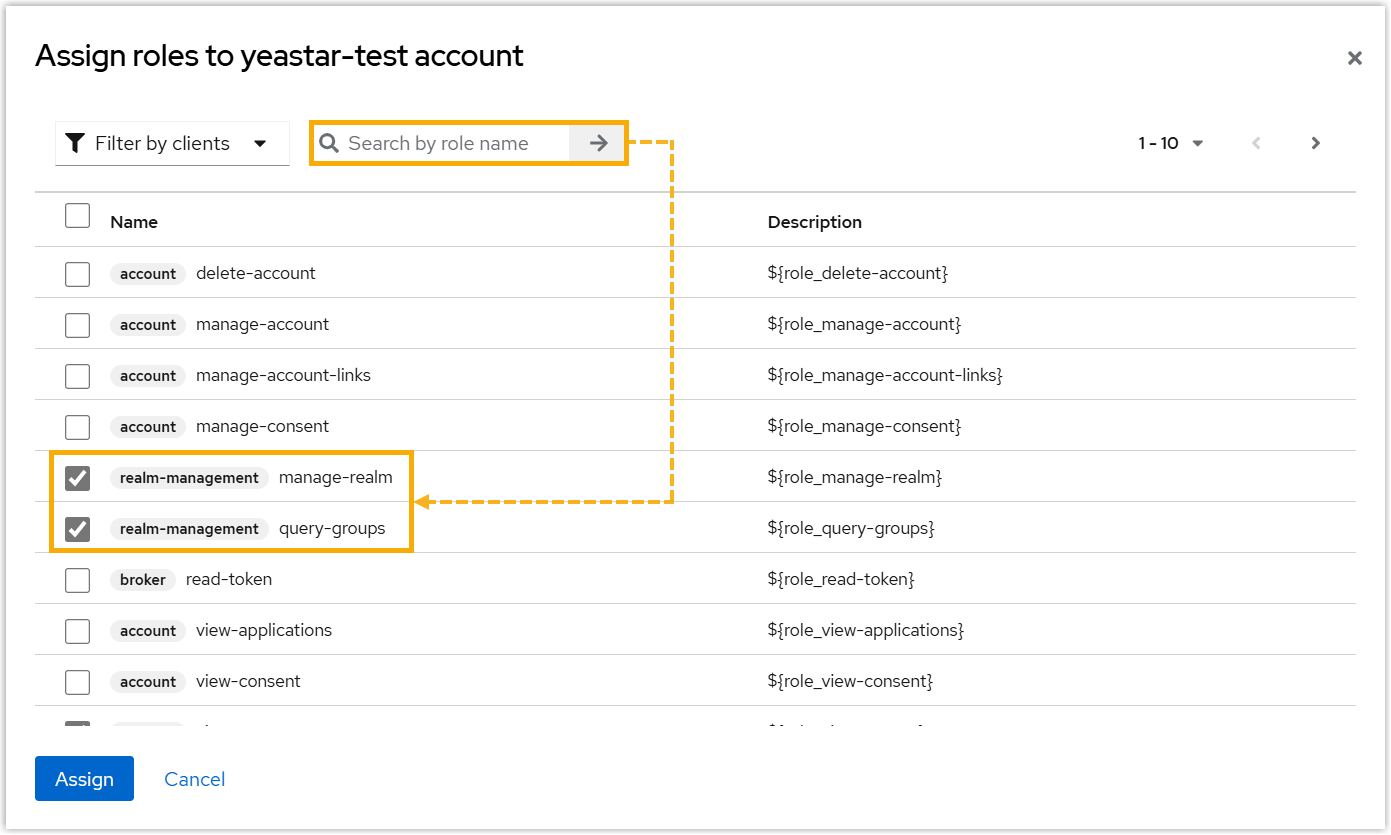
-
query-groups
-
query-users
-
view-groups
-
view-users
-
manage-realm
-
- Click Assign.
- Under Service accounts roles tab,
click Assign role.
- 4. Obtain metadata from Red Hat SSO
-
- On the left navigation bar, click Realm settings.
- Scroll down to the bottom, click SAML 2.0 Identity
Provider Metadata.
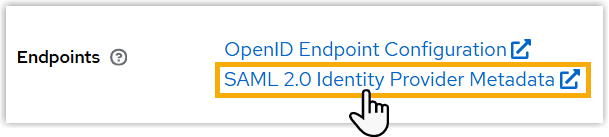
- Obtain metadata in either of the following ways:
- Copy the metadata URL from the browser's address bar
- Save the metadata XML file to your computer
Step 2. Import Red Hat SSO metadata and configure settings on Yeastar PBX
- Access the configuration page of Red Hat SSO.
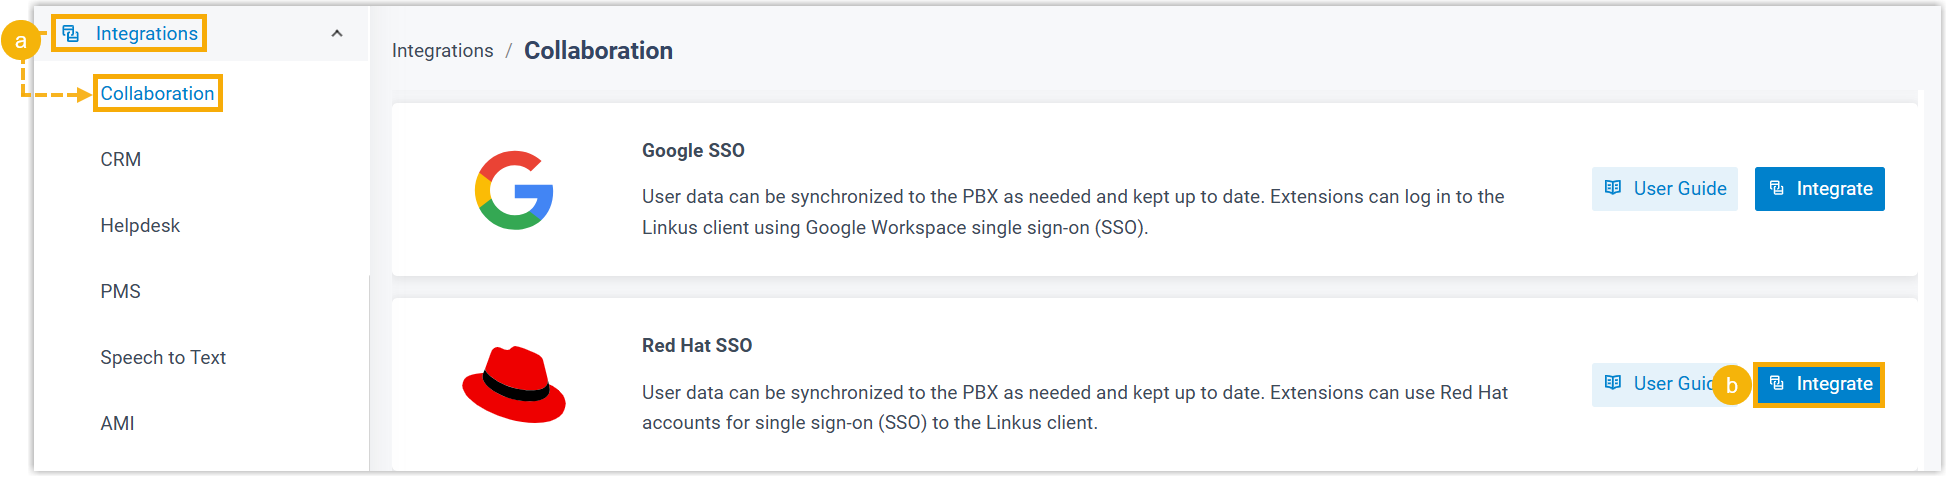
- Log in to PBX web portal, go to .
- On the right of Red Hat SSO, click Integrate.
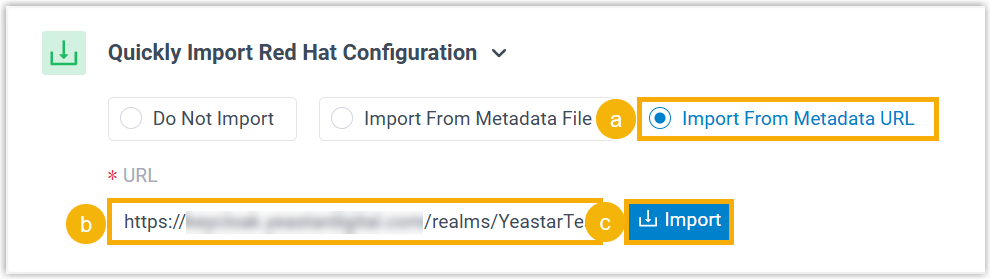
- Import Red Hat SSO configurations via metadata XML file or metadata URL.
- Import from metadata XML file
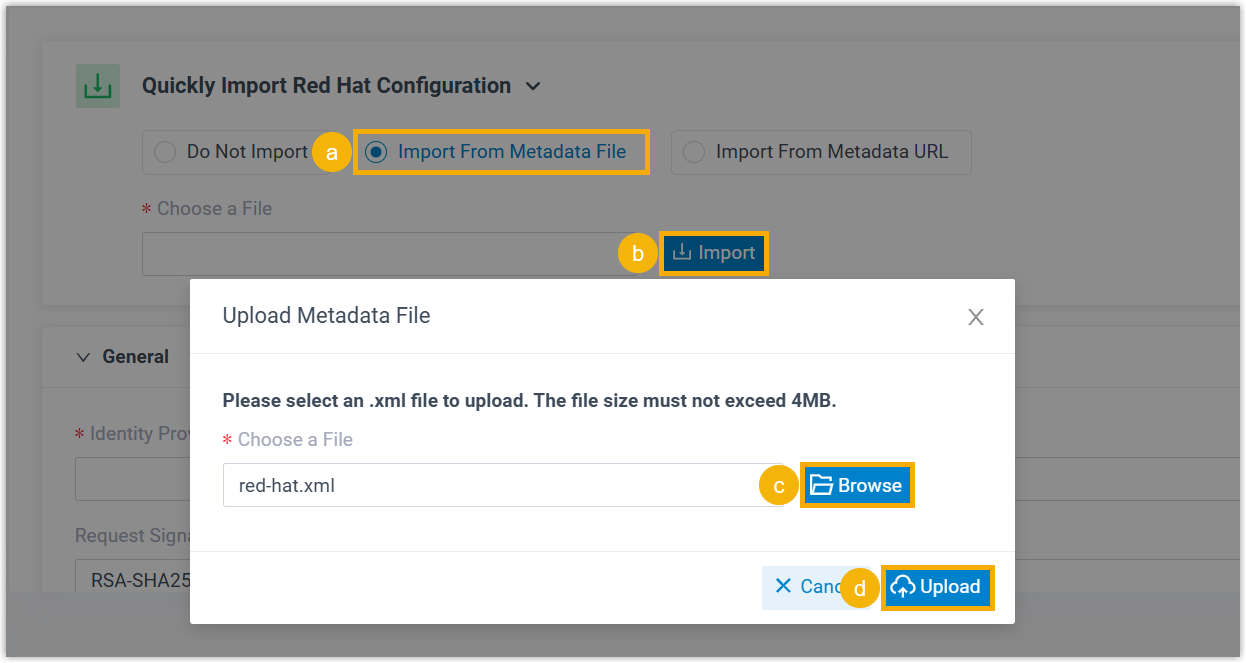
- Import from metadata URL
- In the General section, check and complete the following
settings.
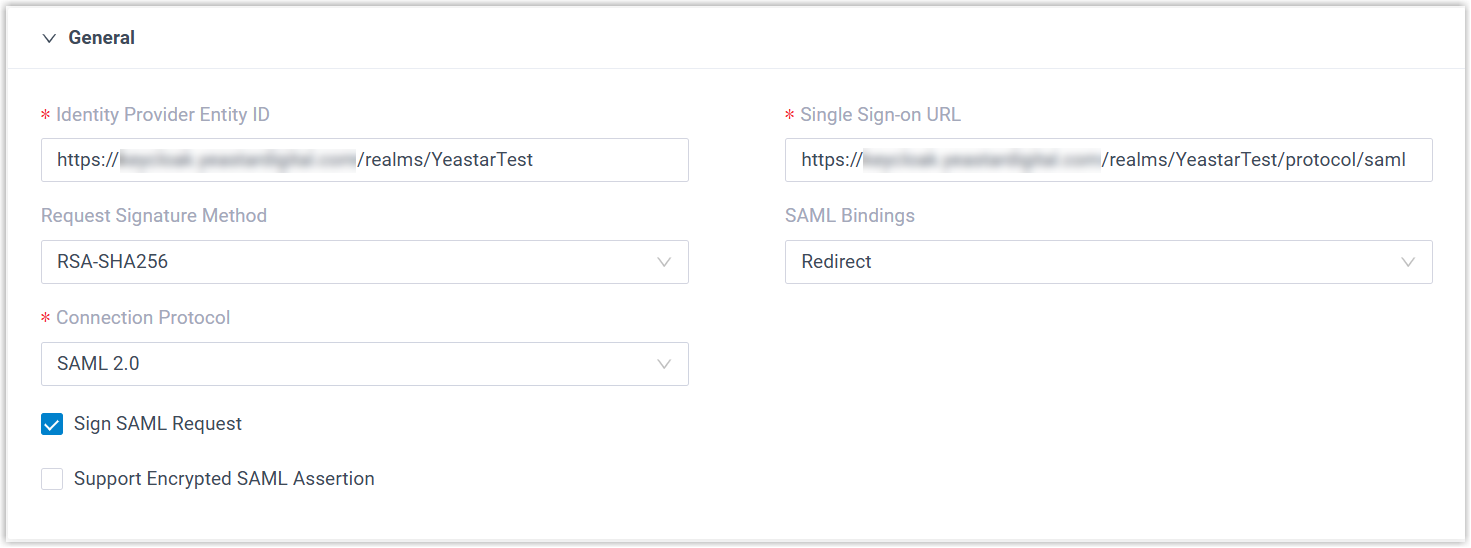
Item Description Identity Provider Entity ID The unique identifier for Red Hat SSO. This value is parsed from the metadata and automatically populated. Single Sign-on URL The URL of the Red Hat's SAML SSO service, where Yeastar PBX will send SAML authentication requests. This value is parsed from the metadata and automatically populated. Request Signature Method Select the hashing algorithm used to sign SAML requests. SAML Bindings Select the binding mechanism for SAML message exchange between Yeastar PBX and Red Hat SSO.
Currently, only Redirect binding is supported. When a Red Hat user attempts to sign in to Linkus clients, PBX sends base64-encoded and URL-encoded SAML messages as URL parameters to Red Hat SSO.
Connection Protocol Specify the protocol used to exchange authentication and authorization data between Yeastar PBX and Red Hat SSO. Sign SAML Request Specify whether to sign SAML requests and responses.
Support Encrypted SAML Assertion Specify whether to encrypt SAML assertions. -
In the Attribute Mapping section, specify the attribute that will be used to identify Red Hat users for SSO.
- If you use the built-in Email field as the
unique identifier for SSO, select
SAML_SUBJECT, and ensure users' email
addresses are configured in Red Hat SSO.

- If you use a custom email-related attribute as the unique identifier
for SSO, select Custom, and configure the
custom attribute in PBX as well as in the Red Hat SSO user
settings.

- If you use the built-in Email field as the
unique identifier for SSO, select
SAML_SUBJECT, and ensure users' email
addresses are configured in Red Hat SSO.
- Optional: In the Certificate Management section,
add or manage certificates as needed.
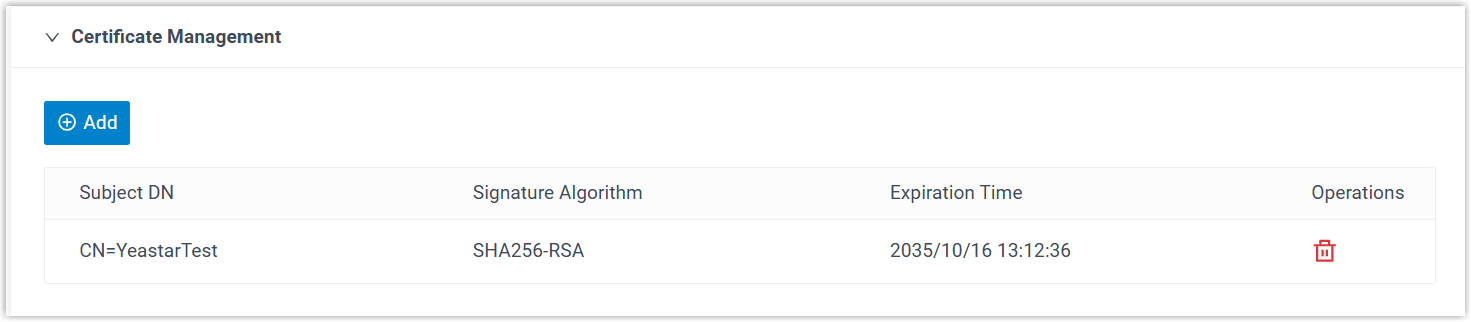 Note:
Note:- Certificates parsed from metadata will be automatically uploaded and displayed here.
- If you manually upload certificates, the certificates must meet the
following requirements:
- Format:
.pem,.crt,.cer, or.cert - File Size: No more than 4MB
- Format:
- Up to 5 certificates are supported. PBX will try the certificates in the order they are listed, using the next one only if the previous certificate fails.
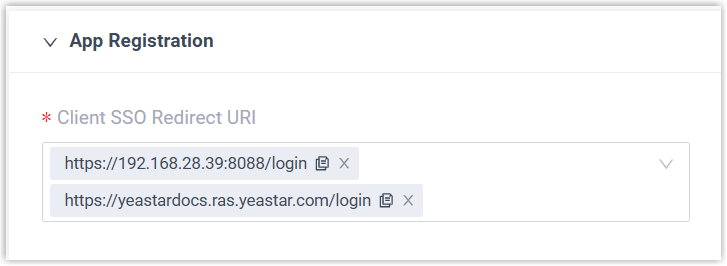
- In the App Registration section, select the URL via which
users can sign in to Linkus clients using their Red Hat credentials.
- In the User Synchronization section, paste the client ID and client secret of OIDC Client.

- Click Save.
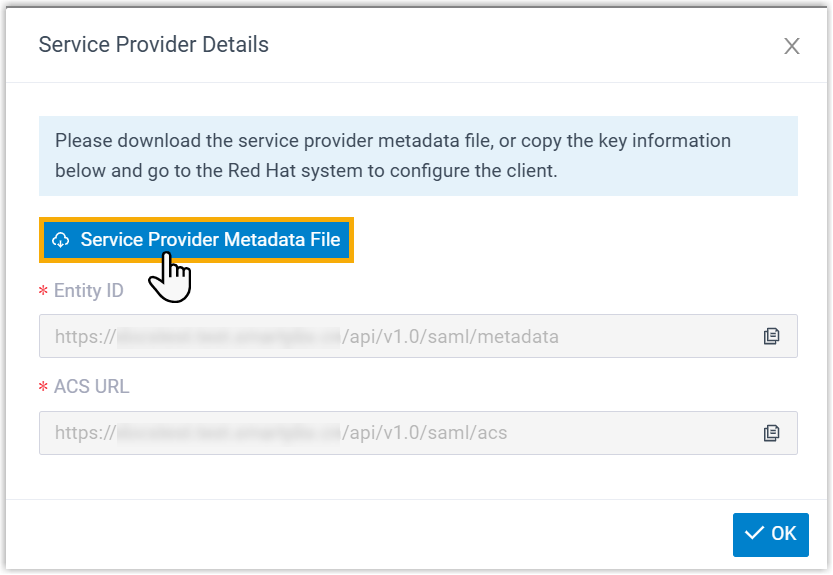
- In the pop-up window, click Service Provider Metadata
File to download the metadata file for SAML client configuration
on Red Hat SSO.
Step 3. Create an SAML client on Red Hat SSO
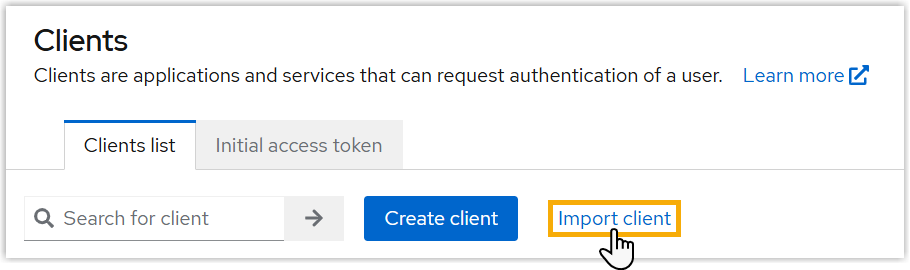
- On the left navigation bar, click Clients.
- Under Clients list tab, click Import
client.
- In the Resource file section, click
Browse to upload the metadata file obtained from
Yeastar PBX.
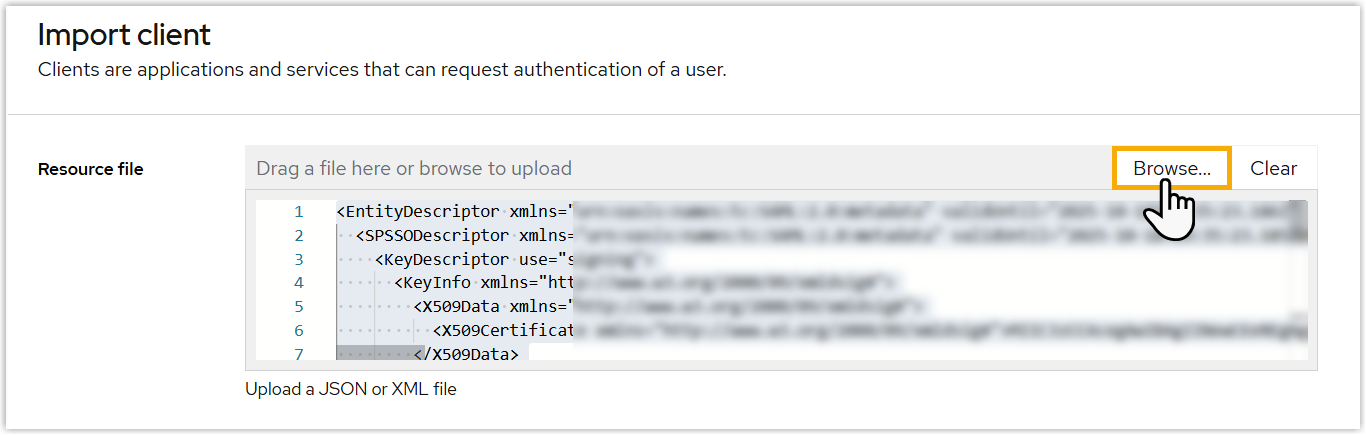
- Click Save.
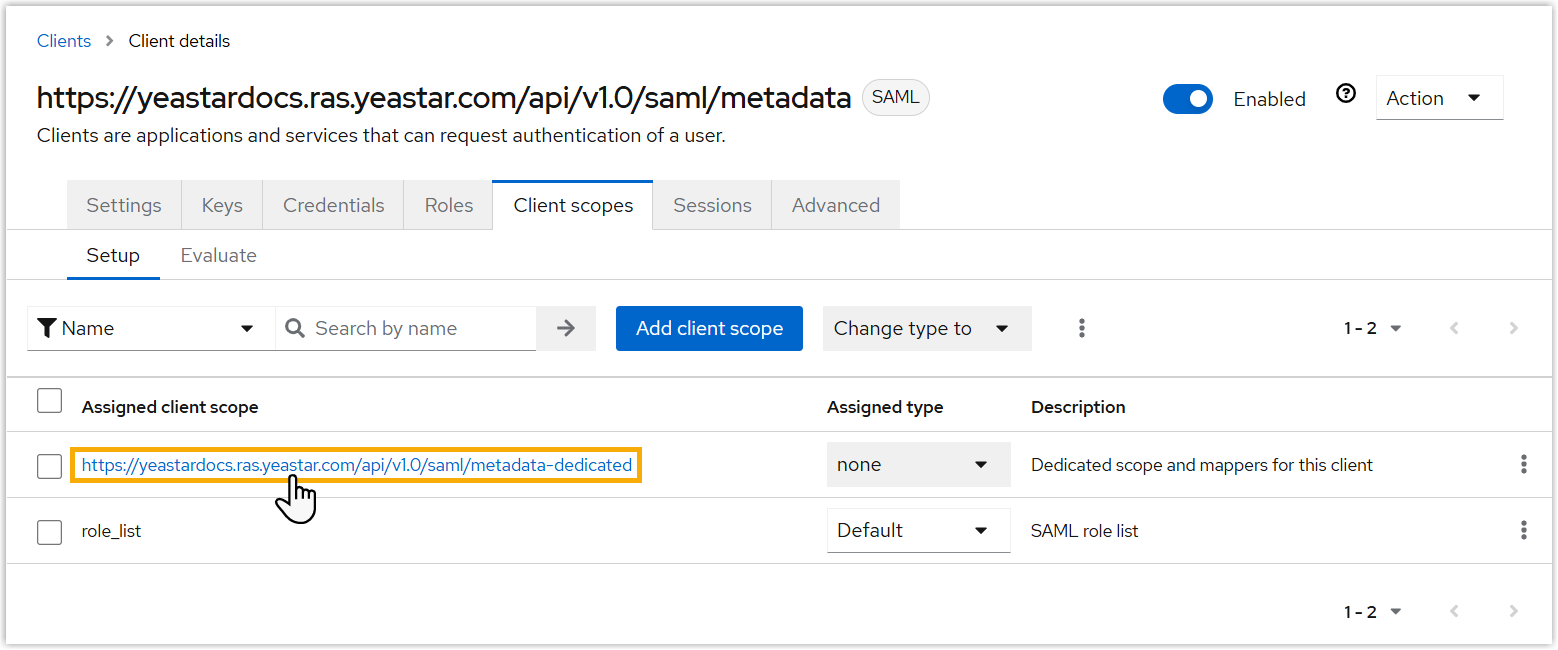
- Set user attribute for the SAML Client.
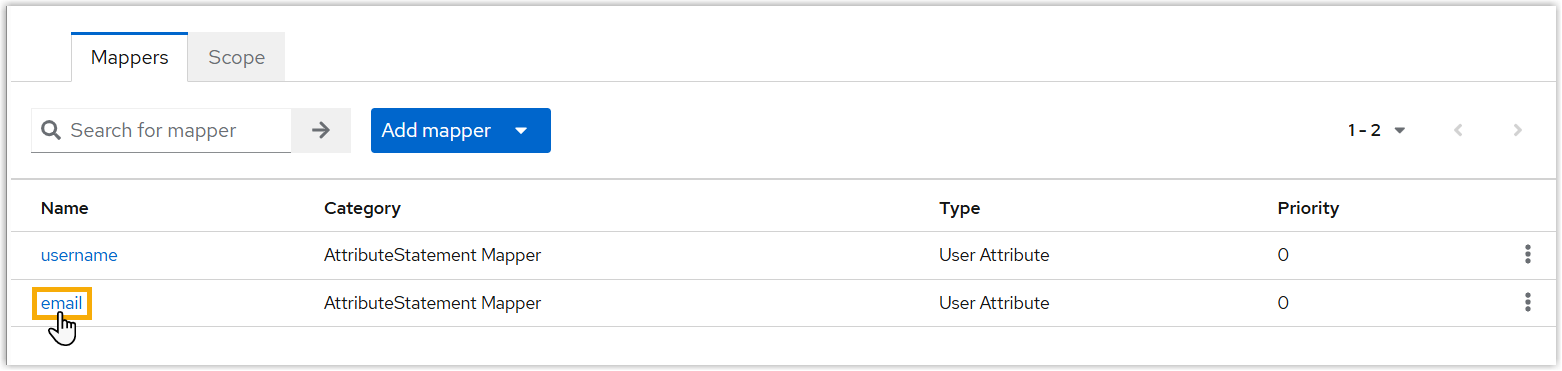
- Under Client scopes tab, click the dedicated
scope and mappers for the client.
- Under Mappers tab, click the email attribute
or the custom email-related attribute.
- In the User Attribute field, enter the user
attribute.
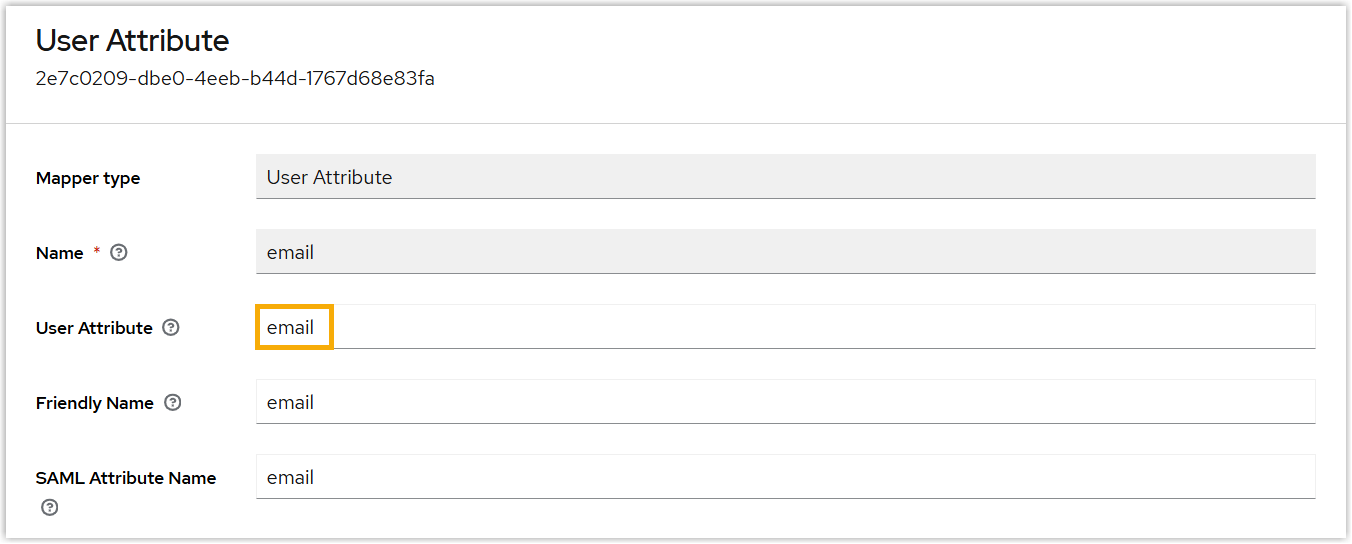
- Click Save.
- Under Client scopes tab, click the dedicated
scope and mappers for the client.
Result
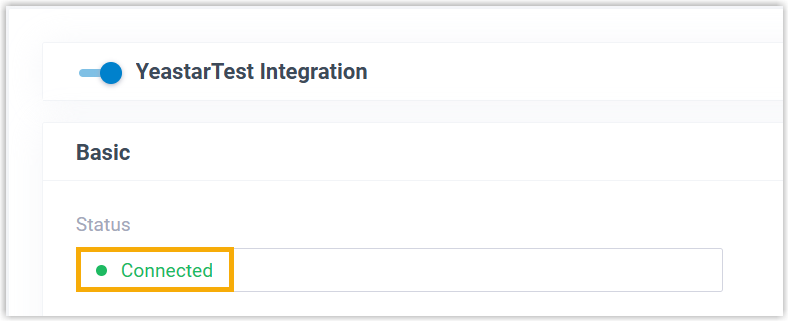
The status of the integration displays Connected, indicating that the PBX is successfully connected to Red Hat SSO.
What to do next
- Synchronize Red Hat SSO users to Yeastar PBX and assign extensions to them.
- Enable Red Hat SSO to allow users to sign in to Linkus clients with their Red Hat Credentials.