Configure Audio and Video
This topic describes how to configure audio and video.
- Video settings require support from your organization's PBX server.
- You can NOT configure audio and video in either of the following
scenarios:
- Linkus Web
Client is in CTI mode.
In this scenario, the Audio & Video configuration page is not displayed.
- Linkus Web
Client is associated with 'Yeastar Linkus for Google' Chrome
extension.
In this scenario, the Audio & Video configuration page can not be edited, and the page prompts "Media settings are handled by Yeastar Linkus for Google".
- Linkus Web
Client is in CTI mode.
Prerequisites
- Allow web browser to access microphone and camera in computer.
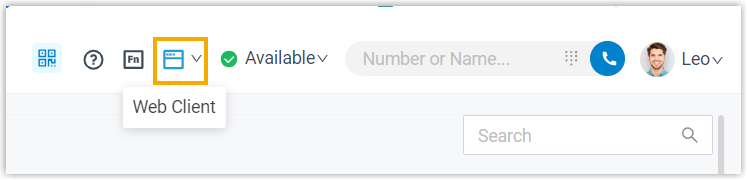
- Linkus Web Client is in
Web Client mode.
Procedure
- Log in to Linkus Web Client, go
to .
A window pops up, which asks permission for Linkus Web Client to use microphone.
- In the pop-up dialog box, allow Linkus
Web Client to use microphone and camera.
- Click Allow to allow Linkus Web
Client to use microphone.
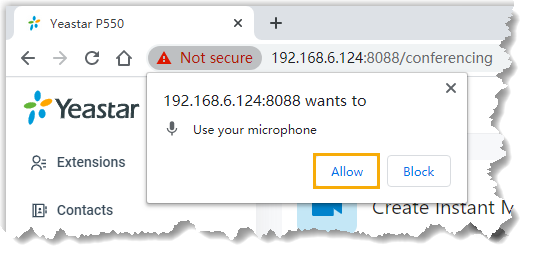
The microphone is turned on.
- Click Allow to allow Linkus Web
Client to use camera.
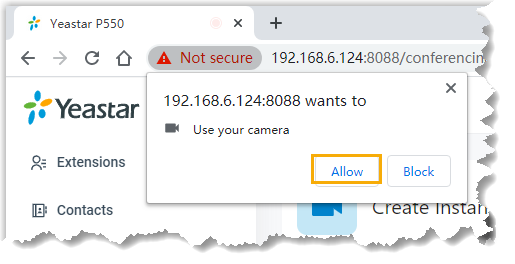 The camera is turned on, you can see a preview video of yourself on the left side of the page.Note: If you fail to see a preview video of yourself, you need to check if the camera is in use. Refresh the page and try again when the camera is available.
- Click Allow to allow Linkus Web
Client to use microphone.
- On right side of the page, select desired device from the drop-down list of Camera, Microphone, Speaker, and Ringing Device.
- If you have a headset compatible with Linkus
Web Client, you can set up the headset to work with Linkus Web Client in
the Headset Integration section. In this way, you can
control Linkus calls directly
from the headset.
For the compatible headsets and the integration instructions, see Integrate HID-compliant Headsets with Linkus Web Client and Integrate Headsets with Linkus Web Client (before v37.7.0.16).
- Click Save.