Set Multiple Time Zones
Yeastar P-Series PBX System supports multiple time zones, enabling businesses to operate efficiently across different regions by managing calls and settings based on the local time. This topic describes how to set multiple time zones.
Scenarios
For businesses that operates across multiple time zones, or for multi-national companies with employees distributed across different regions, a single time zone setting is insufficient to meet daily operation needs. To ensure smooth collaboration and efficient call management, businesses need the flexibility to configure work hours tailored to each region's local time.
For example, if a business has offices in the US, the UK, and China, administrator can set the US Pacific time zone as the default, add additional time zones for the UK and China, and then configure business hours and holidays for the time zones accordingly. This ensures that staff can work and handle calls aligning with regional working hours, and customers can receive calls or services at appropriate times, improving work efficiency and customer satisfaction.
Requirements and restrictions
- Requirements
- The firmware of Yeastar P-Series PBX System is 37.18.0.59 or later.
- Restrictions
- Yeastar P-Series PBX System supports up to 24 time zones (including the default time zone).
Procedure
- Log in to PBX web portal, go to .
- On the side panel, click Add.
- In the pop-up window, configure the time zone settings.
Setting Description Name Set a name to help you identify the time zone. Time Zone Select the desired time zone. Daylight Saving Time Enable or disable Daylight Saving Time (DST) according to your needs. Feature Code This field is auto-populated with a system-generated feature code, which can be used to switch or subscribe to the Business Hours and Holidays status for the specific time zone. Note: The usage rules and user permissions follow the configurations on .Assign to Extension Optional. Assign the time zone to desired extensions in bulk. After assigned, the business hours and holidays configured in the time zone will be applied to the selected extensions.Note: You can change the time zone for extensions individually on Extension and Trunk > Extension > > Features > Business Hours > Time Zone.
 - Click Save.
- Repeat step 2 - 4 to add more time zones as needed.
- Reboot the PBX to take effect.
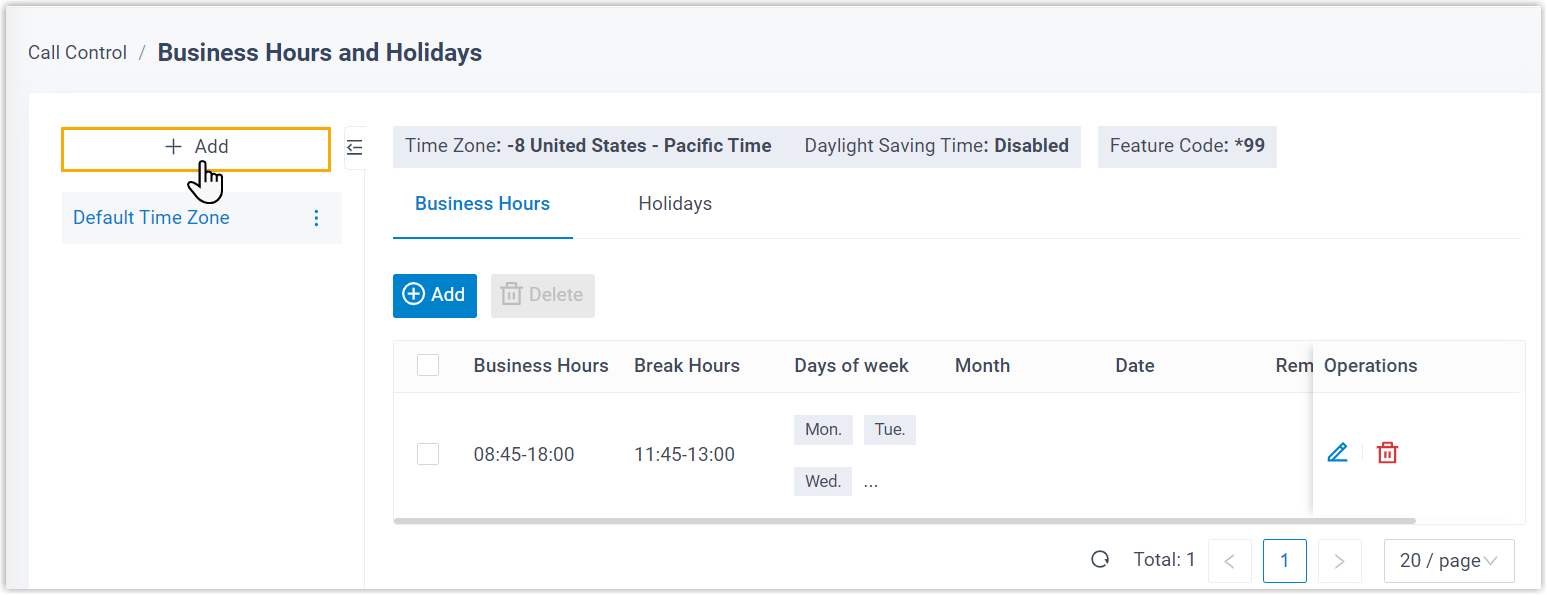
Results
The time zones are available in the system.
What to do next
Set Business Hours and Create a Holiday based on time zones.