Create an Extension Group
This topic describes how to create an extension group.
Limitations
Yeastar P-Series PBX System supports up to 63 extension groups.
Procedure
- Log in to PBX web portal, go to , click Add.
- Configure basic settings for the extension group.
- In the Name field, enter a group name to help you identify it.
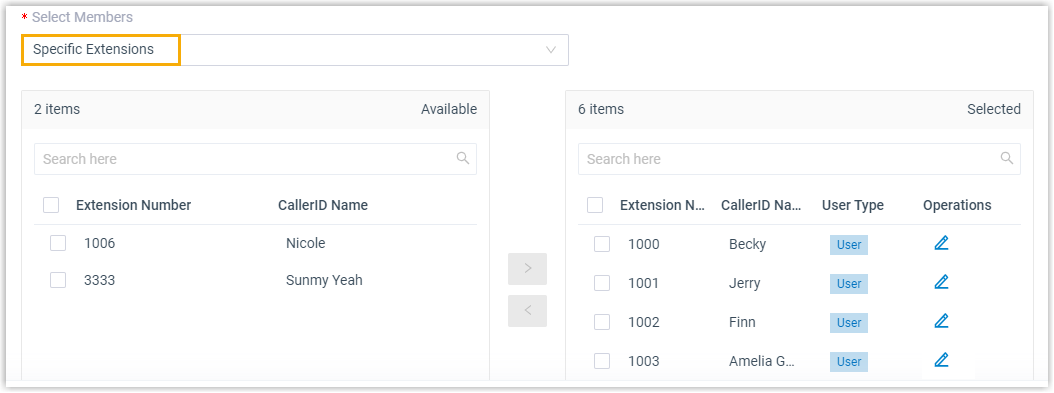
- In the Select Members drop-down list, set
which extensions will be added to the group.
- All Extensions: If you choose the
option, all the extensions will be moved to the
Selected box.Note: ONLY one group that contains all the extensions is allowed.
- Specific extensions: If you
choose the option, select the desired extensions from
Available box to
Selected box.
- All Extensions: If you choose the
option, all the extensions will be moved to the
Selected box.
- Assign user types for group members.Note: Users of different user types have different permissions. For more information, see User types in an extension group.
- In the Selected box, click
 beside the
desired member.
beside the
desired member. - In the pop-up window, configure the User
Type and permissions.
- If you select Manager
or User, the member has all
the permissions that are granted to the user
type.Note: The permissions of Manager and User are pre-defined. To change the permissions, see View or change permissions for managers and users.
- If you select Custom, select the checkboxes of the desired permissions.
- If you select Manager
or User, the member has all
the permissions that are granted to the user
type.
- Click Save.
- In the Selected box, click
- Click Save.
Result
- The extension group is displayed on Extension Group list.
- No one can view the group on Linkus clients. To allow specific users to view the group, see Set up Extension Visibility.